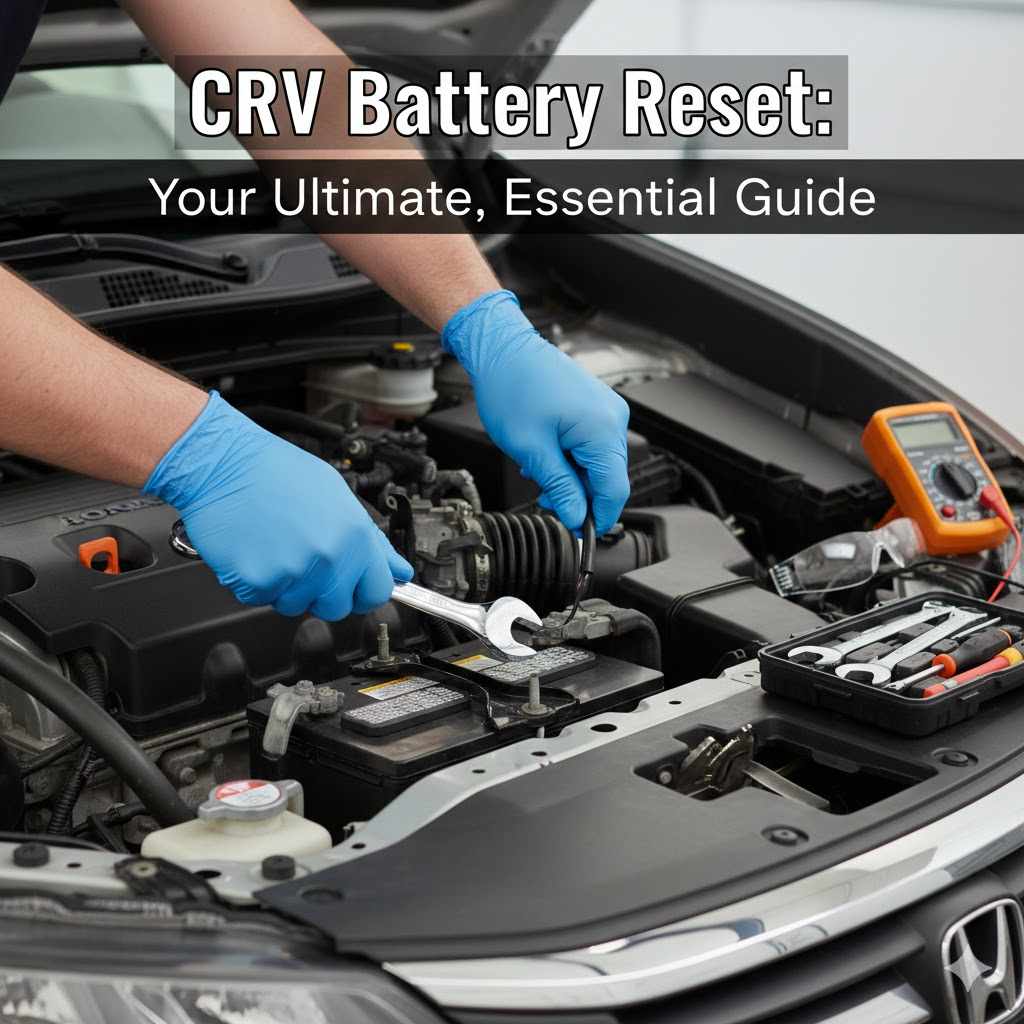
CRV Battery Reset: Your Ultimate, Essential Guide
To reset your Honda CR-V’s computer after a battery change, disconnect the negative battery terminal, then the positive. Wait 15-20 minutes for the system to discharge. Reconnect the positive terminal first, then the negative. Start the engine and let it idle for about 10 minutes to allow the computer to relearn its settings and clear most warning lights.
You did everything right. You bought a new battery for your Honda CR-V, installed it carefully, and turned the key. But instead of a smooth start, your dashboard lights up like a holiday tree. Check engine, VSA, TPMS—all sorts of warning lights are suddenly on. It’s a frustrating moment, but don’t worry. This is a very common issue, and you can absolutely fix it yourself.
Your car’s computer just got a little confused when it lost power, and it needs a simple reboot. In this guide, I’ll walk you through every step to reset your CR-V’s system, clear those pesky lights, and get your car running smoothly again. No confusing jargon, no expensive tools—just clear, easy instructions you can follow with confidence.
Why Does My CR-V Need a Reset After a Battery Change?
Think of your Honda CR-V’s main computer, often called the Engine Control Unit (ECU), as its brain. It constantly learns and remembers important information about how your engine runs, how you drive, and how all the electronic systems work together. It stores data for everything from your fuel mixture and idle speed to your power window settings and radio presets.
When you disconnect the battery, you cut off the power supply to this brain. It’s like unplugging your home computer without shutting it down properly. When you reconnect the power with a new battery, the ECU wakes up with a clean slate—it has forgotten all its learned settings. This state of confusion is what triggers the warning lights. The car is essentially saying, “Hey, I need to recalibrate everything before I know what’s normal!”
Common Signs Your CR-V Needs a System Reset
If you’re seeing any of these issues right after installing a new battery, a reset is likely the solution:
- Multiple Warning Lights: The most obvious sign. You might see the Check Engine Light, Vehicle Stability Assist (VSA) light, Tire Pressure Monitoring System (TPMS) light, or electric power steering light all come on at once.
- Rough or Unstable Idle: The engine might idle too high, too low, or fluctuate up and down as the computer tries to find the correct speed without its saved data.
- Radio or Infotainment Issues: Your radio may ask for a security code, and you might lose all your saved stations and settings.
- Power Window Problems: The “auto” up/down feature for the driver’s window might stop working.
- Transmission Feels “Off”: The transmission might shift a little differently as it relearns your driving style.
Seeing these signs can be alarming, but it rarely indicates a real mechanical problem. It’s just your car’s electronics asking for a fresh start. Performing a battery reset helps the ECU clear these temporary faults and begin the “relearning” process on solid ground.
Safety First: Important Precautions Before You Begin
Working with a car battery is straightforward, but safety should always be your top priority. Batteries contain corrosive acid and can produce flammable gases. Following these simple safety rules will ensure your reset goes smoothly and safely.
- Wear Protective Gear: Always wear safety glasses and gloves. A stray spark or a bit of battery acid can cause serious injury.
- Work in a Ventilated Area: If you’re in a garage, make sure the door is open. This prevents any hydrogen gas from the battery from building up.
- No Sparks or Flames: Keep all sources of sparks, open flames, and cigarettes far away from the battery.
- Remove Metal Jewelry: Take off rings, watches, and necklaces. If a metal object touches the positive battery terminal and a grounded part of the car at the same time, it can cause a severe short circuit, leading to burns or a damaged electrical system.
- Know Your Terminals: The positive terminal is usually marked with a “+” sign and may have a red cover. The negative terminal is marked with a “-” sign and may have a black cover. Always disconnect the negative terminal first and reconnect it last.
The Simple Tools You’ll Need for the Job
You don’t need a full mechanic’s toolkit for this job. In fact, you probably already have everything you need sitting in a drawer at home.
- A Wrench: Most Honda CR-Vs use a 10mm wrench or socket to loosen the nuts on the battery terminals. A small adjustable wrench can also work in a pinch.
- Safety Glasses and Gloves: Non-negotiable for protecting yourself.
- A Wire Brush or Battery Terminal Cleaner: This is for cleaning any corrosion (that fuzzy, white or greenish stuff) off the battery posts and cable clamps. Clean connections are crucial for a good electrical flow.
- A Clean, Dry Rag: For wiping down the battery and terminals.
Step-by-Step Guide: How to Reset Your CR-V Battery System
Ready to get those lights off and your CR-V back to normal? Follow these steps in order. Take your time, and remember that this process is simple and very effective.
-
Prepare Your Vehicle
Park your CR-V on a flat, level surface and put it in Park (for automatic) or in gear (for manual). Engage the parking brake. Turn off the engine and remove the key from the ignition. Make sure all accessories like lights, radio, and air conditioning are turned off.
-
Open the Hood and Locate the Battery
Pop the hood and secure it with the prop rod. The battery is usually located on one side of the engine bay and will have a plastic cover over it. Remove the cover if there is one.
-
Disconnect the Negative (-) Terminal First
This is the most important safety step. Use your 10mm wrench to loosen the nut on the clamp of the negative terminal (the one marked with a “-” sign). You don’t need to remove the nut completely, just loosen it enough so you can wiggle the clamp off the battery post. Once it’s off, tuck the cable away from the battery so it can’t accidentally touch the post.
-
Disconnect the Positive (+) Terminal
Now, do the same for the positive terminal (marked with a “+”). Loosen the nut and remove the clamp from the post. Tuck this cable aside as well.
-
Clean the Terminals (Recommended)
While the cables are off, take a moment to inspect the battery posts and the inside of the cable clamps. If you see any white or greenish corrosion, use your wire brush to scrub it all off. A clean connection ensures your new battery can deliver full power to the car’s electrical system.
-
Wait for 15-20 Minutes
With both cables disconnected, it’s time to wait. This waiting period allows the capacitors in the ECU and other modules to fully discharge all their stored electricity. This is what performs the “reset.” It clears the temporary error codes and memory, forcing the car to start fresh. Go grab a coffee or a glass of water—patience is key here.
-
Reconnect the Positive (+) Terminal First
After waiting, it’s time to reconnect. You’ll do this in the reverse order of how you disconnected. Place the positive cable clamp back onto the positive battery post and tighten the nut with your wrench. Make sure it’s snug, but don’t overtighten it—you just want to ensure it can’t be wiggled by hand.
-
Reconnect the Negative (-) Terminal Last
Now, place the negative cable clamp back onto the negative battery post and tighten it securely. Reconnecting the negative (ground) terminal last is another crucial safety step that minimizes the risk of sparks.
-
Final Check
Give both cable clamps a gentle wiggle to confirm they are tight and secure. Replace the plastic battery cover, and you’re ready to close the hood.
The Next Step: Your CR-V’s “Relearn” Process
You’ve successfully reset the computer! Now you need to help your CR-V relearn its normal operating parameters. This process is mostly automatic, but you need to give the car some time and perform a few simple actions.
1. The Idle Relearn Procedure
The first thing your car needs to relearn is how to idle correctly. This is one of the most important parts of the process.
- Make sure all accessories (radio, A/C, lights) are still turned off.
- Start the engine. Don’t press the gas pedal.
- Let the engine run and idle for about 10 minutes. You might hear the engine idle speed change slightly during this time. This is normal. The computer is adjusting the fuel and air mixture to find the perfect, stable idle speed.
- After about 10 minutes, the engine’s cooling fans should cycle on and off at least once. This is a good sign that the ECU is recalibrating correctly.
- Once the idle is smooth and stable, the idle relearn is complete.
2. Re-Calibrating Other Systems
After the idle is stable, a short drive will help the other systems recalibrate. Here’s a quick table of things to check and what to do.
| System | What to Do | Why It’s Needed |
|---|---|---|
| Power Windows | For each window, press and hold the down button until the window is fully open, then press and hold the up button until it’s fully closed. Hold the button for two extra seconds after it closes. | This reteaches the window motor the “auto” up/down function. |
| Radio/Infotainment | If prompted, enter your radio’s anti-theft security code. You can find this code in your owner’s manual or on a sticker in your glove box. | This is a security feature that gets triggered when power is lost. |
| Tire Pressure Monitoring System (TPMS) | Drive the car for 10-15 minutes at a steady speed (above 25 mph). | Driving allows the sensors in each wheel to communicate with the main computer and confirm the tire pressures are normal. |
| Vehicle Stability Assist (VSA) | The VSA light should turn off on its own after a few minutes of driving as it recalibrates the steering angle and wheel speed sensors. | The system needs to confirm that all sensors are reading correctly while the car is in motion. |
Troubleshooting: What if the Warning Lights Are Still On?
In most cases, the steps above will clear all the warning lights. But if one or more lights stay on after you’ve performed the reset and gone for a drive, here are a few things to check.
Check Your Connections Again
The simplest explanation is often the right one. Go back and double-check that your battery terminals are clean and tight. A loose connection can cause all sorts of strange electrical issues and prevent the system from operating correctly.
Give It More Time
Some systems, particularly the TPMS, can take a bit longer to reset. Drive the car a little more, including a mix of city and highway speeds, to give it every chance to recalibrate.
Scan for Underlying Codes
If a light like the Check Engine Light remains on, there might be an underlying issue that was present before the battery change. The reset cleared the temporary confusion, but it won’t fix a real mechanical problem.
You can read the error codes using a simple tool called an OBD-II scanner. These are inexpensive and easy to use. You just plug it into a port under your dashboard, and it will give you a code (e.g., “P0420”). You can look up this code online to get an idea of what the problem might be. This information is incredibly valuable, whether you plan to fix it yourself or take it to a mechanic.
Understanding these codes can help you stay informed about your vehicle’s health and safety. For more information on vehicle diagnostics and recalls, you can always check reliable sources like the National Highway Traffic Safety Administration (NHTSA) website.
When to Call a Professional
If you’ve tried everything and a warning light still won’t go away, it’s time to have a professional mechanic take a look. They have advanced diagnostic tools that can pinpoint the exact cause of the problem. Don’t ignore a persistent warning light, as it could be signaling a serious issue.
Common Warning Lights After a Battery Swap and What They Mean
Here’s a quick reference table for the lights you’re most likely to see and what you should do.
| Warning Light | What It Usually Means After a Battery Swap | Primary Action to Take |
|---|---|---|
| Check Engine Light | The ECU has lost its learned fuel and emissions data. | Perform the idle relearn procedure and drive the vehicle. |
| VSA Light | The Vehicle Stability Assist system needs to recalibrate its sensors. | Drive the car straight for a few hundred feet. The light should go out. |
| TPMS Light | The Tire Pressure Monitoring System has lost its connection with the wheel sensors. | Drive for 15-20 minutes at speeds above 25 mph. |
| Electric Power Steering (EPS) Light | The steering angle sensor needs to be reset. | Start the car, turn the steering wheel all the way to the left, then all the way to the right. The light should turn off. |
Frequently Asked Questions (FAQ)
1. Why did so many warning lights appear after changing my CR-V’s battery?
This happens because disconnecting the battery erases the temporary memory in your car’s main computer (ECU). The computer forgets its learned settings for the engine, transmission, and various safety systems. The warning lights are its way of saying it needs to recalibrate everything before it can confirm all systems are working correctly.
2. Is it safe to perform a battery reset myself?
Absolutely! As long as you follow basic safety precautions—like wearing gloves and glasses and disconnecting the negative terminal first—it is a very safe and simple DIY task. It requires only basic tools and saves you a trip to the mechanic.
3. How long does the entire CR-V battery reset and relearn process take?
The physical reset (disconnecting, waiting, reconnecting) takes about 20-30 minutes, with most of that time spent waiting for the system to discharge. The relearn process can take another 15-20 minutes, including the idle time and a short drive. In total, you should plan for about an hour from start to finish.
4. Will I lose my radio presets and Bluetooth connections?
Yes, in most cases you will. The reset erases the memory for these settings. You will likely need to re-enter your radio’s security code (if applicable), reset your favorite stations, and re-pair your phone with the Bluetooth system.
5. What is an “idle relearn,” and why is it so important?
An “idle relearn” is the process where the car’s computer finds the perfect amount of air and fuel to keep the engine running smoothly while it’s stopped. It’s crucial because an incorrect idle can lead to stalling, rough running, or poor fuel economy. Letting the car idle for 10 minutes after a reset allows the computer to complete this process properly.
6. Do I need a special scanner or tool to reset my CR-V’s computer?
No, you do not. For a standard reset after a battery change, simply disconnecting the battery as described in this guide is all you need. Special scanners are only required for more advanced diagnostics or if a warning light points to a deeper mechanical issue.
7. What should I do if the reset doesn’t fix the problem and the lights are still on?
If you’ve performed the reset and relearn procedures correctly and a light stays on, it’s a sign that there may be an actual fault with a sensor or component. The next best step is to use an OBD-II scanner to read the specific error code or take your CR-V to a trusted mechanic for a professional diagnosis.
Conclusion: You’ve Got This!
Changing a car battery is a great DIY skill, but seeing a dashboard full of warning lights afterward can quickly turn that feeling of accomplishment into anxiety. Hopefully, this guide has shown you that a CR-V battery reset is not only simple but also a normal part of the process.
By following these steps, you can confidently clear those error codes, help your car relearn its settings, and get back on the road with peace of mind. You’ve not only saved yourself a potential trip to the dealership but also gained a deeper understanding of how your vehicle works. Taking control of small maintenance tasks like this is empowering, and now you have one more skill in your car care toolkit. Happy driving!