How to Clean Cloudy Car Headlights: 3 Easy Methods
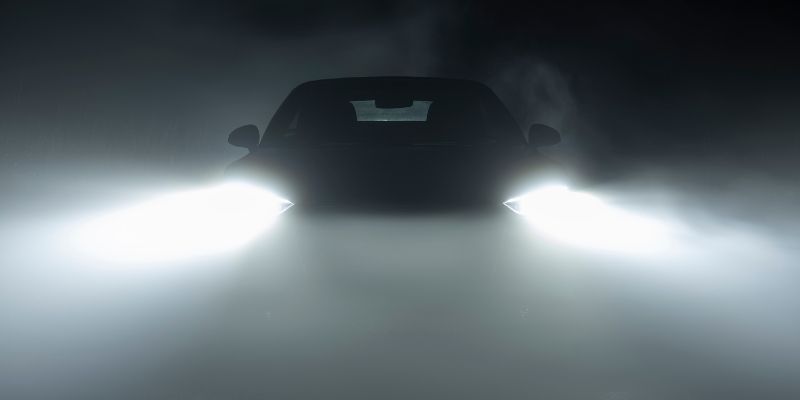
Last summer, I noticed my car’s headlights looked cloudy. Driving at night felt unsafe. I learned how to clean plastic car headlights and made them shine like new! In this article, I’ll share easy steps to clean your headlights. You’ll find simple tips, tools, and tricks for beginners and car lovers. Let’s make your headlights bright again!
Quick Answer
Clean cloudy plastic headlights by washing them, then polishing with toothpaste (light fog) or a headlight restoration kit with graduated sandpaper and UV sealant (moderate to heavy fog). Always finish with a UV-protective coating or the fog returns within months.
What Are Plastic Car Headlights?
Car headlights have plastic covers called lenses. These protect the bulbs inside.
Why Do Headlights Get Foggy?
Sunlight, dirt, and weather make plastic lenses cloudy. This is called oxidation — a similar UV-driven process to what happens to oxidized car paint. Foggy headlights dim your light. They make driving at night harder. Cleaning them helps you see better and keeps your car looking great!
Why Clean Your Headlights?
Clean headlights improve safety. They let you see the road clearly.
- Bright headlights help other drivers see you.
- Clear lenses make your car look newer.
- Cleaning saves money compared to buying new headlights.
A new headlight can cost $350-$2,000! Cleaning is cheaper and fun.
Tools and Materials You Need
You don’t need fancy tools to clean headlights. Here’s what I use:
| Tool/Material | Purpose | Cost |
|---|---|---|
| Toothpaste | Polishes plastic | $1-$3 |
| Microfiber cloth | Wipes surface | $5-$10 |
| Car wash soap | Cleans dirt | $5-$8 |
| Masking tape | Protects paint | $2-$5 |
| Water | Rinses residue | Free |
Basic tools for cleaning plastic car headlights.
Optional Tools
- Baking soda: Mix with water for extra cleaning power.
- Sandpaper (400-2000 grit): Smooths rough lenses (advanced method).
- UV sealant: Protects lenses after cleaning ($10-$15).
Easy Steps to Clean Plastic Car Headlights
I’ll share two methods: a quick one and an advanced one. Both work great!
Method 1: Toothpaste Trick (Beginner-Friendly)
Toothpaste is abrasive. It scrubs away foggy layers. Here’s how I do it:
- Wash headlights. Use car soap and water. Dry with a cloth.
- Tape around lenses. Masking tape protects your car’s paint.
- Apply toothpaste. Dab it on a damp cloth. Rub in circles.
- Scrub hard. Spend 5 minutes per headlight.
- Rinse off. Use clean water. Dry with a microfiber cloth.
- Add wax. Car wax keeps lenses clear longer.
Tip: Use whitening toothpaste for better results!
Method 2: Sandpaper and Polish (Advanced)
This method takes more time. It’s great for very cloudy headlights.
- Clean lenses. Wash with soap and water. Dry them.
- Tape the area. Protect paint with masking tape.
- Sand with 400-grit. Wet sandpaper. Rub side to side. Keep it wet.
- Use 600-grit. Sand again for a smoother finish.
- Polish with 2000-grit. Make lenses clear and shiny.
- Apply polish. Use plastic polish with a cloth. Buff it.
- Seal with UV coating. This stops fogging for years.
Method 3: All-in-One Headlight Restoration Kit (Most Popular)
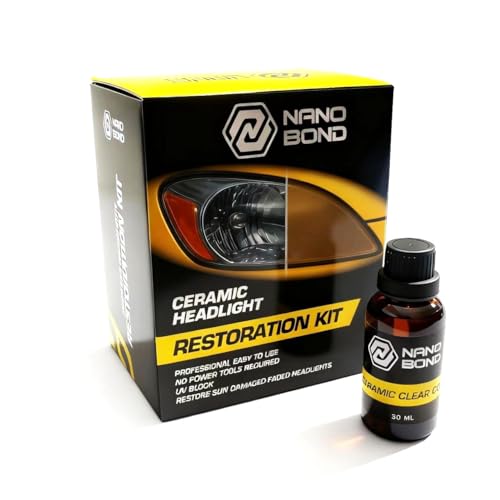
If toothpaste feels too weak and full sandpaper-and-polish feels like too much work, a headlight restoration kit is the middle ground most people end up buying. Kits like 3M’s or Sylvania’s bundle everything into one box — graduated sandpaper discs (usually 500 to 3000 grit), polishing compound, and a UV-protective sealant — so you’re not guessing which grit or sealant to buy separately.
- Tape and wash. Same prep as the other methods — mask the surrounding paint and clean the lens.
- Sand through the included grits in order. Most kits include 3-4 discs from coarse to fine; work through each one, keeping the surface wet.
- Apply the included polish. Use a drill attachment or cloth to buff the polish into the lens until it’s clear.
- Apply the UV sealant. This is the step that makes results last 1-2 years instead of a few months — don’t skip it.
Kits typically run $15-$25 and take about 30-45 minutes per headlight — less work than buying loose sandpaper and polish separately, and more durable than toothpaste alone.
Our Pick: Headlight Restoration Kits
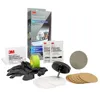
3M Ultra Headlight Restoration Kit
Best for: The most balanced results-to-effort ratio for moderately cloudy headlights.
Why we picked it: Includes graduated sanding discs, polish, and a UV sealant in one box — no separate purchases needed.
Main drawback: Best with a drill attachment; hand-sanding all the included discs takes longer.
View Our Pick on Amazon
 CERAKOTE Ceramic Headlight Restoration Kit Check on Amazon |
 POLIWELL Headlight Restoration Kit Check on Amazon |
 3M Auto Restore and Protect Headlight Kit Check on Amazon |
Comparing Cleaning Methods
Here’s a table to help you choose:
| Method | Time | Cost | Best For |
|---|---|---|---|
| Toothpaste | 15 min | $5-$10 | Light fog, beginners |
| Restoration Kit | 30-45 min | $15-$25 | Moderate fog, most drivers |
| Sandpaper/Polish (separate) | 1 hour | $15-$25 | Heavy fog, enthusiasts |
Toothpaste vs. sandpaper for cleaning headlights.
Benefits of Cleaning Headlights
Cleaning your headlights makes driving safer. You see better at night. Your car looks shiny and new. It’s also cheap! I saved $500 by not replacing my headlights.
Drawbacks to Know
- Toothpaste results may fade in 6 months.
- Sandpaper can scratch if you’re not careful.
- Cleaning takes time and effort.
Other Ways to Clean Headlights
You can try these options, but they’re less reliable:
- Baking soda and vinegar. Mix into a paste. Scrub like toothpaste.
- WD-40. Spray it on. Wipe it off. Results don’t last long.
- Rubbing alcohol. Cleans light dirt but not heavy fog.
I tried WD-40 once. It worked for a week. Then the fog came back — the same short-lived-fix pattern I’ve seen with oxidized paint quick fixes. Stick to toothpaste, a restoration kit, or sandpaper for better results.
My Top Tips for Success
Here’s what I learned from cleaning headlights:
- Work in shade. Sunlight dries products too fast.
- Check inside lenses. If foggy inside, you may need new headlights.
- Test a small spot first. Make sure your method works.
- Be patient. Scrubbing takes effort but pays off.
Mistake to Avoid: Don’t use bug spray. It can melt plastic!
Safety Tips for Cleaning
Cleaning headlights is safe if you’re careful.
- Wear gloves to protect your hands.
- Keep sandpaper wet to avoid scratches.
- Don’t get polish on your car’s paint.
How Often Should You Clean Headlights?
Clean headlights every 6-12 months. If you park in the sun, clean them more often. I check mine every spring. It keeps them bright all year!
Where to Learn More
Want to dive deeper? Check these trusted sites:
- Sylvania Automotive for headlight care tips.
- 3M Auto for restoration kits.
- AAA Club Alliance for DIY car hacks.
Conclusion
Cleaning plastic car headlights is easy and fun! You can use toothpaste for a quick fix, a restoration kit for a balance of cost and results, or sandpaper for a pro finish. All three methods save money and make driving safer. I love seeing my car’s headlights shine like new. Give it a try this weekend!
Frequently Asked Questions
How do I know if my headlights need cleaning?
If headlights look yellow or dim, they’re foggy. Shine a flashlight on them. If the light scatters, clean them. It improves safety and brightness.
Can I use glass cleaner on plastic headlights?
No, glass cleaner can harm plastic. Use car soap or toothpaste instead. They’re gentle and effective for plastic lenses.
How long does toothpaste cleaning last?
Toothpaste cleaning lasts 3-6 months. Sunlight may fog lenses again. Add car wax to make results last longer.
Is sandpaper safe for headlights?
Yes, if you use wet sandpaper. Start with 400-grit. Keep it wet to avoid scratches. Finish with polish for a clear shine.
Can I clean headlights without a kit?
Yes! Toothpaste and a cloth work great. Baking soda paste is another option. Both are cheap and easy for beginners.
What’s the best UV sealant for headlights?
I like Meguiar’s Headlight Coating. It’s easy to apply. It protects lenses for up to a year. Find it at auto stores.
Why do headlights turn yellow?
Sunlight’s UV rays break down plastic. This causes oxidation. It makes lenses yellow and cloudy. Cleaning removes the foggy layer.
Products related to this article
Sponsored / affiliate links. As an Amazon Associate I earn from qualifying purchases. I may earn additional commission from eligible campaigns.