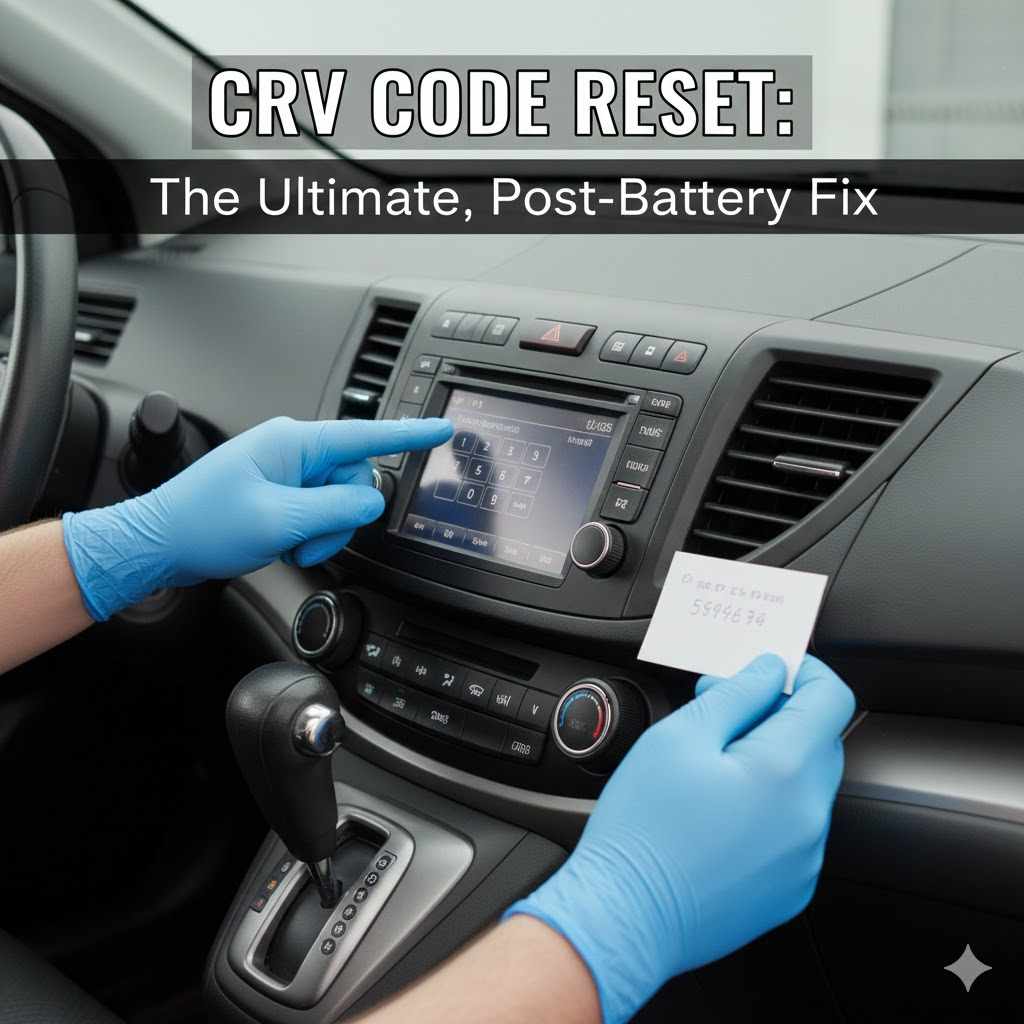
CRV Code Reset: A Genius & Essential Post-Battery Fix
To reboot a 2019 Honda CR-V after a new battery installation when codes appear, you typically need to perform a “relearn” drive. Start the engine, let it idle for a few minutes, then drive for 15-20 minutes at varied speeds. This allows the car’s computer to recalibrate its sensors and systems, which usually clears the warning lights automatically.
So, you did the right thing. You replaced the battery in your trusty Honda CR-V, feeling proud of your DIY skills. But when you turned the key, your dashboard lit up like a Christmas tree. Warning lights for the brakes, power steering, and stability control are all glowing, and your heart sinks. Did you break something?
Take a deep breath. You almost certainly didn’t. This is a very common and completely normal situation. Your CR-V isn’t broken; it’s just a little confused. After losing power, its brain—the main computer—needs a moment to relearn everything. In this guide, I’ll walk you through the simple steps to get your CR-V back to normal, no expensive tools or trips to the mechanic needed.
Why Do Warning Lights Appear After a Battery Change?
Think of your CR-V’s main computer, often called the Engine Control Unit (ECU) or Powertrain Control Module (PCM), as its short-term memory. It constantly learns and stores information about your driving habits, engine performance, and sensor readings to keep everything running smoothly.
When you disconnect the battery, you cut the power to this computer. It’s like unplugging your desktop computer without shutting it down first. All that temporary memory is wiped clean. When you reconnect the new battery, the ECU wakes up with amnesia. It doesn’t remember the correct settings for the power steering, the tire pressure, or the stability control system.
As a result, it turns on the warning lights as a precaution. It’s your car’s way of saying, “Hey, I need to check my systems and get my bearings before I can confirm everything is okay!” This is not a sign of failure, but a sign that the car is running its self-diagnostic checks.
Common Warning Lights You Might See on Your CR-V
After a battery swap, a few specific lights are known to make an appearance. Don’t be alarmed; here’s a quick look at what they are and why they show up. Understanding them is the first step to fixing them.
| Warning Light | What It Means in This Context |
|---|---|
| Power Steering (EPS) Light | The Electric Power Steering system has lost its sensor calibration. It needs to relearn the steering wheel’s position. |
| Vehicle Stability Assist (VSA) Light | The VSA system, which helps prevent skidding, relies on the steering sensor. Since the steering needs recalibrating, this light often comes on with it. |
| Brake System Light | This can be linked to the VSA system and other electronic brake aids. It’s usually a temporary error caused by the memory wipe. |
| TPMS Light | The Tire Pressure Monitoring System has lost its calibration and needs to be reset, even if your tire pressure is perfect. |
| Check Engine Light | The ECU is running checks on all engine and emissions components. This light may stay on until the car completes a full “drive cycle.” |
Before You Start: Safety First!
Even though these fixes are simple, safety should always be your top priority. Before you begin any of the steps below, take a moment to ensure you’re working in a safe environment.
- Park on a Level Surface: Make sure your CR-V is on flat, solid ground.
- Engage the Parking Brake: This is a crucial step to prevent the car from rolling.
- Turn Off the Engine: Unless a step specifically tells you to start the engine, it should be off.
- Work in a Ventilated Area: If you need to run the engine for idling, do it outdoors or in a garage with the door wide open to avoid carbon monoxide buildup.
The Simple Solution: The Relearn & Recalibration Drive
For most of the warning lights, the fix is surprisingly easy. You just need to take your CR-V for a short, specific drive. This is called a “drive cycle” or “relearn procedure.” It gives the car’s computer the time and data it needs to recalibrate all its systems. Think of it as taking your car for a walk to clear its head.
Step 1: Start Your CR-V and Let It Idle
First, get in your car and make sure all accessories are turned off. This includes the radio, air conditioning or heat, headlights, and any other electronic device. You want the engine to have the car’s full attention.
- Start the engine.
- Let it run in Park for about 2 to 3 minutes.
- During this time, the computer begins its initial checks. You might even see a light or two turn off during this idle period.
Step 2: The Driving Procedure
Now it’s time to hit the road. You don’t need to drive fast or aggressively. A calm, steady drive is all it takes. The goal is to experience a mix of driving conditions.
- Drive for about 15 to 20 minutes.
- Try to maintain a steady speed between 40 and 60 mph for at least 5 to 7 minutes of the drive. A highway or a quiet back road is perfect for this.
- Include some stop-and-go driving. Driving through a neighborhood with a few stop signs is ideal. This helps the brake and stability systems recalibrate.
- Make a few turns, both left and right. This helps the power steering and VSA sensors figure out their positioning.
Step 3: Check the Dashboard
After your drive, pull over safely and park the car. In many cases, the warning lights will have turned off during the drive. If they are still on, turn the car off, wait a minute, and then turn it back on. This simple reboot is often the final step that clears the codes.
What If the Lights Don’t Go Away? Specific System Resets
If your recalibration drive didn’t fix everything, don’t worry. Some systems need a more direct command to reset. These procedures are still very simple and don’t require any special tools.
Resetting the TPMS (Tire Pressure Monitoring System)
The TPMS light is one of the most common to stick around. Your CR-V doesn’t actually measure the pressure in each tire; it monitors the rotation speed of the wheels. If one tire is low, it will spin at a different rate, triggering the light. After a battery change, the system forgets the baseline rotation speed and needs to be recalibrated.
First, always check your tire pressure manually with a reliable gauge to be sure you don’t have an actual flat tire. The correct pressure is listed on a sticker inside the driver’s door jamb.
How to Recalibrate the TPMS on a 2017-2022 Honda CR-V:
- Turn the ignition on. You don’t need to start the engine.
- Use the controls on your steering wheel to navigate the infotainment screen.
- Go to Settings > Vehicle > TPMS Calibration.
- Select “Calibrate.” The system will start the process.
- The light will blink and then go out once calibration is complete, which may take a few minutes of driving.
Recalibrating the Power Steering (EPS)
If the power steering light is still on and your steering feels heavy or strange, the Electric Power Steering (EPS) system needs a quick reset. This is one of the easiest fixes of all.
- Start the engine.
- While parked, slowly turn the steering wheel all the way to the left until it stops.
- Then, slowly turn the steering wheel all the way to the right until it stops.
- Repeat this process one more time.
- Finish by centering the steering wheel. Turn the car off and then back on. This should clear the EPS light.
Dealing with the VSA (Vehicle Stability Assist) Light
The VSA light is closely linked to the power steering and brake systems. Often, performing the EPS reset (turning the wheel lock-to-lock) and going for another short drive will clear the VSA light. The system needs to see that the steering angle sensor is working correctly before it can turn the warning light off.
The “Hard Reset”: Disconnecting the Battery Again (The Right Way)
If you’ve tried the drive cycle and specific resets but a stubborn light remains, you can perform a “hard reset.” This technique completely drains any residual electrical charge from the vehicle’s computers, forcing a total reboot. Think of it as a deeper clean for your car’s memory.
Important Safety Note: You will be touching the vehicle’s battery cables together, but they must be completely disconnected from the battery first. Never touch the cables together while they are connected to the battery terminals, as this will cause a dangerous short circuit.
Step-by-Step Guide for a Hard Reset
- Disconnect the Negative Terminal: Use a wrench (usually 10mm) to loosen the nut on the negative (-) battery terminal (it’s usually black or has a “NEG” or “-” sign). Wiggle the cable clamp off the battery post and move it aside.
- Disconnect the Positive Terminal: Now do the same for the positive (+) terminal (usually red or has a “POS” or “+” sign). Move this cable aside.
- Drain Residual Power: Take the two disconnected cable clamps—and only the clamps—and hold them so they touch each other for about 60 seconds. This safely drains the capacitors in the car’s electrical system.
- Wait: Leave the cables disconnected from the battery for about 15 minutes to ensure a full reset.
- Reconnect the Battery: Reconnect the positive (+) cable first, making sure it’s tight. Then, reconnect the negative (-) cable and tighten it.
- Start Over: Now, start the car and perform the initial relearn drive cycle again. This hard reset often solves the most persistent electronic gremlins.
When to Use an OBD-II Scanner
An On-Board Diagnostics II (OBD-II) scanner is a small, affordable tool that plugs into a port under your dashboard. It reads the error codes that your car’s computer generates. While you don’t always need one for a post-battery reset, it can be incredibly helpful.
For more information on these systems, you can visit the U.S. Environmental Protection Agency’s page on OBD, which explains its purpose in vehicle emissions and diagnostics.
How a Scanner Can Help
- Identify the Problem: It tells you the exact error code, so you know if it’s a simple calibration issue (like P0500 for vehicle speed sensor) or something more serious.
- Clear Codes Manually: After performing a drive cycle, you can use the scanner to manually clear any lingering “soft codes” that didn’t go away on their own.
- Provide Peace of Mind: A scanner can confirm that there are no “hard codes,” which indicate a real, physical problem with a part.
| Code Type | Description | How to Fix |
|---|---|---|
| Soft Codes (Temporary) | These are informational codes often caused by a temporary glitch, like a power loss from a battery change. They don’t indicate a failed part. | Usually cleared by a drive cycle, a hard reset, or an OBD-II scanner. |
| Hard Codes (Permanent) | These codes indicate a consistent fault detected by a sensor, such as a failing oxygen sensor or a misfiring cylinder. | Require diagnosing and replacing a faulty part. These will not clear on their own. |
When It’s Time to Call a Professional
While most post-battery issues are simple DIY fixes, there are times when you should consult a trusted mechanic. It’s always better to be safe than sorry when it comes to your vehicle’s safety systems.
- The Check Engine Light is Flashing: A flashing or blinking check engine light signals a serious problem, like an engine misfire, that could damage your catalytic converter. Stop driving and have the vehicle inspected immediately.
- The Car Drives Poorly: If you notice any strange noises, rough idling, stalling, or poor acceleration after changing the battery, there might be an underlying issue.
- Lights Reappear Instantly: If you clear a code and it comes right back on, it’s likely a hard code indicating a genuine component failure.
- Honda Sensing Errors: For newer CR-Vs (like a 2019 model), if you get errors for systems like Adaptive Cruise Control (ACC) or the Lane Keeping Assist System (LKAS), these may require special recalibration tools only available at a dealership.
- You’re Not Comfortable: If you don’t feel confident performing any of these steps, that’s perfectly okay. A mechanic can handle this quickly and give you peace of mind.
Frequently Asked Questions (FAQ)
Why did my radio ask for a code after changing the battery?
Many older Honda models have an anti-theft feature that requires a special code to unlock the radio after it loses power. You can typically find this code in your owner’s manual, on a sticker in the glove box, or by retrieving it online from Honda’s official website using your car’s VIN.
Is it safe to drive with these warning lights on?
For a short relearn drive, it is generally safe, as the lights are usually due to a memory glitch. However, remember that with the VSA or brake system light on, some of your electronic safety aids may be temporarily disabled. Drive cautiously until the lights are cleared.
How long does the CR-V relearn process take?
The driving portion of the relearn process usually takes about 15 to 20 minutes. Some systems, like the TPMS, might take a little longer to finish calibrating. For most issues, you should see results after one or two short trips.
Can a low-quality or incorrect battery cause these issues?
Yes. A battery with insufficient cranking amps or one that is not the right size for your CR-V can cause persistent electrical problems and trigger random warning lights. Always use a battery that meets or exceeds the specifications in your owner’s manual.
Will resetting the codes hide a real problem?
No. If there is a genuine issue with a component, the warning light will come back on after a reset. The procedures described here are for clearing temporary, glitch-related codes caused by power loss, not for ignoring real mechanical or electrical failures.
Do I need a special tool to reset the oil life monitor?
No, you do not. You can reset the oil life monitor directly from your CR-V’s infotainment screen or using the trip computer buttons on the steering wheel. The process is simple and is outlined in your owner’s manual.
What’s the difference between a reset and a recalibration?
A “reset” typically refers to clearing an error code from the computer’s memory. A “recalibration” is the process where a system learns its correct operating parameters, like the steering wheel’s center position or the normal rolling speed of the tires. Both are often needed after a battery change.
Conclusion: Your CR-V is Smarter Than You Think
Seeing your dashboard light up with warnings after a simple battery change can be stressful, but it’s rarely a sign of a real problem. Your Honda CR-V is equipped with a sophisticated computer that just needs a little time and a clear set of instructions to get back on track. By performing a simple relearn drive or a specific system reset, you are giving it the information it needs to recalibrate itself.
You’ve now learned why this happens and how to fix it like a pro. Not only have you saved yourself a potential trip to the mechanic, but you’ve also gained a deeper understanding of how your vehicle works. Keep this guide handy, and the next time you or a friend face this issue, you’ll know exactly what to do. Happy driving!