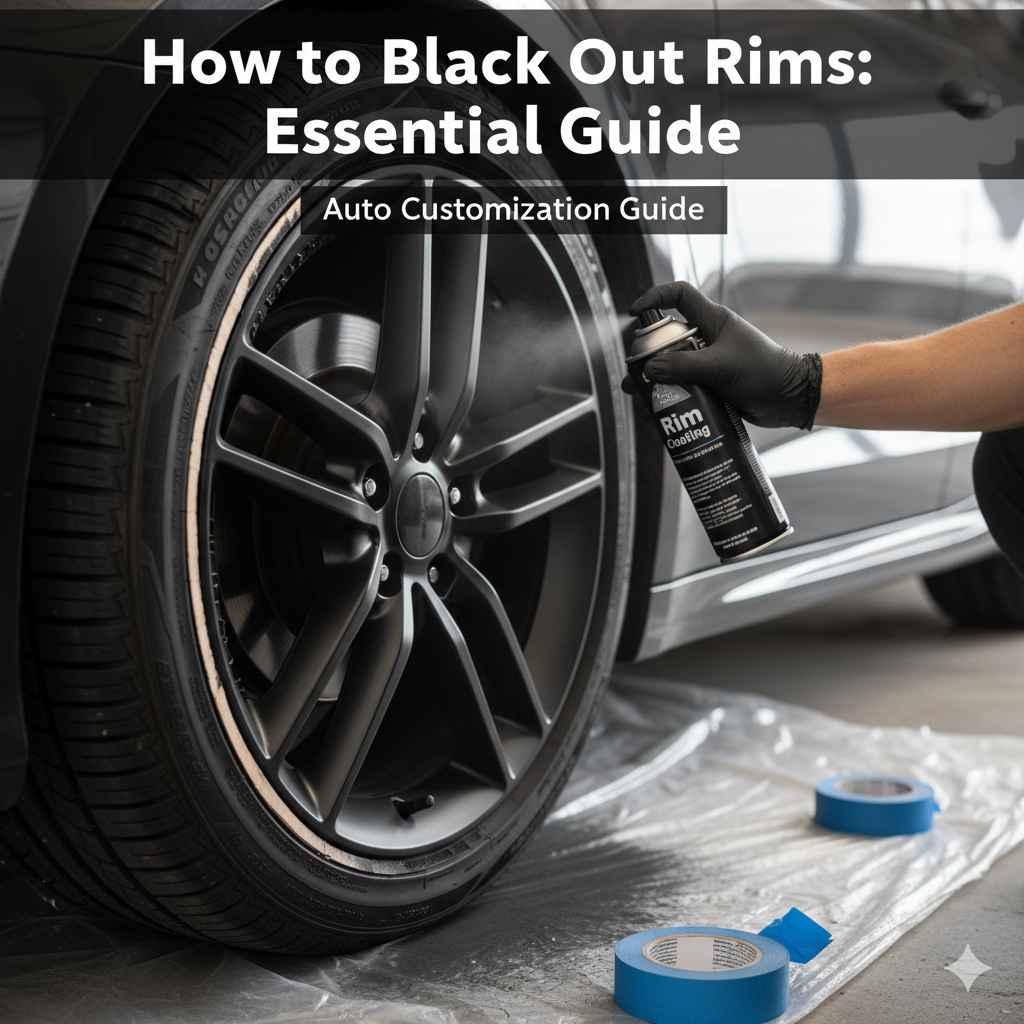
How to Black Out Rims: Cost & Durability by Method
Blacking out rims comes down to three methods: spray paint, Plasti Dip, or powder coating — each with a different cost and lifespan. Plasti Dip runs $7-15 a can and lasts 2-3 years when applied properly, while powder coating costs around $50 per wheel professionally but resists chips far longer. Pick the wrong method and you’ll be redoing the job within a season. This guide covers choosing a method, prepping the wheel, and the full step-by-step application.
Quick Answer
Black out rims with Plasti Dip for a cheap, removable look ($7-15/can, 2-3 years), spray paint for the lowest upfront cost but shortest lifespan, or professional powder coating (~$50/wheel) for a permanent, chip-resistant finish. Clean and mask the rim thoroughly first — poor prep is the top cause of peeling on all three methods.
Why Black Out Your Rims?
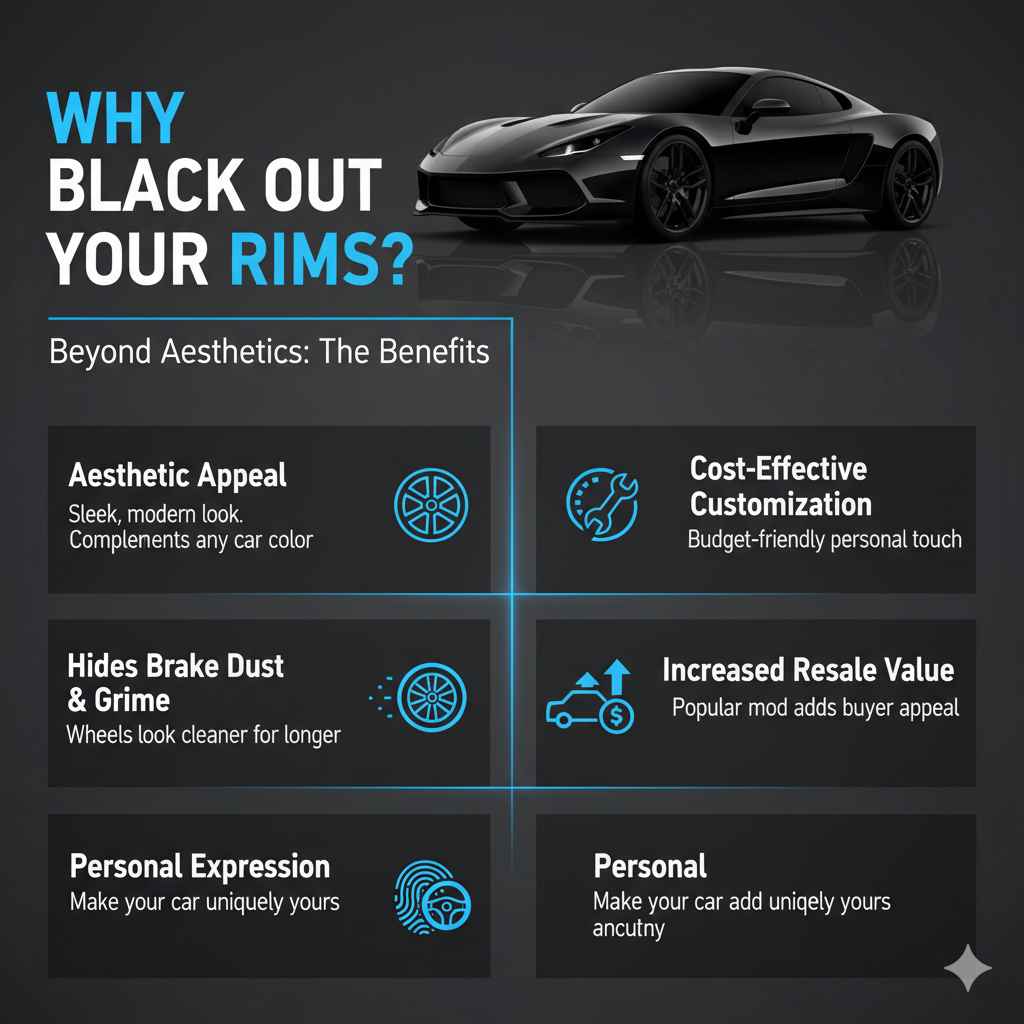
Blacking out your rims is a fantastic way to personalize your vehicle and give it a more aggressive, sophisticated, or sporty appearance. It’s a relatively minor change that can have a significant impact on your car’s aesthetic. Beyond just looking cool, there are other reasons why this modification is so popular:
- Aesthetic Appeal: Black rims offer a sleek, modern look that complements almost any car color. They can make your car stand out in a crowd.
- Cost-Effective Customization: Compared to other car modifications, blacking out rims can be a very budget-friendly way to personalize your ride.
- Hides Brake Dust and Grime: Black surfaces tend to hide brake dust and general road grime better than lighter colors, potentially making your wheels look cleaner for longer.
- Increased Resale Value (Potentially): A well-done custom paint job, especially a popular one like blacked-out rims, can sometimes add to a car’s appeal to potential buyers.
- Personal Expression: It’s a great way to express your style and make your car uniquely yours.
Methods for Blacking Out Rims
There are a few popular ways to achieve that sleek black rim look. Each has its own pros, cons, and difficulty level. Let’s break them down:
1. Spray Paint (Enamel or Urethane)
This is the most common and DIY-friendly method. It’s affordable and readily accessible.
Pros:
- Inexpensive.
- Widely available at auto parts stores and hardware shops.
- Relatively easy to apply for beginners.
- Can be removed if done with specialized paint (like Plasti Dip).
Cons:
- Durability can be an issue; prone to chipping and scratching from road debris.
- Requires meticulous preparation for a good finish.
- Achieving a perfectly smooth, professional look can be challenging.
2. Liquid Wrap (e.g., Plasti Dip)
Liquid wrap products like Plasti Dip are a flexible, removable rubber coating. They’re a step up from traditional spray paint in terms of application and removability.
Pros:
- Completely removable, making it a great option if you’re unsure about a permanent change.
- Offers some protection against minor scratches and chips.
- Available in many colors, including matte, satin, and gloss black.
- More forgiving application than traditional paint.
Cons:
- Durability is better than spray paint but not as robust as powder coating.
- Can peel or tear if not applied in sufficient coats or handled roughly.
- Requires a thick, even application for best results and removability.
3. Powder Coating
This is the most professional and durable method, but it’s also the most expensive and typically requires professional application.
Pros:
- Extremely durable and resistant to chips, scratches, and fading.
- Provides a very smooth, factory-like finish.
- Wide range of color and finish options available.
- The most long-lasting solution.
Cons:
- Most expensive option.
- Requires professional equipment and expertise; not a typical DIY job for beginners.
- Rims must be removed from the vehicle and sent to a specialist.
- Permanent.
For this guide, we’ll focus on the DIY-friendly methods: spray paint and liquid wrap. If you’re looking for the absolute best durability and finish and don’t mind the cost, powder coating is the way to go, but it’s best left to the professionals. If you’re browsing ready-made paint options for car rims before committing to a method, our roundup covers more picks.
Cost and Durability Compared: Which Method Is Worth It?
The pros-and-cons breakdown above tells you how each method behaves, but not what it actually costs or how long it survives on the road. Here’s the real numbers.
| Method | Typical Cost | Realistic Lifespan | Best For |
|---|---|---|---|
| Spray Paint | ~$20-40 in supplies (DIY) | Under 1 year before chipping starts | Testing the look before committing |
| Plasti Dip | $7-15 per can (3-4 cans/set), higher if professionally sprayed | 2-3 years when applied by a pro, less DIY | Removable, reversible custom look |
| Powder Coating | ~$50 per wheel professionally ($200+ per set) | 5+ years, most chip- and fade-resistant | Long-term durability, factory-like finish |
📊 Powder coaters typically charge around $50 per wheel for a raw wheel with the tire dismounted — Source: Full Blown Coatings. That per-wheel labor cost is why most DIYers start with Plasti Dip or spray paint instead.
Best Rim Blackout Kit Pick
Plasti Dip Black Rim Kit (with Spray Gun)
The exact removable, DIY-friendly method this guide covers — a full rim kit with the spray gun included so you’re not buying rattle cans separately.
- Best for: a reversible custom look you can peel off later
- Why we picked it: official Plasti Dip kit sized for a full set of rims, not a single-can trial
- Main drawback: still needs 2-3 years of touch-ups if driven daily, per the durability numbers above
More rim blackout supplies
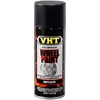 Spray Paint Route VHT High Temperature Wheel Paint
|
 Prep Step CHAMP Rim Maskers (Set of 4)
|
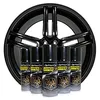 Alternative Dip Brand DipYourCar HyperDip Wheel Paint Kit
|
As an Amazon Associate we earn from qualifying purchases.
Essential Tools and Materials
Before you start, gathering all your supplies is key to a smooth process. Here’s what you’ll likely need:
- Your Chosen Paint: High-quality spray paint designed for automotive applications (e.g., enamel, urethane, or a dedicated liquid wrap product). Ensure you have enough cans for multiple coats.
- Degreaser: A good automotive degreaser to clean the rims thoroughly.
- Soap and Water: For initial cleaning.
- Buckets: For washing.
- Scrub Brushes: Stiff brushes for cleaning.
- Microfiber Towels/Shop Rags: For drying and wiping.
- Masking Tape (Painter’s Tape): High-quality automotive tape is essential for protecting tires and other parts of the car.
- Masking Paper or Plastic Sheeting: To cover larger areas around the rims.
- Sandpaper (Optional, for traditional paint): Fine-grit sandpaper (e.g., 320-grit and 600-grit) for scuffing the surface if using traditional paint.
- Primer (Optional, for traditional paint): If using traditional spray paint, a primer designed for automotive use can improve adhesion and durability.
- Clear Coat (Optional, for traditional paint): For added protection and gloss after the color coat.
- Gloves: Protect your hands from paint and chemicals.
- Safety Glasses: Crucial for eye protection when spraying.
- Respirator Mask: Protect your lungs from paint fumes.
- Latex Gloves: To keep paint off your hands.
- Wheel Stand or Jack Stands (Optional but Recommended): Using jack stands to lift the car and remove the wheels allows for the best access and results.
- Wire Brush: For removing stubborn dirt or rust if present.
- Rubbing Alcohol: For a final wipe-down to ensure a clean surface.
Step-by-Step Guide: How to Black Out Rims
Let’s get to it! Whether you’re using spray paint or liquid wrap, the preparation is largely the same. The application methods have slight differences, which we’ll highlight.
Step 1: Prepare Your Workspace
Choose a well-ventilated area, ideally outdoors or in a garage with the door open. Protect the surrounding area from overspray using masking paper or plastic sheeting. Ensure you have good lighting.
Step 2: Clean the Rims Thoroughly
This is arguably the most critical step. Any dirt, grease, or brake dust left on the rim will prevent the paint from adhering properly and lead to a poor finish. Soak the rims in soapy water, then use a degreaser and scrub brushes to remove all grime. Pay attention to crevices. Rinse thoroughly and let them dry completely. A final wipe with rubbing alcohol can help remove any residual oils.
Pro Tip: For the best results, remove the wheels from your car. This allows you to clean and paint every surface, including the barrel of the rim, and prevents paint from getting on your brakes or suspension components. If you choose to paint them on the car, you’ll need to be extra diligent with masking.
Step 3: Mask Off the Tires and Brakes
This step requires patience. Use high-quality automotive masking tape to carefully tape off the tires. Ensure the tape edge sits precisely on the rim edge to create a clean line. You can also use masking paper or plastic sheeting to cover the brake calipers, rotors, and the inside of the wheel wells. For liquid wraps, some people prefer to leave the tire edge exposed to get a thicker, more peelable edge on the rim.
For a guide on proper masking etiquette and techniques, check out resources from reputable auto paint suppliers like AutoBarn, which offers tips on spray painting and masking.
Table: Masking Tips for Different Rim Types
| Rim Type | Specific Masking Considerations | Recommended Materials |
|---|---|---|
| Standard Alloy | Focus on a clean line between tire and rim. Ensure brake components are fully covered. | Automotive masking tape, masking paper, painter’s tape for details. |
| Chrome/Polished Lip | Extreme care needed to avoid damaging the polished surface if you want to keep it. Consider masking tape that can be removed before paint fully cures if a sharp edge is desired. | Low-tack painter’s tape, fine-line tape for precise edges. |
| Deep Dish/Multi-Spoke | Requires more time and potentially more masking material to cover internal areas and spokes. Access to all areas is key. | Rolls of masking paper, spray mask film, various widths of tape. |
Step 4: Prepare the Rim Surface (If Using Traditional Spray Paint)
If you’re using traditional spray paint, a light scuffing of the rim surface can help the primer and paint adhere better. Use fine-grit sandpaper (320-grit) to lightly scuff the entire surface of the rim. You don’t need to remove the original finish, just create some ‘tooth’ for the paint. Clean off all dust with a tack cloth or damp rag. Wipe down with rubbing alcohol as a final preparation step.
For liquid wraps, this sanding step is often skipped. A clean surface is usually sufficient. Always check the product manufacturer’s recommendations.
Step 5: Apply Primer (Optional, for Traditional Paint)
If you’re using traditional spray paint and want maximum adhesion and a smooth finish, apply 1-2 light coats of automotive primer. Allow each coat to dry according to the manufacturer’s instructions. This step is less critical for some high-adhesion enamel paints, but it’s good practice for durability.
Step 6: Apply the Black Paint (Color Coats)
For Spray Paint:
Shake the can for at least 1 minute. Hold the can about 8-12 inches away from the surface. Apply thin, even coats, moving your hand consistently. Overlap each pass slightly. Apply 3-5 thin coats, allowing 10-15 minutes of drying time between each coat. Avoid applying thick coats, as this can lead to drips and an uneven finish.
For Liquid Wrap (e.g., Plasti Dip):
Shake the can well. Apply in thin, even coats. For liquid wraps, it’s crucial to apply multiple coats (at least 4-6) for it to be durable and removable. Apply each coat in a different direction (e.g., horizontal, vertical, crosshatch) to ensure full coverage. Allow about 10-15 minutes between coats. For a smoother finish, you can use a dip sprayer, which is more efficient and provides better results than aerosol cans for larger areas.
Key for both methods: Work in a consistent motion and avoid stopping in the middle of a stroke. Keep the can moving evenly.
Step 7: Apply Clear Coat (Optional, for Traditional Paint)
Once the final color coat has flashed off (become slightly tacky), you can apply clear coat for added protection and shine. Apply 2-3 thin coats, following the same technique as the color coats.
Step 8: Drying and Curing
This is where patience is crucial. Allow the paint to dry for at least 24 hours, and preferably 48-72 hours, before exposing it to harsh conditions like driving. For liquid wraps, they need to cure for at least 24 hours before washing or handling the wheels aggressively. Check the specific product’s instructions for cure times.
Step 9: Remove Masking Tape
Carefully remove the masking tape while the paint is still slightly pliable, or after it has fully cured, depending on the paint. If you wait too long for traditional paint, it might pull the paint up with it. For liquid wraps, it’s often best to wait until it has started to cure to get a clean peel. If you used a sharp blade to score the edge of the tape before painting for a super-sharp line, carefully trace that line again with a razor blade to ensure a clean break.
Step 10: Final Inspection and Reassembly
Inspect your work for any missed spots or imperfections. Touch up if necessary. If you removed the wheels, carefully re-mount them onto your vehicle. Make sure lug nuts are tightened to the manufacturer’s specifications. You can find torque specifications for your vehicle in its owner’s manual or online resources like NHTSA’s tire safety information – proper lug nut torque is critical for safety.
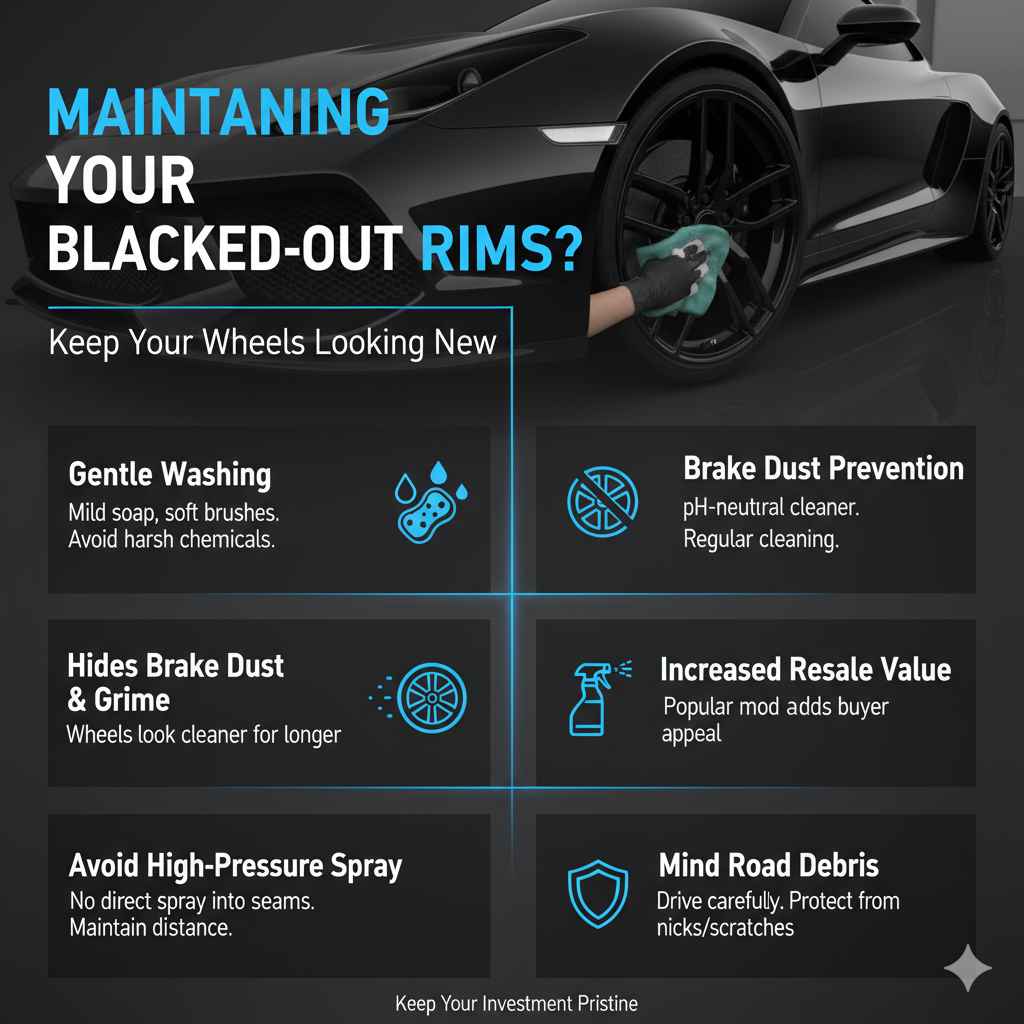
Maintaining Your Blacked-Out Rims
To keep your newly blacked-out rims looking their best:
- Gentle Washing: Use mild soap and water for regular washes. Avoid abrasive brushes or harsh chemical cleaners, especially on painted or liquid-wrapped surfaces.
- Brake Dust: While black hides dust well, regular cleaning will prevent buildup. Use a pH-neutral wheel cleaner specifically designed for painted or coated wheels if needed.
- Avoid High-Pressure Washers Directly: While some pressure washing is fine, avoid spraying directly into seams or at close range, which can damage the finish.
- Be Mindful of Road Debris: Painted or liquid-wrapped rims are more susceptible to nicks and scratches than factory finishes. Drive carefully, especially on gravel roads or in parking lots.
Common Problems and How to Fix Them
Even with the best intentions, you might run into a few hiccups. Here’s how to deal with them:
“The biggest mistake we see with Plasti Dip jobs isn’t the product — it’s rushing the cleaning step. Any leftover brake dust or road film under the coating is exactly where it starts peeling first.”
- Drips and Runs: Usually caused by applying paint too thickly or holding the can too close. For spray paint, you might need to let it cure and then lightly sand the drip smooth and reapply. For liquid wrap, you can often peel off the worst drips and reapply a thin coat.
- Uneven Finish: Not enough coats or inconsistent spray. For spray paint, you might be able to lightly sand and reapply. With liquid wrap, add more thin coats to even out the texture.
- Peeling/Flaking (Paint): Poor surface preparation or incompatible paint. This usually requires stripping the old paint and starting over.
- Peeling Issues (Liquid Wrap): Often due to insufficient coats or applying to a surface that wasn’t perfectly clean. You can try to peel the affected area and feather in new coats, or for a cleaner result, peel the entire panel and reapply.
- Scratches: Minor scratches can sometimes be touched up with a matching spray paint or carefully blended with liquid wrap. Deeper scratches might require repair or reapplication.
Need a guide on wheel repair? Resources like SEM Products offer technical data and guides on refinishing automotive wheels, which can be helpful for understanding prep and application.
FAQ: Your Black Rim Questions Answered
Can I black out my chrome rims?
Yes, you can black out chrome rims. However, chrome is very smooth, so proper preparation is crucial. You’ll need to scuff the chrome surface thoroughly (if using traditional paint) or ensure exceptional adhesion for liquid wraps. Some people choose to have chrome rims professionally stripped before powder coating to ensure the best adhesion.
How long does it take to black out rims?
The actual painting time might only be a few hours, but with preparation, drying, and curing times, you should set aside an entire weekend. Thorough cleaning, masking, painting multiple coats, and allowing adequate drying/curing time are essential.
How much does it cost to black out rims?
DIY spray paint runs about $20-40 in supplies for a full set. Plasti Dip costs $7-15 per can, and most sets need 3-4 cans plus prep supplies. Professional powder coating runs around $50 per wheel with the tire dismounted, so $200 or more for a full set.
Does blacking out rims damage them or void a warranty?
Plasti Dip and spray paint don’t damage the underlying wheel finish and can be removed later without harm. Powder coating requires stripping the old clear coat first, which is a permanent change. Aftermarket wheel coatings generally don’t void a vehicle’s factory warranty, but they can void a wheel manufacturer’s own cosmetic warranty — check your wheel’s paperwork before starting.
Should I DIY it or pay a professional?
Spray paint and Plasti Dip are both realistic weekend DIY projects with basic tools. Powder coating requires an electrostatic gun and a curing oven, so it’s almost always done by a shop rather than at home. If you want the most durable finish and don’t mind the cost and the wheels being off the car for a few days, professional powder coating is worth it.
Which method lasts the longest?
Powder coating lasts the longest — 5 years or more with normal driving, since it’s baked into a hard, chip-resistant shell. Plasti Dip applied professionally in enough coats can hold up 2-3 years. Spray paint, even with a clear coat, is the least durable and often starts chipping from road debris within a year.
Products related to this article
Sponsored / affiliate links. As an Amazon Associate I earn from qualifying purchases. I may earn additional commission from eligible campaigns.