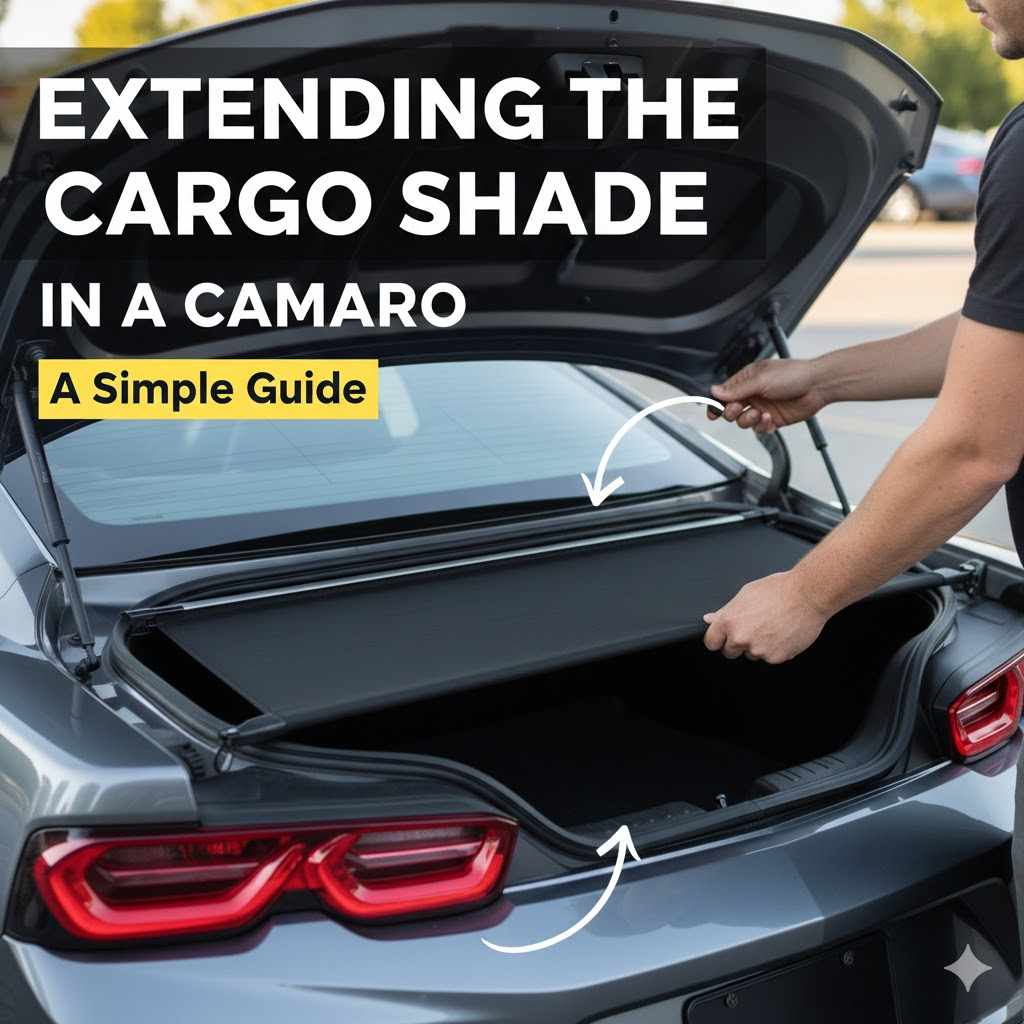
Extending the Cargo Shade in a Camaro: A Simple Guide
Getting extra space in your Camaro’s trunk is something many people want. Extending the Cargo Shade in a Camaro can seem tricky at first, especially if you’re new to car modifications. Don’t worry, it’s easier than you might think! This guide will break down how to do it step-by-step. Let’s get started and make your Camaro even more useful.
Reasons to Increase Trunk Space
One of the top reasons people consider extending the cargo area in their Camaro is extra room. Car owners regularly need space for groceries, sports gear, luggage, or tools. The Camaro, with its sporty design, might not always offer a ton of cargo room out-of-the-box. Extending the cargo shade allows you to make the most of what space there is and make the trunk more adaptable. Furthermore, by increasing the useable volume, drivers can avoid the hassle of carrying items in the passenger area, keeping the interior clean and organized. Also, it protects items from sunlight and prying eyes.
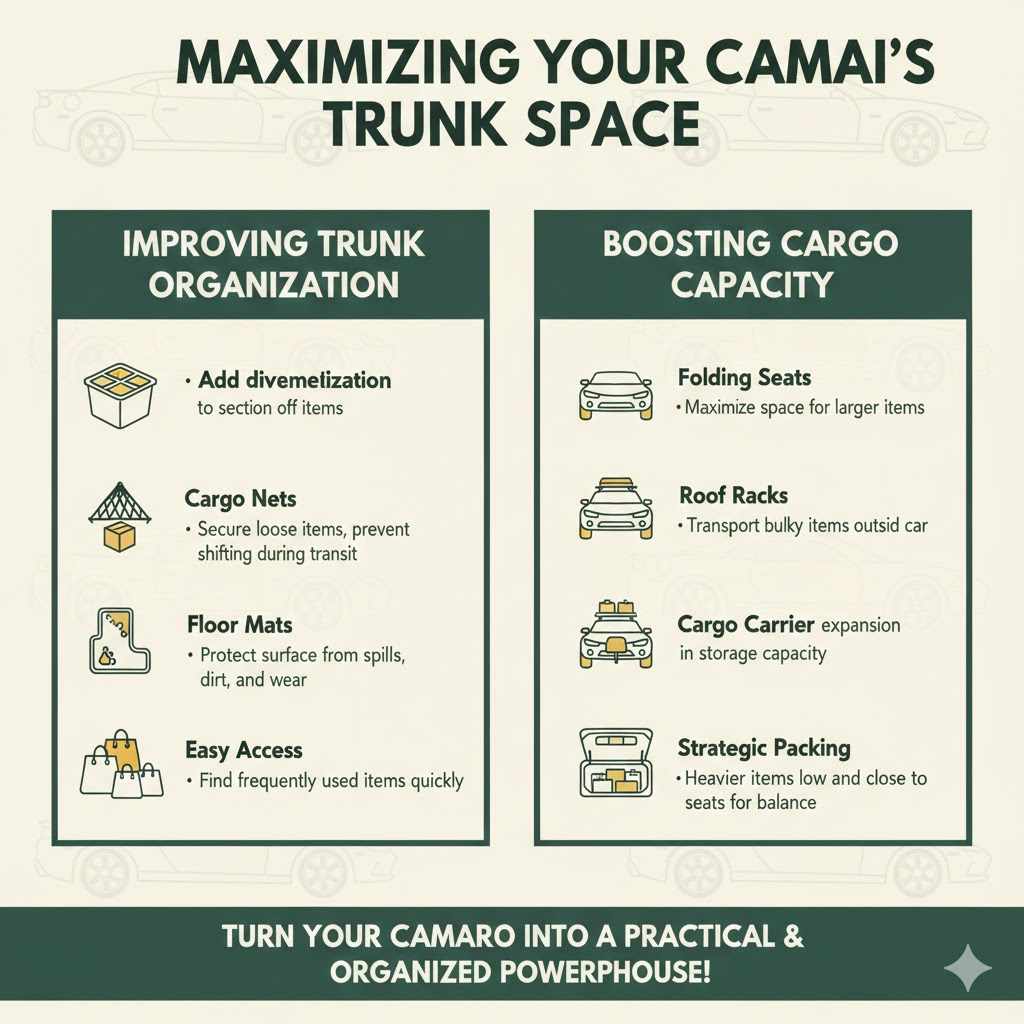
Improving Trunk Organization
Improving the cargo area helps you organize belongings. Proper organization prevents items from rolling around during a drive. This also protects against potential damage to the cargo itself or to the vehicle’s interior. You can easily sort cargo into different categories. This includes items like emergency kits, tools, or cleaning supplies. A well-ordered trunk space provides peace of mind. You can readily find what you need when you need it.
- Compartmentalization: Adding dividers or containers to section off different items keeps everything neat and accessible.
- Cargo Nets: Using cargo nets helps secure loose items, preventing them from shifting or falling during transit.
- Floor Mats: Selecting durable floor mats protects the trunk’s surface from spills, dirt, and wear, extending the life of the vehicle.
- Easy Access: Organizing the cargo area offers easy access to the frequently used items, like groceries or sports equipment.
Boosting Cargo Capacity
Boosting the cargo area improves the overall capacity. Many Camaro owners use their cars for different purposes, including daily commutes, weekend trips, and even road trips. By extending the cargo space, drivers can more easily accommodate a greater amount of luggage, shopping bags, or other items. This added capacity turns the Camaro from a sporty car into a more practical option. You can avoid having to leave anything behind or needing to make multiple trips.
- Folding Seats: If your Camaro has folding rear seats, use them to maximize cargo space.
- Roof Racks: Consider a roof rack if you often transport bulky items that won’t fit inside the car.
- Cargo Carrier: A cargo carrier attached to a trailer hitch offers a significant expansion in storage capacity.
- Strategic Packing: Pack heavier items lower down and closer to the seats to keep the car balanced and prevent shifting.
Materials Needed for Expanding the Cargo Area
To begin the project of Extending the Cargo Shade in a Camaro, you will need a few basic supplies. Selecting the right materials ensures the modification is effective. This also makes the process simple. It also keeps your car looking good. The steps required are generally straightforward and involve modifying or adapting the existing cargo area to increase its usable capacity. Making sure your supplies are ready ahead of time will prevent any problems.
Essential Tools and Supplies
First you will need a few tools and supplies. A measuring tape is essential to take precise measurements of the existing cargo area and the materials you plan to use. A saw, whether manual or electric, is useful for cutting and shaping materials like wood or plastic to fit the trunk’s dimensions. You’ll need a screwdriver set for fastening any screws or brackets that hold components in place. A drill will be needed to pre-drill holes for the screws. Protective gloves are needed to keep your hands protected. Make sure you use safety glasses. You may also need adhesives like strong epoxy or construction adhesive.
- Measuring Tape: Used for accurate measurements of the cargo space and materials.
- Saw (Manual or Electric): Used for cutting and shaping materials to fit the trunk.
- Screwdriver Set: For fastening screws or brackets.
- Drill: To make pre-drilled holes for screws or other fasteners.
- Safety Gloves and Glasses: Essential for safety during the process.
Choosing the Right Materials
You need to choose the proper materials to get the best outcomes. Using the appropriate components ensures durability and good results. Plywood or MDF (Medium Density Fiberboard) offer a rigid base. These are good if you plan to build shelves or platforms. You can use plastic sheeting. It is good for its lightweight and water-resistant qualities. Foam padding is needed to protect items and limit vibration during transit. Carpet or upholstery materials will add a finished, professional look. Choose materials that are strong and match the inside of your car. This makes the new space look like it belongs there.
- Plywood or MDF: Rigid base for building platforms or shelves.
- Plastic Sheeting: Lightweight and water-resistant for various applications.
- Foam Padding: To protect items and reduce vibration.
- Carpet or Upholstery Material: For a finished, professional look.
Step-by-Step Instructions for Extending the Cargo Area
Following a step-by-step approach ensures your modification goes well. Properly planning the project will yield the best outcomes. The process requires careful work and a thoughtful approach. Careful planning is needed to guarantee a smooth experience. You can successfully extend the trunk area. This allows you to boost the versatility and practicality of your Camaro.
Planning and Measurement
The first task is planning and getting the measurements right. Before you start, measure the height, width, and depth of the cargo area. Consider where you want to add extra space. Think about the type of items you plan to transport. Think about whether you prefer to build a platform that raises the floor. Alternatively, you might want to create shelves or dividers to better organize your items. It’s smart to sketch your design and make a list of supplies before you do any cutting. Plan what you need to improve the capacity of your car, and how you will do it.
- Measure the cargo area: Accurately record the dimensions of the trunk.
- Plan the design: Decide on the layout. Consider building platforms or shelves.
- Create a parts list: Make sure you have all the necessary materials and tools.
- Test fit: Before permanent installation, check your mock-up to ensure everything fits well.
Construction and Installation
Next you will build and install your new components. Cut the selected materials based on the measurements you took. If you’re building a platform, cut the wood or plastic to the correct shape and size. Assemble any shelves or dividers using screws, adhesive, or other appropriate fasteners. Install any additional features that enhance the cargo space. This may include tie-down points, elastic cords, or additional hooks. The goal is to provide a more functional and tailored cargo area.
- Cutting Materials: Use the measurements to cut your chosen materials to the appropriate size.
- Assembling Components: Construct shelves, platforms, or dividers using screws or adhesive.
- Installing the new components: Place the new parts securely within the cargo area.
- Finishing Touches: Apply carpet, upholstery, or protective coatings.
Safety and Finishing
Finalize the process to guarantee that your modified cargo area works well and is safe. After you’ve installed everything, check that the new components are secure and won’t move or shift while driving. Make sure there are no sharp edges or loose parts that could harm people or items. Once you’re confident that everything is safe and functional, it’s time to add the finishing touches. You can carpet the new surfaces to enhance the look and feel. These steps will ensure your work is both secure and appealing.
- Secure all components: Ensure everything is firmly attached and will not move.
- Check for sharp edges: Sand down any rough areas.
- Add any additional features: Install tie-downs, cords, or hooks.
- Test the new space: Place items in the area to check for its usefulness.
Making Adjustments to Existing Cargo Shade
You may also have to modify the existing cargo shade. The cargo shade usually covers the trunk area and provides privacy. This part often needs to be adjusted when you are extending the cargo space. Depending on the design of the extension, you might have to reposition or modify how the shade attaches. Carefully adjusting the cargo shade will help the new cargo extension integrate smoothly with the existing components.
Understanding Cargo Shade Components
Familiarize yourself with the parts of the cargo shade before you start. The cargo shade typically consists of a fabric or solid panel. It is usually retractable. It attaches to the car’s interior at several points. There will be mounting points in the trunk area, usually on the sides or the roof. There will be support rails or mechanisms. The shade retracts into a housing unit. The overall function is to conceal the contents of the trunk. Being familiar with these parts lets you decide the best way to change the shade’s function.
- Fabric or Solid Panel: This section provides privacy and hides items in the trunk.
- Retraction Mechanism: Allows the shade to be rolled up or stowed away when not needed.
- Mounting Points: Located on the vehicle’s interior to secure the shade.
- Support Rails or Mechanisms: Help the shade extend and retract smoothly.
Altering Shade Attachment Points
A key part of the process is to alter the cargo shade’s attaching points. You will probably need to change the positioning or design of the mounting points to get a good fit. If you’re raising the trunk floor with a platform or expanding the storage area, you might need to move the anchor points. This will let the shade function correctly. You can do this with the hardware that comes with your car. The goal is to maintain the shade’s functionality and prevent it from interfering with the increased cargo space. If you need to, use brackets or new fasteners.
- Relocate Attachment Points: Adjust the location of the shade’s mounting brackets.
- Install New Brackets: If the original points are not suitable, use custom brackets.
- Ensure Proper Alignment: Make sure the shade aligns correctly.
- Test Functionality: Check if the shade still retracts and extends as intended.
Customizing the Cargo Shade
In some cases, the modifications you want may call for custom adjustments to the cargo shade. You may need to cut or adjust the shade itself. This depends on how much you want to extend the cargo area. Use the correct tools to trim the shade material if needed. Make sure you don’t compromise its function. In complex cases, you might want to create a new, custom shade. Think about the shade’s appearance and how it coordinates with the rest of your vehicle’s interior. You can achieve a professional and seamless finish.
- Cutting or Trimming: Adjust the shade size to fit the new cargo configuration.
- Replacing with a Custom Shade: If necessary, design and install a shade.
- Integrating with new components: Ensure the shade looks good with the new features.
- Final Inspection: Make certain the shade functions smoothly.
Advanced Modifications and Considerations
Once you are comfortable with basic work, consider more advanced modifications. There are things you can do to enhance the cargo space even more. These modifications require more preparation. It requires you to know more about the vehicle. Doing advanced work will allow you to maximize both the utility and appearance of your Camaro’s trunk space. The more difficult modifications need a better understanding of how a car works.
Adding Lighting and Power
You can improve your car’s functionality by adding lighting and power. Adding lights can make the cargo area easier to use. You can install LED strip lights. They consume low energy, offer good lighting and can be attached in various ways. You can wire the lighting system to the car’s existing electrical system or attach them to a separate power source. Also consider adding a power outlet, such as a 12V socket. It is useful for charging devices or running small appliances. Always ensure the electrical work is done safely. This may involve using fuses and wire covers to protect the electrical system.
- LED Strip Lights: Increase visibility with energy-efficient lighting.
- 12V Power Outlet: Charge devices or power small appliances.
- Safe Wiring Practices: Use proper wiring techniques and fuse protection.
- Professional Installation: Consider having an electrician complete the setup if you lack confidence.
Improving Soundproofing and Insulation
You can reduce noise from the road and improve the thermal management of your vehicle by adding soundproofing and insulation to the cargo area. Apply sound deadening material. This can be sheets or sprays that reduce vibrations and noise from the road and the car’s mechanicals. This makes the ride quieter and more comfortable. Use thermal insulation materials like foil-backed foam. This minimizes heat transfer. The materials will help keep the interior cool. Good insulation will increase fuel efficiency and give the car a better climate.
- Sound Deadening Material: Reduces vibrations and outside noise.
- Thermal Insulation: Improves temperature control within the vehicle.
- Installation Techniques: Adhere materials properly for maximum effectiveness.
- Benefits: Quiter and cooler environment.
Real-Life Examples and Case Studies
Examining real-world examples can give insight into the practical outcomes of expanding your car’s cargo space. People’s success stories can provide helpful ideas and inspire your own project. You will see the practical benefits and challenges that owners encounter. These cases provide valuable information for anyone planning to extend their Camaro’s cargo area.
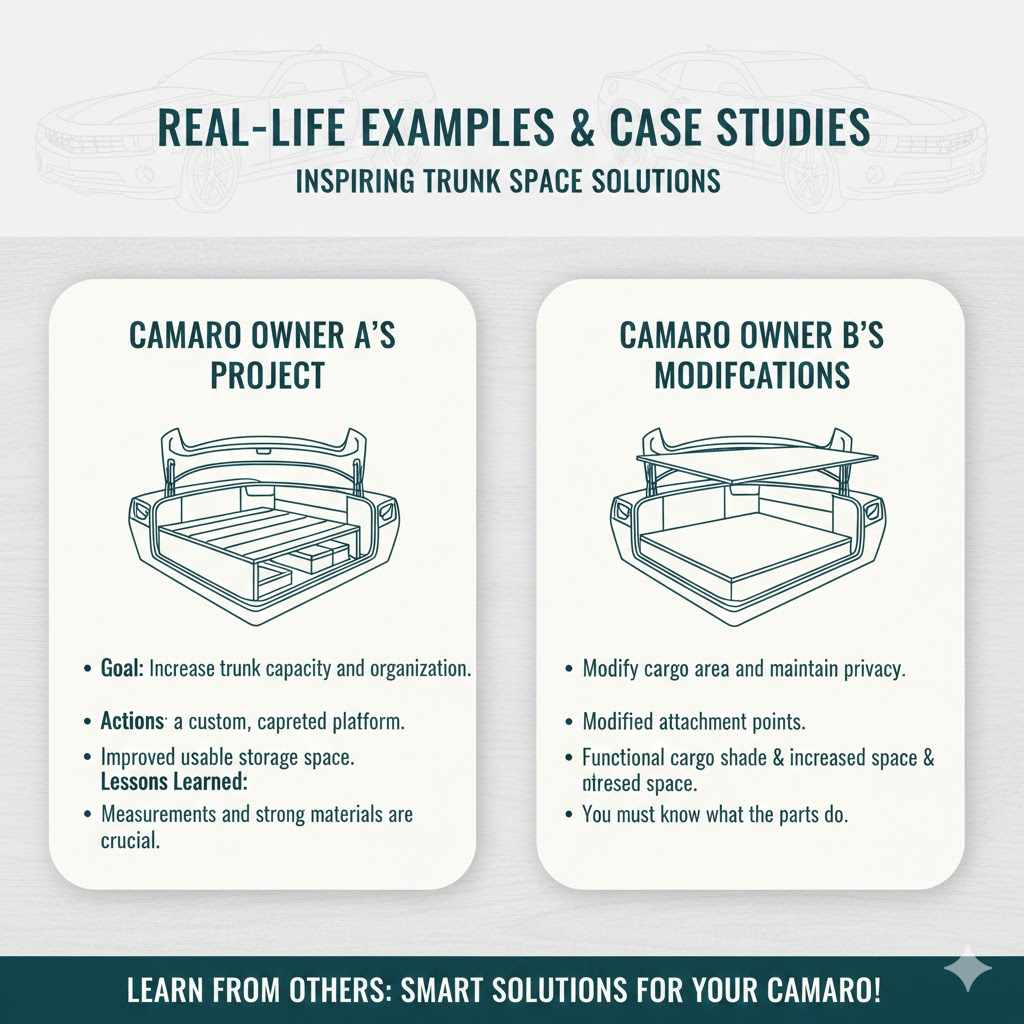
Camaro Owner A’s Project
One owner had a Camaro and installed a custom platform in their trunk. The project included several steps. First, the owner took measurements. Next, they built a wood frame covered in carpet to match the car’s interior. They used the new platform to raise the cargo floor. This provided a flat surface and allowed for extra storage space underneath. The owner also added tie-down points to secure items and prevent movement. The project dramatically improved the organization and capacity of the trunk.
- Goal: Increase trunk capacity and organization.
- Actions: Built a custom, carpeted platform.
- Outcome: Improved usable storage space.
- Lessons Learned: Measurements and strong materials are crucial.
Camaro Owner B’s Modifications
Another owner chose to modify the existing cargo shade. They needed a slightly larger trunk. The owner first measured the trunk. They needed to install a new platform. The owner modified the mounting points of the cargo shade to make sure it was still functional. They created a sliding mechanism for the cargo shade that allowed it to retract past the platform. This project needed some ingenuity to make sure the shade worked with the expanded space. The changes ensured the privacy and function of the trunk were maintained.
- Goal: Modify the cargo area and maintain privacy.
- Actions: Modified attachment points.
- Outcome: Functional cargo shade and increased space.
- Lessons Learned: You must know what the parts do.
| Owner | Modification | Result |
|---|---|---|
| Owner A | Built a custom cargo area platform | Increased cargo capacity and better organization. |
| Owner B | Repositioned the cargo shade | Maintained privacy and improved trunk functionality. |
Frequently Asked Questions
Question: How do I measure the trunk space correctly?
Answer: Measure the length, width, and height of the trunk accurately, using a measuring tape. Note any protrusions or angles that might affect your project.
Question: What’s the best material to use for a cargo platform?
Answer: Plywood or MDF (Medium Density Fiberboard) offer a balance of strength and affordability. Select a material that works best with the interior.
Question: How do I make sure the cargo shade still works?
Answer: Modify or reposition the shade’s mounting points, or customize the shade itself. This maintains function.
Question: Is it hard to add lighting to the trunk area?
Answer: No, it is generally easy to install LED strip lights. Make sure you connect them to the power safely.
Question: Can I change the trunk by myself, even if I’m not good at doing those things?
Answer: Yes, you can. Start with simple tasks. Take your time, follow instructions, and use the right tools. If you’re not sure, get help from a mechanic.
Final Thoughts
Extending the Cargo Shade in a Camaro offers some benefits for owners, from boosting the amount of storage to making the trunk space better organized. Through careful measurement, planning, and selecting the right materials, you can create a customized cargo area that matches your exact needs. As you have discovered, the process ranges from simple adjustments to more complex changes, such as building platforms or modifying the existing cargo shade.
Remember to take it step by step, focusing on accuracy, safety, and functionality. With patience and attention to detail, you can enhance your Camaro’s practicality. Now that you know the basics, explore the potential of your car’s trunk. Get ready to expand your Camaro’s capacity and enjoy a more useful driving experience.