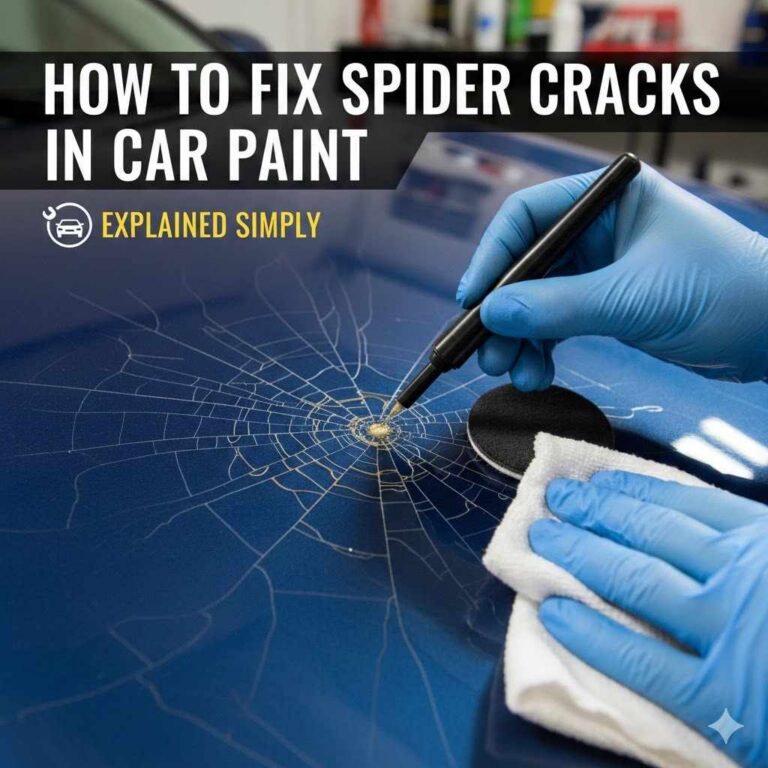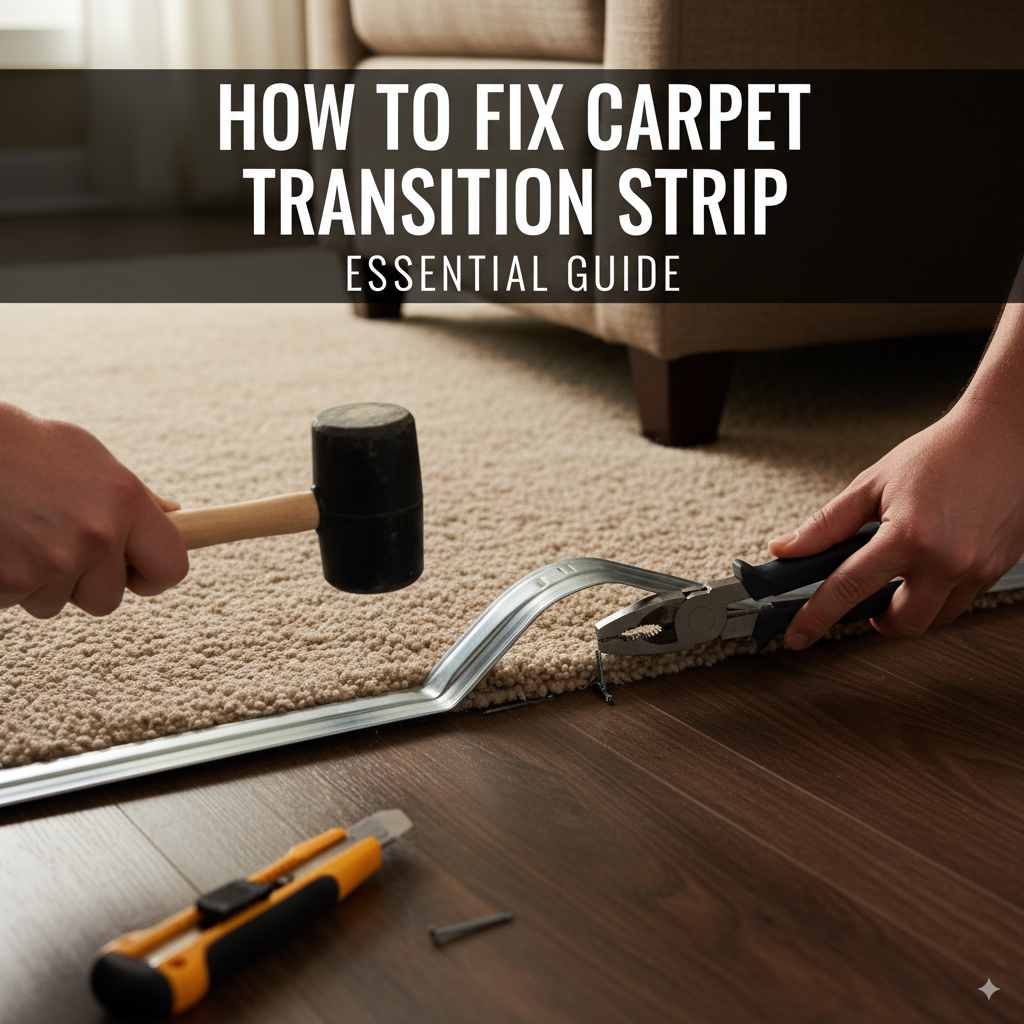
How to Fix Carpet Transition Strip: Essential Guide
Fixing a carpet transition strip is a manageable DIY task. Most issues, like loose edges or minor damage, can be resolved with basic tools and a few simple steps. This guide provides clear instructions to help you secure or replace your transition strip, ensuring a smooth and safe pathway between rooms.
Ever notice a loose strip where your carpet meets another flooring type, like tile or hardwood? It’s easy to overlook, but a wobbly or uplifted carpet transition strip isn’t just an eyesore – it can be a tripping hazard! These essential pieces bridge the gap between different floor coverings, creating a seamless and safe transition. When they come loose, it can be frustrating. But don’t worry! Many common transition strip problems are surprisingly simple to fix yourself. You don’t need to be a seasoned DIYer to tackle this. We’ll walk you through exactly what to do, step-by-step, so you can get your floors looking neat and feeling safe again. Get ready to feel confident about making this minor but important home repair!
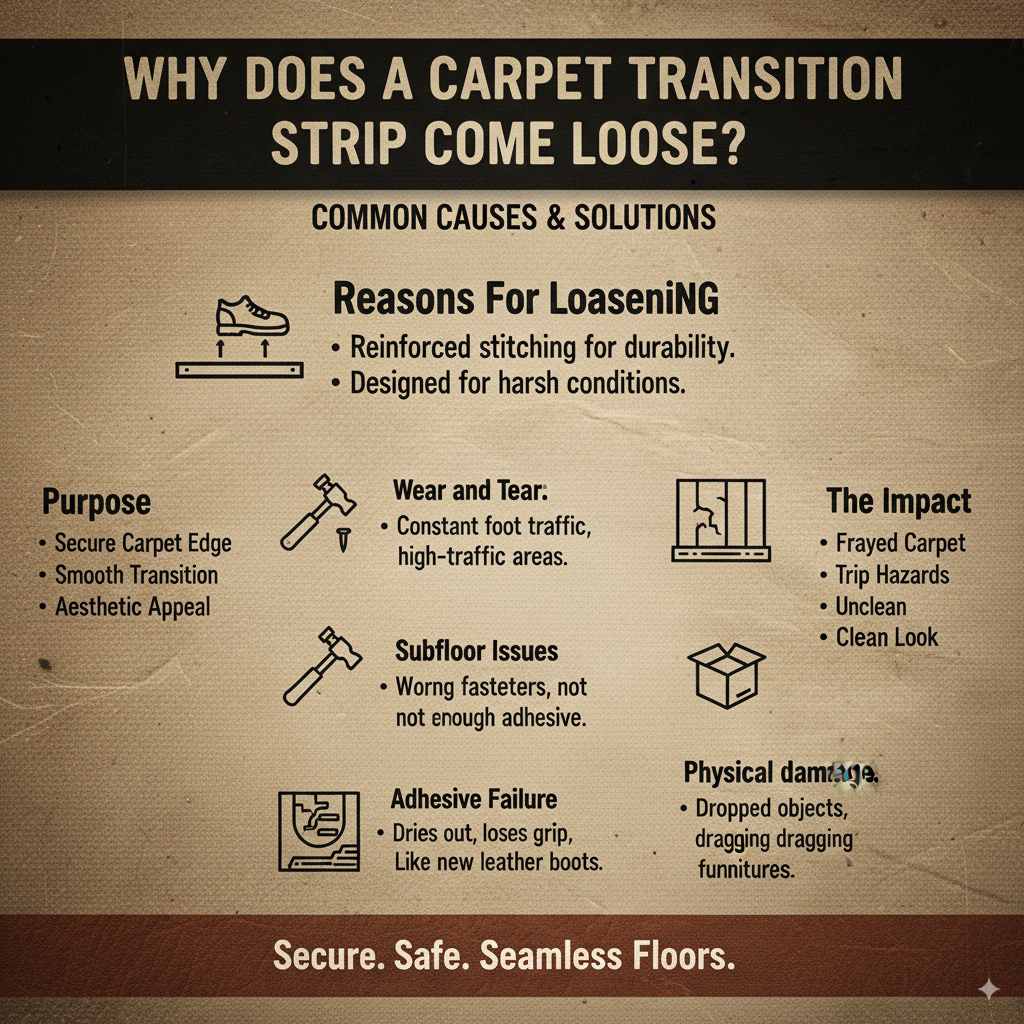
Why Does a Carpet Transition Strip Come Loose?
Carpet transition strips, often called “trim molding” or “T-molding” when used between similar floorings, are vital for a professional and safe finish. They serve a few key purposes:
- Secure the Carpet Edge: They hold down the edge of your carpet, preventing fraying and unraveling.
- Smooth Transition: They create a level, smooth surface between carpet and other flooring materials, preventing bumps and trip hazards.
- Aesthetic Appeal: They cover the raw edges and unfinished seams, giving your floors a clean, polished look.
Over time, these strips can loosen for several reasons. Understanding why can help you prevent future issues:
- Wear and Tear: Regular foot traffic, especially in high-traffic areas, puts constant pressure on the strip and its fasteners.
- Improper Installation: If the strip wasn’t initially secured well, using the wrong type of nails or adhesive, or not enough of them, it’s prone to loosening sooner.
- Subfloor Issues: Changes in your subfloor, perhaps due to moisture or age, can cause it to expand or contract, pulling away from the fasteners holding the strip.
- Adhesive Failure: If the strip relies solely on adhesive, the adhesive can dry out, lose its grip, or fail due to temperature changes.
- Physical Damage: Dropping heavy objects or dragging furniture can dislodge or damage the strip and its anchoring.
Fortunately, most of these causes lead to fixable problems. Let’s dive into how you can address them.
Identifying the Problem with Your Carpet Transition Strip
Before you grab your tools, take a moment to inspect the transition strip. What exactly is the issue? Is it:
- Completely Loose: Can you lift the whole strip easily?
- Partially Loose: Are only sections of it lifting?
- Damaged: Is the strip itself bent, cracked, or broken?
- Nails/Screws Showing: Are the fasteners popping up through the strip or carpet?
Your diagnosis will determine the best repair method. For instance, a strip that’s just slightly lifting might need a few more nails, while a severely damaged one might need replacement.
Tools and Materials You’ll Need
Gathering the right tools makes the job much smoother. Here’s a list of what you might need, depending on the repair:
For Securing a Loose Strip:
- Utility Knife: For trimming any stray carpet fibers.
- Pry Bar or Flathead Screwdriver: To gently lift the edge of the strip if needed.
- Hammer: For tapping nails into place.
- Finishing Nails or Carpet Tackifier Nails: Specifically designed for flooring. Look for small heads.
- Power Stapler/Nail Gun (Optional): For a faster job, but manual hammering is just fine.
- Safety Glasses: Always protect your eyes when hammering or cutting.
- Work Gloves: To protect your hands.
- Carpet Seam Tape or Adhesive (Optional): For extra hold if traditional fasteners aren’t enough or if the strip is metal.
For Replacing a Damaged Strip:
- All of the above, plus:
- New Transition Strip: Ensure it’s the correct size, material (wood, metal, vinyl), and profile for your floor types. You can find these at most home improvement stores.
- Measuring Tape: To measure the old strip for replacement.
- Hacksaw or Metal Cutters (for metal or wood strips): To cut the new strip to size.
- Pencil: For marking measurements.
- Drill and Screwdriver Bits (if using screws): For securing the new strip with screws.
- Appropriate Screws or Nails: Compatible with your new strip and subfloor.
How to Fix a Carpet Transition Strip: Step-by-Step Guide
Let’s get that transition strip secured! Here’s how to tackle the most common issues.
Scenario 1: The Transition Strip is Mostly Loose (Needs More Fasteners)
This is often the easiest fix. If the strip is lifting along its length but not severely damaged, it likely just needs additional anchors.
- Inspect for Hazards: Walk the area to ensure there are no sharp objects or loose debris that could be dangerous.
- Clear the Area: Move any furniture or items that are blocking your access to the transition strip.
- Gently Lift the Edge: If the carpet is bunched up over the strip, use a utility knife to carefully trim away any excess carpet fibers that are obstructing the strip. Be careful not to cut too deep into the carpet backing or the subfloor. You want just enough room to work.
- Prepare to Re-fasten: If the strip is still somewhat in place but loose, you might be able to simply press it down firmly with your foot and proceed to add more fasteners. If the edge is significantly lifted, use a pry bar or flathead screwdriver to gently lift the edge of the strip just enough to slide your hammer or fasteners underneath without damaging the strip.
- Choose Your Fasteners: For most carpet transition strips, especially those bordering carpet, small finishing nails or specialized carpet tackifier nails are ideal. These have small heads that are less likely to be noticeable. If your strip is a metal reducer, you might be using small screws.
- Add New Fasteners: Start about 6-12 inches from either end of the strip, especially if those areas are still secure. Place a new nail or screw approximately every 8-12 inches along the length of the strip, directly into the subfloor. Ensure the nails go into the thicker portion of the transition strip base to hold it down firmly. If you are using nails, hammer them in carefully at a slight angle towards the strip to help pull it down. If they are popping up, try using a nail set to sink them slightly below the surface of the strip.
- Secure the Ends: Pay extra attention to the ends of the transition strip. These are often the first to loosen. Make sure they are pressed down flush with the flooring next to them and secure them with at least two fasteners on each end.
- Check for Stability: Once you’ve added fasteners, press down on the entire strip. It should feel firm and secure, with no significant lifting or wobbling.
- Trim Stray Fibers: If you had to trim any carpet fibers, use your utility knife to tidy up the edges.
Scenario 2: The Transition Strip is Damaged or Broken
If your transition strip is cracked, bent, or severely broken, it’s time to replace it. This sounds more daunting, but it’s very achievable!
- Measure the Old Strip: Before removing anything, carefully measure the length of the existing transition strip. Measure it from end to end to get an accurate length.
-
Remove the Old Strip:
- For nailed or screwed strips: Gently pry up the old strip using a pry bar or flathead screwdriver. Work slowly and carefully to avoid damaging the surrounding flooring. If nails or screws are stubborn, you might need to cut the carpet slightly along the edge of the strip to get better leverage or to release the fasteners.
- For glued strips: This can be tougher. You might need to use a heat gun on a low setting to soften the adhesive, then carefully pry up the strip. Be cautious not to overheat or scorch the carpet or surrounding flooring.
- Remove all old fasteners: Once the strip is lifted, remove any old nails or screws from the subfloor. You can use your hammer or a pair of pliers for this.
- Prepare the Subfloor: Clean the subfloor where the old strip was. Sweep away any debris, dust, or old adhesive. If there are any rough spots or protruding nails from the carpet gripper strips (the sharp metal strips that hold carpet edges in place), address those now. You may need to tap them down with a hammer.
- Cut the New Transition Strip: Take your new transition strip and measure it against your previous measurement. Mark the correct length with a pencil. Using a hacksaw (for wood or metal) or appropriate cutters, carefully cut the strip to the exact size. Make sure your cuts are straight and clean. For metal strips, filing down any sharp edges after cutting is a good safety step.
- Position the New Strip: Place the new transition strip in position. Ensure it meets the edge of the carpet and the adjacent flooring correctly. It should fit snugly.
-
Secure the New Strip:
- If re-using fasteners: If the original fasteners were sound and the subfloor is still good, you might be able to use them.
- Using new fasteners: For a secure and lasting fix, it’s best to use new fasteners. If your strip is designed for nails, use finishing nails or tackifier nails, spacing them about every 6-12 inches apart. Hammer them in at a slight angle to secure the strip tightly. If your strip is designed for screws, drill pilot holes if necessary (especially in hardwood or dense subfloors) and then drive in screws.
- For metal reducer strips: Many metal reducer strips have a channel that the carpet tucks into, and they are secured to the subfloor with small screws. Ensure the carpet edge is tucked neatly into the channel before screwing.
- Check for Tightness: Once secured, press down on the new strip to ensure it is flush with the floor and doesn’t move.
- Clean Up: Vacuum the area to remove any dust or debris from the repair work.
For further guidance on choosing the right type of transition strip, you can consult resources like BuildDirect’s Learning Center, which offers detailed information on different types and their applications.
Special Considerations for Different Transition Strip Materials
While the general steps are similar, the material of your transition strip can affect the repair process.
Metal Transition Strips
Aluminum, brass, or steel transition strips are common. They’re durable but can be more prone to bending. If the strip is bent, it might be salvageable by carefully straightening it with pliers or a rubber mallet, but sometimes replacement is best for a professional look. Securing metal strips often involves small screws that fit into pre-drilled holes or a channel. If you’re replacing one, ensure the new one has a similar fastening system.
Wood Transition Strips
Wood strips offer a natural look and can often be stained or painted to match your décor. They are typically secured with nails or screws. If a wood strip is damaged, you might be able to sand it down and refinish it if it’s minor damage. For significant cracks or breaks, replacement is generally necessary.
Vinyl Transition Strips
Vinyl strips are often flexible and used for transitions between different types of vinyl or laminate flooring. They can be adhered down with a strong vinyl adhesive or sometimes nailed/screwed. If the adhesive fails, cleaning off the old adhesive and applying a fresh, strong vinyl floor adhesive is usually the solution.
When to Call a Professional
While most transition strip issues are DIY-friendly, there are times when it’s best to call in an expert:
- Extensive Subfloor Damage: If you discover rot, significant warping, or water damage in the subfloor, this needs professional assessment and repair before flooring work can be done.
- Multiple Flooring Types: If you’re dealing with a complex transition involving several different materials and heights, a professional installer will ensure it’s done correctly.
- Uncertainty: If you’ve tried the DIY steps and the problem persists, or if you’re simply not comfortable undertaking the repair, a local flooring professional can quickly and efficiently solve the issue.
- Valuable Flooring: If you have very expensive or delicate flooring materials surrounding the transition, you might want a professional to minimize any risk of accidental damage.
To find reputable flooring professionals in your area, you can check resources like the National Association of Home Builders (NAHB) builder search. While this is for builders, many flooring installers are members or can be found through similar professional networks.
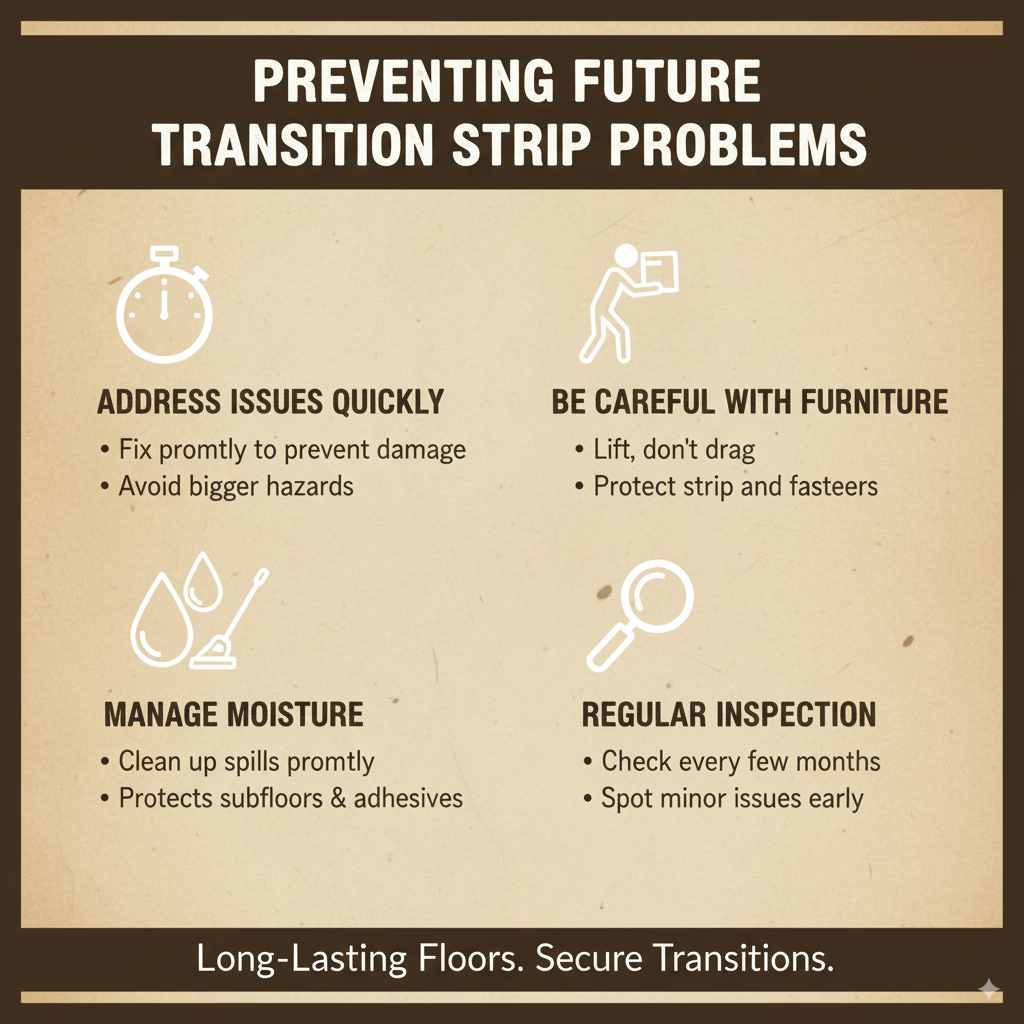
Preventing Future Transition Strip Problems
Once your transition strip is fixed, a little preventative care can go a long way:
- Address Issues Quickly: Don’t let a loose strip remain loose for too long. The sooner you fix it, the less chance it has of causing further damage or becoming a bigger hazard.
- Be Careful with Furniture: When moving furniture, try to lift rather than drag it across transition strips, especially heavier items.
- Manage Moisture: If your transition is near an entryway or a damp area, ensure spills are cleaned up promptly. Excess moisture can affect subfloors and adhesives over time.
- Regular Inspection: Make a habit of occasionally checking your transition strips. A quick walk-through every few months can help you spot minor issues before they become major ones.
These simple habits can help keep your transition strips secure and your floors looking great for years to come.
Frequently Asked Questions (FAQ)
Q1: How often should I replace a carpet transition strip?
A: Transition strips don’t have a set replacement schedule. They should be replaced only when they are damaged beyond repair (cracked, broken) or if they have become severely loose and cannot be re-secured properly. Well-maintained strips can last for many years.
Q2: Can I use regular nails to attach a transition strip?
A: It’s best to use finishing nails or specialized carpet tackifier nails. These have smaller heads that are less likely to be noticeable and can be hammered flush or slightly below the surface of the strip. Regular nails are often too large and may not hold as well in this application.
Q3: My metal transition strip is peeling up. Can I just glue it down?
A: For metal strips, simply gluing can be a temporary fix. They are usually designed to be screwed or nailed into the subfloor for better stability. If the existing holes are stripped or the subfloor is compromised, you might need to use a strong construction adhesive in conjunction with new, strategically placed screws or nails to ensure a secure hold.
Q4: What’s the difference between a transition strip and a reducer?
A: In many contexts, these terms are used interchangeably! However, a “transition strip” can refer to any molding used to bridge two different types of flooring. A “reducer,” specifically, is a type of transition strip designed to connect two floors of different heights, effectively “reducing” the height difference smoothly. A T-molding is typically used between two floors of the same height (e.g., carpet to carpet, or laminate to laminate).
Q5: My carpet is frayed where the transition strip used to be. What should I do?
A: If the carpet edge is frayed after the strip came loose, you’ll want to trim away the loose, ugly fibers with a sharp utility knife. Then, for a secure edge, you might need to insert a row of carpet tackifier (a sticky resin) along the very edge of the carpet backing and press it firmly against the subfloor or the new transition strip’s base. Ensure the new strip is installed promptly to prevent further fraying.
Q6: How do I know if I need a “flat” transition or a “ramped” one?
A: You need a “ramped” or “reducer” transition strip when there’s a noticeable height difference between your carpet and the adjacent flooring (e.g., carpet to thin vinyl). The ramp provides a gradual slope to prevent tripping.