How to Remove Trim Molding on a Car (Without Scratching the Paint)
Trim molding comes off a car one of three ways: prying out clips, removing screws, or cutting through double-sided tape. The attachment type decides every tool you need and every risk to your paint. Use plastic pry tools, never a bare screwdriver, and cut tape with knotted fishing line instead of levering it. This guide covers how to identify the trim, the tape-cutting method 3M documents, adhesive cleanup, a paint-risk table, and the point where interior pillar trim becomes a job to leave alone.
Tools and Materials You’ll Need
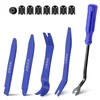 |
Budget Plastic Pry Tool Pick XBRN 13-Piece Auto Trim Removal Tool Kit A plastic pry set keeps bare metal off your paint while you start an edge or pop a clip. This is a low-cost kit for first-time trim jobs.
|
As an Amazon Associate we earn from qualifying purchases. Spec-based pick from the listing, not a hands-on test.
Sources, all read on 2026-10-13: a 3M technical update on removing and re-applying tape-mounted trim, a Dawn Enterprises body side molding removal sheet, 3M’s safety data sheet for its specialty adhesive remover, and a Kia owner’s manual page on curtain air bags. Steps from general practice are labeled as such.
- Plastic pry tools: to start an edge or release a clip without gouging paint or the trim itself.
- Monofilament or fishing line: 3M’s procedure uses a length with several knots tied about 1 inch apart to saw through the tape, and recommends gloves while you do it.
- Two blunt handles: Dawn’s sheet has you wrap the line around two separate tools with about 6 inches of line between them. Keep metal tips off the paint.
- Plastic scraper or squeegee: for softened adhesive. Never a metal blade.
- Isopropyl (rubbing) alcohol and lint-free cloths: 3M finishes both the panel and the trim with an alcohol wipe.
- Adhesive remover or cleaner: optional, and only after reading its label and safety data sheet (see the safety section below).
- Painter’s tape and gloves: tape the paint beside the trim you are prying near, and wear gloves for the line.
Our guide to removing adhesive from car paint goes deeper on residue chemistry. This page focuses on getting the trim off in the first place and deciding whether you should.
Step-by-Step Guide to Removing Trim Molding
Step 1: Identify How the Trim Is Attached
Look at the trim before touching it. A strip with visible screw heads, or with a seam where a push-in clip sits, is mechanical. A strip that sits flat against the body with no fasteners and a thin dark line along its back edge is usually stuck on with tape. Many cars mix methods on one panel, so check each piece separately. The table below sorts the common cases. It reflects general practice, not one maker’s document, so your vehicle’s own service information wins wherever it differs.
| Trim type | How it is attached | Tool | Paint risk | DIY or pro |
|---|---|---|---|---|
| Stick-on body side molding or door-edge strip | Double-sided acrylic tape | Knotted monofilament line, plastic scraper | Medium to high: clear coat can lift if you lever it, and tape residue is hard to remove | DIY with patience; pro if the paint is already chipped or repainted |
| Clip-on chrome or black window and door trim | Push-in clips or a retaining channel; some use tape | Plastic pry tool, painter’s tape on nearby paint | Low to medium: scratches from prying, chipped edges on old clips | DIY after you confirm the method |
| Wheel-arch, fender or bumper strip | Screws, push clips, or tape | Screwdriver for screws only, plastic pry tool for clips | Low to medium | DIY for visible fasteners; check first if none are visible |
| Rubber window or door seal | Press-fit channel or glue | Plastic pry tool, no heat gun | Low for paint, but a torn seal can leak | DIY for a short length; see our window seal guide |
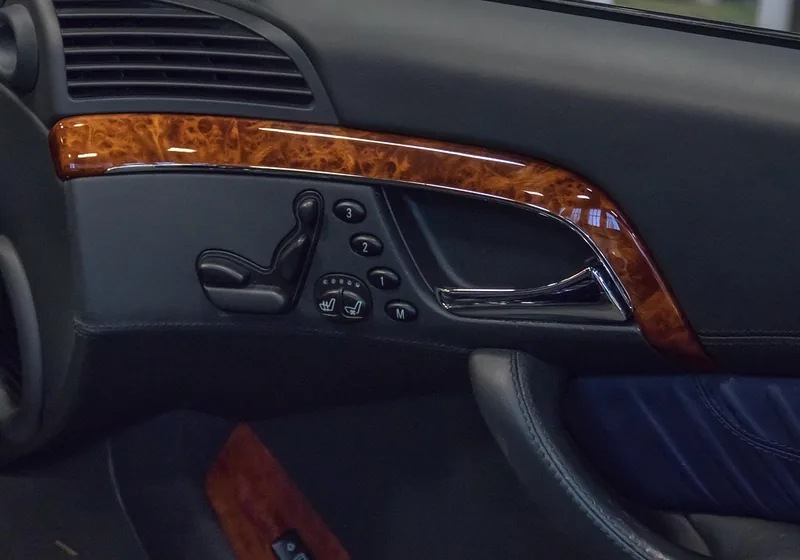
| Interior door-panel trim | Hidden clips and screws | Plastic pry tool | Low for paint; broken clips are the usual damage | DIY with care |
| Interior pillar or roof-rail trim | Clips, possibly over curtain air bags | Per OEM service information only | Not a paint issue: an air bag and wiring issue | Pro unless your OEM information says a DIY removal is safe |
Searches reaching this page often name a specific model, such as a rear hatch trim on a 2022 Suburban or a lower door molding on a 2021 Blazer. No generic guide knows which clips your car uses, so search your exact year, make, model and panel name, and prefer the maker’s service information over a forum post.
Step 2: Soften the Adhesive with Heat
Heat is common advice for stuck-on trim, but read what the maker documents actually say. 3M’s removal steps for tape-mounted trim do not use heat at all: they saw through the tape with knotted line. 3M mentions a heat gun only for application, to bring the vehicle surface into a 60 to 110 degrees F range before installing new trim. So treat heat as optional, not required.
If you use any, use a hair dryer on a low setting, keep it moving, and stop as soon as the trim is warm to the touch. This is general practice and not from the sources above. Never use a heat gun on a panel that has been wiped with solvent, and never near fuel lines or the fuel filler. The reasons are in the safety section.
Step 3: Lift the Trim Carefully
For clip-on or screwed trim, remove any visible screws first, then slide a plastic pry tool in near a clip location and lift gently. Work along the strip clip by clip instead of pulling one end, because yanking tends to snap clips and bend the trim. Put painter’s tape on the paint next to the tool.
For tape-mounted trim, do not pry. 3M’s procedure says to knot a piece of monofilament line about 1 inch apart, then saw it through the tape to remove the trim without damaging it or the vehicle surface. Dawn’s sheet describes the same idea: slip the line behind the molding at a corner, work it back and forth until you can grab the trim by hand, then push downward, toward the ground, to release the tape. Dawn adds that it is not easy and takes time.

Step 4: Remove Leftover Adhesive
3M requires that all tape and residue come off the vehicle before anything is re-applied. Its shop method uses a solid 3M Stripe-Off Wheel (part numbers 07498 or 07499) turning into the tape so it does not smear, then a wipe with 3M Prep Solvent-70 and finally isopropyl alcohol. That wheel is a shop tool run on a drill, so for most home jobs the safer route is the slower one: rub small bits off with your thumb as Dawn suggests, use a plastic scraper, then an adhesive cleaner suited to automotive paint, tested on a hidden spot first.
For the trim piece itself, 3M’s alternative is to soak the trim, tape side down, in its citrus base cleaner for up to 24 hours, then lift the softened tape with a plastic squeegee. 3M also warns that other solvents must be checked so they do not attack or mar the part. Our adhesive removal guide and tape-and-paint guide cover residue and paint compatibility in more detail. If the trim was covered by a clear film, see our paint protection film removal guide instead.
Step 5: Clean and Polish the Surface
Wash the area with car soap and water, then wipe it with isopropyl alcohol and dry it with a lint-free cloth, which is the finishing wipe in 3M’s procedure. Inspect the paint in daylight afterward. Deep scratches or lifted clear coat need a body shop.
Interior Trim, Pillars and Air Bags: Know Before You Pry
Everything above is about exterior trim. Inside the cabin, door-panel trim is mostly clips and screws, but pillar and roof-rail trim is different. Kia’s owner’s manual states that curtain air bags are located along both sides of the roof rails above the front and rear doors, and tells owners not to attach objects to the area the bag inflates, which it lists as including the front and rear pillars and the roof side rail. It also says the side and curtain air bag system should be opened or repaired only by an authorized dealer. Other makers vary, so read your own manual.
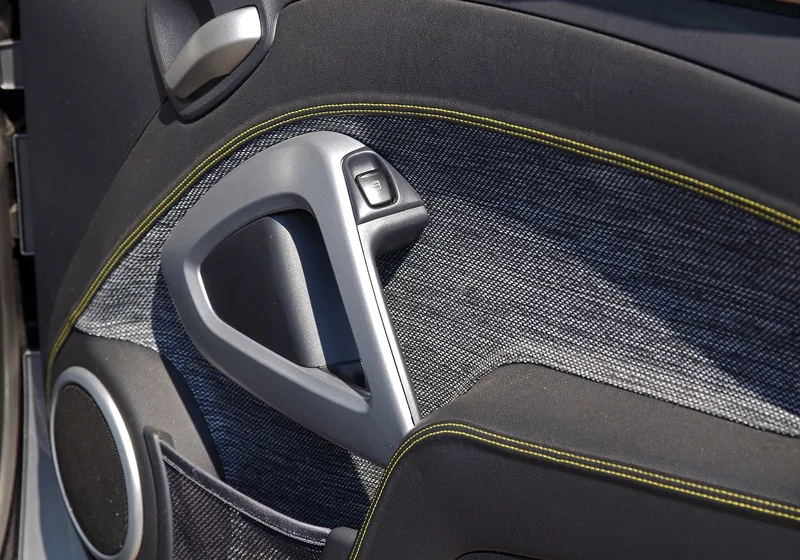
The rule we use on this site: take off door-panel trim only when the manual or service information shows the clip locations. Leave pillar, roof-rail and headliner-edge trim alone unless the OEM procedure explicitly allows removal. Wiring runs behind some of that trim as well, so if you do open a panel, read our guide to removing electrical connectors on cars before unplugging anything, and our roof upholstery repair guide for headliner-area work.
Tips for Avoiding Damage
Most paint damage comes from five avoidable habits. The table matches each one to what happens and how to prevent it.
| Habit | What can happen | Safer approach |
|---|---|---|
| Prying tape-mounted trim with a tool | Clear coat can lift with the tape, or the trim bends and cracks | Saw through the tape with knotted monofilament line, as 3M describes |
| Using a metal screwdriver or scraper | Gouges and scratches in paint or on the trim | Plastic tools only; keep metal tips off the paint |
| Overheating with a heat gun | Paint and plastic can soften or distort | Skip heat or use a hair dryer on low and keep it moving (general practice) |
| Spraying solvent on the panel without testing | Some solvents can attack plastic trim or finishes, per 3M’s warning | Test on a hidden spot; use maker-recommended cleaners and read the label |
| Applying new tape over old residue | Poor bond and a lumpy finish; 3M says do not do it | Remove all tape and residue first |
Safety: Heat Guns, Solvents and Ventilation
The adhesive-remover step carries more risk than the pulling. 3M’s safety data sheet for its specialty adhesive remover (part 38987) classifies it as an extremely flammable aerosol. It says to keep it away from heat, hot surfaces, sparks and open flames, to avoid breathing the vapor or spray, and to use it only outdoors or in a well-ventilated area. It lists protective gloves and eye protection, warns that the pressurized container may burst if heated, and says not to expose it to temperatures above 122 degrees F (50 degrees C). Read the full SDS for any product you use.
- No heat gun near solvent: never heat a panel that is wet with remover, and never use the heat gun while a solvent can is open nearby.
- Ventilation: work outdoors or with the garage door open, with no pilot lights or sparks around.
- Gloves and eye protection: wear both whenever you handle remover; 3M also recommends gloves when you saw with the line.
What to Do with the Trim After Removal
If you plan to refit the same trim, 3M’s procedure has you clear all old tape and residue from both the trim and the vehicle, apply new automotive attachment tape to the trim without trapping air, and press it with a hard rubber roller or firm hand pressure. It applies the trim to a clean, dry vehicle, advises avoiding application temperatures below 60 degrees F, and says to roll it on with firm pressure and re-check the edges. It also says not to touch the exposed adhesive and not to use an adhesion promoter on the painted surface of the vehicle. Clip-mounted trim goes back by lining up the clips and pressing until they seat; replace any clip that cracked on removal.
Trim that is cracked, warped or faded beyond cleaning is better replaced with the part listed for your exact vehicle.
When to Stop and See a Professional
- The trim covers or sits next to a pillar, roof rail or headliner edge, and your manual does not show how to remove it.
- The paint is already chipped, repainted or flaking along the trim edge. Pulling trim can take clear coat with it.
- The adhesive will not release after patient work with the line, and it is starting to peel paint.
- You smell strong solvent fumes and feel dizzy or have a headache. Move to fresh air and stop.
- You find wiring, sensors or a loose airbag cover behind a panel.
Frequently Asked Questions
Can I remove car trim molding without professional help?
Yes for most exterior clip-on and tape-mounted trim, if you use plastic tools and patience. Leave pillar and roof-rail trim to a professional unless your manual shows the procedure, because curtain air bags can sit behind it.
Will removing trim molding damage my car’s paint?
It can if you pry tape-mounted trim, use metal tools or overheat the panel. Cutting the tape with monofilament line, as 3M describes, and using plastic tools lowers the risk. Chipped or repainted edges are the most likely to lift.
How long does it take to remove trim molding?
Clip-on trim can take minutes per strip. Tape-mounted molding takes longer; Dawn Enterprises says it is not easy and will take some time.
Can I reuse the trim after removing it?
Clip-on trim is often reusable if the clips survive. Tape-mounted trim needs all old tape removed and new automotive attachment tape applied, per 3M, and it should be rolled on firmly to a clean, dry surface.
What’s the best adhesive remover for car trim?
Use one made for automotive paint and plastics, and test on a hidden spot because 3M warns that some solvents can attack or mar parts. Read the safety data sheet: 3M’s specialty adhesive remover is classed as an extremely flammable aerosol that needs ventilation.
How do you remove chrome trim molding from a car?
First find out whether it is clipped or taped. Clipped chrome comes off with a plastic pry tool working clip by clip. Taped chrome should be sawed free with knotted line. Chrome often has sharp edges, so wear gloves.
Products related to this article
Sponsored / affiliate links. As an Amazon Associate I earn from qualifying purchases. I may earn additional commission from eligible campaigns.