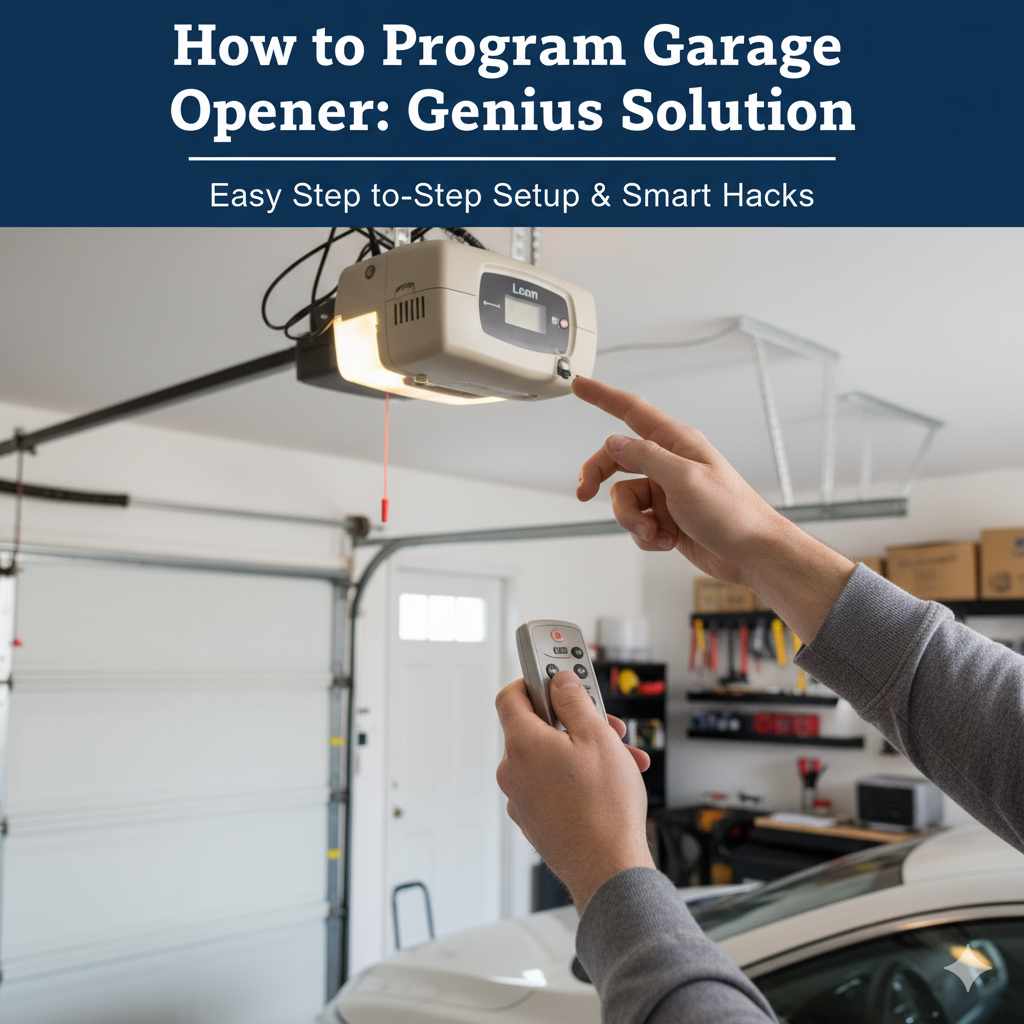
How to Program Garage Door Opener: Genius Solution
Learn how to program your garage door opener to your car quickly and easily! This guide provides a simple, step-by-step solution for most vehicles, ensuring you can safely and conveniently operate your garage door from your driver’s seat. Get your car and opener communicating in minutes with this genius workaround.
Ever found yourself fumbling with your garage door remote, juggling groceries, or wrangling kids, wishing you could just press a button on your car to open it? You’re not alone! Programming your garage door opener to your car is a common need for many drivers, blending convenience with a touch of automotive genius. It feels like a luxury, but it’s an achievable DIY task that can make your daily routine so much smoother. Forget digging for that separate remote or stopping your car – we’re going to walk through how to make your car an integrated part of your garage door system.
This guide is designed for you, the everyday driver. We’ll break down the process into simple, easy-to-follow steps, using clear language so you feel confident every step of the way. By the end, you’ll have successfully linked your car to your garage door opener, adding a smart solution to your home and vehicle. Let’s figure out how to program your garage door opener to your car and unlock that effortless convenience!
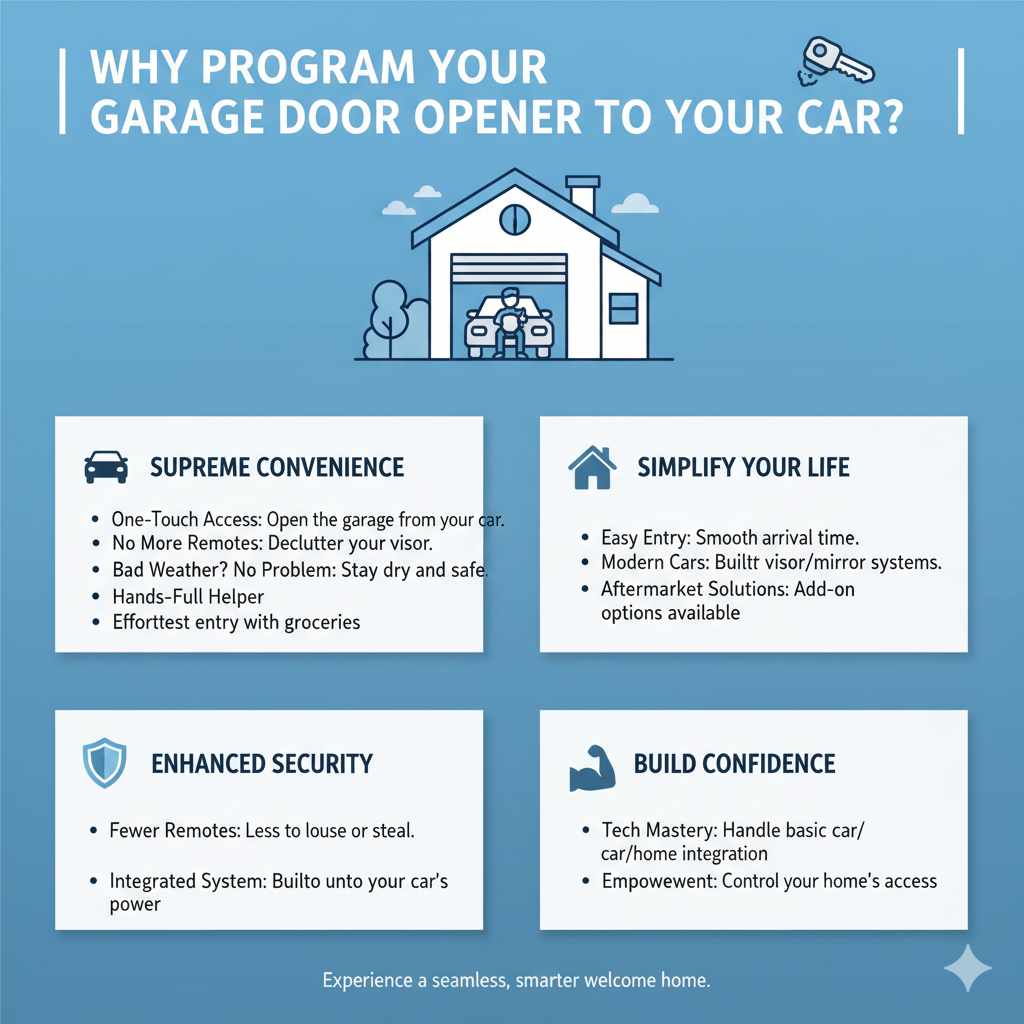
Why Program Your Garage Door Opener to Your Car?
The main reason most people want to program their garage door opener to their car is for supreme convenience. Imagine this: you’re approaching your home, you press a button in your car, and voilà—your garage door glides open, welcoming you home. No more searching for a handheld remote, no more getting out of the car in bad weather, and no more fumbling with devices when your hands are full.
It’s about simplifying your life and making your entryway more accessible. Many modern cars come equipped with built-in universal garage door opener systems, often located in the sun visor or rearview mirror. Even if your car doesn’t have a factory-installed system, there are aftermarket solutions that can achieve the same goal. This integration enhances security, too, by reducing the number of remotes you need to keep track of. Plus, mastering this simple task builds confidence in your ability to handle basic automotive and home system integrations.
Understanding the Technology: How it Works
At its core, programming your garage door opener to your car involves pairing a signal from your car’s universal remote system (either factory-installed or aftermarket) with your existing garage door opener’s receiver. Most garage door openers use radio frequencies to communicate with their remotes. Your car’s universal remote system works by learning and then transmitting these specific radio frequencies.
There are typically two main types of garage door opener systems you’ll encounter: rolling code and fixed code (or DIP switch). Understanding which type you have is crucial for programming.
- Fixed Code (DIP Switch) Openers: These are older systems where the remote and opener have a set of small switches (DIP switches) that are set to a specific pattern. This pattern acts as the “key” to opening the door. When you program your car, you’re essentially teaching the car’s system to mimic that exact switch pattern.
- Rolling Code Openers: These are more common in newer systems for added security. Each time you press the remote button, it sends a new, dynamic code that changes sequentially. Your garage door opener intelligently knows the next code in the sequence. Programming a rolling code system usually involves a two-step process: first, teaching your car’s system to mimic your original remote’s current code, and then, second, synchronizing your car’s system with the garage door opener’s motor unit itself.
For more detailed information on garage door opener technologies, you can refer to resources from manufacturers like the Chamberlain Group’s support pages.
Before You Start: What You’ll Need
Gathering these items beforehand will make the programming process smooth and efficient. Having everything ready means you won’t have to interrupt the synced steps later on.
- Your Car’s Owner’s Manual: This is your primary guide for how to access and operate your car’s universal remote buttons. Not all cars have this feature, and the location of buttons varies.
- Your Garage Door Opener Remote: You’ll need the original remote that currently works with your garage door opener. Ensure it has a good battery!
- Access to Your Garage Door Opener Motor Unit: You’ll need to be able to reach the “learn” or “program” button on the motor unit itself, typically located on the back or side of the unit attached to your garage ceiling.
- A Sturdy Ladder: To safely reach the garage door opener motor unit. Please use caution and ensure the ladder is stable.
- A Helper (Optional but Recommended): Having a second person can be incredibly helpful, especially for the rolling code programming steps where you might need to press buttons simultaneously or quickly.
- Pen and Paper (Optional): If you have a DIP switch system, you might want to note down the switch configuration.
Step-by-Step Guide: Programming Your Garage Door Opener
This section is the heart of our “genius solution.” We’ll break down the process into manageable steps. While specific procedures can vary slightly between car makes and models, and between garage door opener brands, the general logic remains the same.
Step 1: Identify Your Garage Door Opener Type
As discussed, knowing if you have a fixed code (DIP Switch) or rolling code system is key. For most modern openers (manufactured from the early 2000s onward), it’s likely to be a rolling code system.
How to Tell:
- Check Your Opener Manual: This is the best place to find out.
- Look for the “Learn” Button: Most rolling code openers have a square or round button, often colored (red, purple, yellow, green, or orange), on the motor unit itself. It’s usually labeled “Learn,” “Program,” or “Smart.” Fixed code openers might just have DIP switches you can see when you remove a cover.
- Consult Manufacturer Websites: Many brands provide online tools or manuals to help you identify your model and its type. The Garage Door Opener website offers a good database of manuals.
Step 2: Prepare Your Car’s Remote Buttons
Your car likely has several programmable buttons. These are often found in the overhead console near the rearview mirror or sometimes integrated into the dashboard. Your car’s manual will show you exactly which buttons are for this purpose and how to access their programming mode.
General Procedure for Most Cars:
- Turn the ignition to the “ON” or “ACCESSORY” position. Do NOT start the engine.
- Locate the programmable buttons on your car.
- Press and hold the desired programmable button on your car you want to use for your garage door opener.
- While still holding the car button, press and hold the button on your original garage door opener remote.
- Hold both buttons down until the LED light on your car’s overhead console or mirror flashes or turns solid. This usually takes about 10-30 seconds.
- Release both buttons.
Important Note: If the light on your car’s system doesn’t flash or light up, your car may operate differently or may not support this direct clone method for your specific opener frequency. Consult your car’s manual for specific instructions. Some systems require you to press the car button twice, or use a combination of buttons.
Step 3: Program for Fixed Code (DIP Switch) Openers
If you have a DIP switch system, the process is often simpler as you’re directly copying the signal.
- Set the DIP Switches: Locate the DIP switches on your original garage door opener remote. Note the pattern (which switches are ON and OFF).
- Set the Car’s Switches (if applicable): Some older car systems might have their own set of DIP switches. You’ll need to set these mirrors your remote’s switches. Newer systems will learn this.
- Initiate Car Programming: Follow the general car programming steps (Step 2). You’re essentially teaching your car to transmit the same ON/OFF pattern as your remote.
- Test: Once completed, try pressing the programmed button in your car. If it works on the first try, you’ve successfully programmed it! If not, double-check your DIP switch settings and try again.
Step 4: Program for Rolling Code Openers (Two-Step Process)
This is the most common scenario for modern homes, and it requires syncing with the opener unit itself.
- Complete Step 2 First: Program your car’s button to accept the signal from your original remote. You’ll likely see the car’s indicator light flash or turn solid. At this point, the car thinks it’s transmitting the correct code, but the garage door opener motor unit hasn’t been told to listen to your car yet.
- Go to the Garage Door Opener Motor Unit: Carefully climb your ladder to access the motor unit on your garage ceiling.
- Press the “Learn” Button: Locate the “learn” or “program” button on the motor unit. Press and immediately release it. A brightly lit LED indicator next to the button should illuminate, indicating the opener is in learn mode. You usually have about 30 seconds to complete the next step before the opener exits learn mode.
- Return to Your Car: Immediately go back to your car.
- Press and Hold Your Car’s Programmed Button: Press and hold the button in your car that you just programmed. Keep holding it.
- Observe: Watch your garage door opener motor unit. The LED light you saw in Step 4.3 will likely blink, or the garage door opener lights might flash. This signifies that the opener has recognized and accepted your car’s signal. Some systems may make an audible click.
- Release the Button: Once you see the confirmation (flashing lights, clicking sound), release the button in your car.
- Test: Exit your car and press the programmed button. Your garage door should now open and close!
Troubleshooting Rolling Codes: If it doesn’t work the first time:
- Ensure you pressed the “learn” button on the opener and then immediately went to the car pressing its button. Timing is crucial.
- You might need to press and hold the car button for a longer duration after the opener’s “learn” light appears.
- If your car has multiple programmable buttons, try programming a different one.
- Consult your car’s manual for specific sequences. For instance, some cars might require you to press the car button twice, wait a few seconds, and then press it again.
- Some openers have a “smart button” that requires a specific sequence of presses in Step 4.3, such as pressing it twice.
Step 5: Clearing the Memory (If Necessary)
If you need to reprogram your car or want to remove a lost remote/car program, you can usually clear the memory of your garage door opener motor unit. This is a safety feature.
- Locate the “learn” button on your garage door opener motor unit again.
- Press and hold this button for about 10-30 seconds. The indicator LED next to it will usually blink or turn off, signifying that all programmed remotes have been erased.
- You will need to reprogram all your remotes (car button, handheld remotes) after this.
For detailed clearing instructions for specific brands, the LiftMaster support site is an excellent resource, as many garage openers are part of the Chamberlain family of brands.
Comparing Programming Methods: Factory vs. Aftermarket Systems
While many new cars have integrated systems, some older vehicles or those without built-in universal remotes can still gain this functionality.
Here’s a quick comparison:
| Feature | Factory-Installed System (e.g., HomeLink, Car2U) | Aftermarket System (e.g., Separate visor clip remote/transmitter) |
|---|---|---|
| Integration | Seamlessly built into the car’s design (visor, mirror). | Usually a separate device that clips onto the visor or dashboard. |
| Programming Convenience | Direct programming, often a learning process with the opener. | Varies; some are simple clones, others require separate setup. |
| Cost | Included with the vehicle purchase. | Priced per unit, can range from $20-$70+. |
| Compatibility | Generally compatible with most modern rolling code and older openers, but check specific vehicle/opener models. | Wide range of compatibility, but always verify your opener model. |
| Aesthetics | Clean, uncluttered look. | Can add an extra visible device. |
If your car doesn’t have a factory system, don’t worry! A reputable aftermarket remote transmitter can be just as effective. These often mimic the programming steps for rolling code openers, involving learning your existing remote’s signal and then syncing with the opener motor unit.
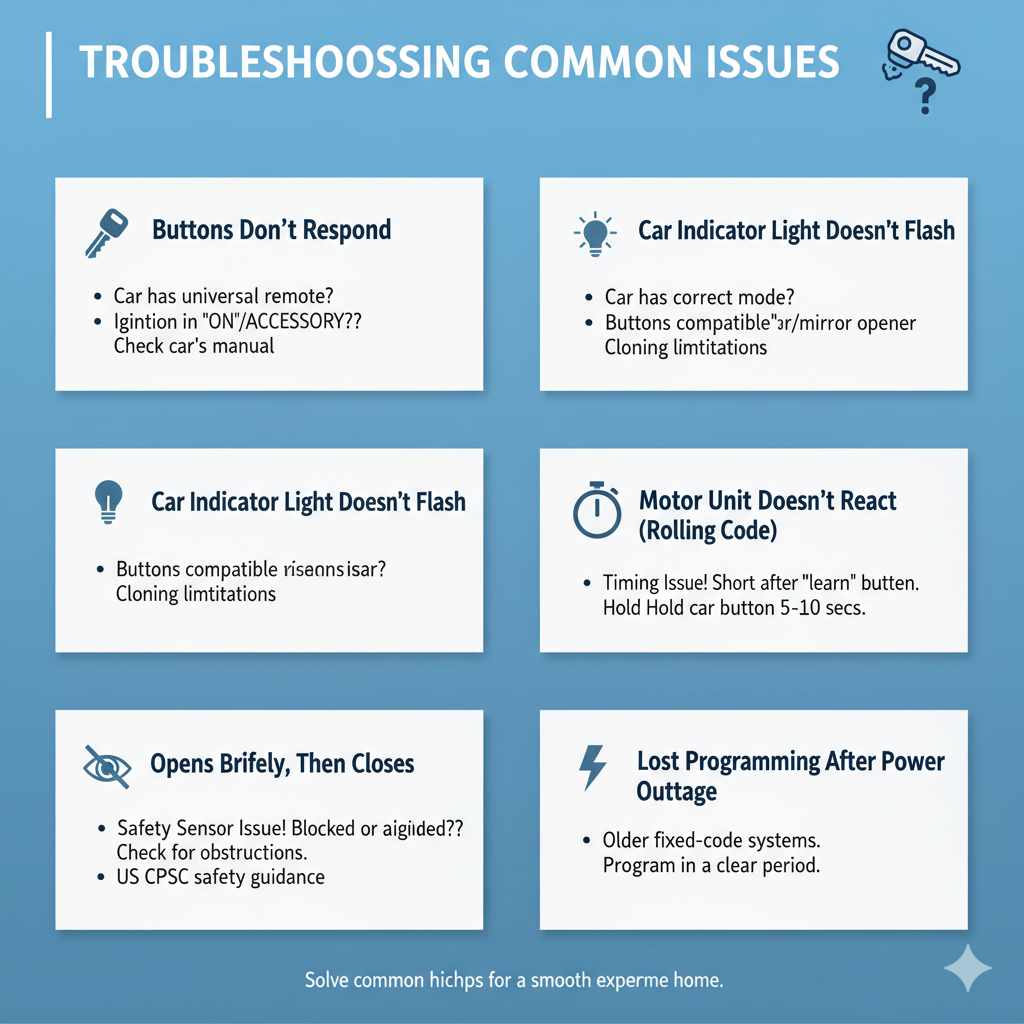
Troubleshooting Common Issues
Even with the best instructions, hiccups can happen. Here are some common problems and how to solve them:
- Buttons Don’t Respond: It’s possible your car doesn’t have a universal remote system, or you’re not in the correct “ON” or “ACCESSORY” ignition position. Double-check your car’s manual.
- Car Indicator Light Doesn’t Flash: This could mean the car isn’t in the right mode, or the remote buttons on the car aren’t compatible with direct cloning for your opener brand.
- Opener Motor Unit Doesn’t React to Car’s Button Press (Rolling Code): This is usually a timing issue. You have a very short window after pressing the opener’s “learn” button. Try again, moving directly from the opener to the car. Ensure you are pressing and holding the car button for at least 5-10 seconds after the opener’s LED is lit.
- Garage Door Opens Briefly, Then Closes: This often indicates a safety sensor issue, not a programming problem. Your garage door opener has safety sensors near the bottom of the tracks. If these are blocked or misaligned, the door will reverse. Check them for obstructions. The US Consumer Product Safety Commission provides excellent safety guidance on garage doors and openers on their website.
- Lost Programming After Power Outage: Some older fixed-code systems or very basic openers might lose their programming after a power interruption. This is rare for rolling code systems.
- Multiple Remotes Cause Interference: If you have many different remotes for various devices near your garage, they could potentially cause interference. Program your car’s remote in a clear, calm period.
FAQs About Programming Garage Door Openers
Q1: How do I know if my car has a built-in garage door opener?
A: Check your car’s owner’s manual. Look for sections on “universal remote,” “garage door opener,” or “Homelink” (a common brand). Visually inspect your car’s overhead console near the rearview mirror or sun visors for buttons that look like they could be for an opener.
Q2: Can I program ANY garage door opener to my car?
A: Most of the time, yes, especially if your car has a universal remote system. However, very old or unusual systems, or certain commercial-grade openers, might not be compatible. Always check compatibility lists provided by your car manufacturer or the opener brand.
Q3: What happens if I press the “learn” button on my opener by mistake?
A: If you press and release the “learn” button on your opener motor unit, it puts the opener into “learn mode” for about 30 seconds. If no valid remote signal is received within that time, it simply exits learn mode. The main risk is if you accidentally activate this while trying to program, and then a random signal is learned. In such cases, you’ll need to clear the memory and reprogram all your remotes.
Q4: Is DIY programming safe?
A: Yes, programming is generally safe and designed for homeowners. The most critical safety aspect is ensuring your garage door opener’s safety sensors are properly installed and functioning, as these prevent the door from closing on people or objects. Always follow ladder safety when working near the motor unit.
Q5: My garage door opener is a different brand than my car. Will this still work?
A: Absolutely! The beauty of universal garage door opener systems in cars is their ability to learn signals from various brands of openers, provided they use compatible frequencies and coding technologies (like rolling code or DIP switch). The car’s system acts as a translator.
Q6: How long does car garage door opener programming usually take?
A: For many people, the entire process takes just 5-15 minutes once they have their car manual and original remote handy. The actual button-pressing part is very quick, but troubleshooting or locating buttons can add a bit more time. It’s a very achievable DIY task!
Q7: Can I program two different garage doors to my car (e.g., from my home and my parents’ house)?
A: Yes! Most car universal remote systems have multiple buttons (usually three or four). You can typically program a different garage door opener (or gate opener) to each button, allowing you to control multiple access points from your car.
Conclusion
You’ve done it! By following these steps, you’ve successfully navigated the process of programming your garage door opener to your car. This isn’t just about convenience; it’s about making small, smart improvements to your daily life that add up. Now, you can enjoy the effortless glide of your garage door opening as you arrive home, all controlled with a simple press of a button already within your reach. Remember, this “genius solution” is accessible to almost everyone, simplifying your routine and giving you a great sense of accomplishment.
Should you ever need to reprogram or assist a friend, you’ll have the knowledge to do so. Keep your car’s owner’s manual handy, and remember the core principles of identifying your opener type and following the two-step process for rolling codes. Enjoy the added ease and efficiency that this small but significant upgrade brings to your home and your driving experience!