Air Brush for Car Paint: How to Pick and Use the Right One
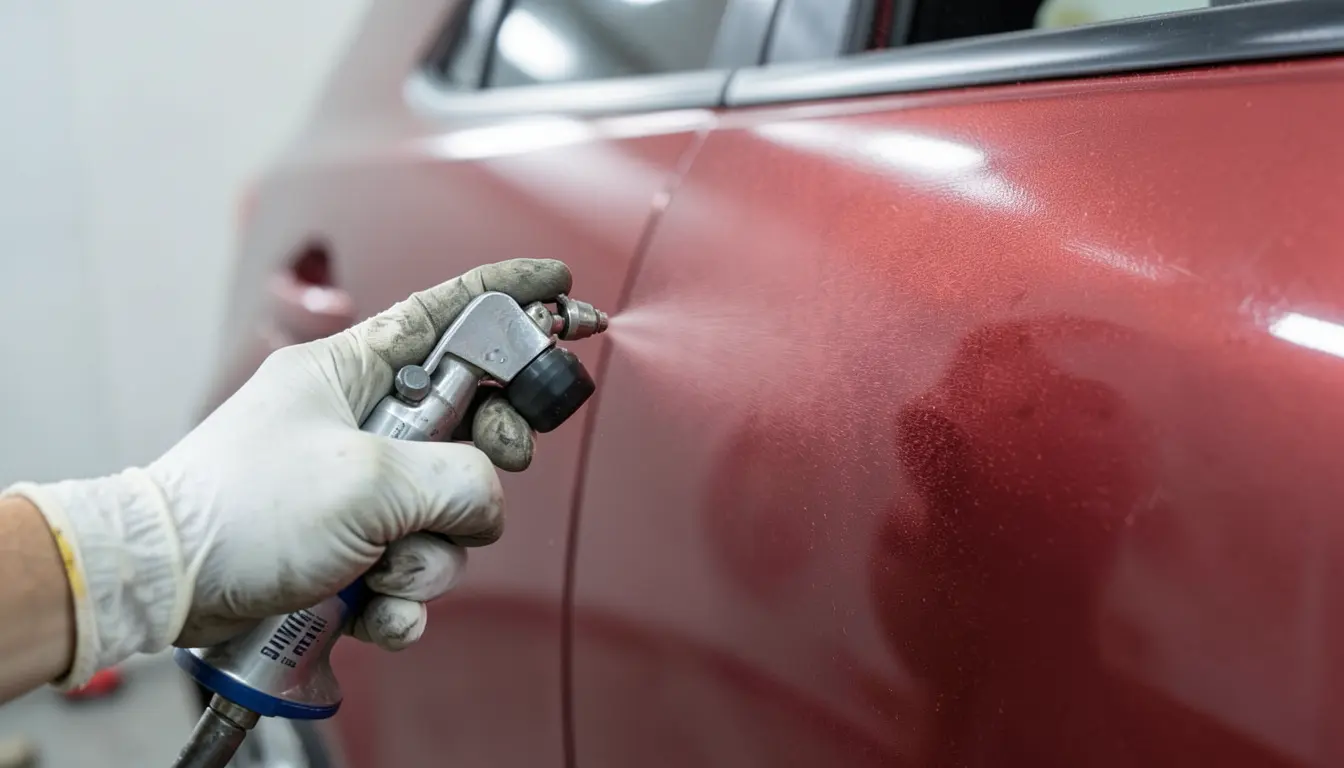
An air brush for car paint is a small, gravity-fed spray tool built for touch-ups, spot repairs, and detail work rather than full-panel painting. Most kits sold as “airbrushes for cars” are actually mini HVLP (high-volume, low-pressure) spray guns with a 0.8-1.5mm nozzle, and picking the wrong size for the job is the single biggest reason DIY touch-ups end up blotchy or overspray-heavy.
Since 1998, EPA and California SCAQMD air-quality rules have capped HVLP spray guns at 10 PSI measured at the air cap, and that single number explains why HVLP transfers 65-90% of paint onto the panel compared to just 25-40% for older conventional guns. This guide covers the real difference between an airbrush and an HVLP touch-up gun, how to pick nozzle size and PSI for the job in front of you, and a step-by-step process for laying down a clean coat without runs or orange peel.
Airbrush vs. HVLP Touch-Up Spray Gun: What Are You Actually Buying?
The word “airbrush” gets used loosely in automotive listings, and that causes real confusion when you’re shopping. A true airbrush is a fine-art tool with a 0.2-0.5mm needle, a tiny gravity or siphon cup, and low air pressure (around 15-30 PSI) meant for pinstriping, custom graphics, and shading work measured in square inches. A mini HVLP spray gun has a larger 0.8-1.5mm fluid tip, a bigger cup (100-600ml), and is built to lay down basecoat and clear coat over an area the size of a fender or door in a few passes.
Nearly every product marketed as an “airbrush for car paint” on Amazon is really the second type — a compact HVLP touch-up gun. That’s the right tool for chip repairs, bumper corners, and small panel work. If your actual goal is pinstriping or airbrushed graphics, look specifically for a “dual-action airbrush” instead, since a touch-up spray gun’s nozzle is too coarse for fine linework.
Best Detail & Touch-Up Pick
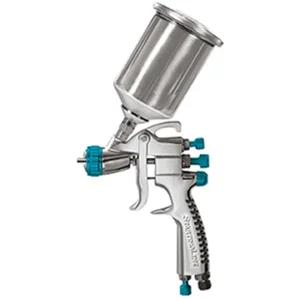 |
DeVilbiss StartingLine HVLP Touch-Up Spray Gun – $143.14 Its detail-size gravity-feed cup and compliant HVLP air cap match the small-panel, low-volume work this guide covers, without the inconsistent atomization common on unbranded mini spray guns.
|
Nozzle and Needle Size: Match the Tip to the Job
Fluid tip size determines how much paint comes out per pass and how fine the atomization is. Going too large for a small repair means more overspray and a heavier, more visible coat; going too small for a bigger area means you’ll be spraying for twice as long and risking dry, gritty texture. Standard automotive sizing runs like this:
| Nozzle Size | Best For | Notes |
|---|---|---|
| 0.2-0.5mm | Fine-art airbrushing, pinstripes, graphics | Not for basecoat/clear — too fine, will run dry |
| 0.8-1.0mm | Small touch-ups, chip and scratch spot repair | The size most “airbrush for car paint” kits ship with |
| 1.2-1.5mm | Basecoat and clear coat, door or fender-size panels | 1.4mm is the closest thing to a universal automotive size |
| 1.6-2.0mm | Primer and heavier-bodied coatings | Too coarse for finish coats — will leave visible texture |
If you’re only ever doing chip repairs, bumper corners, or spot work smaller than a sheet of paper, a 0.8-1.0mm gun is genuinely the right size — you don’t need to size up “just in case.” Save the 1.4mm gun for the day you’re clear-coating an entire fender.
What PSI Should You Actually Spray At?
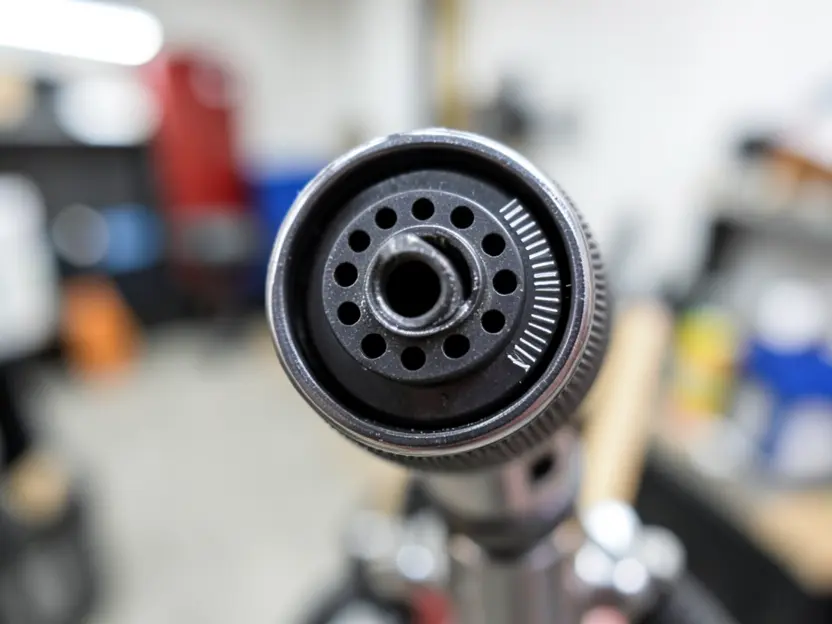
Since collision repair shops switched over in the mid-1990s, HVLP has been the industry standard specifically because federal EPA Method 24 rules and California’s SCAQMD Rule 1151 cap air cap pressure at 10 PSI. That low pressure is what makes HVLP transfer 65-90% of the paint onto the surface, versus only 25-40% for the older conventional high-pressure guns that used to blast most of your paint into the air as overspray.
In practice, that means setting your compressor’s line pressure so the gauge at the gun reads around 26-29 PSI at the inlet for most HVLP guns (check your specific gun’s manual — inlet pressure and air-cap pressure aren’t the same number), then doing a test pattern on cardboard before you touch the car. Hold the gun 6-8 inches from the surface; back off to 12 inches and you’ll lose 15-20% of your transfer efficiency to bounce-back and paint that dries mid-air instead of landing wet.
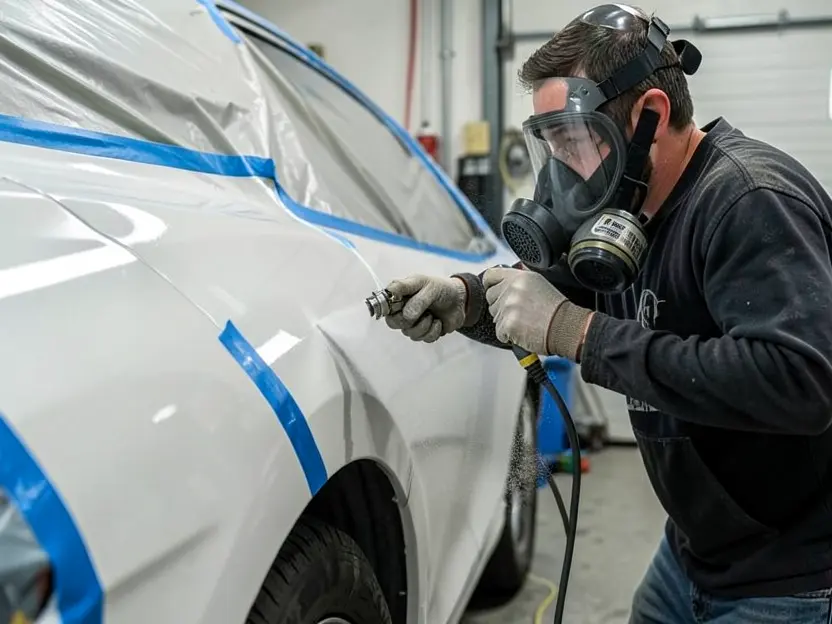
How to Airbrush a Car Panel, Step by Step
- Wash and clay the panel. Wash with soap and water, then wipe with a wax-and-grease remover or 91%+ isopropyl alcohol. Any wax or silicone left behind will cause fisheyes — small craters — in the new paint.
- Mask off the surrounding area. Use automotive masking tape and paper (not household painter’s tape, which can leave residue under heat) to cover trim, badges, and adjacent panels a few inches beyond where you plan to feather the edge.
- Thin the paint if needed. Most single-stage and basecoat automotive paints need thinning to a specific viscosity for HVLP use — check the paint manufacturer’s tech sheet for the exact ratio, since it varies by brand and by nozzle size.
- Test the spray pattern. Spray a test pass on cardboard at the distance and pressure you plan to use. Adjust the fan pattern and fluid control knobs until you get an even, oval pattern with no heavy center blob.
- Spray in overlapping passes. Keep the gun 6-8 inches from the surface and perpendicular to it — not angled — moving at a steady, even speed. Overlap each pass by about 50% over the previous one.
- Apply 2-3 light coats, not one heavy coat. Let each coat flash off (go from wet to matte-looking) for 10-15 minutes before the next. One thick coat is what causes runs and sags.
- Clean the gun immediately after use. Dried paint in the fluid passages and air cap holes is the most common reason a spray gun starts spitting or spraying an uneven pattern on its next use.
Common Mistakes That Ruin an Airbrush Paint Job
- Holding the gun too close or too far. Under 6 inches causes runs and orange peel; over 12 inches causes a dry, gritty finish from lost transfer efficiency.
- Skipping the clear coat. Most factory automotive paint is a basecoat/clear coat system — basecoat alone has no gloss or UV protection and will oxidize unevenly against the surrounding panel within months.
- Not letting coats flash off between passes. Spraying a second coat over a still-wet first coat is the top cause of runs and sags on vertical panels.
- Using an undersized compressor. Most mini HVLP guns need a steady 3-4 CFM at the working pressure. A small pancake compressor that can’t keep up will cause the pressure — and the spray pattern — to surge mid-pass.
- Spraying in direct sun or high humidity. Automotive paint is formulated for a specific temperature and humidity window (usually 60-90°F). Outside that range, solvents flash off too fast or too slow and the finish suffers.
Frequently Asked Questions
What Is the Difference Between an Airbrush and a Spray Gun for Car Paint?
A true airbrush has a 0.2-0.5mm needle and is built for fine detail, pinstriping, and graphics. Almost everything sold online as an “airbrush for car paint” is actually a mini HVLP spray gun with a larger 0.8-1.5mm nozzle, made for touch-ups and small panel repairs rather than linework.
What PSI Should I Use to Spray Car Paint?
HVLP guns are federally capped at 10 PSI measured at the air cap, which is what gives them 65-90% paint transfer efficiency. In practice this usually means setting your inlet pressure around 26-29 PSI — check your specific gun’s manual, since inlet and cap pressure aren’t the same number.
What Nozzle Size Is Best for Car Touch-Ups?
A 0.8-1.0mm nozzle is right for chip repairs, scratches, and spot work smaller than a sheet of paper. Step up to 1.2-1.5mm — 1.4mm is the closest thing to a universal automotive size — for basecoat and clear coat on a door or fender-size panel.
Can You Use an Airbrush or Mini Spray Gun to Repaint a Whole Car?
Technically yes, but it’s slow and increases the chance of visible blend lines between passes. A full respray is usually better suited to a full-size gravity-feed spray gun with a larger cup, which covers more area per pass and dries more evenly across large panels.
What Size Air Compressor Do I Need for an HVLP Touch-Up Gun?
Most mini HVLP touch-up guns need a compressor that can sustain 3-4 CFM at the working pressure, not just hit that number briefly. A small single-tank pancake compressor often can’t keep up for more than a few seconds, causing the spray pattern to surge mid-pass.
Do I Need to Thin Automotive Paint Before Spraying It Through an Airbrush?
Usually yes. Most basecoat and single-stage automotive paints are mixed too thick for a small nozzle straight out of the can and need thinning to a specific viscosity. Check the paint manufacturer’s technical data sheet for the correct ratio, since it varies by product and by nozzle size.
Conclusion
Most “airbrush for car paint” purchases are really a mini HVLP touch-up spray gun, and that’s the right tool for chip repairs, scratches, and small panel work — a true fine-art airbrush is only what you want if you’re doing pinstriping or graphics. Match the nozzle size to the job (0.8-1.0mm for touch-ups, 1.2-1.5mm for a full panel), keep pressure at or near the 10 PSI HVLP standard, hold the gun 6-8 inches from the surface, and build up 2-3 light coats instead of one heavy one.
Clean the gun immediately after every use — dried paint in the air cap is the most common reason a spray gun starts misbehaving on its next job. Get those basics right and a $35-$150 gun will produce a touch-up that blends in rather than standing out.
Products related to this article
Sponsored / affiliate links. As an Amazon Associate I earn from qualifying purchases. I may earn additional commission from eligible campaigns.