Can I Get Leather Seats Installed? Essential Guide
Yes, you can absolutely get leather seats installed in your car, even if it didn’t come with them from the factory. It’s a popular upgrade that adds a touch of luxury and can enhance your driving experience. This guide will walk you through everything you need to know to make informed decisions about this fantastic vehicle enhancement.
Ever looked at a car with plush leather seats and wished yours felt that way? Many car owners dream of this upgrade, wanting to add a touch of luxury and comfort to their daily drive. It can feel like a far-off, complicated dream, especially if your current ride has basic fabric upholstery. But what if I told you it’s a very achievable goal? You don’t need to trade in your car for a new model just to enjoy the feel and look of leather. This guide is designed to break down the process, explain your options, and help you understand exactly what’s involved. We’ll cover how it’s done, what to expect, and how to get the best results for your vehicle. Ready to transform your interior?
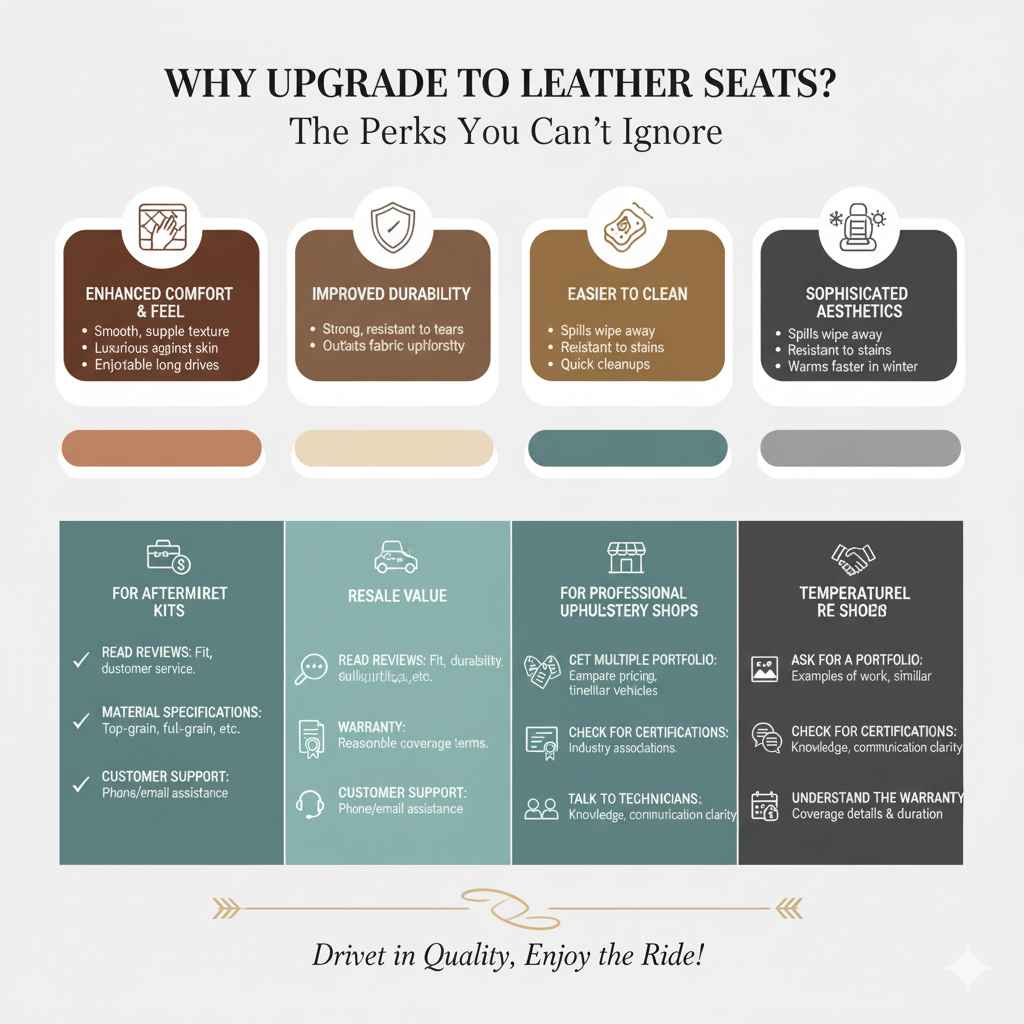
Why Upgrade to Leather Seats? The Perks You Can’t Ignore
Switching to leather isn’t just about looking fancy; it comes with a whole host of practical benefits that make driving more enjoyable. Think about those early mornings or late nights – comfort and ease of maintenance can make a big difference. Here’s why so many drivers choose to upgrade:
- Enhanced Comfort and Feel: Leather offers a smooth, supple texture that fabric can’t match. It feels luxurious against your skin, making long drives much more pleasant.
- Improved Durability: High-quality leather is incredibly strong and resistant to tears and punctures, often outlasting standard fabric upholstery.
- Easier to Clean: Spills and messes are a breeze to wipe away from leather. Unlike fabric, which can soak up liquids and stains, leather allows for quick cleanups, keeping your interior looking fresh.
- Resale Value: A well-maintained leather interior can significantly boost your car’s resale value. It’s a premium feature that buyers often look for.
- Sophisticated Aesthetics: Leather seats instantly elevate the look and feel of your car’s interior, giving it a more upscale and refined appearance.
- Temperature Regulation: While often thought to be cold, leather actually offers better regulation. It doesn’t retain heat or cold as much as fabric, meaning it warms up faster in winter and cools down quicker in summer.
Understanding Your Options: Different Ways to Get Leather
When you decide you want leather seats, you have a few main paths you can take. Each has its own advantages and considerations, so it’s good to know what each one entails before you dive in. Think about your budget, how much customization you want, and how involved you want to be in the process.
Option 1: Factory OEM Leather
This is the gold standard, but often the most expensive and least accessible option for aftermarket installation. OEM stands for Original Equipment Manufacturer. If your car model was available with a factory leather option, you might be able to source these seats. However, finding them is often challenging and costly.
Pros:
- Perfect fit and finish designed specifically for your car.
- Highest quality materials and construction.
- Authentic look as if the car came with them.
Cons:
- Very expensive; often more than aftermarket options.
- Difficult to find used or as individual parts.
- May require specialized installation that aligns with factory specs.
Option 2: Aftermarket Leather Upholstery Kits
This is the most common and versatile way to get leather seats. Companies specialize in creating custom-fit leather kits for thousands of vehicle makes and models. These kits are designed to replace your existing fabric upholstery.
Pros:
- Customization: Wide range of colors, stitching options, and perforated patterns.
- Cost-Effective: Generally more affordable than finding OEM parts.
- Designed for Fit: Kits are usually precision-cut for your specific car’s seats.
- Professional Installation Available: Many companies offer installation services, or you can find local upholstery shops.
Cons:
- DIY Installation Can Be Challenging: Requires patience, skill, and the right tools.
- Quality Varies: Research reputable brands to ensure good quality leather and construction.
- Longer Lead Times: Custom kits can take several weeks to manufacture.
Option 3: Professional Upholstery Shop Conversion
You can take your car to a professional auto upholstery shop. They will either source and install a pre-made kit for you or custom-build and install the leather upholstery from scratch.
Pros:
- Expert Installation: Ensures a perfect, professional finish.
- Flexibility: Can often accommodate unique custom design requests.
- One-Stop Shop: They handle sourcing, design, and installation.
- Warranty: Reputable shops often offer warranties on their work.
Cons:
- Highest Cost: This is typically the most expensive option due to labor and material costs.
- Time Commitment: Your car will be in the shop for a period of time.
Can I Get Leather Seats Installed? The Process Explained
So, how exactly do those old fabric seats get replaced with luxurious new leather? Whether you opt for a kit or a professional shop, the core process involves carefully removing your old upholstery and applying the new leather. Here’s a general overview:
1. Seat Disassembly
The first step involves removing the seats from your car. This usually requires basic hand tools like socket wrenches and screwdrivers to disconnect seat rails and electrical connectors (for heated or powered seats). Once out, the upholsterer or DIYer will systematically dismantle the seat covers. This means releasing clips, unbuckling straps, and carefully peeling away the old fabric. For newer cars, this can be quite complex due to integrated airbag systems.
2. Foam and Frame Preparation
With the old fabric off, the underlying foam padding and internal seat frame are exposed. This is a good time to inspect the foam for wear and tear. If necessary, foam can be repaired or replaced. The frame is checked for any damage or rust. The new leather covers will be designed to fit snugly over this structure.
3. Patterning and Cutting (for custom builds)
If a custom upholstery shop is building the leather from scratch, they will create patterns based on your original seats. These patterns are then used to precisely cut the leather hide. For aftermarket kits, this step is already done by the manufacturer, ensuring a factory-like fit.
4. Leather Application and Fitting
This is the most intricate part. The new leather pieces are carefully stretched and fitted over the seat foam. They are secured using hog rings (small metal rings that are crimped shut), staples, or retaining channels built into the seat frame. Techniques like heat guns and careful pulling are used to ensure the leather is taut and wrinkle-free, mimicking the original contours of the seat.
5. Reassembly and Installation
Once the leather is perfectly fitted and secured, the seat is reassembled. Any trim pieces, plastic covers, or seat controls are put back in place. Finally, the completed leather seats are reinstalled back into your vehicle, with all electrical connections re-secured.
DIY vs. Professional Installation: What’s Right for You?
Deciding whether to tackle this yourself or hand it over to the experts is a big part of the “can I get leather seats installed” question. It really comes down to your comfort level with tools, your patience, and your budget.
| Factor | DIY Installation | Professional Installation |
|---|---|---|
| Cost | Lower (materials only, plus tool costs if needed) | Higher (includes labor costs, often significantly more) |
| Time Commitment | Very high (multiple days possible, requires significant patience) | Moderate (typically 1-5 days depending on the shop and work) |
| Skill Level Required | Intermediate to Advanced (requires mechanical aptitude, patience, attention to detail) | Expert (handled by professionals with years of experience) |
| Tools Needed | Extensive (socket set, screwdrivers, trim removal tools, hog ring pliers, possibly a staple gun, heat gun, and safety gear) | None for the owner; the shop provides all specialized tools. |
| Risk of Error | Higher (mistakes can lead to ill-fitting covers, damage to seats, or voided warranties) | Lower (professionals have the experience to avoid common pitfalls) |
| End Result Quality | Can be excellent with skill and effort, but often slightly less polished than professional work. | Typically flawless, with a factory-standard finish. |
Tools and Materials for DIY Installation
If you’re feeling brave and want to try installing an aftermarket kit yourself, you’ll need a good set of tools and some patience. Here’s a list of essential items:
- Basic Mechanic’s Tool Set: Including various socket sizes, wrenches, and screwdrivers.
- Trim Removal Tool Kit: Plastic tools designed to pry off interior trim panels without scratching or damaging them.
- Hog Ring Pliers and Hog Rings: These are essential for securing the leather covers to the seat frame. You’ll need pliers specifically designed for hog rings and a supply of the rings themselves. You can find these at most auto parts stores or online.
- Power Staple Gun (Optional but Recommended): For some areas, a staple gun might be used instead of or in addition to hog rings.
- Heat Gun or Hair Dryer: To gently warm the leather and make it more pliable for fitting, and to help shrink out wrinkles.
- Flathead Screwdriver: Useful for tucking in edges and manipulating the material.
- Work Gloves: To protect your hands.
- Safety Glasses: Always a good idea when working on car interiors.
- Spray Adhesive (Optional): Some kits might recommend specific spray adhesives for attaching the leather to foam in certain areas.
- Replacement Foam Padding (Optional): If your original foam is damaged.
Before you begin, it’s highly recommended to watch several video tutorials specific to your car model and the aftermarket kit you purchase. Many of these kits are designed for a specific year, make, and model, so finding a video tailored to your car can be a lifesaver.
Cost of Leather Seat Installation: What to Expect
The “can I get leather seats installed” question often leads to “how much will it cost?” The price can vary significantly based on the type of leather, the complexity of your car’s seats, the brand of the kit, and whether you do it yourself or hire a professional.
Here’s a general breakdown of costs:
-
Aftermarket Leather Seat Kits (DIY):
- Basic Kits: ~$300 – $700 for most sedans and coupes. Larger vehicles like SUVs or trucks can be more.
- Premium Kits (higher grade leather, more custom options): ~$700 – $1500+.
-
Professional Upholstery Shop Installation:
- Labor Costs: Can range from $500 – $1500+ depending on the shop’s rates and the time required.
- Total with Kit: When you factor in a good quality kit and professional labor, the total cost can range from $1200 to $3000 or more for a full interior.
- Factory OEM Seats (if found): These are often the most expensive, sometimes costing $2000 – $5000+ for just the seats, plus installation, if you can even find them.
Factors influencing cost:
- Leather Grade: Top-grain, full-grain, or embossed leather will be more expensive than bonded leather or vinyl/leather combinations.
- Vehicle Size and Seat Complexity: More seats (e.g., captain’s chairs in the second row), more intricate seat designs, and extra features like bolsters or lumbar support will increase costs.
- Color and Stitching Options: Two-tone colors, custom stitching patterns, or embossed logos usually add to the price.
- Heated/Cooled Seats: If you’re adding heating or cooling elements, this will add to the overall cost and complexity, requiring professional installation for safety and proper function.
For reliable information on the best leather types and how they’re processed, you can check out resources like Leather & Hide Progress, which offers insights into leather fundamentals.
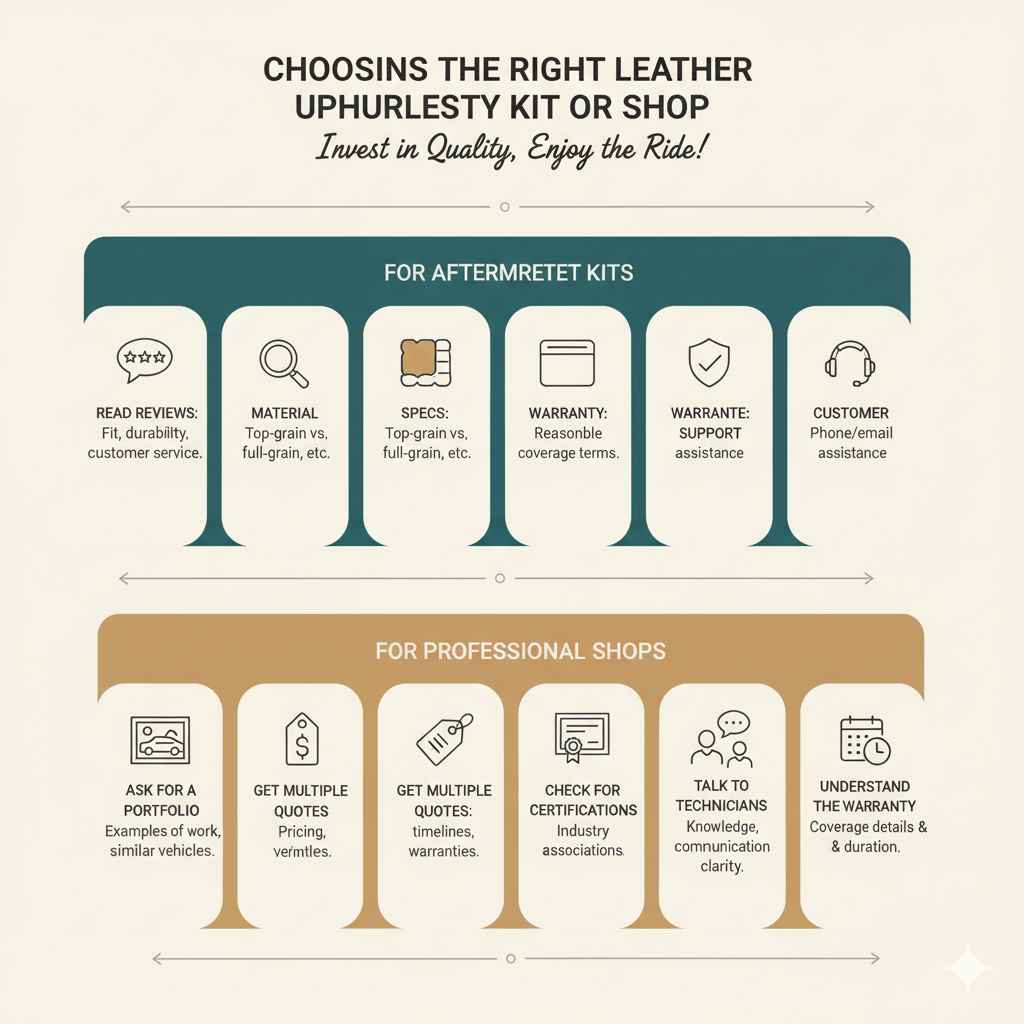
Choosing the Right Leather Upholstery Kit or Shop
Since you’re investing in your car’s interior, it’s worth taking the time to choose quality. Whether you’re buying a kit to install yourself or hiring a shop, a little research goes a long way.
For Aftermarket Kits:
- Read Reviews: Look for customer reviews online, paying attention to comments about fit, durability, and customer service.
- Check Material Specifications: Understand what type of leather you’re buying (top-grain, full-grain, etc.) and compare it to other options.
- Warranty: A good product will come with a reasonable warranty.
- Customer Support: Do they offer phone or email support if you run into issues?
For Professional Upholstery Shops:
- Ask for a Portfolio: See examples of their previous work, especially on similar vehicles.
- Get Multiple Quotes: Don’t go with the first shop you find. Compare pricing, timelines, and warranties.
- Check for Certifications: While not always necessary, some professional automotive upholstery associations exist.
- Talk to the Technicians: Gauge their knowledge and how well they communicate. Do they answer your questions clearly?
- Understand the Warranty: What does it cover, and for how long?
Maintaining Your New Leather Seats
Congratulations! You’ve successfully upgraded your car’s interior to luxurious leather. To keep them looking and feeling great for years to come, a little regular maintenance is key. Leather is a natural material and needs care, just like the skin on your hands.
- Regular Cleaning: Wipe down your seats with a damp microfiber cloth at least once a week to remove dust and surface dirt.
- Deep Cleaning: Use a dedicated automotive leather cleaner every 3-6 months. Apply a small amount to a microfiber applicator pad and gently work it into the leather, especially in high-contact areas like the seat bolsters and steering wheel (if applicable). Wipe away excess with a clean cloth.
- Conditioning: After cleaning, apply a quality leather conditioner. This replenishes essential oils, keeping the leather supple and preventing it from drying out, cracking, or fading. Apply a thin, even layer and buff off any excess. Many products are available, and it’s a good idea to test a small, inconspicuous area first. For more on leather care, you might find guidance from a reputable source like Tannery Row, which offers general leather care tips applicable to automotive interiors.
- Protect from Sunlight: Prolonged exposure to direct sunlight can cause leather to fade and dry out. Use a sunshade when parked, or consider a car cover.
- Address Spills Immediately: Blot up any spills as quickly as possible with a clean, absorbent cloth. Avoid rubbing, which can spread the stain.
- Avoid Harsh Chemicals: Never use household cleaners, ammonia, bleach, or abrasive products on your leather seats, as they can cause permanent damage.
Frequently Asked Questions (FAQ)
Q1: Can I get leather seats installed on any car?
A1: Generally, yes. Most vehicles, from older models to newer ones, can have their fabric seats replaced with leather upholstery. The availability of pre-made kits or the complexity of custom work might vary, but it’s a widely adaptable upgrade.
Q2: How long does it take to install leather seats?
A2: If you’re doing it yourself, it can take anywhere from 10 to 30 hours or even more, depending on your skill, patience, and the complexity of the seats. For professional installation, a shop typically needs your car for 1 to 3 days.