CRV Codes Back On? A Proven & Essential Reboot Guide
After installing a new battery in your Honda CR-V, warning lights often appear because the vehicle’s computer systems have lost power and need to recalibrate. The fix is simple: start the engine, turn the steering wheel fully left and right, and then drive straight for a short distance (under 20 mph). This reboots the sensors, turning the lights off.
Hello there, I’m Md Meraj. Seeing a dashboard full of warning lights right after you’ve done something good for your car—like installing a new battery—is incredibly frustrating. You might think you did something wrong or broke something expensive. Take a deep breath! This is a very common and normal situation for many modern cars, especially the Honda CR-V. Your car isn’t broken; its brain just needs a simple reboot to get its memory back.
Think of it like waking up in a new room; you need a moment to figure out where you are. Your CR-V’s safety systems are doing the same thing. In this guide, I’ll walk you through the exact, proven steps to clear those lights yourself. No complicated tools, no confusing jargon, and no trip to the dealership needed. Let’s get your dashboard back to normal and your mind at ease.
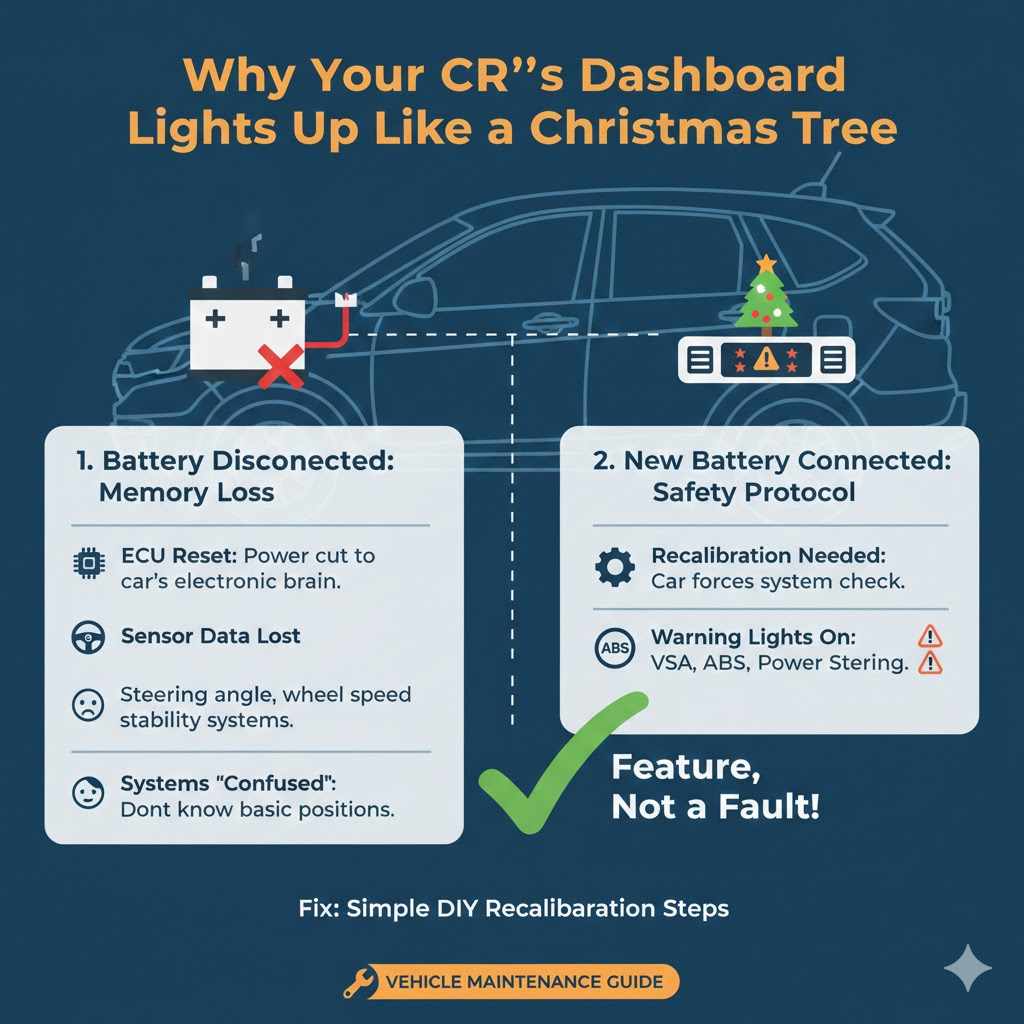
Why Your CR-V’s Dashboard Lights Up Like a Christmas Tree
When you disconnect the old battery, you cut power to your CR-V’s electronic brain, the Engine Control Unit (ECU). This unit, along with several other control modules, stores important data about your car’s systems. This includes information from the steering angle sensor, wheel speed sensors, and the systems that manage stability and braking.
When the power is cut, this memory is temporarily lost. Once you connect the new battery and start the car, these systems wake up confused. They don’t know the position of the steering wheel or if the wheels are turning correctly. As a safety measure, they switch on their warning lights to tell you, “Hey, I need to be recalibrated before I can work properly!”
It’s a Feature, Not a Fault
This is not a sign of a bad battery or a mistake during installation. It’s a built-in safety protocol. The car is essentially forcing a system check to ensure everything is aligned and working together before it allows features like Vehicle Stability Assist (VSA) or power steering to operate. The good news is that the recalibration process is something you can trigger yourself with a few simple actions.
The Common Warning Lights You Might See
After a battery swap, you’ll likely see a specific group of lights appear together. Understanding what they are can help reduce any anxiety. Here are the most common culprits:
- VSA (Vehicle Stability Assist) Light: This system helps prevent skids and keep the car stable. It relies on the steering angle and wheel speed sensors, which are the first to need a reboot.
- EPS (Electric Power Steering) Light: Your CR-V uses electric power steering. The system needs to know the exact position of the steering wheel to provide the right amount of assistance.
- ABS (Anti-lock Braking System) Light: This system works closely with the VSA and wheel speed sensors. If it doesn’t get a clear signal from them, it will light up.
- Collision Mitigation Braking System (CMBS) Problem Light: This advanced safety feature uses sensors that also need to be recalibrated.
- Adaptive Cruise Control (ACC) Problem Light: Similar to the CMBS, this system needs its sensors to be fully functional.
Seeing all these lights at once looks scary, but they are all linked. Once you recalibrate the core systems (steering and VSA), the others will typically clear as well.
The Simple Reboot: A Step-by-Step Guide to Clear the Codes
Ready for the fix? This process should take less than five minutes. You don’t need any special tools—just your car key and a safe, clear space to drive for a few moments.
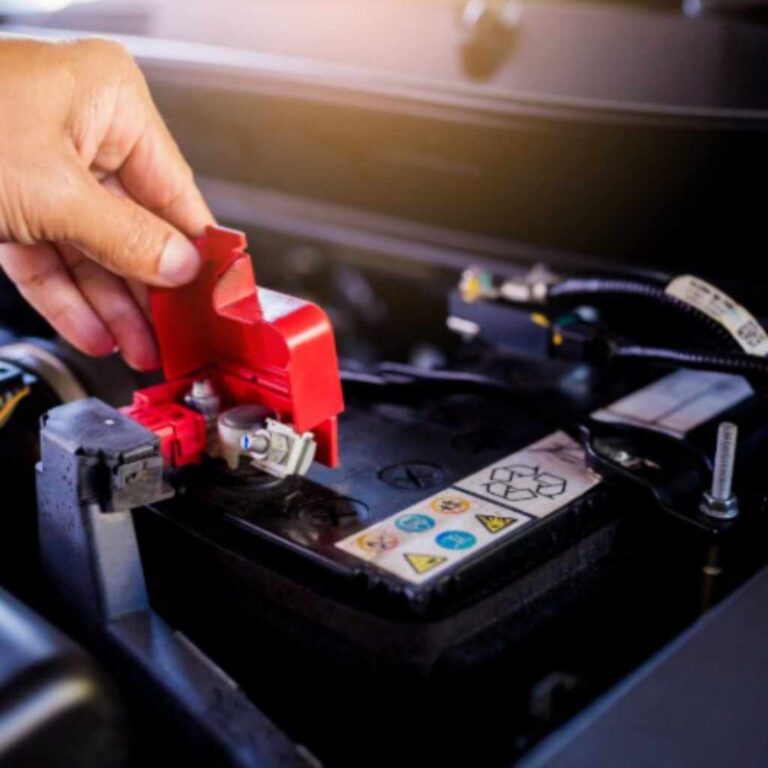
Step 1: Ensure the New Battery is Secure
Before you start, do a quick double-check. Make sure the battery terminals are clean and tight. A loose connection can cause a host of electrical gremlins. The positive (red, +) and negative (black, -) clamps should not wiggle at all. A snug fit is crucial for a stable power supply.
Step 2: Start the Engine and Let It Idle
Get in your CR-V and start the engine. Let it run in Park for about 30 seconds. This allows the car’s computer systems to power up completely and recognize that they are in a “learning” mode. The warning lights will still be on at this point. That’s perfectly normal.
Step 3: Calibrate the Steering Angle Sensor
This is a key step. While the car is still in Park, turn the steering wheel all the way to the left until it stops. Don’t force it, just turn it until it reaches its lock point. Hold it there for a second. Then, turn the steering wheel all the way to the right until it stops. Hold it again for a second. Finally, return the wheel to the center (straight-ahead) position.
This simple action tells the steering angle sensor its full range of motion. For many drivers, the Electric Power Steering (EPS) light may turn off immediately after this step.
Step 4: The Short, Straight Drive
Now it’s time to recalibrate the VSA and wheel speed sensors. You need to drive the car in a straight line at a low, steady speed. Find a safe, flat, and straight section of road, like a quiet street or an empty parking lot.
- Put the car in Drive.
- Begin driving straight ahead.
- Maintain a speed between 15 and 25 mph. It’s important not to go too fast or too slow.
- Drive for just a few hundred feet. You should notice the VSA and other remaining lights turn off on the dashboard as you drive.
This short drive allows the wheel speed sensors to send consistent signals to the computer, confirming that the car is moving straight and that all sensors are in agreement. The system then says, “Okay, everything is aligned,” and turns off the warning lights.
Step 5: Park and Restart
Once the lights have gone off, find a safe place to pull over and park. Turn the engine off completely. Wait about 10 seconds, then start the engine again. This final restart confirms that the new calibrations are saved in the computer’s memory. Your dashboard should now be clear of all warning lights.
What If The Lights Are Still On? Troubleshooting Tips
In 95% of cases, the steps above will solve the problem. But if you find that one or more lights are stubbornly staying on, don’t panic. Here are a few things to check.
1. Repeat the Process
Sometimes it just needs a second try. Technology can be finicky. Go through the steps again carefully, paying close attention to the steering wheel calibration and the short, straight drive. Ensure your speed is steady during the drive.
2. Check Battery Terminals Again
A weak or intermittent connection can prevent the system from resetting properly. Make absolutely sure the battery terminals are not only tight but also clean. Any corrosion (a white or greenish powdery substance) can interfere with the electrical flow. If you see any, disconnect the battery (negative first) and clean the posts and clamps with a wire brush or a terminal cleaning tool.
3. Use an OBD-II Scanner to Clear “Soft Codes”
Sometimes, the system stores a “soft code” or “pending code” that doesn’t clear automatically. An OBD-II scanner is an affordable tool that plugs into a port under your dashboard. You can use it to read and clear diagnostic trouble codes (DTCs).
If you have one, plug it in, read the codes (even if no “Check Engine” light is on), and use the “Clear Codes” or “Erase Codes” function. After clearing them, start the car to see if they stay off. This can often resolve a lingering issue.
4. When to See a Professional
If you’ve tried everything and the lights remain on, it could indicate an underlying issue that just happened to coincide with your battery change. It might be a faulty wheel speed sensor or a genuine problem with one of the safety systems. At this point, it’s best to have the vehicle inspected by a qualified mechanic. They have advanced diagnostic tools that can pinpoint the exact cause.
A Deeper Look: Which CR-V Systems Are Affected?
To help you understand exactly what’s happening inside your car, here’s a breakdown of the key systems that need this reboot procedure and why. These systems are part of Honda’s advanced safety suite, known as Honda Sensing.
| System | What It Does | Why It Needs a Reboot |
|---|---|---|
| Vehicle Stability Assist (VSA) | Helps prevent the car from skidding or spinning out during sharp turns or on slippery surfaces by adjusting engine power and applying individual brakes. | It relies heavily on the steering angle sensor and wheel speed sensors. Without knowing the driver’s intended direction (steering) and what the wheels are actually doing (speed), it cannot function. |
| Electric Power Steering (EPS) | Provides steering assistance, making it easier to turn the wheel. It adjusts the level of assistance based on vehicle speed. | The EPS needs to know the center position and the full left/right range of the steering wheel to work correctly. The lock-to-lock turn recalibrates this. |
| Anti-lock Braking System (ABS) | Prevents the wheels from locking up during hard braking, allowing the driver to maintain steering control. | The ABS controller needs consistent data from all four wheel speed sensors to detect a potential wheel lock. The short drive confirms these sensors are working. |
| Honda Sensing Suite (CMBS, ACC, etc.) | Includes features like Collision Mitigation Braking and Adaptive Cruise Control, which use radar and cameras. | These advanced systems are integrated with the core VSA and steering systems. If the core systems report an error, the advanced features will disable themselves as a precaution. For more on these technologies, you can read about them on the National Highway Traffic Safety Administration (NHTSA) website. |
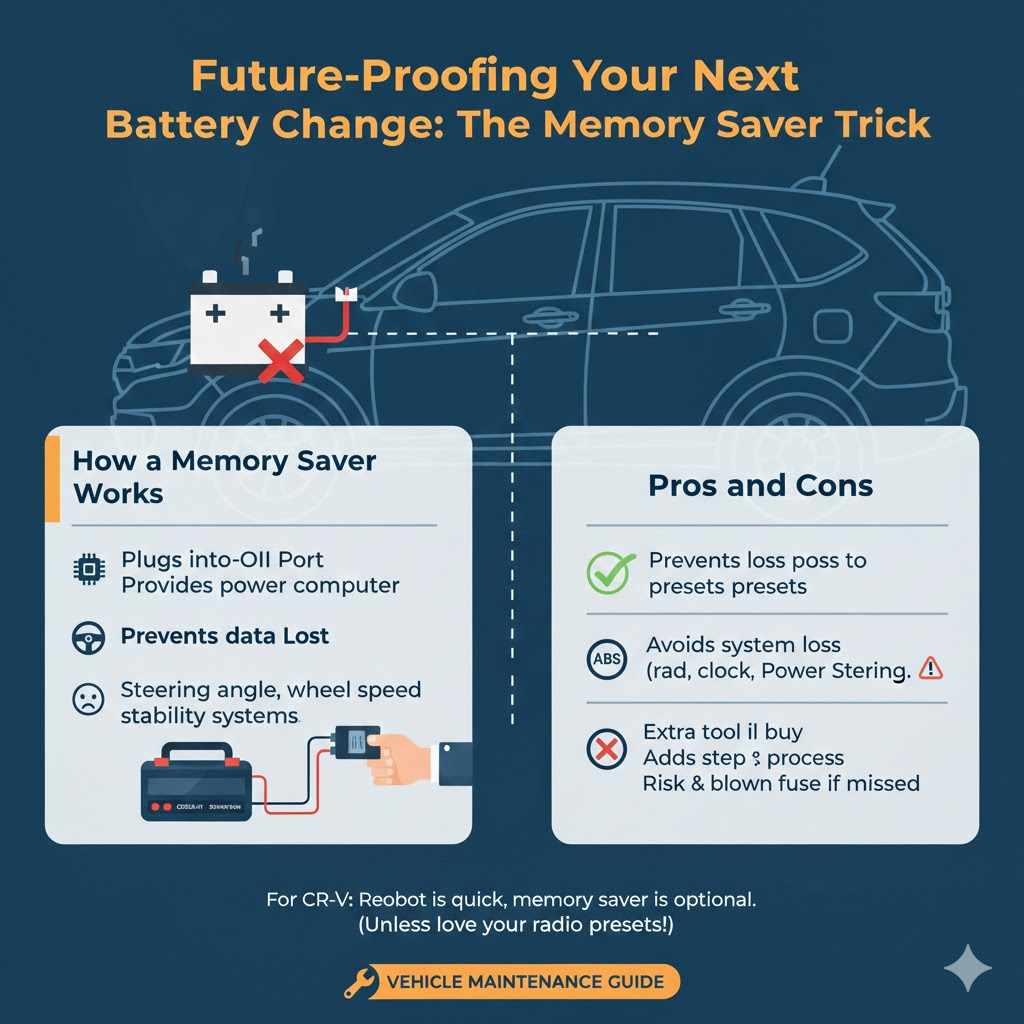
Future-Proofing Your Next Battery Change: The Memory Saver Trick
If you want to avoid this entire reboot process next time, there’s a handy little tool called a “computer memory saver” or “memory keeper.” It’s an inexpensive device that keeps a small amount of power flowing to the car’s computer systems while the main battery is disconnected.
How a Memory Saver Works
Most memory savers plug into your car’s OBD-II port or the 12V cigarette lighter socket. You connect it to a separate power source (like a small portable jump starter or another 9V battery) before you disconnect the main car battery. This trickle of power is enough to keep the ECU, radio presets, clock, and sensor calibrations intact.
Pros and Cons of Using a Memory Saver
Is it worth getting one? Here’s a quick look:
| Pros | Cons |
|---|---|
| Prevents the loss of radio presets, clock settings, and trip computer data. | It’s an extra tool you need to buy and store. |
| Avoids the need for the system recalibration procedure. | Adds an extra step to the battery replacement process. |
| Very affordable and easy to use. | If not used correctly, it may not work, or a blown fuse could result. |
For most CR-V owners, the reboot procedure is so quick and easy that a memory saver isn’t strictly necessary. However, if you prefer the convenience of not having to reset anything, it’s a great tool to have in your garage.
Frequently Asked Questions (FAQ)
Is it safe to drive my CR-V with these warning lights on?
Yes, it is generally safe to drive for the short distance required for the reboot procedure, as long as the car feels normal. The steering and brakes will function, but the electronic assistance features (like VSA and ABS) will be inactive. Avoid high speeds or aggressive driving until the lights are off.
Why did my brand-new battery cause this problem?
The new battery didn’t cause a problem—it was the act of disconnecting the old battery that did. Cutting power to the car’s computers erases their short-term memory, forcing them to relearn sensor positions. This happens with any battery replacement on modern vehicles.
How long does the CR-V reboot process take?
The entire process, from starting the car to finishing the short drive, usually takes less than 5 minutes. The lights on the dashboard often turn off within the first 30 seconds of driving straight.
Do I need a special tool to reset the codes?
No, for this specific issue after a battery change, you do not need any special tools. The reset procedure is completed using only the steering wheel and by driving the vehicle a short distance. An OBD-II scanner is only a troubleshooting step if the manual reset fails.
Will this reset procedure work for other Honda models?
Yes, this procedure is very common for many modern Honda vehicles, including the Accord, Civic, Pilot, and Odyssey. The same principle of recalibrating the steering angle and VSA sensors after a power loss applies to them as well.
What’s the difference between a “soft code” and a “hard code”?
A “soft code” (or pending code) is a temporary fault detected by the computer that may clear on its own after a few drive cycles if the issue doesn’t reappear. The warning lights from a battery change are like soft codes. A “hard code” indicates a persistent, confirmed fault (like a broken sensor) and will usually trigger the “Check Engine” light, which will not go away until the underlying problem is fixed.
Could a loose battery terminal cause these lights to come on?
Absolutely. A loose or corroded battery terminal can cause intermittent power loss, which can confuse the car’s computers and trigger the same set of warning lights. This is why checking the terminals is always the first and most important step in troubleshooting.
Conclusion: You’re in Control
Seeing your CR-V’s dashboard light up unexpectedly can be alarming, but now you know the secret: it’s rarely a sign of a real problem after a battery swap. It’s simply your car asking for a quick re-introduction to its own sensors. By following the simple reboot guide—turning the wheel lock-to-lock and taking a short, straight drive—you have the power to solve this issue yourself in just a few minutes.
You’ve not only saved yourself a trip to the mechanic but have also gained a deeper understanding of how your vehicle works. Taking charge of simple maintenance tasks like this builds confidence and makes car ownership less stressful and more rewarding. Keep this guide handy for your next battery change, and you’ll be able to handle it like a pro. Happy driving!