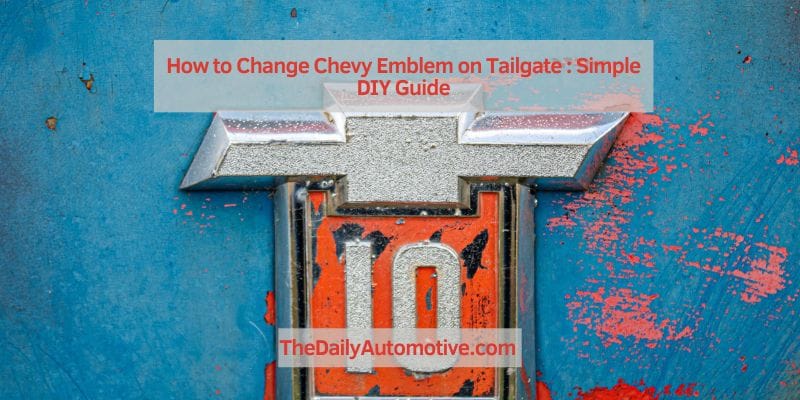
How to Change Chevy Emblem on Tailgate: Simple DIY Guide
To change the Chevy emblem on the tailgate, remove the old emblem and attach the new one securely. Changing the Chevy emblem on the tailgate is a simple process that can enhance the look of your vehicle.
Whether you want to replace a damaged emblem or upgrade to a newer design, this guide will walk you through the steps. By following these instructions, you can complete the task quickly and easily. So, let’s get started and learn how to change the Chevy emblem on the tailgate.
Tools And Materials Needed
When it comes to changing the Chevy emblem on your tailgate, you’ll need a few tools and materials to get the job done right. Whether you’re upgrading the emblem or replacing it due to wear and tear, having the right tools and materials will make the process smooth and efficient. In this section, we’ll provide you with a comprehensive list of the necessary tools and required materials for changing the Chevy emblem on your tailgate.
List Of Necessary Tools
Before you begin changing the Chevy emblem on your tailgate, make sure you have these essential tools handy:
- Screwdriver set – A set of screwdrivers with different sizes and types will be required for removing the existing emblem.
- Tape measure – This tool will come in handy when you need to ensure proper alignment and positioning of the new emblem.
- Trim removal tool – To avoid any damage to your tailgate or the emblem itself, a trim removal tool will be necessary for prying off the old emblem.
- Clean cloth or microfiber towel – You’ll need a clean cloth or microfiber towel for wiping and cleaning the area where the emblem will be placed.
- Adhesive remover – In case there is any residual adhesive left on the tailgate after removing the old emblem, an adhesive remover will help clean it up.
List Of Required Materials
In addition to the tools, you’ll also need the following materials to successfully change the Chevy emblem on your tailgate:
- New Chevy emblem – Choose a high-quality replacement emblem that matches the make and model of your Chevy.
- Adhesive or emblem tape – To securely attach the new emblem to your tailgate, you’ll need adhesive or emblem tape specifically designed for automotive applications.
- Alcohol wipes – Before applying the adhesive, use alcohol wipes to thoroughly clean the surface of the tailgate for optimal adhesion.
- Protective gloves – It’s always a good idea to wear protective gloves to prevent any injuries or chemical reactions while handling the adhesive or adhesive remover.
Step-by-step Guide To Changing The Chevy Emblem
If you’re looking to give your Chevy vehicle a fresh new look, changing the Chevy emblem on the tailgate can make a big difference. Whether you want to replace your old emblem with a newer model or customize your Chevy with a special emblem, this step-by-step guide will help you through the process.
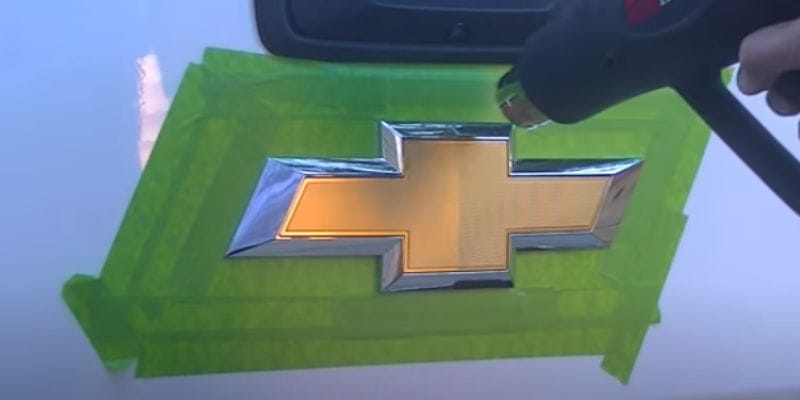
Step 1: Removing The Old Chevy Emblem
Before installing a new Chevy emblem, you’ll need to remove the old one. Here’s how you can do it:
- Open the tailgate of your Chevy.
- Locate the screws or clips that secure the emblem in place.
- Use a screwdriver or a pry tool to carefully remove the screws or clips.
- Gently pull the old emblem away from the tailgate, being careful not to damage the surface.
Step 2: Cleaning The Surface
Ensuring a clean surface is crucial for the proper installation of the new Chevy emblem. Follow these steps to clean the tailgate surface:
- Wipe the area where the old emblem was removed with a clean, lint-free cloth to remove any dirt or debris.
- Use a mild detergent and water solution to wash the area thoroughly.
- Rinse the surface with clean water and dry it with a soft cloth.
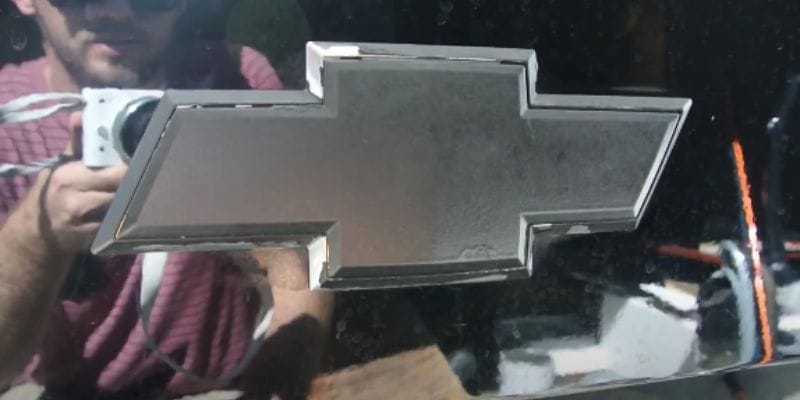
Step 3: Preparing The New Chevy Emblem
Preparing the new emblem before installation is essential. Follow these steps to ensure it is ready:
- Inspect the new Chevy emblem for any imperfections or damage.
- If necessary, clean the emblem with a mild detergent and water solution to remove any dirt or residue.
- Dry the emblem thoroughly with a soft cloth.
Step 4: Installing The New Chevy Emblem
Now it’s time to attach the new Chevy emblem to the tailgate. Here’s how:
- Position the new emblem on the cleaned surface, aligning it properly.
- Press firmly on the emblem to ensure it adheres securely.
- If provided with adhesive tape, remove the backing and press firmly once again.
- Ensure the emblem is level and centered.
Step 5: Finishing Touches
After installing the new Chevy emblem, make sure it looks its best by following these steps:
- Stand back and examine the emblem from a distance to ensure it is aligned correctly.
- Use a clean, lint-free cloth to remove any fingerprints or smudges on the emblem’s surface.
- Inspect the emblem periodically to ensure it remains securely in place.
Conclusion
Replacing the Chevy emblem on your tailgate can be a simple and rewarding DIY project. By following the step-by-step instructions provided in this blog post, you can easily give your vehicle a refreshed look. Remember to gather the necessary tools and take your time to carefully remove the old emblem and install the new one.
With a little patience and attention to detail, you’ll have your Chevy looking good as new in no time.