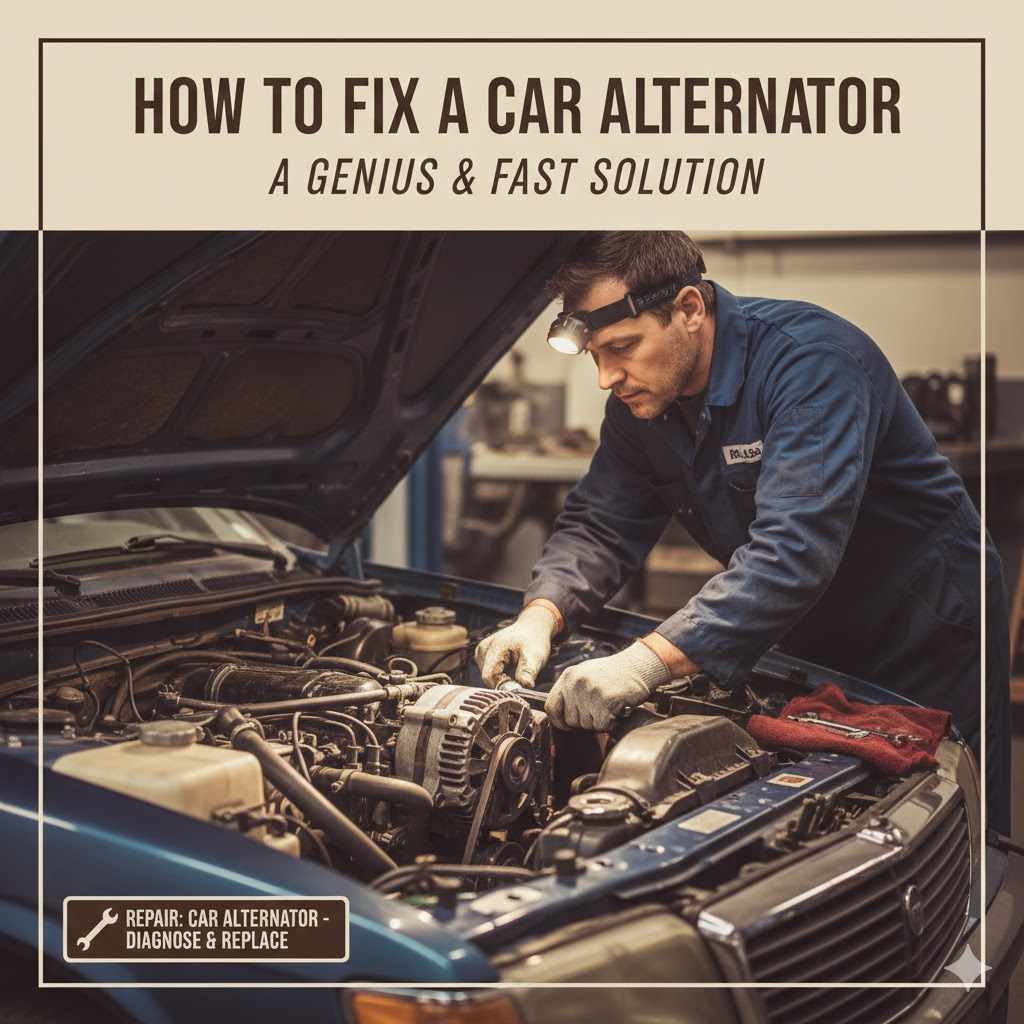
How To Fix A Car Alternator: A Genius & Fast Solution
To fix a car alternator, first confirm it’s the problem by testing your battery voltage with a multimeter. With the car off, it should be 12.6V. With it running, it should be 13.7-14.7V. If the running voltage is low or doesn’t rise, the alternator is likely bad. A temporary fix is a gentle tap with a hammer to free stuck brushes.
Is your car acting strange? Maybe the lights are dim, the radio is cutting out, or you see that dreaded battery warning light on your dashboard. These are classic signs of a car alternator problem. It can be a stressful situation, but don’t worry. You’ve come to the right place.
Many people think fixing an alternator is a job only for a professional mechanic. But what if I told you that you could diagnose the problem yourself? And in some cases, even apply a quick, temporary fix to get you to safety. In this guide, I’ll walk you through everything, step by step. We’ll keep it simple, clear, and focused on solutions you can handle.
What Exactly Does a Car Alternator Do?
Think of your car’s alternator as a small power plant. While the battery provides the initial jolt to start your car, the alternator takes over once the engine is running. Its main job is to generate electricity to power everything in your car—the headlights, radio, air conditioning, and all the electronics. At the same time, it recharges your battery, keeping it ready for the next time you start the car. Without a working alternator, your car is just running on battery power, which will drain very quickly.
Key Functions of an Alternator:
- Generates electrical power for your car’s systems.
- Recharges the car battery while you drive.
- Keeps all electronic components running smoothly.

Top Signs of a Bad Alternator
Your car is pretty good at telling you when something is wrong. You just need to know what to look (and listen) for. Here are the most common symptoms that point to a failing alternator.
- Dashboard Warning Light: This is the most obvious sign. You might see a light shaped like a battery, or it might say “ALT” or “GEN.” This light specifically signals an issue with the charging system.
- Dim or Flickering Lights: If your headlights or interior lights seem weaker than usual, or if they flicker and change brightness as you rev the engine, the alternator is struggling to provide consistent power.
- Slow or Malfunctioning Electronics: Things like your power windows moving slowly, your radio acting up, or your heated seats not getting warm are all signs of low electrical power.
- A Dead Battery: If your car won’t start and you need a jump, it could be the battery. But if you jump-start it and it dies again shortly after, the alternator is the likely culprit because it’s not recharging the battery.
- Strange Noises: A whining or grinding sound coming from the engine bay can indicate a problem. This noise often comes from worn-out bearings inside the alternator.
- Smell of Burning Rubber or Wires: A hot, burning smell could mean the alternator’s drive belt is slipping and creating friction, or that the electrical wires inside are overheating. Address this immediately, as it can be a fire hazard.
Is It the Alternator or the Battery? A Simple Test
This is the number one question people have. A dead battery and a bad alternator have very similar symptoms. Wasting money on a new battery when the alternator is the real problem is frustrating. Luckily, a simple tool called a multimeter can give you a clear answer in minutes.
A multimeter measures voltage, and it’s the key to our “genius” diagnosis. You can buy one at any auto parts or hardware store for a low price. Here’s how to test your system.
The Multimeter Test: Step-by-Step
- Set Up Your Multimeter: Turn the dial on your multimeter to “DCV” or “V-” with the setting at 20. This sets it to measure DC voltage, which is what cars use.
- Test the Battery (Engine Off): Connect the red probe of the multimeter to the positive (+) terminal of your battery and the black probe to the negative (-) terminal. A fully charged, healthy battery should read around 12.4 to 12.6 volts. If it’s below 12.2 volts, your battery is low on charge.
- Test the Alternator (Engine On): Now, start your car. Be careful of moving engine parts. Reconnect the multimeter probes to the battery terminals in the same way. With the engine running, a healthy alternator should be putting out between 13.7 and 14.7 volts.
Use this simple table to understand your readings:
| Test Condition | Voltage Reading | What It Means |
|---|---|---|
| Engine Off | 12.4V – 12.6V | Your battery is healthy and charged. |
| Engine Off | Below 12.2V | Your battery is weak or needs charging. |
| Engine On | 13.7V – 14.7V | Your alternator is working correctly. |
| Engine On | Below 13.5V or same as engine-off reading | Your alternator is not charging. This is likely the problem. |
| Engine On | Above 15V | Your alternator is overcharging, which can damage the battery. |
Tools You’ll Need for the Job
Before we dive into the fix, let’s gather a few basic tools. You don’t need a professional garage, just a few key items.
- Safety Glasses and Gloves: Always protect yourself when working on a car.
- Multimeter: Essential for diagnosing the problem.
- Socket and Wrench Set: You’ll need this to disconnect the battery and potentially loosen belts or bolts.
- Rubber Mallet or Small Hammer: For our “fast solution” trick.
- Flashlight: To help you see what you’re doing in the engine bay.
Safety First! Important Precautions
Your safety is the most important thing. Before you touch anything under the hood, follow these simple but critical rules.
- Work in a Safe Area: Make sure your car is parked on a flat, level surface and that the parking brake is on.
- Let the Engine Cool Down: Engine parts can get very hot. Give your car at least 30 minutes to cool off before you begin.
- Disconnect the Battery: This is non-negotiable. Before working on any electrical component, you must disconnect the negative (-) battery terminal. This prevents electrical shocks and protects your car’s computer. Use a wrench to loosen the nut on the negative terminal and slide the cable off. Tuck it away so it can’t accidentally touch the terminal. You can find more vehicle safety tips at the National Highway Traffic Safety Administration (NHTSA) website.
The “Genius & Fast Solution”: How to Fix a Car Alternator
Now we get to the heart of the matter. We’ll start with simple checks and then move to the famous “fast” trick that can get you out of a jam.
Step 1: Perform a Visual Inspection
Sometimes the problem is something simple. Open the hood and take a look at the alternator and the belt connected to it (this is called the serpentine belt).
- Check the Serpentine Belt: Is the belt tight? Is it cracked, frayed, or shiny? A loose or worn-out belt can’t spin the alternator’s pulley correctly, which means it won’t generate power.
- Check the Wiring: Look at the wires connected to the back of the alternator. Are they tight? Do you see any corrosion or frayed wires? A bad connection can stop the electricity from flowing.
Step 2: Check the Alternator Belt Tension
The belt needs to be just right—not too tight, not too loose. Find a spot on the belt halfway between two pulleys. Press down on it with your thumb. It should only move about half an inch. If it moves more than that, it’s too loose. If it barely moves at all, it might be too tight, which can damage the bearings.
Step 3: The “Fast” Fix: The Hammer Tap Trick
Okay, this might sound a little crazy, but it can actually work as a temporary fix. It’s a classic trick that has saved many drivers stranded on the side of the road. This is not a permanent solution, but it might get your alternator working long enough to drive home or to a repair shop.
Why it works: Inside the alternator, there are small components called “brushes” that conduct electricity. Sometimes, these brushes can get worn down and stuck. A gentle jolt can knock them back into place, allowing them to make contact and generate power again.
How to Do It:
- With the engine running, locate the body of the alternator. It’s usually a metal, cylindrical-shaped component.
- Take your rubber mallet or small hammer.
- Give the alternator’s solid metal case a few firm (but not forceful!) taps. Don’t hit any plastic parts, wires, or the pulley.
- As you tap it, watch your dashboard for the battery light. If the light goes off or your headlights get brighter, you’ve successfully nudged the brushes back into contact!
Important Note: This is a temporary fix. If this trick works, it’s a clear sign your alternator is on its last legs. You need to get it replaced as soon as possible.
When the Fix Means a Replacement
For most modern cars, the alternator is sold as a sealed unit. Repairing the internal components is a complex job that requires special tools and expertise. For a beginner, the most reliable and long-term “fix” for a failing alternator is to replace the entire unit.
If your multimeter test showed low voltage and the hammer trick didn’t work (or only worked for a moment), it’s time for a replacement.
A Quick Guide to Replacing Your Alternator
While this is a slightly more advanced job, it’s definitely achievable for a determined DIYer. Here’s a simplified overview of the steps.
- Disconnect the Battery: We already covered this in the safety section, but it’s so important it’s worth repeating. Always disconnect the negative terminal first.
- Loosen and Remove the Serpentine Belt: You will need to locate the belt tensioner. This is a spring-loaded pulley that keeps the belt tight. Using a wrench or a special belt tensioner tool, you’ll rotate the tensioner to release the pressure, allowing you to slip the belt off the alternator pulley. It’s a good idea to draw a quick diagram of how the belt is routed around all the pulleys before you take it off.
- Disconnect Wires and Unbolt the Alternator: Remove the electrical connectors and the main power cable from the back of the old alternator. Then, locate the mounting bolts that hold the alternator to the engine bracket and remove them. The alternator may be heavy, so be ready to support its weight.
- Install the New Alternator: Put the new alternator in place and secure it with the mounting bolts. Don’t tighten them all the way just yet.
- Reconnect Wires and Reinstall the Belt: Attach the electrical connectors to the new alternator. Then, use your diagram to route the serpentine belt back over all the pulleys. Use your wrench on the tensioner to release the tension so you can slide the belt back onto the new alternator’s pulley.
- Tighten Everything and Reconnect the Battery: Tighten the alternator mounting bolts to the manufacturer’s recommended torque. Make sure the belt is properly seated on all pulleys. Finally, reconnect the negative battery terminal.
- Start the Car and Check: Start the engine and check your work. The battery warning light should be off. Use your multimeter again to confirm the new alternator is putting out a healthy 13.7-14.7 volts.
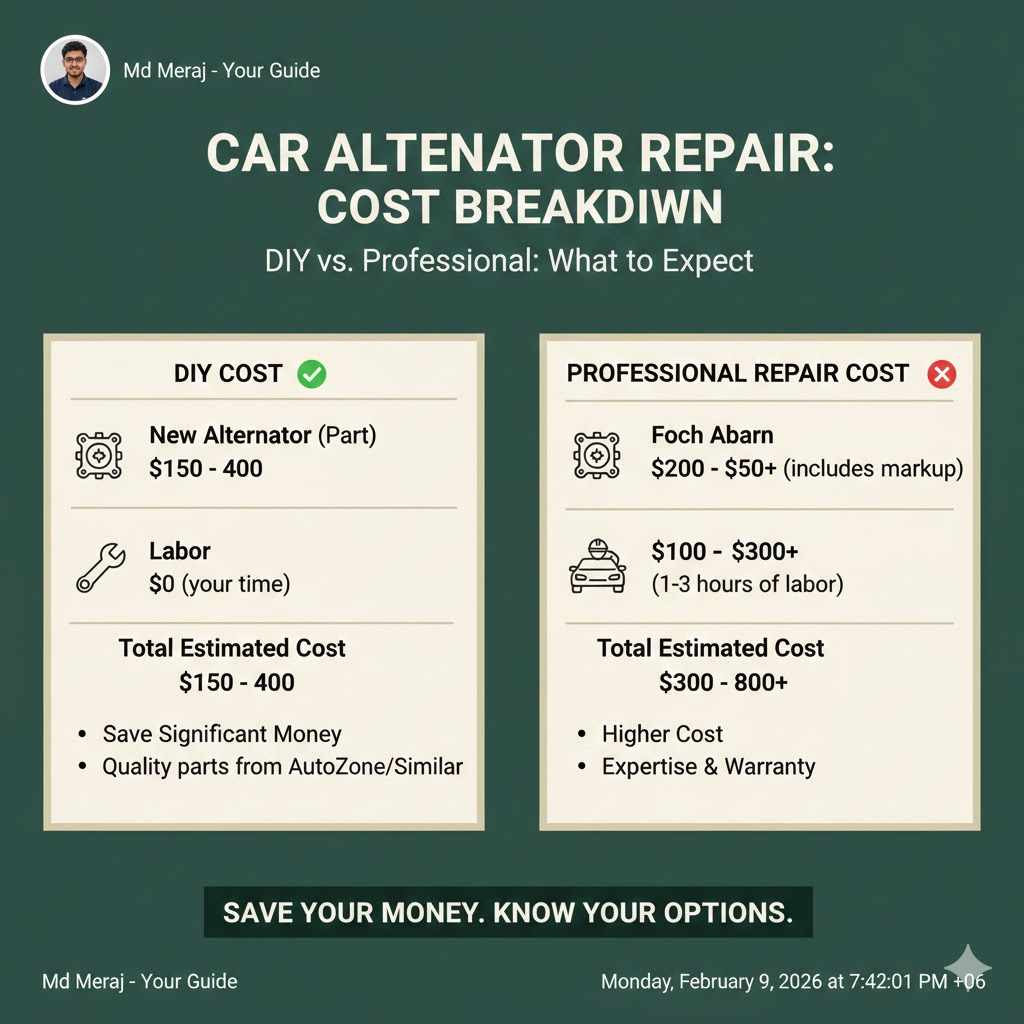
How Much Does It Cost to Fix an Alternator?
The cost can vary a lot depending on your car and whether you do it yourself or hire a professional. Here is a general breakdown to help you budget.
| Cost Component | DIY Cost | Professional Repair Cost |
|---|---|---|
| New Alternator (Part) | $150 – $400 | $200 – $500+ (includes markup) |
| Labor | $0 (your time) | $100 – $300+ (1-3 hours of labor) |
| Total Estimated Cost | $150 – $400 | $300 – $800+ |
As you can see, doing it yourself can save you a significant amount of money. You can find quality replacement parts from trusted retailers like AutoZone or similar auto parts stores.
Frequently Asked Questions (FAQ)
Here are some quick answers to common questions about car alternators.
1. Can I drive my car with a bad alternator?
You can, but not for long. Your car will be running purely on battery power, which will likely only last for 15-30 minutes before the car dies completely. It’s not recommended unless you are driving a very short distance to a safe location or a repair shop.
2. How long does a car alternator usually last?
A typical alternator can last anywhere from 7 to 10 years, or about 80,000 to 150,000 miles. However, factors like driving conditions and the electrical demands of your car can affect its lifespan.
3. Will a new battery fix an alternator problem?
No. A new battery will temporarily allow you to start your car, but if the alternator is bad, it won’t recharge the new battery. The new battery will quickly drain, and you’ll be back where you started.
4. Can a jump start damage an alternator?
Yes, it can. If you jump-start a car with a completely dead battery, the alternator has to work extremely hard to recharge it and power the car. This can cause the alternator to overheat and fail. It’s also important to connect jumper cables correctly to avoid voltage spikes that can damage electronics.
5. Is it better to buy a new or a remanufactured alternator?
Remanufactured alternators are a great, cost-effective option. They are old units that have been professionally rebuilt with new internal parts and tested to meet original specifications. They often come with a good warranty and can be just as reliable as a brand-new part, but for a lower price.
6. What happens if the alternator is overcharging?
If your multimeter reads over 15 volts, the alternator’s voltage regulator has failed. This overcharging can “cook” your battery, cause headlights to burn out prematurely, and damage sensitive electronic components in your car. This needs to be fixed immediately.
7. Does my car insurance cover a bad alternator?
Generally, no. Standard auto insurance policies cover damage from accidents, theft, or other sudden events. A failing alternator is considered a mechanical breakdown, which falls under routine maintenance and wear-and-tear. However, some comprehensive warranties or mechanical breakdown insurance policies might cover it.
Conclusion: You’ve Got This!
Dealing with a car problem like a failing alternator can feel overwhelming, but it doesn’t have to be. By following these simple diagnostic steps, you can confidently figure out whether the problem is your alternator or your battery. You now know the signs to watch for, how to use a multimeter to get a clear answer, and even a quick trick to help you in an emergency.
Whether you decide to tackle the replacement yourself or simply want to walk into a mechanic’s shop armed with knowledge, you are in a much better position. Remember, every car owner was a beginner once. Taking the time to understand how your vehicle works builds confidence and can save you hundreds of dollars. Stay safe, be patient, and trust in your ability to handle it.