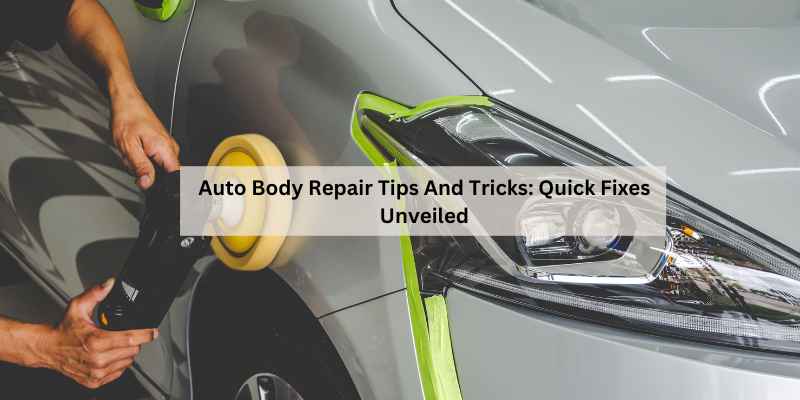
Auto Body Repair Tips and Tricks: DIY Guide + When to Call a Pro
Auto body repair covers everything from popping a shopping-cart dent to full frame straightening — but only cosmetic damage (small dents, surface scratches, chipped paint, light rust) is realistic for a DIYer with a dent puller, sanding block, and body filler. Professional collision repairs now average over $4,700, and ADAS sensor recalibration alone adds $350-$500 when a repair touches a camera or sensor mount. This guide covers the tools you actually need, a clear DIY-vs-pro decision framework, and links to our full step-by-step guides for rust, dents, scratches, paint, and trim repair.
Insert your Affiliate Disclosure reusable block here.
Quick Answer
Auto body repair spans cosmetic fixes — small dents, surface scratches, chipped paint, surface rust — that a DIYer can handle with a dent puller, sanding block, and body filler, versus structural or ADAS-sensor damage that needs a body shop’s frame and calibration equipment. Cosmetic repairs typically run $20-$150 in materials; professional collision repairs now average over $4,700.
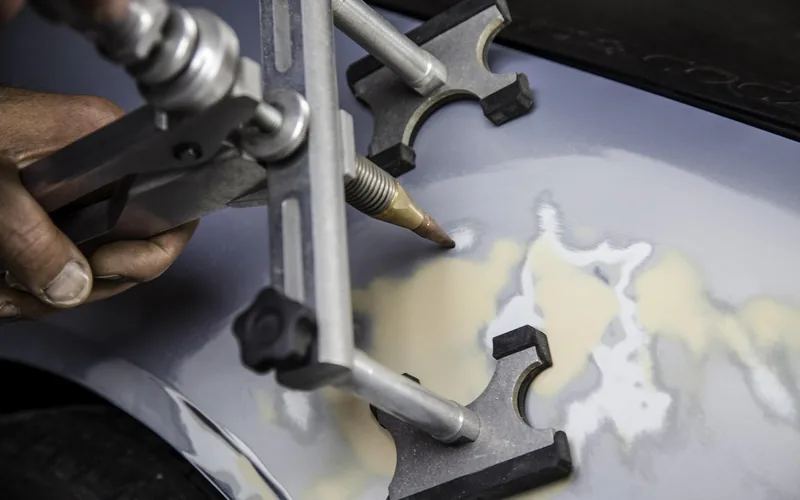
Is Your Damage DIY-Friendly? Cosmetic vs. Structural Repair
Before picking up any tool, figure out which category your damage falls into. Begin by examining the affected area for visible dents, scratches, or misalignment, and check whether the panel itself has shifted or whether the damage is purely surface-level. The table below is the fastest way to sort a Saturday-afternoon fix from a body-shop appointment.
| Damage Type | DIY-Friendly? | Typical Cost | Best Guide |
|---|---|---|---|
| Small dent (door ding, hail) | Yes | $15–$60 in tools/filler | Hail dent removal guide |
| Surface scratch or scuff (clear coat only) | Yes | $10–$40 in compound/pen | Scratch repair by type |
| Small, surface-only rust spot | Yes, if caught early | $20–$50 in converter/filler | Stopping rust before it spreads |
| Deep dent or scratch reaching bare metal/frame | No — body shop only | $1,500–$20,000+ | Structural realignment requires frame equipment |
| Any repair near a camera or sensor mount | No — needs recalibration | $350–$500 per system | See the ADAS note below |
📊 Calibrations for ADAS cameras and sensors appeared on more than 31% of collision repair estimates by late 2024, up from 23.9% a year earlier — meaning even a routine bumper or windshield job increasingly needs a body shop’s diagnostic equipment, not just bodywork skill. Source: Autobody News, CCC Crash Course industry report
“Across the guides linked throughout this page, our team has walked through dozens of these repairs hands-on — from popping a bumper dent with boiling water to color-matching a touch-up pen. The pattern holds every time: cosmetic damage rewards patience and the right $10-$50 tool, while anything touching the frame, airbags, or a sensor mount punishes guesswork fast.”
Essential Tools for DIY Auto Body Repair
A basic cosmetic repair — dent, scratch, or small rust spot — needs a short, inexpensive tool list, not a full body shop setup.
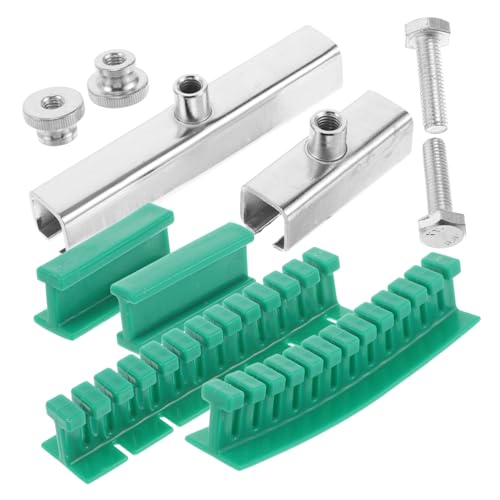
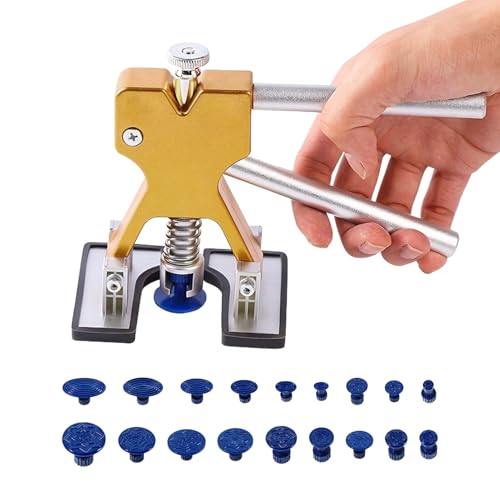
- Dent puller or PDR kit: pulls dents without breaking the paint.
- Sanding blocks (multiple grits): feathers repair edges before filler and primer.
- Body filler and metal spreader: fills dents and imperfections for a smooth base (if the panel itself is fiberglass rather than steel, use a fiberglass resin repair kit instead of standard body filler).
- Degreaser and microfiber towels: removes wax and oil so filler and paint actually bond.
- Primer, touch-up paint, and clear coat: matches and seals the final finish.
Save the bigger investment — welders, a paint booth, an air compressor, frame-straightening equipment, or a computerized paint-matching system — for repairs across multiple vehicles or structural work. For a one-off cosmetic fix, the five items above are enough. Wear safety glasses, work in a ventilated space, and keep body filler hardener off your skin.
Best Auto Body Starter Kit Pick
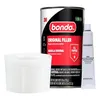
Bondo Body Filler, Original Formula
The standard starting point for filling dents, scratches, and small rust holes before sanding and paint.
- Best for: small-to-medium dents and rust holes before sanding/paint
- Why we picked it: the most widely used, easiest-to-find filler for a first repair
- Main drawback: needs correct hardener ratio and quick, confident application before it sets
Compare more auto body starter kit options
 Option 1 OEMTOOLS 10-Piece Dent Puller Kit
|
 Option 2 Dura-Block Standard Sanding Block
|
 Option 3 Dupli-Color Clear Perfect Match Top Coat
|
As an Amazon Associate we earn from qualifying purchases.
Want to see body filler mixed and applied step by step before you buy anything? This short walkthrough covers hardener ratios and spreader technique on a real panel.
Explore Our Complete Auto Body Repair Library
This page is a starting point — the real depth lives in our technique-specific guides below. Each one covers the tools, exact steps, and real cost ranges for that one job.
Rust Repair
Rust is the one type of damage where waiting makes the job bigger. Catching it at the surface stage is the difference between a $30 fix and a body panel replacement.
- Our full guide to fixing surface, scale, and deep rust
- Chemical rust removal methods and DIY steps
- How to stop rust from spreading once it starts
Dent Repair
Most dents fall into one of three fixes: a suction/PDR pull, a dent puller with a slide hammer, or filler and sanding for anything that won’t pop back out cleanly.
- Our complete hood dent repair guide
- 4 DIY methods for hail dents, plus a cost guide
- Popping a bumper dent out at home
Scratches and Rock Chips
Depth decides the method: a clear-coat-only scratch buffs out with compound, while anything reaching primer or bare metal needs filler, paint, and clear coat in the right order.
- A DIY fix for every scratch type
- Wet sanding and repairing deep scratches
- Fixing rock chips by depth, with a tool cost table
Paint and Clear Coat
Peeling clear coat and dull oxidized paint are two different problems with two different fixes — one is a coating failure, the other is a surface that just needs correction.
- Step-by-step clear coat peeling repair, with costs
- Removing paint oxidation
- Our paint correction (cut and buff) guide
Bumpers and Trim
Plastic bumpers and trim don’t behave like sheet metal — they flex, they scuff instead of dent, and faded black trim needs a different fix than a scratched painted panel.
Sanding and Priming
Every repair above ends the same way: the right grit sequence and the right primer type, in the right order, before any color goes on.
Avoiding Common Pitfalls in DIY Auto Body Work
Most DIY auto body failures trace back to skipped prep, not bad technique. Improper body filler application — applied too thick, mixed at the wrong hardener ratio, or spread over rust and old wax — is the single most common cause of uneven surfaces and paint that won’t adhere.
- Skipping the degreaser: filler and primer won’t bond over oil, wax, or road grime.
- Filling over rust: treat or remove rust first, or it keeps spreading under the repair.
- Ignoring temperature and humidity: most body filler and primer manufacturers specify a minimum application temperature (commonly around 50°F) and low humidity — cold or damp conditions slow curing and can trap moisture as pinholes in the finish.
- Rushing the cure time: sanding or painting before filler and primer have fully cured is one of the fastest ways to redo a job.
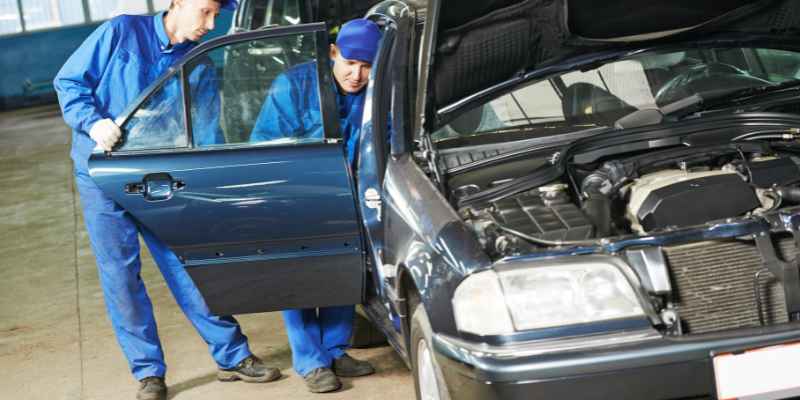
After the repair, inspect regularly for new rust, dents, or paint damage, and address anything early — the same rule that made the original repair possible applies to keeping it looking good.
Frequently Asked Questions
How Can I Be A Good Auto Body Repairer?
To be a good auto body repairer, focus on thoroughness, attention to detail, and patience. Use the correct tools, follow proper mixing ratios for fillers, and be gentle and methodical when repairing car body work — rushing any single step is the most common cause of a poor result.
How To Get Better At Body Fillers?
To improve at body fillers, use metal spreaders for defined edges, ensure correct hardener ratios, and avoid cardboard mixing palettes, which absorb resin and throw off the ratio.
How To Get Bondo Straight?
To get Bondo straight, start by grinding the dent to bare metal, then mix and apply the filler evenly in thin layers. Sand carefully with a block, not by hand, for a smooth, level finish.
How To Repair Car Body Work?
To repair car body work, gently sand the area and use a fine-grit sanding block for light scratches. For severe damage, use filler to restore the panel’s shape, take the area back to bare metal first, and follow proper mixing ratios for the filler.
How Much Does DIY Auto Body Repair Actually Save?
A DIY cosmetic repair typically costs $15-$150 in tools and materials, versus a professional collision repair that now averages over $4,700. The savings shrink fast, though, once the damage involves a sensor mount, frame component, or a color match a spray can genuinely can’t replicate.
Do I Need To Recalibrate ADAS Sensors After A DIY Bumper Or Hood Repair?
Yes, if the repair involves removing, reinstalling, or repainting a panel that holds a camera, radar unit, or parking sensor. Even a bumper cover reinstall can shift a sensor’s aim enough to need a body shop’s calibration equipment — this is not something a home garage can check without the right tools.
What’s The Most Common Mistake People Make In DIY Auto Body Repair?
Skipping surface prep. Applying filler or primer over wax, road grime, or untreated rust is the single most common reason a DIY repair fails — the fix looks fine for a few weeks, then bubbles, lifts, or lets rust resurface underneath.
Conclusion
Auto body repair tips and tricks come down to one habit: assess the damage honestly before choosing a fix. Cosmetic dents, scratches, and surface rust reward a patient DIYer with basic tools; anything reaching the frame, an airbag, or a sensor mount belongs at a body shop.
For the exact steps on your specific repair, use the library above — each guide covers the tools, technique, and real costs for that one job.
Products related to this article
Sponsored / affiliate links. As an Amazon Associate I earn from qualifying purchases. I may earn additional commission from eligible campaigns.