How to Fix Car Leather Seats: Cleaning & Repair Guide
Fix car leather seats by matching the repair to the damage: clean scuffs and grime, use filler for cracks, patch small tears, and replace or reupholster when the tear is large or the foam is exposed. If you choose the wrong fix, the damage can spread, stain the leather, and turn a small repair into a costly seat replacement. This guide shows how to identify each type of damage and choose cleaning, repair, patching, or professional reupholstery.
How bad is the damage?
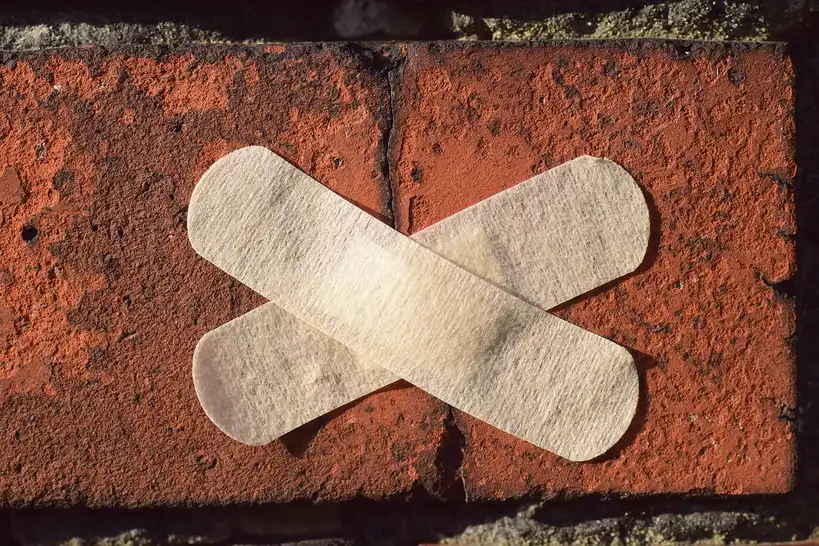


Start by sorting the damage into surface wear, a crack, a split seam, or a true tear. Cleaning alone works for dirt, body oils, and dull finish loss. Filler suits shallow cracks and scuffs. Tears, seam failure, and exposed foam often need a patch or an upholsterer.
What counts as each type of damage
Surface wear means the finish looks dull, dirty, or polished smooth, but the leather is still intact. Cracks are lines in the coating or leather grain that have not opened into a gap. Split seams open along stitching. Tears show missing material.
Say your driver-seat bolster has a shiny gray patch and no open gap. That is usually a cleaning and recoloring problem, not a replacement job. Suppose the same bolster has a 2-inch split with foam visible at the edge. That shifts the fix toward backing fabric, adhesive, and possibly a patch.
When cleaning alone is enough
If the seat has grime, dye transfer, sunscreen residue, or silicone polish on the surface, clean first. 1CarLifestyle says to clean until a new microfiber towel shows no discoloration. If the towel keeps picking up brown or black residue, repair material will bond poorly.
When repair materials are needed
Use filler when the surface is cracked but still present. Use adhesive and backing fabric when the damage has opened. Micter notes that tears under three inches are more DIY-friendly, while large tears and holes are difficult even for professionals using kits.
When to stop and call an upholsterer
If the tear is on a high-flex area, the seam has failed over a long span, or the foam is badly exposed, reupholstery often makes more sense. A single panel replacement can cost $200 or more, according to Micter, but that is still better than a failed DIY that keeps reopening.
📊 iFixit has 13,506 Car and Truck repair guides. Source: Repair Manuals for Every Thing.
What tools and materials do you need for leather seat repair?
You need a leather repair kit, microfiber towels, isopropyl alcohol, fine-grit sandpaper, filler, flexible adhesive, backing fabric, colorant or recoloring balm, and conditioner. A hair dryer can speed drying between layers if used cautiously. Test the kit on a hidden spot before you commit to the visible area.
What each item does
- Leather repair kit: usually combines cleaning, filling, coloring, and sealing. Some kits include adhesive, filler, colorant, and a spatula.
- Isopropyl alcohol: removes oils, grime, and silicones before repair. Do not saturate the leather.
- Microfiber towels: clean without lint and help show when the surface is truly clean.
- Sandpaper: use 400-800 grit lightly on scuffs and filler edges.
- Leather filler: fills cracks, scuffs, and small holes in thin layers.
- Leather adhesive: secures split seams or backing fabric. Ordinary superglue is a poor choice because it can dry rigid.
- Backing fabric: sits beneath a tear to spread tension and support foam exposure.
- Colorant or recoloring balm: matches the OEM interior shade and blends the repair.
- Leather conditioner: goes on after the repair has cured to help keep the material supple.
How to choose the right colorant
Match the dye or balm to the OEM interior shade, not to sun-faded leather next to it. That matters most on bolsters, center inserts, and two-tone seats. If the cabin has perforated panels, keep colorant out of the holes so airflow and appearance stay consistent.
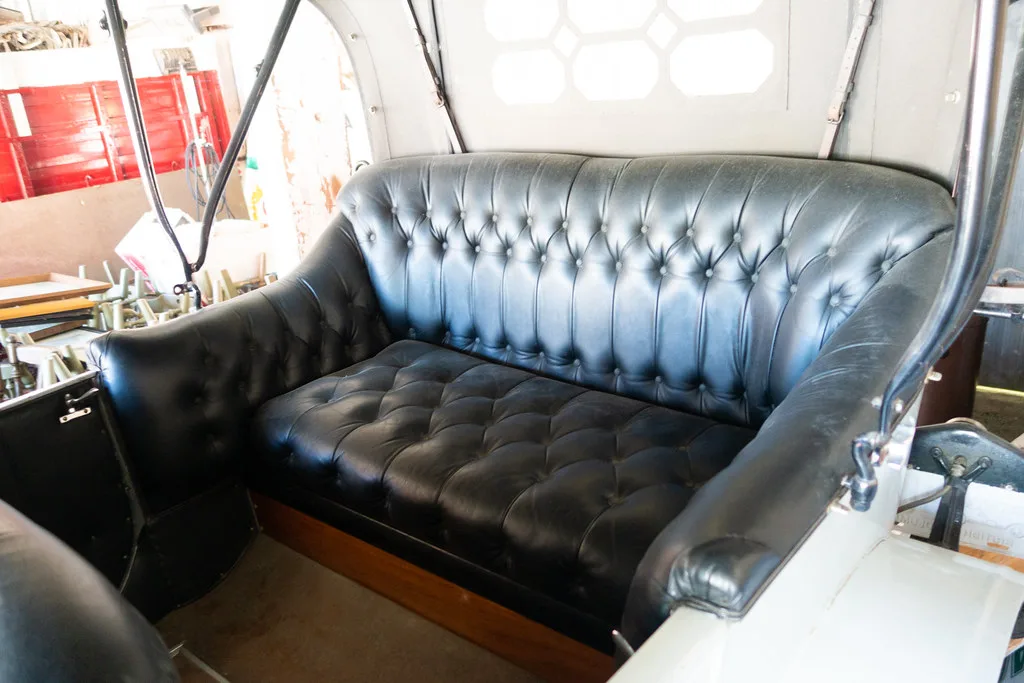
How do you clean car leather seats before repair?
Clean first with a dry wipe, then a light degrease using isopropyl alcohol, then dry microfiber towels until no discoloration transfers. Do not soak the leather. Clean prep removes oils, grime, and silicone residue that prevent filler, adhesive, and colorant from sticking.
Step-by-step prep before repair
- Vacuum or brush away loose grit so you do not grind it into the finish.
- Wipe the area with a microfiber towel to lift dust and surface dirt.
- Apply isopropyl alcohol to the towel rather than directly to the seat.
- Wipe the damaged area lightly and let it flash off.
- Repeat with a clean towel until the towel no longer picks up discoloration.
- Let the leather dry fully before filler, glue, or colorant.
What residue blocks adhesion
Body oil, silicone-based protectants, waxy dressings, sunscreen, and road film are the main troublemakers. They leave a slick layer that keeps filler from keying into the surface. If the leather still feels greasy after cleaning, stop and repeat the degrease step rather than pressing ahead.
What is the best way to fix cracked car leather seats?
For cracks, use fine-grit sanding only to soften the edges, then apply leather filler in thin layers and let each layer cure. Sand lightly between coats with fine grit, and stop as soon as the surface levels out.
Why thin layers matter
Leather filler can shrink if it is packed on too thick. Thin coats cure more evenly and are less likely to leave a ridge that telegraphs through the color coat. Micter’s liquid-kit approach is a longer process, around 48 Hours, which fits this kind of layered repair.
How much sanding is enough
Use enough pressure to feather the crack edge, not enough to cut through the factory finish. If the surface starts looking fuzzy, you have gone too far. The goal is a level surface with a firm edge that the filler can bond to.
Can I repair a torn leather car seat myself?
Yes, if the tear is small to medium, the edges are still usable, and you can support the damage from behind with backing fabric and flexible adhesive. If the tear is long, the foam is exposed broadly, or the seam structure has failed, a pro repair is safer.
When a DIY patch makes sense
Micter recommends a leather repair patch for larger holes or structural tears. That works when the patch can sit flat, the seat is not heavily stretched at the edge, and the damage is not in a place that folds constantly. A patch gives the tear something to bridge.
When DIY stops making sense
Seat-pan tears, edge tears near bolsters, and seam splits over a stressed curve can reopen if the underlying tension is not corrected. If the foam is deteriorated or the stitching channel is damaged, an upholsterer can rebuild the area rather than just cover it.
What should you use filler versus a patch on leather seats?
Use filler for shallow cracks, scuffs, and very small holes with intact surrounding leather. Use a patch, backing fabric, and flexible adhesive for tears, split seams, and damage that opens under seat movement. If the missing area is too large or the edges are unstable, stop at repair and call a pro.
Decision table: damage type, fix, time, and stop point
| Damage type | Seat location | Severity | Best fix | Estimated DIY difficulty | Materials needed | When to stop and call an upholsterer |
|---|---|---|---|---|---|---|
| Surface scuffs and dye wear | Center seat panel | Light | Clean, light sand, recolor, seal | Easy | Microfiber towel, isopropyl alcohol, 400-800 grit sandpaper, colorant, conditioner | Stop if the coating is flaking off in sheets or the leather is raw underneath |
| Cracks on bolsters and seat bases | Driver bolster | Moderate | Clean, fill in thin layers, sand lightly, recolor | Moderate | Leather filler, spatula, sandpaper, colorant, conditioner | Stop if cracks are wide, deep, or reopen after flexing |
| Split seams | Seat back or side bolster | Moderate to severe | Flexible adhesive, backing support, then color blend | Moderate to hard | Leather adhesive, backing fabric, clamp or tape for hold, colorant | Stop if stitching has failed over a long span or foam is crumbling |
| Tears and foam exposure | Seat pan or outer bolster | Severe | Patch with backing fabric or reupholster | Hard | Backing fabric, leather adhesive, patch material, filler for edges, colorant | Stop if the tear is large, the opening keeps spreading, or the seat cushion is exposed broadly |
| Perforated leather and two-tone trim | Seat centers and inserts | Variable | Spot repair or reupholstery | Hard | Masking control, matched colorant, microfiber towels, conditioner | Stop if color drift will be obvious across perforations or the panel has multiple damage types |
How do you match color and finish after repair?
Color matching matters most on visible bolsters, seat centers, and any two-tone interior. Apply the colorant only after filler has dried, then blend outward in thin coats. A clean edge and the right sheen matter as much as the shade itself on repaired leather.
How to blend repaired areas
Start with the OEM shade, then compare it against the surrounding panel in daylight and cabin light. Apply several thin coats rather than one heavy coat. Let each coat dry before the next one, as 1CarLifestyle advises, so the finish does not wrinkle or cloud.
What to do with perforated or two-tone leather
Perforated panels need extra care because colorant can clog the holes. Two-tone seats need a sharp transition line, or the repair will stand out. If the factory finish changes sheen from matte to semi-gloss, match that too, or the repaired area will read as a patch.
How long does car leather seat repair take?
Repair time depends on the damage and the cure times between steps. A small scuff can take less than an hour of active work. A crack repair or patch job often takes several hours across multiple drying stages. Liquid kits may stretch to 48 Hours because the layers must cure.
What affects total time
Cleaning and prep take longer than many DIYers expect. Filler, adhesive, and colorant all need time to set before the next coat. A hair dryer can speed drying a little, but use it cautiously and keep heat moving so the leather does not overheat or shrink.
Do not rush the cure
Skipping cure time is a common reason repairs fail. The surface may feel dry before the material beneath it has fully set. If you trap solvent, moisture, or uncured filler under the next layer, the repair can crack, lift, or stay tacky.
How do you keep repaired leather from failing again?
Let the repair fully cure, then condition the leather so it does not dry out again. Keep grit, heat, and UV exposure under control. Inspect repaired spots early, because a tiny lift at a seam or filler edge is easier to fix than a reopened tear.
Maintenance that actually helps
Leather conditioner is usually best applied after the repair has cured, not before. It helps restore suppleness and can reduce future drying and UV damage. Keep the seat clean with a microfiber towel and a leather-safe cleaner, and avoid dressings that leave a slick silicone film.
What should you avoid
Do not use hydrocarbon-based solvents, as 1CarLifestyle warns. Do not soak the leather with alcohol or cleaner. Do not use ordinary superglue on seams or tear edges. And do not sand aggressively, because that can cut through the finish and expose more surface than you meant to repair.
Frequently asked questions
What is the best way to fix cracked leather car seats?
Lightly smooth the crack edges with fine-grit sandpaper, then apply leather filler in thin layers and let each layer cure. Sand only enough to level the repair. After that, apply matched colorant and seal it so the repaired area blends with the surrounding finish.
What tools do I need for leather seat repair?
At minimum, use a leather repair kit, microfiber towels, isopropyl alcohol, 400-800 grit sandpaper, filler, flexible adhesive, backing fabric, matched colorant, and conditioner. A hair dryer can help between layers if used carefully. Test the kit on a hidden spot before you commit to the visible area.
When is it better to reupholster a leather car seat instead of repairing it?
Choose reupholstery when the tear is large, the foam is exposed broadly, the seam failure is long, or the seat has multiple damage types in one panel. If the repair area will stay under heavy flex, a surface fix may not last long enough to justify the work.
Products related to this article
Sponsored / affiliate links. As an Amazon Associate I earn from qualifying purchases. I may earn additional commission from eligible campaigns.