How to Get Swirl Marks Out of Car Paint Like a Pro
Getting swirl marks out of car paint is a top priority for anyone who wants a flawless, mirror-like finish. These fine scratches dull the shine and can make even a new car look years older.
This complete guide walks you through every step to safely remove swirl marks using professional techniques. You will learn the exact tools, products, and methods needed to restore a deep, defect-free gloss.
Simply put, removing swirl marks requires machine polishing with a dual-action (DA) polisher, a medium-cut foam pad, and a fine abrasive polish. Hand polishing is ineffective, and rotary buffers present a significant risk of burning through the clear coat for beginners. A DA polisher is the safe, effective choice.
Key Takeaways
- Swirl marks are scratches in the clear coat layer, not the paint itself. This means they are fully removable with proper correction.
- A dual-action (DA) polisher is the safest and most effective tool for beginners and pros alike.
- Proper wash and decontamination is a non-negotiable first step. Any dirt left on the surface will be ground into the paint by your polishing pad.
- The right combination of pad and polish determines the final result. More aggressive is not always better.
- Prevention through correct washing technique is far easier than correction. A few simple habit changes keep your finish swirl-free.
What Causes Swirl Marks in Car Paint?
Swirl marks are essentially tiny scratches in the clear coat. They occur when particles of dirt or grit are rubbed across the paint surface at a microscopic level.
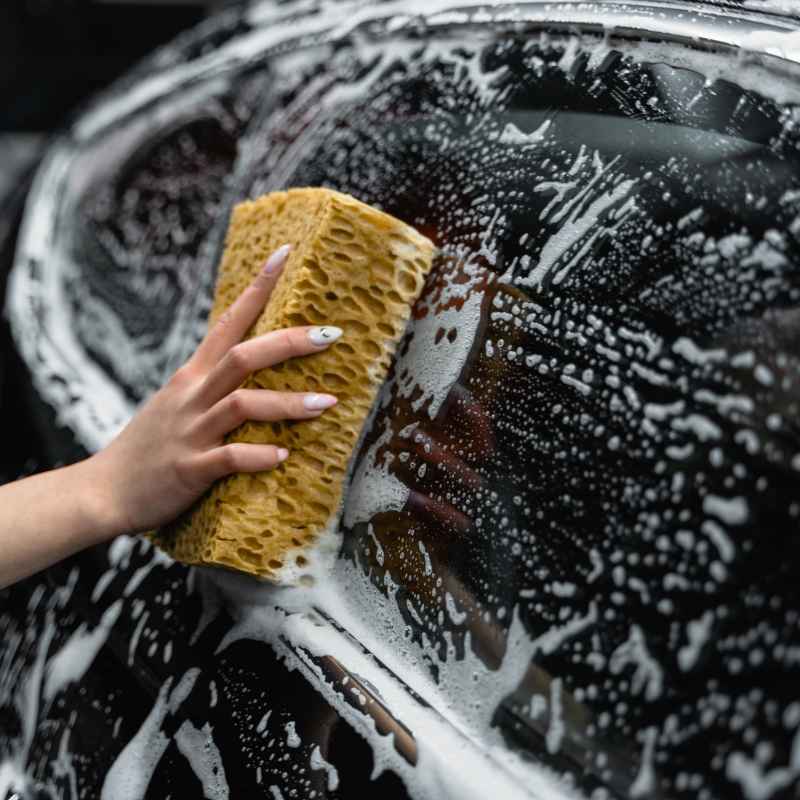
The most common cause is improper washing and drying. Using a dirty wash mitt, applying too much pressure, or using a towel that has picked up debris creates these fine scratches. Automatic car washes with rotating brushes are a frequent contributor to heavy swirling.
| Cause | Mechanism | Prevention |
|---|---|---|
| Contact Washing | Dirt trapped in mitt dragged across paint | Two-bucket method with grit guards |
| Drying with Towels | Abrasive particles rubbed into clear coat | Use a drying aid or blow dry with air |
| Automatic Car Washes | Rotary brushes collect dirt from previous cars | Hand wash only or touchless washes |
| Dealership Washes | Quick, harsh methods to move inventory | Avoid dealer washes; request no wash |
Industry experts estimate that over 80% of swirl marks are caused by improper washing and drying techniques. Understanding this root cause is the first step to achieving a permanent solution.
Gather the Essential Tools and Products
To get swirl marks out of car paint effectively, you need the right equipment. Investing in quality tools saves time and prevents damage to your finish.
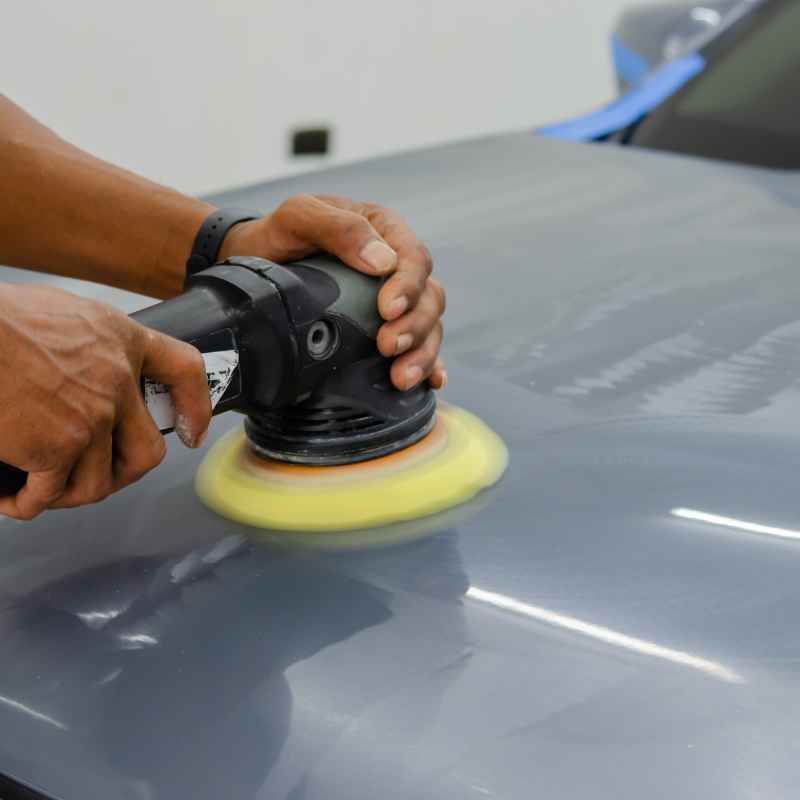
The most critical tool is a dual-action (DA) polisher. Unlike a rotary buffer, a DA polisher oscillates in a random pattern, making it nearly impossible to burn through the paint. You will also need several foam pads, a quality compound and polish, and clean microfiber towels.
| Tool | Purpose | Recommended Options |
|---|---|---|
| Dual-Action Polisher | Safe, oscillating power tool for correction | Porter Cable 7424XP, RUPES LHR15 |
| Cutting Pad (Orange) | Heavy correction for deep swirls | Lake Country Orange, Buff & Shine Uro-Fiber |
| Polishing Pad (White) | Fine correction and finishing | Lake Country White, RUPES Yellow |
| Finishing Polish | Removes haze and restores gloss | Meguiar’s M205, Sonax Perfect Finish |
| Microfiber Towels | Wiping off polish residue safely | The Rag Company Edgeless 350gsm |
| Painters Tape | Protecting trim and sensitive edges | 3M 233+ Automotive Tape |
Most factory clear coats are only 1.5 to 2.0 mils thick, meaning aggressive polishing must be done with extreme care. Start with the least aggressive pad and polish combination that will do the job. This approach preserves the maximum amount of clear coat for future maintenance.
Warning: Never use a rotary buffer unless you have extensive professional training. Detailing professionals agree that a dual-action polisher reduces the risk of burning through paint by over 90% compared to a rotary buffer.
Step 1: Wash and Decontaminate the Car Thoroughly
This is the most critical preparation step. Any dirt, tar, or embedded contaminants left on the paint will be ground into the surface by your polishing pad, creating new scratches instantly.
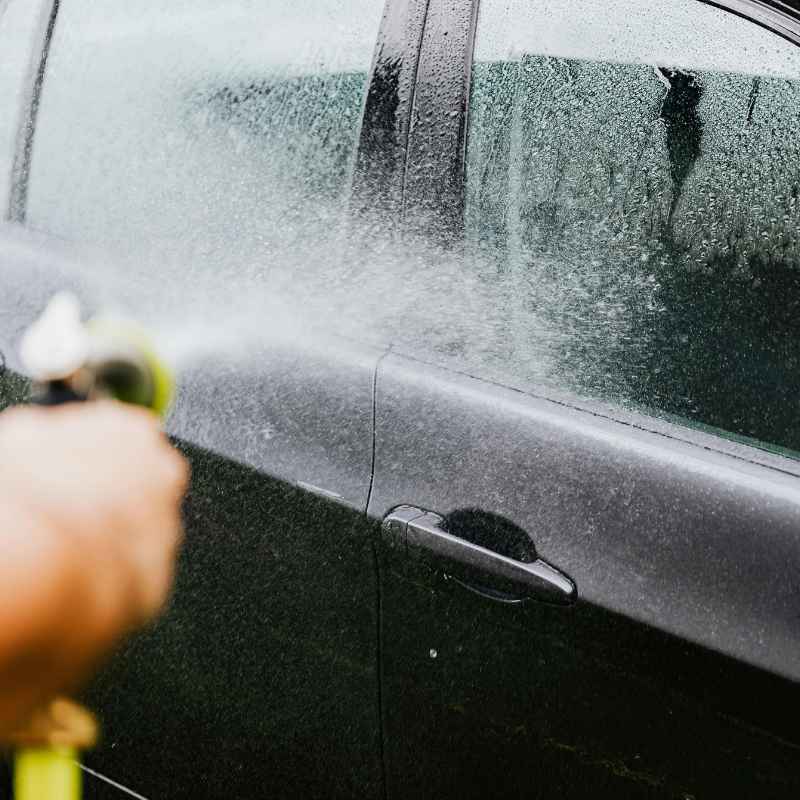
Start with a deep, contactless foam pre-wash to loosen heavy dirt. Then, perform a two-bucket hand wash using a high-quality car soap and a clean microfiber mitt. After washing, use a clay bar or a synthetic clay mitt to remove bonded contaminants that washing alone cannot eliminate.
- Foam Pre-Wash: Apply a thick layer of snow foam and let it dwell for 5 minutes. Rinse thoroughly.
- Two-Bucket Wash: Use one bucket for soapy water and one for rinsing your mitt. A grit guard in the rinse bucket traps dirt at the bottom.
- Contact Washing: Wash from the top down to avoid dragging dirt from dirty lower panels over cleaner upper surfaces.
- Decontamination (Clay Bar): Spray a lubricant on a small section and glide the clay bar across the paint. Feel for smoothness.
- Drying: Pat the car dry with a clean, plush drying towel. Do not drag the towel across the paint.
This thorough preparation ensures the surface is perfectly clean and ready for polishing. Skipping the clay bar step is a common mistake that leads to disappointing results and requires additional polishing passes.
Step 2: Tape Off Trim and Test Your Polish
Protecting non-painted surfaces is essential. Polish residue can stain rubber trim, plastic moldings, and emblems. Taking the time to tape these areas off saves hours of cleanup later.
Use high-quality automotive painters tape to cover all vulnerable areas. This includes window trim, door handles, rubber seals, plastic cladding, and sharp body lines where the clear coat is thinner.
- Plastic Trim: Unpainted bumpers and mirror caps can permanently stain if polish residue dries on them.
- Rubber Seals: Polish on rubber turns white and is difficult to remove completely.
- Emblems and Badges: Polish can bake into the crevices around badges, leaving a messy residue.
- Sharp Edges: The clear coat on body lines and panel edges is thinner. Tape these areas to protect them from excessive machine pressure.
Tip: Perform a test spot in an inconspicuous area, such as the lower part of the rear bumper. This shows you exactly how the paint reacts to your chosen pad and polish combination before you work on the main panels.
After taping, do a small test spot. Apply a dime-sized amount of polish to a clean pad. Work it on a section of the tape-off area at a medium speed (4-5 on your DA polisher).
Wipe off the residue and inspect the results under a bright light. If the swirl marks are removed, you have the right combination. If not, switch to a slightly more aggressive pad or polish.
Step 3: Master the Machine Polishing Technique
This step is where the actual correction happens. Your technique directly determines the quality of the final finish. A DA polisher is forgiving, but using the correct motion and pressure is vital for consistent results.
The goal is to level the clear coat around the swirl marks, removing them entirely. This requires working the polish until it breaks down into a clear, lubricating oil. The speed of the polisher, the pressure you apply, and the time you spend on each section all matter.
- Prime the Pad: Lightly mist the pad with a pad conditioner or a quick detailer. This helps the polish spread evenly.
- Apply Polish: Place 3-4 small pea-sized dots of polish onto the face of the pad. Do not use too much; excess polish just splatters and wastes product.
- Spread the Polish: With the polisher set to speed 2-3, hold it flat against the paint and spread the polish over a 2×2 foot section. Do this without applying downward pressure.
- Work the Polish: Increase the speed to 4-5. Apply light to moderate pressure (enough to slow the rotation of the pad slightly). Move the polisher in a crosshatch pattern: left to right, then up and down.
- Watch the Residue: The polish will start as a liquid, turn into a hazy residue, and then become clear and oily again. When it looks clear, you are done working the section.
| Speed Setting | Action | Purpose |
|---|---|---|
| 1-2 | Spread Pattern | Evenly distribute polish over the section |
| 3-4 | Polishing Pass 1 | Initial breakdown of abrasives |
| 5 | Polishing Pass 2 | Full correction and finishing |
| 1 | Wipe Down | Slow speed to gather residue before wiping |
Use overlapping passes. Each pass should cover about 50% of the previous pass. This ensures uniform correction and prevents holograms.
A single 2×2 section typically takes 2-3 passes, each lasting about 30-45 seconds.
Tip: Clean your polishing pad frequently. After every 2-3 sections, spin the pad on speed 2 against a clean microfiber towel to remove excess polish and debris. A clean pad cuts better and finishes finer.
Step 4: Wipe Down and Inspect Under Proper Light
After you finish polishing a section, it is time to wipe off the residue and inspect your work. Proper lighting is essential to see the true results of your effort.
Use a clean, high-quality microfiber towel. Fold it into quarters and use one side to wipe off the bulk of the residue. Flip to a clean dry side for the final wipe.
Inspect the paint under a bright LED detailing light or direct sunlight.
- Check for Swirls: Look for any remaining circular scratches. If you see them, you need another pass or a slightly more aggressive pad.
- Check for Haze: A hazy or foggy appearance means the polish has not broken down fully or you need a finer finishing polish.
- Check for High Spots: Excess polish left on the paint can leave a smudge. Wipe thoroughly.
- Check for Depth: The paint should look deep, wet, and reflective. A proper correction restores that liquid glass look.
If the section looks perfect, move to the next adjacent section. Remember to overlap your previous work by a few inches to ensure a seamless finish. Patience and attention to detail at this stage separate a pro-level result from a mediocre one.
Important: Do not let the polish residue dry on the paint. If it dries, it becomes difficult to remove and may require a solvent or a light re-polish. Wipe off the residue immediately after finishing your last pass.
Common Mistakes to Avoid When Removing Swirl Marks
Even with the right tools, it is easy to make mistakes that compromise your results. Being aware of these common pitfalls helps you avoid frustration and wasted effort.
The most frequent errors involve using too much product, applying too much pressure, or working the polish for too long. Each of these mistakes can reduce the clarity of the finish or even damage the clear coat.
| Mistake | Consequence | Correct Practice |
|---|---|---|
| Using Too Much Polish | Splattering, longer work time, oily residue | 3-4 pea-sized dots per section |
| Excessive Pressure | Marring, pad stall, holograms | Use the weight of the machine plus light arm pressure |
| Working Too Long | Polish turns to dust, haze, clear coat damage | Stop when polish becomes clear and oily (2-3 passes) |
| Skipping Pad Cleaning | Dried polish grinds into paint, reduces cut | Clean pad with a towel or brush every 2 sections |
| Polishing in Direct Sun | Polish dries too fast, streaks, reduced performance | Work in shaded areas or indoors |
By avoiding these mistakes, you ensure a smoother process and a better final result. Remember, less is often more when it comes to both product and pressure.
How to Maintain a Swirl-Free Finish After Polishing
Once you have invested the time to get swirl marks out of car paint, protecting that finish is essential. The correction process removes a tiny layer of clear coat, so you want to make it last as long as possible.
The best way to protect your paint is to apply a high-quality paint sealant, wax, or ceramic coating. Ceramic coatings provide the longest-lasting protection, often lasting 2-5 years, while waxes and sealants require reapplication every few months.
Important: A wax or sealant only protects the finish; it does not hide or remove swirl marks. Ensure the surface is fully corrected before applying protection. Applying a wax over swirl marks simply seals them in place.
Equally important is adopting proper washing habits to prevent new swirls from forming. The main culprit is contact with dirt. Minimize physical contact with the paint whenever possible.
- Use a Pressure Washer: A pressure washer lifts dirt off the paint before you touch it. This is the single best investment you can make.
- Two-Bucket Method: Always use two buckets with grit guards. One for soap, one for rinsing your mitt.
- Blow Dry: Use a leaf blower or dedicated car dryer to blow water off the paint. This eliminates towel contact almost entirely.
- Touchless Pre-Wash: Use a pH-neutral snow foam or pre-wash spray before every contact wash to loosen fresh contaminants.
- Separate Towels for Paint: Never use the same towel on your wheels or lower panels that you use on your paint. Contamination cross-transfer is a leading cause of swirls.
With these habits, your corrected finish will stay glossy and defect-free for years, requiring only occasional light polishing for minor marring.
Frequently Asked Questions
Can swirl marks be removed by hand?
Swirl marks are scratches in the hard clear coat. Removing them by hand requires an immense amount of friction and time. It is physically exhausting and rarely produces a consistent or fully corrected finish.
A dual-action polisher is strongly recommended for any serious correction.
Will wax or sealant remove swirl marks?
No. Waxes and sealants are purely protective layers. They do not contain abrasives and will not level the clear coat.
Some products contain fillers that temporarily hide light swirl marks, but the defects reappear after the product wears off, usually after a few washes.
How many times can I safely polish my car?
A car’s clear coat is typically 1.5 to 2.0 mils thick. A single paint correction removes roughly 0.1 to 0.3 mils of clear coat. Most vehicles can safely be polished 10 to 15 times over their lifetime, depending on the aggressiveness of the process and the skill of the person polishing.
Is it safe to use toothpaste on car paint?
Toothpaste is a mild abrasive, but it is not designed for clear coat. It lacks the lubricants needed for safe polishing and can leave micro-marring. Using proper automotive compound and polish is always the safer and more effective choice.
How much does a professional swirl mark removal cost?
Professional paint correction prices vary widely based on the condition of the paint and the size of the vehicle. A single-stage correction (one polishing step) typically ranges from $300 to $800. A multi-stage correction with finishing can cost $1,000 to $2,500 or more.
Final Thoughts
Removing swirl marks is a rewarding skill that transforms the look of your car. By following a precise process and using the right tools, you can achieve a professional-grade finish at home.
Start with a thorough clean, choose the correct pad and polish, and master the proper machine technique. Protect your hard work with safe washing habits and a quality sealant. The result is a deep, mirror-like gloss that lasts.
Products related to this article
Sponsored / affiliate links. As an Amazon Associate I earn from qualifying purchases. I may earn additional commission from eligible campaigns.