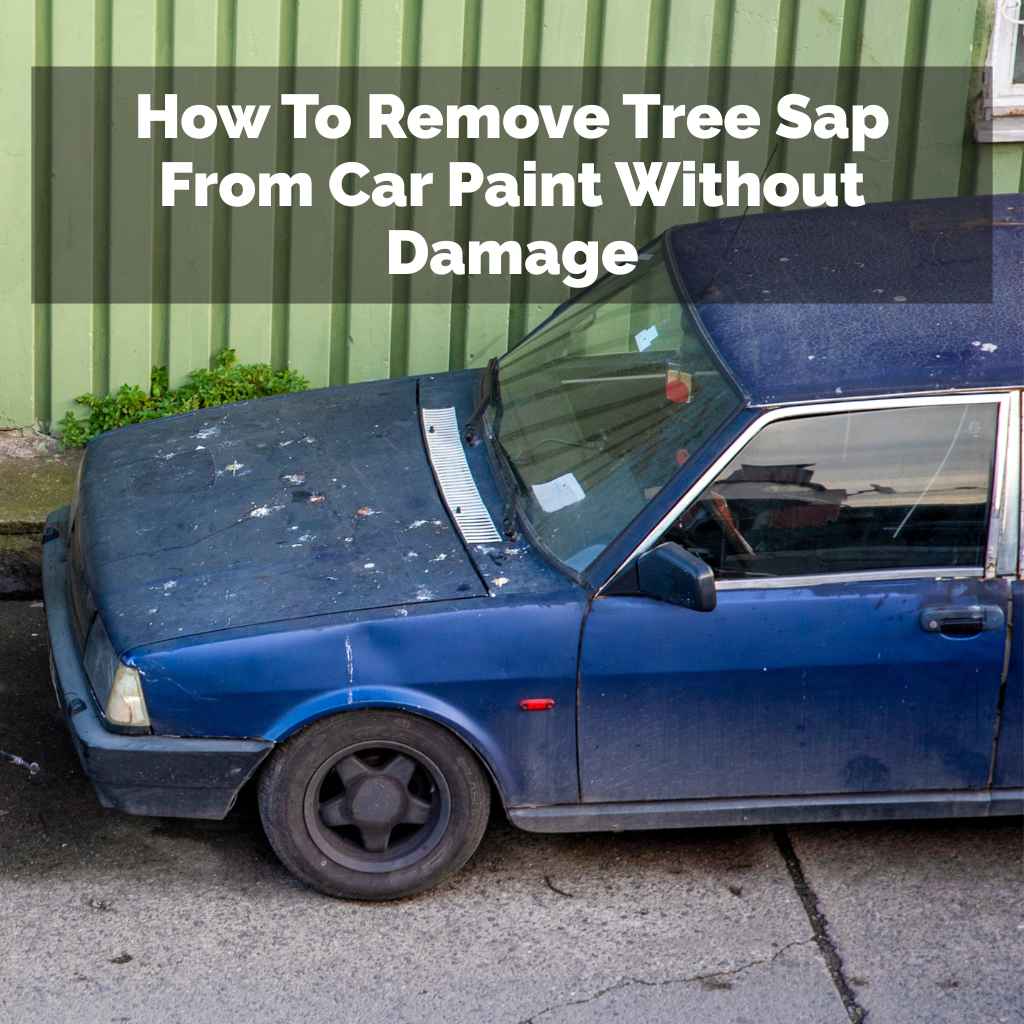
How To Remove Tree Sap From Car Paint Without Damage
This guide will show you easy ways to get tree sap off your car. We’ll focus on methods that work well and protect your paint. You’ll learn what to do and what to avoid. Let’s get your car looking shiny and sap-free again.
Tree sap on car paint can be removed using gentle, effective cleaning methods. It involves loosening the sap with a suitable cleaner and then wiping it away carefully. Always test any product in an inconspicuous area first. Patience and the right approach prevent paint damage.
Quick Answer
Dab tree sap with a microfiber towel soaked in diluted isopropyl alcohol (or a dedicated bug-and-tar remover), let it sit 1-2 minutes to soften, then gently wipe away and wash the area with car soap and water. Avoid scrubbing or scraping, which can scratch the clear coat.
What Is Tree Sap and Why Does It Stick?
Tree sap is like a sticky juice that trees make. It flows inside the tree. It helps the tree heal when it gets hurt, like a cut or a broken branch. It also helps protect the tree from bugs. Some trees make more sap than others. Pine trees and maple trees are common culprits.
This sap is naturally sticky. That’s how it works for the tree. When it gets on your car, it’s just as sticky. It likes to cling to smooth surfaces like car paint. Once it’s there, it can harden over time, especially in the sun. This makes it even harder to remove without scrubbing too hard.
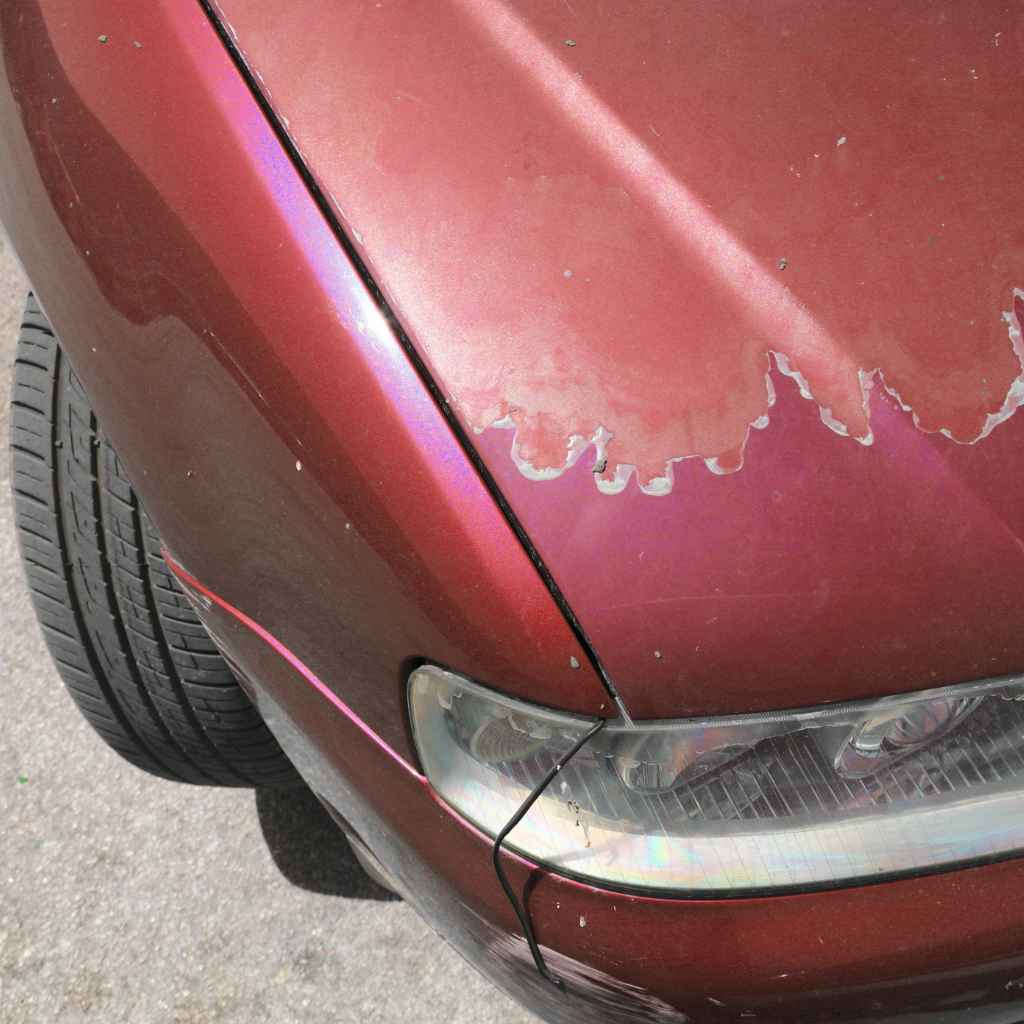
The sun’s heat can make the sap bake onto your car’s surface. This makes it bond even tighter. It’s not just gross; it can actually harm your car’s clear coat over time. The longer it sits, the harder it is to lift off. This is why acting quickly is often best.
Sap often contains sugars. These sugars can attract dirt and other debris from the air. This makes the sap spot look even worse. It can start to look like a dark stain. You might also find that the sap can etch into the paint if left too long. This means it makes a tiny mark or pit. That’s a damage you can’t just wipe away. It might need professional help to fix.
My Sticky Situation: A Parking Lot Surprise
I remember one summer afternoon. I parked my car under a big oak tree for just a few hours. I was running errands and didn’t think much of it. When I came back, my car looked like it had a bad case of acne. Little, clear dots were all over the hood and roof. It was worse than I expected.
I tried to wipe a spot with my finger. It was super sticky. Then I tried a dry paper towel. That just smeared it around and made it look like a cloudy mess. I started to panic a little. My car was pretty new, and I didn’t want to scratch the paint by being too rough. The thought of going to a detailer right away seemed like a lot.
Later that day, I noticed one of the bigger sap blobs had started to look darker. It was attracting little bits of dust. It was starting to look like a permanent blemish. I knew I had to do something, but I was scared of making it worse. That’s when I decided to really research the best ways to handle tree sap safely. I wanted to find methods that wouldn’t hurt my car’s finish at all.
Sap Type Quick Guide
Sticky Sap: Fresh, clear, or slightly colored drops. Usually easier to remove.
Hardened Sap: Duller, sometimes darker. Might feel like a bump. Needs more time to soften.
Etched Sap: Has started to damage the paint. Looks like a dull spot or a slight dip.
Gentle Sap Removal: The Do’s
The safest way to start is with the mildest options. You want to dissolve the sap, not scrub it off. Think of it like loosening a stubborn sticker. You need a good solvent that breaks down the adhesive.
Use Car Wash Soap and Water: Start with a good car wash soap. Use plenty of water. Sometimes, a really good wash is enough for very fresh, small sap spots. Lather up a microfiber towel or wash mitt. Gently wash the area. Rinse thoroughly. If it’s still there, don’t scrub harder. Move to the next step.
Isopropyl Alcohol (Rubbing Alcohol): This is a common household item that works well. Use a concentration of 70% or 91%. It’s important to dilute it slightly. Mix one part alcohol with one part water. This makes it less harsh on your paint. Dip a clean microfiber towel into the solution. Gently dab the sap spot. Let it sit for a minute or two. This helps the alcohol break down the sticky sap. Then, gently wipe the area with a clean part of the towel. Rinse the spot with water. Wash the area again with car soap. Rinse and dry.
Specialized Bug and Tar Removers: These products are made for sticky stuff on cars. They are designed to be safe for car paint. Read the label carefully. Apply a small amount to a microfiber towel. Do not spray it directly on the car. Dab the sap with the towel. Let it work for the time recommended on the product. Then, gently wipe the sap away. Wash the area thoroughly with car soap and water afterward. This removes any leftover cleaner. Rinse and dry.
Detailing Clay Bar: A clay bar is amazing for removing contaminants from paint. You’ll need a clay lubricant too. Spray the lubricant on the area. Gently glide the clay bar over the sap. It will pick up the sap and smooth the paint. Use light pressure. Wipe away any residue with a clean microfiber towel. Then, wash the car as usual. This is a more advanced method but very effective.
Baking Soda Paste (Use with Caution): Some people use a paste of baking soda and water. Mix baking soda with a little water to make a thick paste. Apply it to the sap. Let it sit for a few minutes. Gently rub with a soft cloth or microfiber towel. Then, wash the area well. Use this method very carefully. Baking soda is mildly abrasive. It could scratch if you rub too hard. Always test in a hidden spot first. This is a last resort for very stubborn spots if other methods fail.
Olive Oil or Mineral Oil: Believe it or not, some oils can help break down sap. Apply a small amount of olive oil or mineral oil to a cloth. Dab it onto the sap spot. Let it sit for 10-15 minutes. The oil helps to soften the sap. Then, gently wipe the sap away. Wash the area very well with car soap to remove all the oil. Oil can attract dust, so thorough cleaning is key.
The Power of Microfiber Towels: Always use clean, soft microfiber towels. They are gentle on paint. They absorb well and won’t create scratches like paper towels or rough rags. Have several on hand. Use one to apply the cleaner, another to wipe, and a third to dry and buff.
Microfiber Towel Tips
- Use separate towels for washing, drying, and applying cleaners.
- Wash microfiber towels separately from other laundry.
- Do not use fabric softener. It clogs the fibers.
- Air dry or tumble dry on low heat.
What NOT to Do: Avoiding Paint Damage
It’s just as important to know what to avoid. Some common mistakes can lead to scratches, swirl marks, or even permanent damage to your car’s paint. You want to protect that beautiful shine.
Don’t Scrub Vigorously: This is the biggest mistake. When sap is stuck, the urge to scrub hard is strong. But scrubbing with force on dried sap will grind it into the paint. It will cause scratches. Use a dabbing or gentle wiping motion instead. Let the cleaner do the work.
Avoid Household Cleaners: Things like dish soap (not specifically designed for cars), window cleaner (can be too harsh), or all-purpose cleaners might seem like quick fixes. But many contain strong chemicals. These can strip wax or sealant. They can even damage the clear coat over time. Stick to products made for automotive use.
Don’t Use Abrasive Materials: Never use steel wool, scouring pads, or rough cloths. These will definitely scratch your paint. Even a slightly rough paper towel can leave fine scratches. Always opt for soft microfiber.
Scraping Tools: Never use a razor blade, putty knife, or scraper. These are too sharp. They will cut into your paint. Even if you think you’re being careful, you risk gouging the paint. This is not a safe method for sap removal.
Hot Water or Steam (Carefully): While warm water can sometimes help soften sap, very hot water or steam can make it spread. It can also potentially damage old or weakened clear coats. Stick to cool or lukewarm water for rinsing.
Ignoring Wax or Sealant: After removing sap, your paint might be a bit stripped. It’s a good idea to reapply a coat of wax or sealant. This adds a protective layer. It makes future sap and dirt easier to wash off. It also restores gloss.
Leaving it Too Long: The longer sap sits on your car, the harder it is to remove. It also has more time to potentially damage the paint. Try to address it as soon as you notice it.
Sap Removal Checklist: What to Avoid
- Aggressive scrubbing
- Harsh household cleaners
- Abrasive cloths or pads
- Scraping tools like razor blades
- Ignoring protective coatings after cleaning
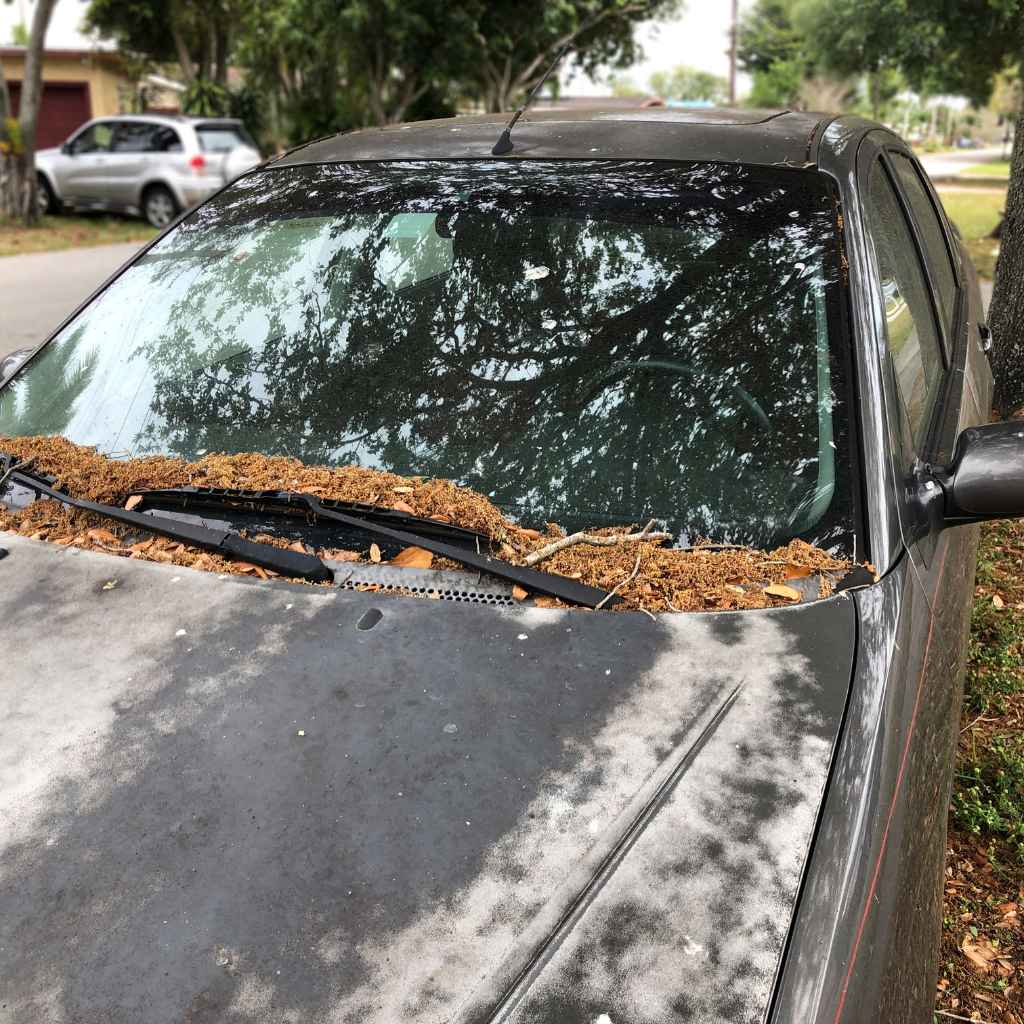
Real-World Scenarios: When and Where Sap Appears
Tree sap is most common when trees are actively growing. This is usually in spring and summer. Parking under shady trees is nice, but it comes with risks. Certain types of trees are known for being sap-heavy.
The Lovely, Leafy Oak: Oaks are beautiful trees. They provide great shade. But many varieties drip sap. You might find it after a rain shower. Or on warm, sunny days.
The Fragrant Pine Tree: Pine trees are known for their sticky resin. This resin is very potent. It can drip from needles or branches. It often feels thicker and harder to remove than other saps.
Maple Trees in Spring: Maples are stunning in the fall. In spring, they can ooze sap. This is often a clear or slightly amber liquid. It’s sticky and can quickly bond to paint.
Flowering Trees: Some trees that produce flowers also drip sap. This can happen during their blooming season. It might be less common, but it’s still possible.
Parking Lots and Driveways: These are the usual spots. If you park under a sap-producing tree, you’re likely to get it. Even a short time can be enough. A quick drive-through under a low-hanging branch can deposit sap.
Climate Factors: Warmer weather seems to make trees more active in producing sap. Hot, sunny days can also bake the sap onto your car. This makes it harder to remove. In humid climates, sap might remain soft for longer, making it slightly easier to wipe off if caught early.
Your Car’s Surface: A clean, waxed car offers some protection. Sap might not stick as aggressively. On a dirty car, sap can mix with dust. This makes it feel rougher and stickier. It also makes it harder to see the actual sap spot.
Tree Sap Hotspots
- Under large shade trees (oaks, maples, pines)
- Near flowering trees during bloom season
- Parking areas with overhanging branches
- After periods of warm weather
What This Means for Your Car’s Finish
Tree sap isn’t just an eyesore. It can actually cause damage to your car’s paint if left untreated. Understanding this helps you act fast.
It’s Mostly a Surface Issue: For fresh sap, it’s usually sitting on top of the clear coat. The clear coat is the protective outer layer of your paint. A gentle cleaner can lift it off without harm.
The Risk of Etching: If sap sits for too long, especially in the sun, it can start to eat away at the clear coat. This is called etching. It’s like a shallow pit or a dull spot on the paint. You might not be able to feel it, but you can see it.
Harm to Wax and Sealants: Sap can break down your car’s wax or sealant. These coatings are there to protect the paint. Once they’re gone, the paint is more exposed. This makes it easier for other contaminants to stick.
Attracting Dirt: The stickiness of sap makes it a magnet for dust and dirt. This can create a rough surface. It can lead to swirl marks if you try to wipe it off without proper lubrication.
When It’s Normal: Finding a few small, fresh sap spots after parking under a tree is normal. They happen. The key is how you deal with them.
When to Worry: You should worry if the sap has been there for days or weeks. If you see dark spots or dull areas where the sap was. If you’ve tried to remove it gently and it won’t budge. If you notice any signs of etching or damage.
Simple Checks: After washing your car, run your hand over the paint (using a clean microfiber cloth). If it feels rough or bumpy where there was sap, it might not all be gone. Visually inspect the area in good light. Look for dullness or discoloration.
The Best Defense is Protection: Keeping your car waxed or sealed is your first line of defense. A good protective layer makes it harder for sap to bond. It also makes cleaning much easier.
Sap Spot Check
Normal: A few fresh, clear spots after parking under a tree.
Concerning: Old, hardened sap. Dull spots. Any visible damage.
Action: Address fresh spots immediately. For old spots, use specialized removers. If damaged, consult a professional.
Quick Tips for Sap-Free Driving
Preventing sap buildup is easier than removing it. A few simple habits can save you a lot of trouble and keep your car looking great.
Park Smarter: If possible, avoid parking directly under sap-producing trees. Even parking a little further away can make a difference. Look for a spot in the sun or under a different type of tree, or in a garage.
Use a Car Cover: If you frequently park outside and are worried about sap, a car cover is a good investment. Make sure the cover is clean. Apply it carefully to avoid scratching the paint.
Quick Wipe-Down: If you notice a fresh sap spot right away, a quick wipe with a damp microfiber towel can sometimes remove it before it hardens. Carry a small spray bottle of water and a microfiber towel in your car.
Regular Washing: Washing your car regularly helps remove contaminants before they bond. Aim for a wash every two weeks or so, depending on your environment.
Apply Wax or Sealant: After washing, apply a good quality car wax or paint sealant. This creates a slick, protective barrier. Sap will have a harder time sticking. It will also be easier to remove if it does.
Carry a Detailing Spray: A good quick detailer spray can be useful. You can use it to safely wipe away light dust or very fresh sap spots. Always spray the detailer onto your microfiber towel first, not directly onto the spot, to avoid overspray.
Know Your Trees: If you can, learn which trees in your area are sap-heavy. Avoid parking under them when possible.
Act Fast: The single most important tip is to deal with sap as soon as you can. Fresh sap is always easier and safer to remove than dried, baked-on sap.
Sap Prevention Snapshot
- Strategic Parking: Avoid sap trees.
- Protective Covers: Use a car cover.
- Immediate Action: Wipe fresh sap quickly.
- Routine Care: Wash and wax regularly.
- Keep Supplies Handy: Detailer spray, microfiber towels.
Frequently Asked Questions About Tree Sap Removal
Can tree sap permanently damage my car’s paint?
Yes, if left on the paint for a long time, especially in the sun. Tree sap can etch into the clear coat. This means it can create a permanent dull spot or slight pit. Acting quickly with the right methods helps prevent this.
Is it safe to use mayonnaise to remove tree sap?
Some people suggest using mayonnaise because of its oil content. The oil can help soften sap. However, it’s not ideal. Mayonnaise contains other ingredients that can be messy and harder to clean off your car. Specialized removers or even plain vegetable oil are safer bets and easier to manage.
How long should I let a sap remover sit on my car?
Always follow the product’s instructions. Typically, you’ll let it sit for a few minutes to soften the sap. Leaving it on too long might cause issues for some products. A good rule of thumb is 5-10 minutes for most specialized removers. For natural methods like oils, you might let it sit longer, like 15-20 minutes.
What’s the difference between sap and bird droppings on my car?
Tree sap is a sticky liquid from trees. Bird droppings are waste from birds. Both can damage paint. Sap is acidic and sticky, baking onto the surface. Bird droppings are also acidic and can etch paint quickly. They often dry hard and can contain seeds or grit. Both need prompt removal, but the cleaning methods might vary slightly.
Can I use toothpaste to remove sap?
Some non-gel toothpastes contain mild abrasives. They might help lift some surface sap. However, toothpaste is not designed for car paint. It can cause fine scratches. It’s better to use products specifically made for car detailing. Always test in an inconspicuous area if you try this, but it’s generally not recommended.
Should I wash my car after removing sap?
Yes, absolutely. After removing sap with any cleaner, it’s crucial to wash the area with car wash soap and water. This removes any residue from the sap remover and any leftover sap particles. It also helps to restore the shine and protect the paint.
Final Thoughts on Keeping Your Car Sap-Free
Dealing with tree sap is a common car care challenge. But with the right knowledge and a gentle approach, you can remove it effectively. Remember to always use soft materials and gentle cleaners. Protect your car’s beautiful finish. A little bit of care goes a long way.
By understanding what sap is and how it affects your car, you can make smart choices. Avoid harsh scrubbing and abrasive tools. Focus on dissolving the sticky stuff. Keep your car waxed and sealed. You’ll find that removing sap becomes much easier. Enjoy a clean, shiny car!