How to Paint Plastic Car Bumper: Essential Guide
Yes, you can paint a plastic car bumper yourself! This essential guide provides easy-to-follow, step-by-step instructions for cleaning, prepping, and painting your plastic car bumper for a professional-looking finish, saving you money and boosting your car’s appearance.
A scuffed, faded, or scratched plastic car bumper can really bring down the look of your ride. It’s a common problem many car owners face, and the thought of fixing it can feel daunting. But don’t worry! You don’t need to be a master painter or spend a fortune at a body shop. With the right tools and a little patience, you can easily paint your plastic car bumper and make it look like new again. This guide will walk you through everything, step by step, so you can tackle this project with confidence.
Why Painting Your Plastic Car Bumper is a Smart DIY Job
Plastic bumpers are everywhere these days, and they take a beating. From minor bumps in parking lots to everyday road grime, it’s easy for them to lose their shine or get unsightly marks. While a professional paint job can be expensive, painting it yourself is a rewarding and cost-effective solution. It’s also a fantastic way to learn more about car care and gain confidence in your DIY abilities. We’ll show you how to get a smooth, durable finish right in your own driveway.
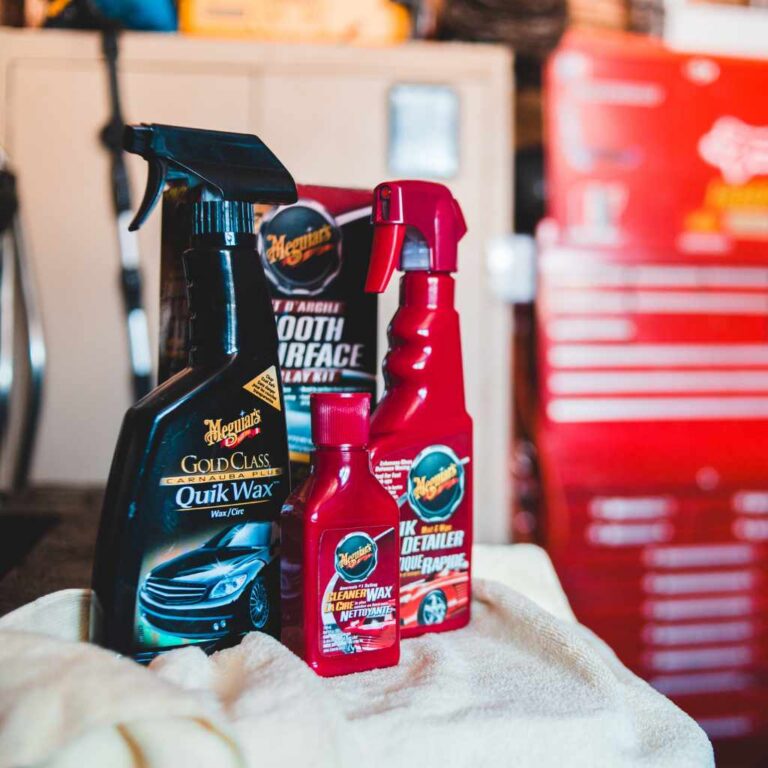
Gather Your Essential Painting Supplies
Before you start, gather all your supplies. Having everything ready will make the process smooth and efficient. Here’s what you’ll need:
- Safety Gear: Safety glasses, respirator mask (specifically for automotive paint fumes), and gloves. Paint fumes can be harmful, so protecting yourself is the first priority.
- Cleaning Supplies: Car wash soap, clean water, degreaser (like isopropyl alcohol or a dedicated automotive degreaser), and clean microfiber towels or rags.
- Sandpaper: A range of grits, typically starting with 180-grit for initial sanding, then moving to 320-grit, 400-grit, and finally 600-grit or higher for a smooth finish. You might also need wet/dry sandpaper for a smoother finish.
- Masking Materials: Automotive masking tape (painter’s tape) in various widths and masking paper or plastic sheeting to protect areas you don’t want to paint.
- Primer: A good quality flexible plastic adhesion primer. This is crucial for paint to stick to flexible plastic.
- Paint: Automotive-grade spray paint matched to your car’s color code. You can often find this at auto parts stores or online. Consider a flexible paint designed for bumpers.
- Clear Coat: Automotive-grade clear coat spray. This protects the paint and gives it a glossy finish.
- Rubbing Compound & Polishing Compound (Optional): For final buffing and shine if you want a mirror-like finish.
- Applicators: Tack cloths to remove dust before painting.

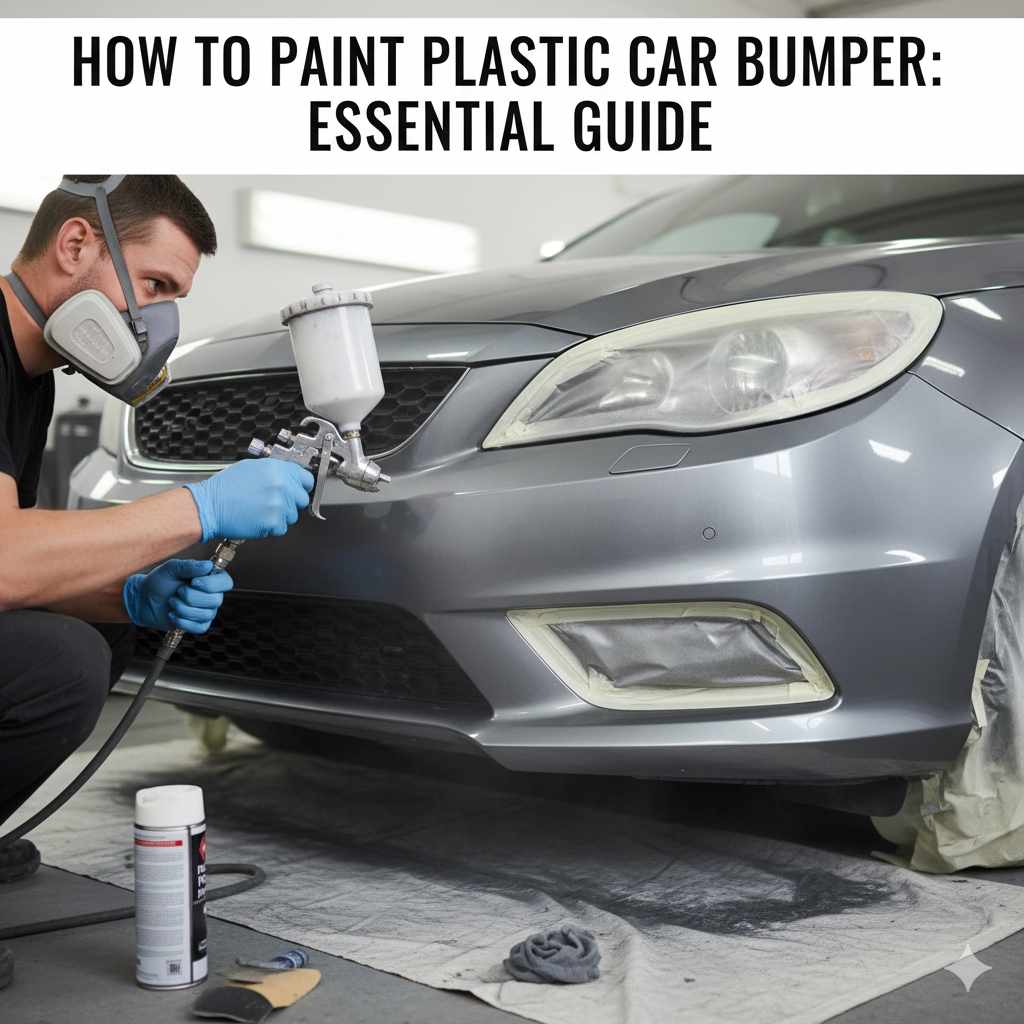
Step-by-Step Guide: How to Paint a Plastic Car Bumper
Follow these steps carefully for a great result. Remember, patience is key!
Step 1: Thoroughly Clean the Bumper
This is the most critical step for paint adhesion. Start by washing the entire bumper with car wash soap and water to remove dirt and debris. Rinse it well. Then, use a degreaser to remove any remaining grease, wax, or road film. Wipe it down with clean microfiber towels or rags. For stubborn contaminants, you might need a specialized automotive degreaser. Ensure the bumper is completely dry before moving on.
Step 2: Inspect and Repair Any Damage
Look closely for any scratches, cracks, or dents. Deep scratches and cracks will need to be repaired before painting. Small scratches might be sanded out, but deeper ones or cracks may require a plastic repair kit or filler specifically designed for car bumpers. For this guide, we’ll focus on painting a generally sound bumper, but if you have significant damage, research specific repair techniques for those issues first.
Step 3: Sand the Bumper Surface
This step creates a surface for the primer to grip onto. Start with a coarser grit sandpaper (around 180-grit) if you have any textured areas or light damage. For a smoother finish, move up to finer grits like 320-grit and then 400-grit. The goal is to scuff the entire surface evenly, not to remove material, but to create microscopicW scratches for the primer to adhere to. If you’re using wet/dry sandpaper, lightly dampen the sandpaper and the bumper surface. After sanding, wipe down the bumper with a clean, damp cloth to remove dust, and let it dry completely.
Step 4: Mask Off Surrounding Areas
Carefully use automotive masking tape to protect headlights, grilles, fenders, and any other parts of your car that you don’t want to get paint on. Overlap the tape with masking paper or plastic sheeting to cover larger areas. Ensure there are no gaps where overspray can get through. Press the edges of the tape down firmly to create a good seal.
Step 5: Apply Plastic Adhesion Primer
This is where the magic begins for painting plastic. Shake the can of flexible plastic adhesion primer thoroughly. Hold the can about 8-10 inches away from the bumper and apply a light, even coat. Don’t try to cover everything in one go; multiple thin coats are better than one thick one. Allow the recommended drying time between coats (check the can instructions). You might need 2-3 coats. Once the final coat is dry to the touch, you can do a very light wet-sand with 600-grit sandpaper if you want an ultra-smooth surface, then clean off all dust with a tack cloth.
Step 6: Apply the Base Coat (Color Paint)
Shake the color paint can well. Just like with the primer, hold the can about 8-10 inches away from the bumper. Apply thin, even coats, sweeping the can back and forth in a steady motion. Overlap each stroke slightly. Avoid spraying too much in one spot, as this can cause runs and drips. Allow the recommended flash time (the time you need to wait between coats for the solvents to evaporate) between each coat. Typically, this is 5-10 minutes. Apply 2-4 coats, or until you achieve full coverage. Ensure each coat is dry to the touch before applying the next. After the final color coat, let it dry completely according to the product’s instructions – this could be anywhere from 30 minutes to a few hours.
Step 7: Apply the Clear Coat
Once the base coat is dry, it’s time for the clear coat. Shake the can thoroughly and apply the clear coat in the same manner as the base coat: thin, even coats, 8-10 inches away, with overlapping strokes. Allow for proper flash time between coats. Clear coats usually require 2-4 coats for good protection and shine. This layer protects your paint job and provides that glossy, factory-like finish. After the final clear coat, let the bumper cure fully. Check the product instructions, but this can take anywhere from 24 hours to several days for full hardening.
Step 8: Remove Masking and Finish
Once the clear coat has had sufficient time to set (but not fully cure if you plan further steps), carefully remove the masking tape and paper. Pull the tape off slowly at an angle, away from the newly painted surface. If you notice any minor imperfections, like fuzz or dust nibs, you can try to gently remove them once the paint is fully dry. For an even smoother, more professional finish, you can use rubbing and polishing compounds after the paint has cured for at least 48-72 hours. Buff the surface to a high shine using a clean microfiber cloth or a buffer. For more information on buffing and polishing, resources like automotive refinishing techniques can provide detailed guidance.
Preparing Your Workspace
Find a well-ventilated area, ideally outdoors or in a garage with the door open. Avoid painting in direct sunlight, high humidity, or windy conditions, as these can affect the paint finish. A temperature between 60-80°F (15-27°C) is usually ideal for most automotive paints.
Tips for a Professional Finish
Here are some extra tips to help you achieve a professional-looking paint job:
- Use Thin Coats: This is the golden rule. Multiple thin coats are always better than one thick coat. It prevents runs, drips, and ensures even coverage.
- Maintain Consistent Distance: Hold the spray can the same distance from the surface throughout the process.
- Keep the Can Moving: Never stop spraying while the can is aimed at the surface. Start spraying before the edge of the panel and continue spraying past the opposite edge.
- Check Paint Compatibility: Ensure all your products (primer, paint, clear coat) are compatible with each other and designed for automotive use and flexible plastics.
- Allow Proper Drying/Curing Times: Rushing the process is the fastest way to ruin a good paint job. Respect the drying and curing times specified by the product manufacturer.
What If I Make a Mistake?
Don’t panic! Minor runs or drips can often be fixed by gently sanding the affected area down once dry and reapplying thin coats. If you’ve made a significant mistake, you might need to let the paint cure fully, then sand it back and start the priming and painting process again. It’s a learning curve, and you gain experience with each attempt.
Alternative: Bumper Kits
For a simpler approach, some manufacturers offer plastic bumper repair and paint kits. These kits often come with specially formulated primers and paints designed to work together. While they might offer fewer color options, they can be a great starting point for beginners. Always check the product’s suitability for your specific bumper material.

Cost Comparison: DIY vs. Professional
Painting a plastic car bumper yourself can save you a significant amount of money. Professional shops might charge anywhere from $300 to $1000 or more for a bumper paint job, depending on the vehicle, the extent of damage, and your location. The cost for a DIY paint job using quality spray cans typically ranges from $50 to $150 for all the supplies. This makes DIY a very attractive option for budget-conscious car owners.
| Item | Estimated DIY Cost | Estimated Professional Cost |
|---|---|---|
| Supplies (Primer, Paint, Clear Coat, Sandpaper, Tape) | $50 – $150 | N/A (Included in labor) |
| Labor | Your Time (Approx. 4-8 hours) | $250 – $800+ |
| Total Estimated Cost | $50 – $150 | $300 – $1000+ |
FAQ: Painting Your Plastic Car Bumper
Q1: How long does it take to paint a plastic car bumper?
A: The actual painting process might only take a few hours, but you need to factor in drying and curing times between coats and for the final finish. Expect to spend about 4-8 hours of active work spread over 1-3 days, depending on how quickly the paint dries.
Q2: Do I need special paint for plastic bumpers?
A: Yes, it’s highly recommended. Plastic is flexible, and standard paints can crack. Look for primers and paints specifically labeled for automotive plastics or flexible surfaces. A flexible primer is especially important for good adhesion.
Q3: How many coats of paint do I need?
A: For primers, base coats, and clear coats, it’s generally recommended to apply 2-4 thin, even coats. Always refer to the product instructions for specific recommendations.
Q4: Can I paint my bumper in cold weather?
A: It’s best to avoid painting in very cold temperatures (below 50°F or 10°C). Cold weather slows down drying and curing, and can lead to a poor finish. Always check the paint manufacturer’s recommended temperature range for application.
Q5: What do I do if I get drips or runs in the paint?
A: If the paint is still wet, you might be able to gently wick away the excess with a brush or cloth. If it has already started to dry, let it cure completely, then carefully sand down the drip until it’s level with the surrounding paint, and reapply thin coats.
Q6: How do I match my car’s paint color?
A: Most car manufacturers have a paint color code located on a sticker in the driver’s side doorjamb, under the hood, or in the glove compartment. Provide this code to your auto parts store or online supplier to get an exact match.
Q7: Do I need to use a clear coat?
A: Absolutely. The clear coat is essential. It protects the color coat from UV rays, scratches, and environmental damage, and it provides the glossy, hard finish that makes your paint job look professional.
Conclusion
Painting your plastic car bumper might seem like a big task at first, but by breaking it down into manageable steps and using the right materials, you can achieve a fantastic result. You’ve learned how to clean, prep, prime, paint, and protect your bumper, all while saving money and gaining valuable DIY experience. With a little effort and adherence to these guidelines, your car’s bumper will look refreshed and revitalized, ready to face the road. So, gather your supplies, follow the steps, and take pride in your work – you’ve got this!