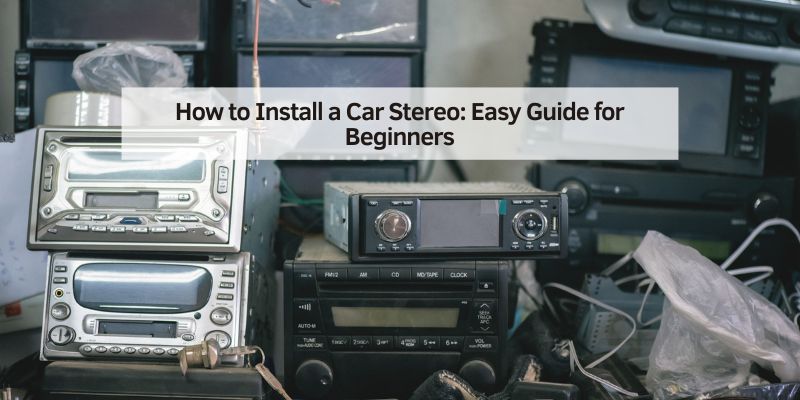
How to Install a Car Stereo: Easy Guide for Beginners
I’ll never forget my first attempt at installing a car stereo—it was a total mess! Wires everywhere, and I accidentally unplugged something important. But with a bit of patience, I got it right, and now I’m hooked on upgrading car audio. If you’re ready to swap out your old stereo for a new one, this guide is for you. I’ll walk you through each step, share simple tips, and point out mistakes to avoid. Whether you’re a beginner or a car enthusiast, installing a car stereo is easier than it looks. Let’s make your ride sound awesome!
Quick Answer
Installing a car stereo takes 1–3 hours: disconnect the battery, remove the old unit, match the wiring harness colors (red = power, black = ground, yellow = constant power, blue = antenna/amp), test before mounting, then secure the new stereo with a dash kit.
What Is a Car Stereo Installation?
Installing a car stereo means replacing your car’s factory audio unit with a new one. It’s a fun way to get better sound, add Bluetooth, or even connect your phone. A good stereo makes every drive feel like a concert! You’ll need some tools, a bit of time, and a clear plan. This guide is perfect for beginners, but I’ll toss in tips for advanced folks too.
Why Install a New Car Stereo?
A new stereo can transform your car. Here’s why it’s worth it:
- Better Sound: Crisper music and stronger bass.
- Cool Features: Think Bluetooth, USB ports, or Apple CarPlay.
- Personal Touch: Make your car feel like you.
But there are drawbacks. It takes time, and if you’re not careful, you might mess up wires. Don’t worry—I’ll show you how to keep it simple.
Tools and Materials You’ll Need
Before you start, grab these tools. Most are cheap or already in your toolbox:
- Screwdrivers: Flathead and Phillips for removing panels.
- Wire Strippers: To trim and connect wires.
- Electrical Tape: Keeps connections safe.
- Socket Wrench: Usually 10mm for battery terminals.
- Car Stereo: Pick one that fits your car (check your manual).
- Wiring Harness Adapter: Matches your car’s wires to the new stereo.
- Dash Kit: Ensures the stereo fits your car’s dashboard.
Pro Tip: Double-check your car’s make and model when buying a stereo. Sites like Crutchfield have guides to find the right fit.
Here’s a quick table to help you budget:
| Item | Estimated Cost | Where to Buy |
|---|---|---|
| Car Stereo | $50–$200 | Amazon, Best Buy |
| Wiring Harness | $10–$30 | Crutchfield, AutoZone |
| Dash Kit | $15–$40 | Crutchfield, eBay |
| Basic Tools | $20–$50 | Home Depot, Walmart |
Table 1: Estimated costs for car stereo installation tools and parts.
Our Pick: Best Car Stereo Install Gear
SJoyBring 7″ QLED Double Din Car Stereo (Wireless CarPlay & Android Auto)
Best for: A full head-unit upgrade with wireless CarPlay and Android Auto built in.
Why we picked it: Comes with the plug-in wiring layout already labeled, which matches the wire-color table in this guide.
Main drawback: Double-DIN sizing won’t fit single-DIN dash openings without a dash kit.
View Our Pick on Amazon
 Metra Wiring Harness Adapter Best for: Splice-free installs. Why we picked it: Plugs into your factory harness — no cutting. Drawback: Must match your exact vehicle model. Check on Amazon |
 Wire Crimp Connector Kit Best for: Solid splices if no adapter fits. Why we picked it: More reliable than twist-and-tape. Drawback: Needs a crimping tool, not just pliers. Check on Amazon |
 Scosche Dash Install Kit Best for: A factory-look fit around the new stereo. Why we picked it: Matches trim color/finish to your dash. Drawback: Vehicle-specific — check fitment first. Check on Amazon |
Step-by-Step Guide to Install a Car Stereo
Here’s how to install your car stereo like a pro. Follow these steps, and it’s a piece of cake!
Step 1: Stay Safe and Disconnect the Battery
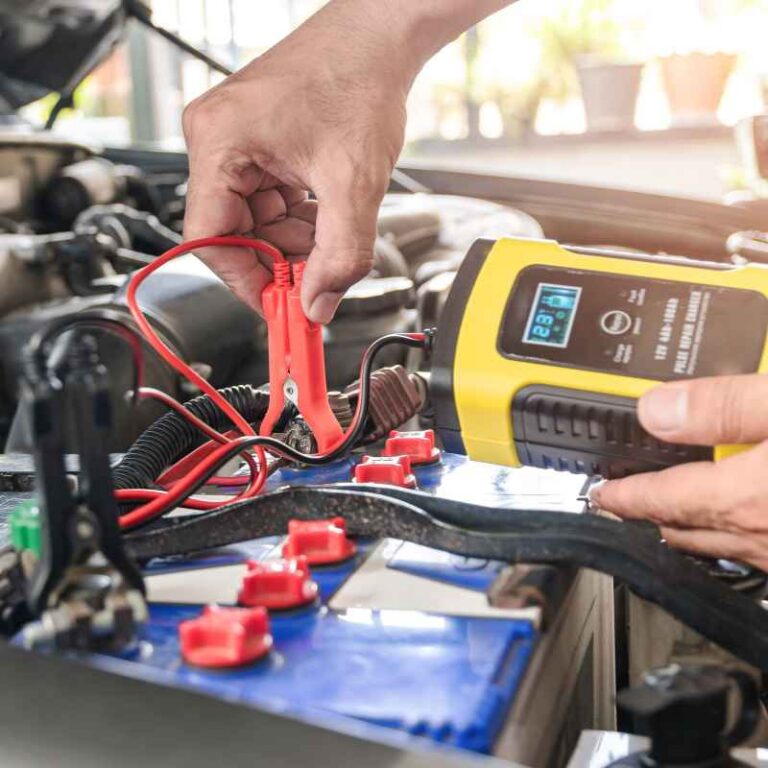
Safety first! Pop your car’s hood and find the battery. Use a socket wrench to loosen the negative terminal (usually black, marked “-”). Pull it off and tuck it aside. This keeps you from getting shocked and protects your car’s electronics.
Mistake to Avoid: Don’t skip this step. I once fried a fuse by forgetting it—oops!
Step 2: Remove the Old Stereo
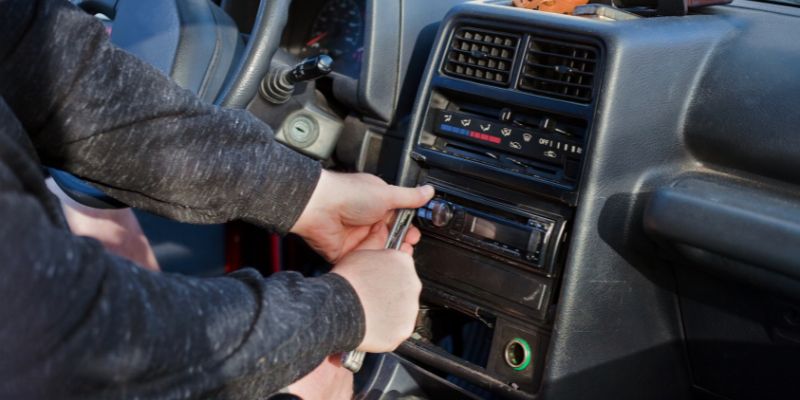
Check your car’s manual to find how the stereo is held in place. Most cars have a trim panel around the stereo. Gently pry it off with a flathead screwdriver. Look for screws or clips holding the stereo. Unscrew or unclip it, then pull the stereo out slowly. You’ll see a bundle of wires—don’t yank them!
Visual Idea: A diagram showing common trim panel locations (e.g., around the stereo or air vents) would be handy here.
Step 3: Disconnect the Old Wiring
Your old stereo is connected by a wiring harness and antenna cable. Unplug them carefully. If the harness has a clip, press it to release. Label the wires with tape if you’re nervous about forgetting what’s what. I did this my first time, and it saved me!
Step 4: Connect the New Stereo
Take your new stereo and wiring harness adapter. Match the colors of the wires (e.g., red to red, black to black). Use wire strippers to expose the ends, twist them together, and wrap with electrical tape. Plug the harness into the new stereo. Connect the antenna cable too.
Pro Tip: If your stereo comes with a manual, check its wiring diagram. It’s like a cheat sheet!
| Wire Color | Purpose |
|---|---|
| Red | Power (ignition) |
| Black | Ground |
| Yellow | Constant power |
| Blue | Antenna or amp |
Table 2: Common wire colors and their functions.
Twist-and-Tape, Crimp Connectors, or Soldering: Which Splice Method Should You Use?
Twisting bare wires together and wrapping them in electrical tape works in a pinch, but it’s the least reliable method — vibration from driving loosens twisted connections over time, which is a common cause of a stereo that cuts out over bumps. A better option is a crimp connector (butt connector): strip the wire, insert both ends into the connector, and crimp with a proper crimping tool for a solid mechanical bond. The most reliable connection is soldering the wires together and covering the joint with heat-shrink tubing, though it takes longer and requires a soldering iron. If you’re using a plug-and-play harness adapter (the kind that matches your factory connector with no cutting required), you can skip splicing altogether — this is the option most installers recommend for beginners.
Step 5: Test Before You Mount
Reconnect the car battery’s negative terminal. Turn on your car and test the stereo. Play music, check the radio, and test buttons. If it doesn’t work, double-check your wiring. I had to redo a loose connection once—patience pays off!
Step 6: Mount the New Stereo
If everything works, slide the stereo into the dash. Use the dash kit if your stereo doesn’t fit perfectly. Secure it with screws or clips from the old setup. Pop the trim panel back on. Step back and admire your work!
Visual Idea: A simple sketch of a stereo sliding into a dash with arrows showing screw locations.
Step 7: Tidy Up and Enjoy
Wrap any loose wires with electrical tape to keep things neat. Double-check that all panels are secure. Now crank up your favorite song and enjoy the new sound!
Benefits and Drawbacks of DIY Installation
Benefits:
- Save Money: Shops charge $50–$150 for installation.
- Learn a Skill: You’ll feel like a car wizard.
- Customize: Pick a stereo that fits your style.
Drawbacks:
- Time-Consuming: Expect 1–2 hours for your first try.
- Risk of Mistakes: Wrong wiring can cause issues.
- Car-Specific Challenges: Some cars need extra parts.
Alternative Approach: If this feels overwhelming, check out Best Buy’s installation services for pro help. But trust me, doing it yourself is super rewarding!
My Top Tips for Success
- Start Simple: Pick a single-DIN stereo for your first install—it’s easier.
- Watch a Video: YouTube has car-specific tutorials. Search your car model!
- Double-Check Wires: A loose connection can ruin everything.
- Ask for Help: If you’re stuck, forums like CarAudio.com are gold.
Funny Story: My buddy tried installing his stereo without disconnecting the battery. Sparks flew, and he yelped like a cartoon character! Lesson learned—always unplug the battery.
Common Mistakes to Avoid
- Forgetting the Battery: Always disconnect it to avoid shocks or damage.
- Wrong Wiring Harness: Get one that matches your car model.
- Skipping the Dash Kit: Without it, your stereo might wobble.
- Rushing: Take your time to avoid loose connections.
| Mistake | Fix |
|---|---|
| Wrong Wiring Harness | Check car model on Crutchfield |
| Loose Connections | Use electrical tape securely |
| No Dash Kit | Buy a kit for your car’s dash |
Table 3: Common mistakes and how to fix them.
Frequently Asked Questions
How Long Does It Take to Install a Car Stereo?
It takes about 1–2 hours for beginners. If you’re new, go slow and follow each step. With practice, you can do it in under an hour. Use a wiring harness to save time.
Do I Need Special Tools to Install a Car Stereo?
You need basic tools like screwdrivers, wire strippers, and a socket wrench. Most households have these. A wiring harness and dash kit are also key for a smooth install.
Can I Install a Car Stereo in Any Car?
Most cars allow stereo upgrades, but some need special parts. Check your car’s manual or Crutchfield’s fit guide to confirm compatibility.
What If My New Stereo Doesn’t Work?
Check your wiring connections and battery. A loose wire or wrong harness is usually the issue. Test before mounting to catch problems early.
How Much Does a Car Stereo Cost?
Basic stereos cost $50–$200. Add $20–$70 for a wiring harness and dash kit. Shop at Amazon or Best Buy for deals.
Is It Safe to Install a Car Stereo Myself?
Yes, if you disconnect the battery first. This prevents shocks or damage. Follow steps carefully and double-check connections.
Can I Add Bluetooth to My Car Stereo?
Many new stereos have Bluetooth built-in. Look for models with Bluetooth or USB ports. Check reviews on CNET for top picks.
Conclusion
Installing a car stereo is a fun, rewarding project. You’ll save money, learn a cool skill, and make your car sound amazing. Follow my steps, grab the right tools, and don’t skip the battery disconnect. Whether you’re blasting music or catching up on podcasts, your new stereo will make every drive better. Try it out, and let me know how it goes—maybe share your favorite driving song! Happy installing!
Want to go further with your setup? Check out our guides on adding Bluetooth to a car stereo and fixing a stuck CD in your car stereo.
Products related to this article
Sponsored / affiliate links. As an Amazon Associate I earn from qualifying purchases. I may earn additional commission from eligible campaigns.