How to Change a Car Stereo (Wiring Harness & SWC Guide)
Changing a car stereo means removing the old unit, using a wiring harness adapter instead of splicing wires, and mounting a new single- or double-DIN stereo in the dash — no cutting needed with the right adapter. Wire it wrong and you risk a blown fuse or dead steering wheel controls. This guide covers the full swap, plus two details most tutorials skip: the steering wheel control (SWC) interface and picking the correct DIN size and dash kit.
Quick Answer
Most cars support a stereo swap in under two hours with basic hand tools. Use a wiring harness adapter instead of splicing to match your car’s plugs, confirm single- or double-DIN size before you buy, and add a steering wheel control (SWC) interface if your factory stereo had wheel buttons — otherwise they stop working after the swap.
Why Upgrade Your Car Stereo?
Your car stereo is more than just a music player; it’s your connection to navigation, hands-free calls, and your favorite podcasts. Over time, car stereos can become obsolete. They might lack Bluetooth connectivity, modern USB ports, or the ability to connect to smartphone mirroring apps like Apple CarPlay or Android Auto. A new stereo can:
- Improve sound quality with better pre-amp outputs and features.
- Add modern features like Bluetooth streaming, USB ports, and smartphone integration.
- Enhance safety through hands-free calling and easier access to navigation.
- Give your car’s interior a fresh, updated look.
- Provide access to features like satellite radio or backup camera integration.
Upgrading is a popular DIY project because the benefits are immediately noticeable and can significantly improve your daily commute and long drives.
Before You Start: Essential Preparations
Before you even think about unscrewing anything, a bit of preparation goes a long way. This ensures you have everything you need and that the job goes smoothly, preventing common headaches later on.
1. Identify Your Car’s Stereo Slot Size
Car stereos come in standard sizes, most commonly:
- Single-DIN: These are smaller, taller units (roughly 7 inches wide by 2 inches tall).
- Double-DIN: These are larger, shorter units (roughly 7 inches wide by 4 inches tall) and often include larger touchscreens.
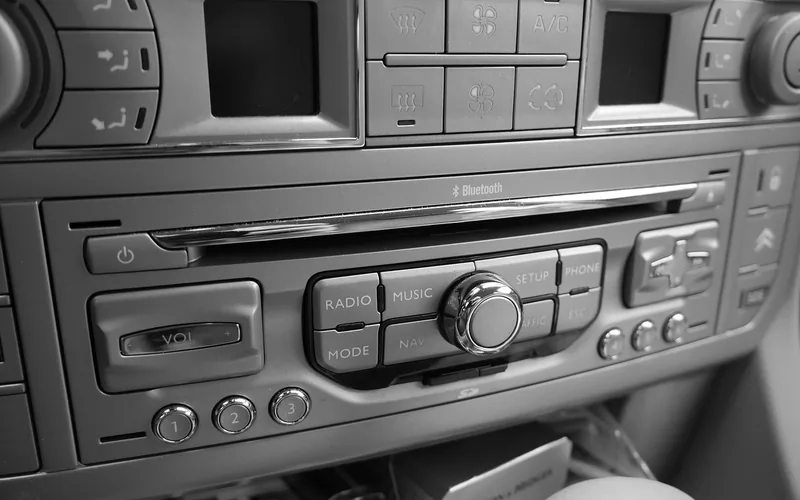
Most cars are designed to accommodate either a single-DIN or a double-DIN unit. You can find this information in your car’s owner’s manual, by searching online for your specific car model and stereo size, or by carefully measuring the opening in your dashboard.
2. Choose Your New Car Stereo
This is the fun part! When selecting a new stereo, consider what features are most important to you. Popular options include:
- Bluetooth: For wireless music streaming and hands-free calls.
- USB Ports: For charging devices and playing music from flash drives.
- Apple CarPlay / Android Auto: For seamless integration with your smartphone’s interface, navigation apps, and voice commands.
- CD Player: If you still have a collection of CDs.
- Navigation: Built-in GPS systems for turn-by-turn directions.
- Satellite Radio: For access to stations like SiriusXM.
- Backup Camera Input: To add a display for a reverse camera.
Read reviews and compare specifications to find a stereo that fits your needs and budget.
3. Gather Your Tools and Accessories
Having the right tools makes the job much easier and safer. You’ll likely need:
Essential Tools:
- Car Stereo Installation Kit/Dash Kit: This adapter fills any gaps between a new stereo and your dashboard, ensuring a clean, factory-like fit. It’s crucial for making the new stereo look integrated.
- Wiring Harness Adapter: This adapter connects your new stereo’s wiring to your car’s existing wiring without cutting or splicing. It’s a lifesaver for preserving your car’s original wiring. You can find these by searching for your car’s make, model, and year.
- Antenna Adapter: Sometimes, the antenna plug from your car won’t fit the new stereo’s antenna port.
- Panel Removal Tools: Plastic pry tools are essential for safely removing dashboard panels without scratching or damaging them. Metal tools can easily mar your car’s interior.
- Screwdriver Set: A set with various sizes and types (Phillips and flathead) is a must. Magnetic tips are also very helpful.
- Socket Wrench Set: Sometimes screws or bolts holding the stereo in place require sockets.
- Wire Strippers/Crimpers (Optional, if not using a plug-and-play harness): If your wiring harness requires connecting wires, you’ll need these.
- Electrical Tape or Wire Connectors (Optional): For securing any necessary wire splices.
- Owner’s Manual: For both your car and the new stereo. It’s invaluable for specific instructions.
Universal vs. Vehicle-Specific Wiring Harness Adapters
A wiring harness adapter plugs into your stereo’s factory connector on one end and your new stereo’s harness on the other, so wire colors line up without cutting anything. Two types exist: a vehicle-specific adapter built for your car’s exact make, model, and year — brands like Metra, Scosche, and PAC sell these under part numbers tied to specific vehicles — and a universal adapter with bare wire ends you match by color and crimp or solder yourself.
A vehicle-specific harness is the faster, cleaner choice for most swaps because the factory color-coding is already translated to standard aftermarket colors for you. A universal harness only makes sense if no vehicle-specific option exists for your particular car, or if you’re working on an older vehicle with no aftermarket harness support at all.
“Factory wiring adapters make car stereo installation much easier — without them you’ll have to splice into the car’s existing wiring, which is not simple even with older cars.”
You can often purchase installation kits and wiring harnesses from online auto parts retailers or electronics stores that specialize in car audio — search by your exact make, model, and year to make sure the harness and dash kit both fit.
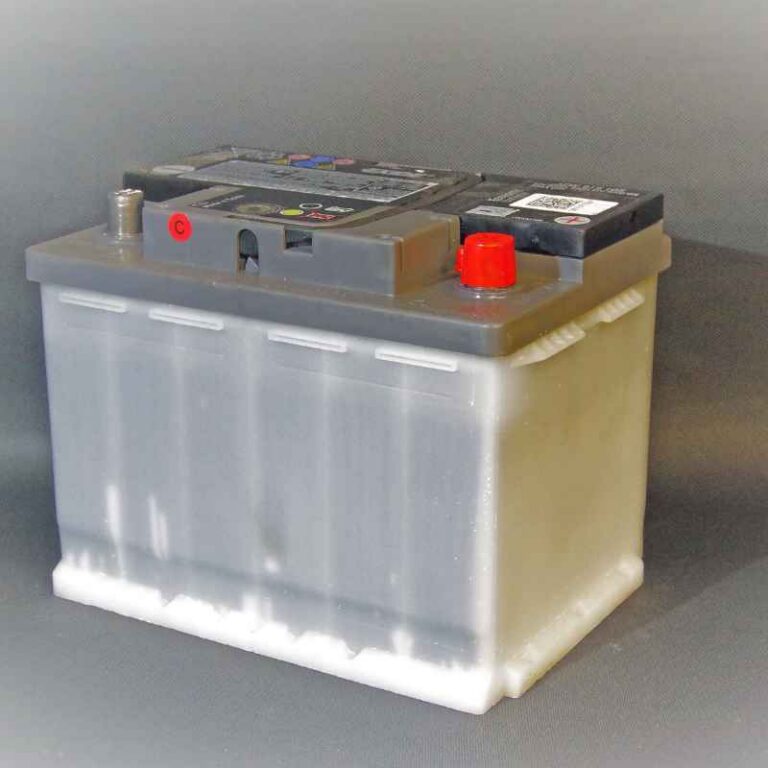
4. Disconnect the Battery
Safety First! This is perhaps the most critical step to prevent electrical shorts and potential damage to your car’s electrical system or the new stereo. Locate your car’s battery (usually under the hood). Use a wrench to loosen and remove the negative (-) battery terminal. Tuck it aside so it can’t accidentally touch the battery post. This will disable the car’s electrical system.
Will Your Steering Wheel Controls Still Work? (SWC Interface Explained)
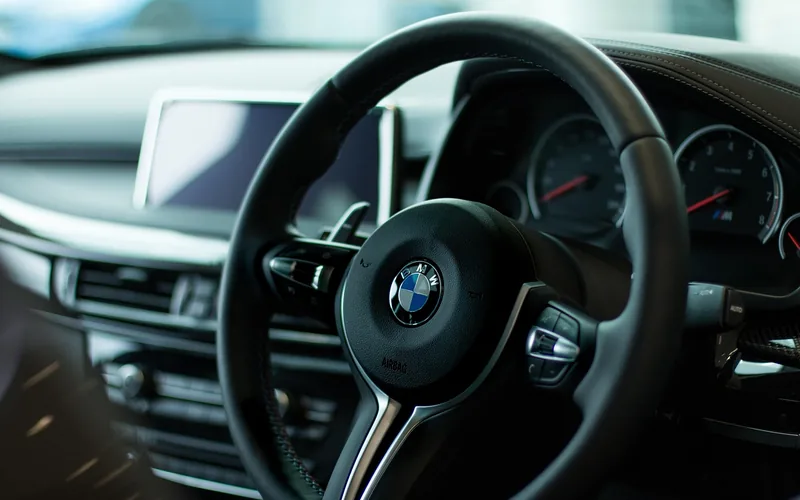
A wiring harness adapter handles power, ground, and speaker wires — but it does not carry your steering wheel’s radio buttons. If your factory stereo had volume, track, or voice-command buttons on the wheel, you need a separate steering wheel control (SWC) retention interface, or those buttons go dead the moment you unplug the old stereo. This is the single most commonly-missed detail in DIY stereo swaps.
How SWC Interfaces Connect to Your New Stereo
Most late-model aftermarket stereos accept steering wheel controls through one of two connections: a 3.5mm jack on the back of the radio, or two bare wires (often labeled Blue/Yellow on Kenwood and JVC units) that the interface connects to directly. Interfaces built for CAN-bus and data-bus systems — common on 2006-and-newer vehicles — communicate digitally with the car’s factory module. Older analog/resistive systems instead use two wires labeled KEY 1 and KEY 2 (or SW1/SW2), which a two-wire adapter reads and translates for the new stereo. Read more in Crutchfield’s guide to steering wheel control adapters.
Do You Need One? How to Check
Check before you buy: if your original stereo had steering wheel audio buttons, look up an SWC interface matched to your car’s make and model. Most kits from PAC, Axxess, or Metra auto-detect your vehicle’s control signals during setup, so you rarely have to program each button by hand — though some interfaces do require manually assigning a function to each button. If your factory radio never had wheel buttons to begin with, you can skip this part of the job entirely.
Best SWC Interface Pick
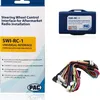
PAC SWI-RC-1 Universal Steering Wheel Control Retention Interface
Works with both analog/resistive and CAN-bus steering wheel systems, with DIP-switch programming instead of a laptop or app.
- Best for: keeping factory wheel buttons working after any aftermarket head unit swap
- Why we picked it: covers both wiring types (3.5mm jack and two-wire) in one interface, so you don’t have to identify your system first
- Main drawback: DIP-switch setup means checking the compatibility chart for your exact radio brand before wiring it in
Compare more car stereo swap essentials
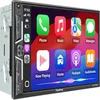 Option 1 SJoyBring 7″ QLED Double-DIN Stereo (Wireless CarPlay/Android Auto)
|
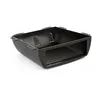 Option 2 Scosche UDEB Universal Single-DIN Install Enclosure
|
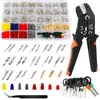 Option 3 Automotive Pin Connector & Crimp Tool Kit (969-Piece)
|
As an Amazon Associate we earn from qualifying purchases.
Step-by-Step Guide to Changing Your Car Stereo
Now that you’re prepared, let’s get down to business! We’ll break this down into manageable steps.
Only doing part of this job? If your dash is already empty and you’re just mounting a new stereo, see our install-only walkthrough. If you just need the old unit out with no replacement yet, our step-by-step removal guide covers stuck trim panels and hidden screws in more depth.
Step 1: Remove the Old Stereo
This is where patience is key. Dashboards vary greatly between car models.
- Access the Stereo: Most stereos are held in place by a dashboard trim panel. You’ll need to carefully pry this panel away. Start by looking for the edges of the panel and gently inserting a plastic panel removal tool. Work your way around the panel, releasing the clips. Some panels might have screws hidden behind small covers or in specific locations. Check your car’s manual or online forums for your specific model for detailed removal instructions.
- Unclip and Remove the Panel: Once all clips are released or screws are removed, carefully pull the trim panel away from the dashboard. Be gentle, as some wires might still be attached (like for hazard lights or climate controls). Disconnect these as needed, noting where they came from.
- Unscrew the Old Stereo: With the trim panel removed, you should have clear access to your old stereo. It will likely be held in place by either screws or by metal brackets. Use your screwdriver or socket wrench to remove these.
- Gently Pull Out the Stereo: Once screws are removed, the stereo should slide out of the dashboard. Don’t yank it! It might still be connected by wiring harnesses and an antenna cable.
- Disconnect the Old Stereo’s Wiring: On the back of the stereo, you’ll find one or more wire harnesses and the antenna cable. Most harnesses have a clip that needs to be pressed to release them. Carefully unplug these from the back of the old stereo.
Step 2: Prepare the New Stereo and Wiring
This step involves connecting your new stereo to your car using the necessary adapters.
- Connect the Wiring Harness Adapter: Take your new stereo’s wiring harness and your car’s wiring harness adapter. These are designed to plug into each other. Match the colors and connector types to ensure a correct connection. Many adapters use color-coding similar to the stereo’s harness, making it straightforward. If you need to splice wires (less common with modern adapters), carefully strip a small section of each wire, twist them together securely, and use wire connectors or electrical tape. Ensure you connect ground to ground, power to power, and speaker wires correctly. Important Note: Refer to the wiring diagrams provided with both your new stereo and the wiring harness adapter. Incorrect connections can damage your new stereo or your car’s electrical system.
- Connect the SWC Interface (If Needed): If your factory stereo had steering wheel buttons, wire in your steering wheel control interface now, following its included instructions to match it to your radio brand.
- Connect the Antenna Adapter: Plug the antenna adapter into your car’s antenna cable and then into the new stereo’s antenna port.
- Check Connections: Double-check all your connections to make sure they are secure and correct.
Step 3: Install the New Stereo and Dash Kit
Now it’s time to make the new stereo fit perfectly in your dash.
- Assemble the Dash Kit: Your installation kit might come in pieces that need to be assembled according to its instructions. This often involves attaching brackets or a sleeve that will hold the new stereo.
- Mount the New Stereo in the Dash Kit: Slide your new stereo into the dash kit’s mounting sleeve or brackets. Some kits have screws to secure the stereo in place, while others use tabs that bend to lock it.
- Connect the New Stereo: With the stereo mounted in the kit, carefully push the assembled unit towards the dashboard opening. Plug your prepared wiring harness adapter and antenna adapter into the back of the new stereo.
- Test the New Stereo (Before full installation): This is your chance to ensure everything works! Temporarily reconnect your car’s negative battery terminal. Turn on your car’s ignition (no need to start the engine). Your new stereo should power on. Test the basic functions: AM/FM radio, volume, and speaker output for all speakers. Make sure there’s no static or distortion. If it doesn’t work, turn off the ignition, disconnect the battery again, unplug everything, and re-check your wiring connections.
- Secure the New Stereo: Once you’re confident the stereo is working, push any excess wiring back into the dash cavity, ensuring nothing is pinched.
- Fasten the Stereo: Slide the stereo and dash kit assembly into the dashboard opening. Secure it using the screws provided with the installation kit or the factory mounting points if the kit utilizes them. Ensure it sits flush and is stable.
Step 4: Reassemble the Dashboard
This is the reverse of removal, making sure everything looks as it did before.
- Reconnect Any Disconnected Panel Wires: If you disconnected any wires for dashboard controls (like hazard lights), reconnect them now.
- Position the Trim Panel: Carefully align the trim panel back into its original position.
- Snap or Screw the Panel Back: Gently push the panel into place until the clips engage, or re-insert any screws you removed. Ensure there are no gaps and that it sits flush with the surrounding dashboard.
Step 5: Final Checks
Turn the ignition on and start your engine. Power on your new stereo and thoroughly test all its features:
- Bluetooth connectivity and music playback.
- USB playback and charging.
- Apple CarPlay or Android Auto functionality.
- Radio reception.
- All speaker outputs (front, rear, left, right).
- Steering wheel controls, if you installed an SWC interface.
- Any other features you installed (e.g., backup camera display).
If everything works perfectly, your installation is complete! If you encounter issues, double-check your wiring and consult the manuals for your stereo and adapters.
Common Car Stereo Installation Challenges and Solutions
Even with a great guide, you might run into a few snags. Here’s how to handle them:
| Problem | Possible Cause | Solution |
|---|---|---|
| Stereo doesn’t power on at all. | Blown fuse in car or new stereo wiring harness. Battery not reconnected. Incorrect power/ground connection. | Check fuses at the car’s fuse box and on the back of the stereo. Reconnect battery correctly. Verify power and ground wires are connected to the correct terminals using your wiring diagram. |
| Stereo powers on, but no sound. | Speaker wires are not connected properly. Wiring harness issues. Bad speakers. | Re-check speaker wire connections on both the stereo harness and the car’s harness adapter. Ensure all wires are secure. If still no sound, the issue may be with the speakers themselves. |
| Only some speakers work. | Incorrect speaker wire connections. Damaged speaker wires. Balance/fader settings are off. | Verify all speaker wires are connected correctly according to the stereo’s manual. Check for any nicks or breaks in wiring. Ensure balance and fader settings on the new stereo are centered. |
| Buzzing or humming noise. | Grounding issue. Interference from other car electronics. | Ensure the stereo’s ground wire is securely connected to a clean metal chassis point in the car. Try to route the stereo’s power wires away from the car’s antenna or other sensitive wiring. |
| Stereo doesn’t fit perfectly. | Incorrect or ill-fitting dash kit. | Ensure you purchased the correct dash kit for your car’s specific make, model, and year, and that it’s designed for the stereo size (single-DIN or double-DIN). Sometimes minor trimming of the kit is needed, but check compatibility first. |
| Steering wheel buttons stopped working. | No SWC retention interface installed, or it’s wired to the wrong terminals. | Add an SWC interface matched to your car and radio brand. Double-check it’s connected to the 3.5mm jack or the correct two wires on the back of the new stereo. |
| Loss of car memory (clock, radio presets). | Illuminated constant power and accessory wires are swapped. | The constant power wire (usually yellow) provides memory to the stereo when the car is off, while the accessory wire (often red) powers the stereo when the car is on. Ensure these are connected correctly according to the wiring diagram. |
Remember, troubleshooting is a normal part of DIY. Taking your time and systematically checking each connection — power, ground, speaker wires, and the harness adapter itself — will solve most problems without needing to touch any factory wiring.
📊 DIY’s share of sound-system and audio-accessory installs fell from 64% in 2024 to 48% in 2025, as more owners hand wiring-heavy jobs to a professional instead. — Source: SEMA 2025 Market Report
If your troubleshooting stalls on a wiring problem you can’t isolate — or you just don’t want to risk your dashboard trim — a mobile car audio installer can usually finish the job in under an hour for less than a bad splice job costs to fix.
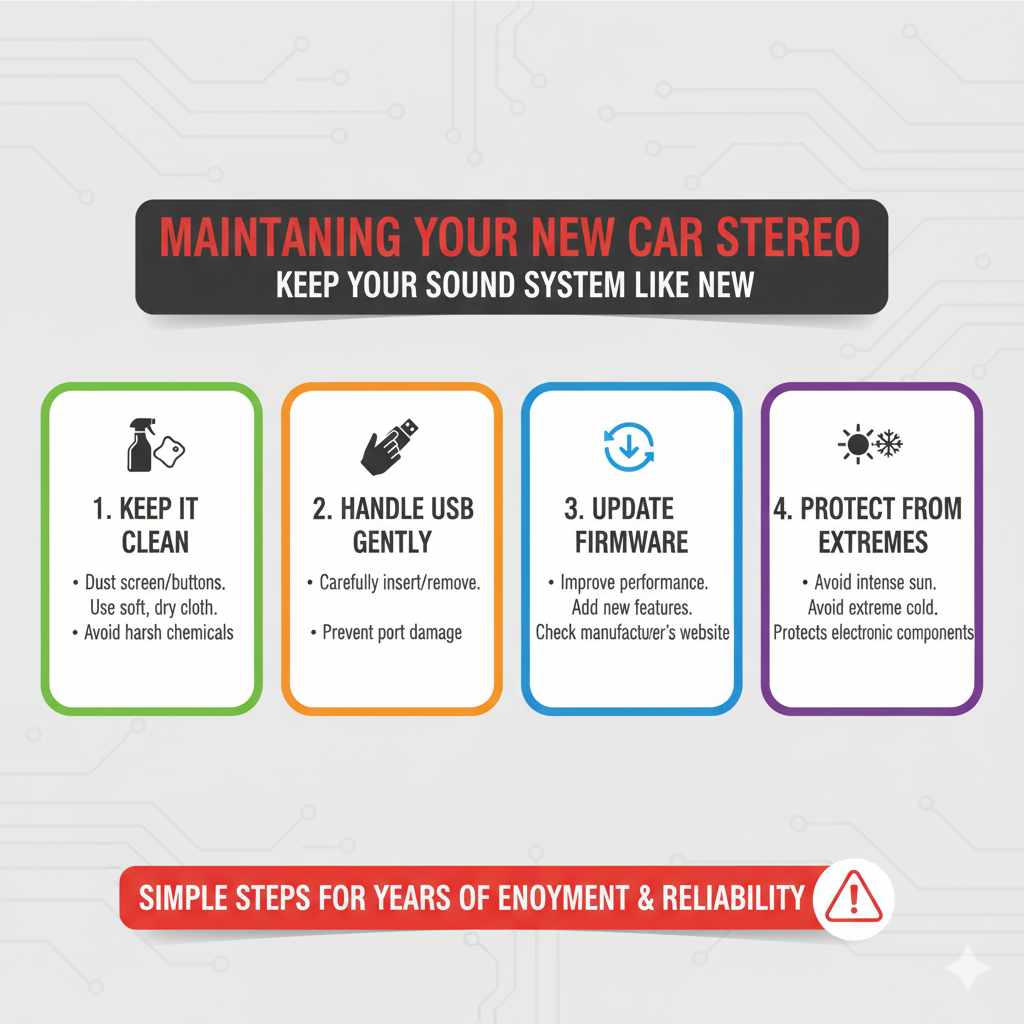
Maintaining Your New Car Stereo
Once your new stereo is in place and working beautifully, a little care will keep it performing well:
- Keep it Clean: Dust your stereo screen and buttons regularly with a soft, dry microfiber cloth. Avoid harsh chemicals.
- Handle USB Devices Gently: When inserting or removing USB drives, do so carefully to avoid damaging the port.
- Update Firmware: Some modern stereos can have their firmware updated to improve performance or add new features. Check the manufacturer’s website periodically.
- Protect from Extreme Temperatures: Avoid leaving your car in direct, intense sun or extreme cold for extended periods, as this can affect electronic components.
Taking these simple steps will help ensure your new stereo is a source of enjoyment for years to come.
Frequently Asked Questions (FAQ)
How long does it typically take to change a car stereo?
For a beginner, changing a car stereo can take anywhere from one to three hours. If you’re experienced, it might only take 30-60 minutes. The time can vary greatly depending on the complexity of your car’s dashboard and how easily the old stereo can be removed.
Do I need to cut any wires in my car?
Ideally, no. With the right wiring harness adapter and installation kit, you shouldn’t need to cut any factory wires. These adapters allow you to plug your new stereo directly into your car’s existing wiring system, preserving everything.
What if my new stereo doesn’t fit my dashboard?
This usually means you have the wrong dash kit. Make sure you purchased a kit specifically designed for your car’s make, model, and year, and that it matches the size of your new stereo (single-DIN or double-DIN). Double-check the product compatibility before buying.
Can I install a double-DIN stereo if my car came with a single-DIN?
Sometimes, yes, but it often requires a specialized dash kit and potentially modifying part of your dashboard. This is a more advanced installation. For beginners, it’s best to stick with the original stereo’s size unless you’re comfortable with more complex modifications.
Why do I need a wiring harness adapter and a dash kit?
A wiring harness adapter connects your new stereo’s wiring to your car’s factory wiring without damaging the car’s original harness. A dash kit provides a mounting frame that makes your new stereo fit flush and look integrated into your car’s dashboard, filling any gaps left by the original stereo opening.
My car has steering wheel controls for the stereo. Will these still work?
In most cases, yes, but you’ll likely need an additional adapter called a steering wheel control (SWC) retention interface. This adapter connects your new stereo to your car’s existing steering wheel control wiring. These interfaces are specific to car makes and stereo brands, so be sure to get the correct one — see the SWC section above for how the connection actually works.
What should I do with my old car stereo?
You can sell it if it’s still in working condition, donate it to a charity, or ethically dispose of it. Check your local recycling center for electronics disposal options if it’s no longer functional.
Conclusion
Changing your car stereo is a rewarding DIY project that can vastly improve your driving experience. By preparing thoroughly, gathering the right tools and adapters, and following these step-by-step instructions, you can successfully upgrade your car’s sound system with confidence. Remember that safety is paramount, especially when working with your car’s electrical system, so always disconnect the battery before starting. Don’t be discouraged if you encounter a small issue; troubleshooting is part of the process, and most problems have straightforward solutions. Enjoy your new, enhanced audio system and the renewed joy it brings to every journey!
Products related to this article
Sponsored / affiliate links. As an Amazon Associate I earn from qualifying purchases. I may earn additional commission from eligible campaigns.