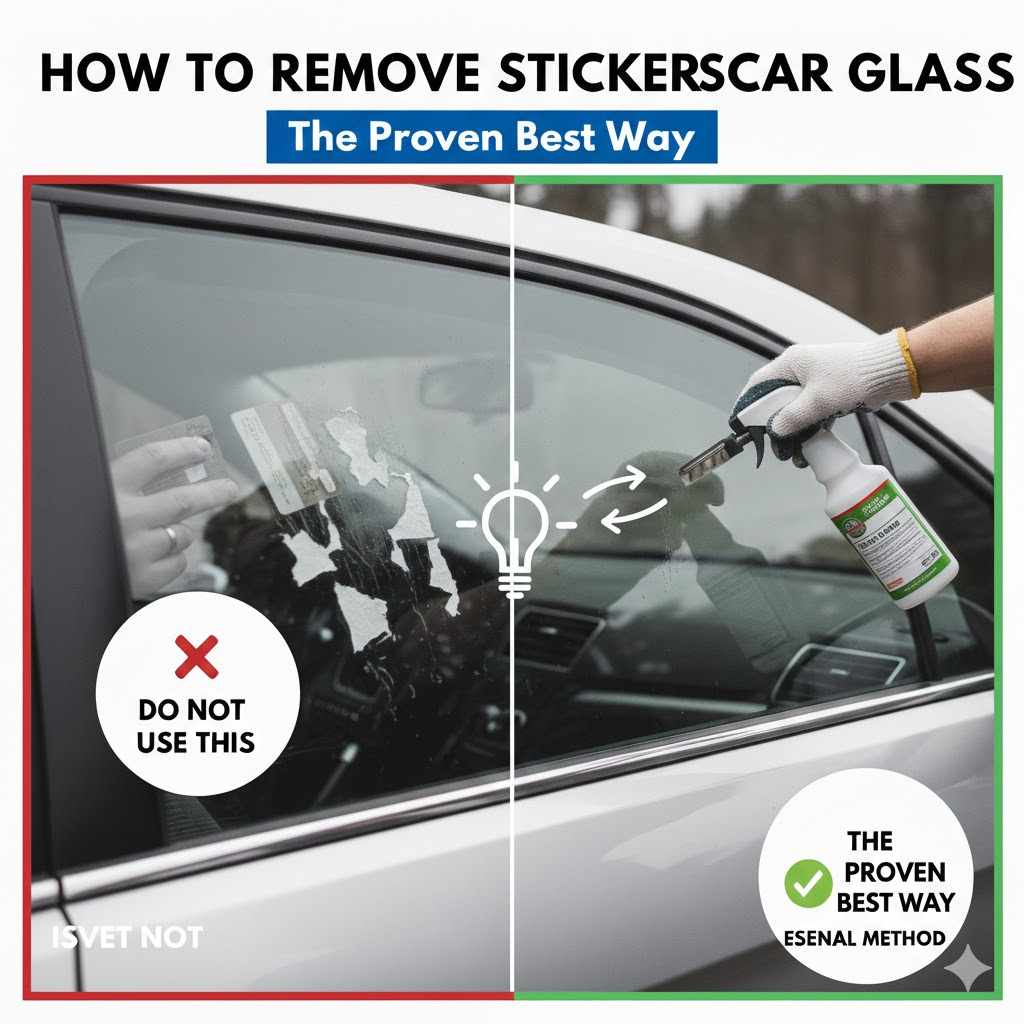
How To Remove Stickers From Car Glass The Proven, Best Way
To remove stickers from car glass, first clean the area. Gently heat the sticker with a hairdryer for 30-60 seconds to soften the adhesive. Carefully lift a corner with your fingernail or a plastic razor blade and slowly peel it off. Finally, wipe away any remaining sticky residue using rubbing alcohol or a dedicated adhesive remover on a microfiber cloth.
Hello there! I’m Md Meraj, and I’m here to help you with your car. Have you ever looked at your car window and noticed that old, faded sticker? Maybe it’s a parking permit from years ago, a dealership logo, or a bumper sticker that’s just not you anymore. Trying to peel it off often leaves a torn, sticky mess. It can feel so frustrating! But don’t worry. I’m going to show you a simple, proven method to remove any sticker from your car’s glass, clean and easy. You don’t need to be a pro to do this. With just a few common household items, you can make your car’s glass look brand new again. Let’s get started!
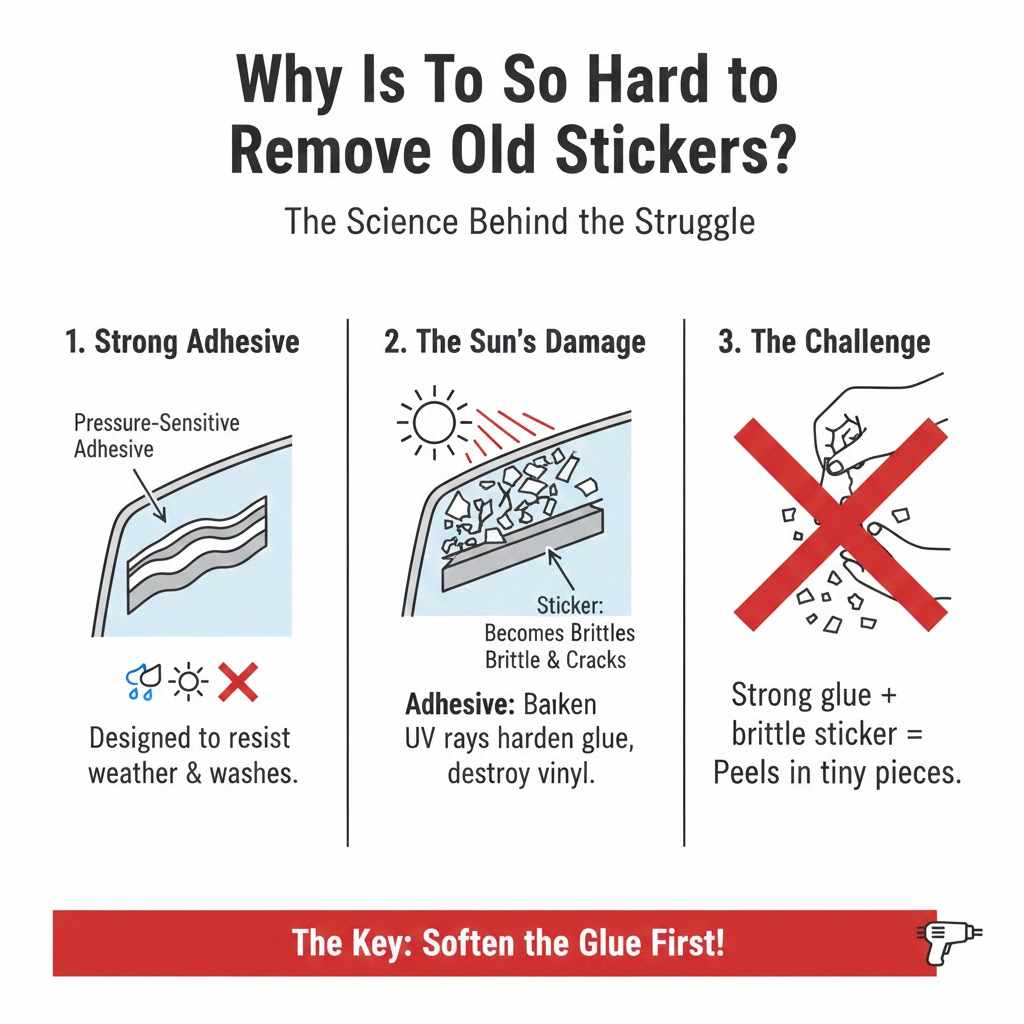
Why Is It So Hard to Remove Old Stickers?
Before we jump into the “how-to,” let’s quickly understand why those stickers put up such a fight. It’s not just you; they are designed to be tough. Car stickers use a strong, pressure-sensitive adhesive meant to withstand rain, sun, snow, and car washes. Over time, the sun’s UV rays bake the sticker and its glue right onto the glass. The vinyl or paper part of the sticker becomes brittle and cracks, while the adhesive underneath turns into a hard, stubborn film. This combination of strong glue and weather damage is what makes removal so challenging. Knowing this helps us understand why our method, which focuses on softening the adhesive first, works so well.
Safety First: A Quick But Important Note
Your safety and your car’s well-being are the top priorities. This process is very safe, but let’s cover a few quick points to ensure everything goes smoothly. When you’re working, remember these simple tips:
- Good Ventilation: If you’re using a commercial adhesive remover, it’s a good idea to work in a well-ventilated area, like an open garage or outdoors. Some products have strong fumes.
- Protect Your Hands: Consider wearing a pair of nitrile or latex gloves. This keeps the sticky residue and any cleaning agents off your skin.
- Be Gentle with Heat: If you use a heat gun instead of a hairdryer, keep it on a low setting and constantly move it. Concentrating too much heat in one spot can, in very rare cases, damage the glass. A hairdryer is usually the safest and best choice for beginners.
- Check for Tints and Defrosters: Be extra careful on the inside of your windows. Many rear windows have defroster lines, and some windows have aftermarket tint films. We’ll cover how to handle these safely in a bit.
Gather Your Toolkit: Everything You’ll Need
The great news is that you probably already have most of these items at home. There’s no need to buy expensive, specialized equipment. Here’s a simple checklist of what to grab before you start.
- A Heat Source: A standard household hairdryer is perfect. A heat gun on its lowest setting also works, but a hairdryer is safer and more than enough for the job.
- A Plastic Scraper: A plastic razor blade is the star of the show. It’s strong enough to get under the sticker but soft enough that it won’t scratch your glass. You can also use an old credit card or a plastic putty knife in a pinch.
- Microfiber Cloths: You’ll need at least two clean, soft microfiber cloths. They are excellent for cleaning glass without leaving lint or streaks behind.
- Cleaning Solution for the Glass: A simple mixture of warm water and a few drops of dish soap in a spray bottle works great for the initial cleaning.
-
Adhesive Remover: You have a few options here.
- Isopropyl (Rubbing) Alcohol: 70% or 91% rubbing alcohol is very effective, cheap, and safe for car glass.
- Commercial Adhesive Remover: Products like Goo Gone or 3M Adhesive Remover are specifically designed for this and work wonders.
- WD-40: This common household lubricant can also break down sticky residues effectively.
- Standard Glass Cleaner: For the final, streak-free shine.
Your Toolkit at a Glance
| Tool | Purpose | Why It’s a Good Choice |
|---|---|---|
| Hairdryer | To heat and soften the sticker adhesive. | Safe, commonly available, and provides gentle, controllable heat. |
| Plastic Razor Blade | To lift the edges and scrape the sticker off. | Effective at scraping without scratching the glass. A must-have tool. |
| Rubbing Alcohol | To dissolve the leftover sticky residue. | Inexpensive, readily available, and safe for automotive glass. |
| Microfiber Cloths | For cleaning, applying remover, and polishing. | Absorbent, non-abrasive, and leaves a lint-free finish. |
The Proven Method: Removing Stickers Step-by-Step
Alright, you’ve got your tools and you’re ready to go. Let’s walk through this process one step at a time. Follow these instructions, and that stubborn sticker won’t stand a chance. I promise it’s easier than it looks!
Step 1: Clean the Area Thoroughly
You never want to work on a dirty surface. Dust, dirt, or grit can get caught under your scraper and cause tiny scratches on the glass. So, let’s start by giving the area a quick clean.
- Mix a little dish soap with warm water in a spray bottle.
- Spray the solution directly onto the sticker and the surrounding glass.
- Wipe the area clean with a microfiber cloth.
- Use a second, dry microfiber cloth to dry the glass completely.
This simple step ensures you have a clean slate to work on and protects your glass from accidental scratches.
Step 2: Apply Gentle Heat
This is the most important step for a clean removal. Heat softens the stubborn adhesive, making the sticker much easier to peel off in one piece. Patience here will save you a lot of scraping later.
- Set your hairdryer to a medium or high heat setting.
- Hold the hairdryer about 2-3 inches away from the sticker. Don’t hold it too close!
- Move the hairdryer back and forth across the entire surface of the sticker, like you’re painting it with heat. Pay extra attention to the edges.
- Heat the sticker for about 30 to 60 seconds. For very old or large stickers, you might need a little more time. You’ll know it’s ready when the sticker feels warm and pliable to the touch.
Step 3: Carefully Peel and Scrape
Now that the adhesive is soft and gooey, it’s time to act. Move quickly but carefully while the sticker is still warm.
- Try lifting one of the corners of the sticker with your fingernail. If it comes up easily, you’re in great shape.
- If it’s still stuck tight, grab your plastic razor blade. Hold it at a shallow, 45-degree angle to the glass.
- Gently push the blade under the edge of the sticker. The goal is just to lift the edge enough so you can grab it.
- Once you have a good grip on the corner, begin to peel the sticker back slowly and steadily. Pull it back at a low angle, almost parallel to the glass. Don’t yank it straight up.
- If you feel a lot of resistance or the sticker starts to tear, stop and apply a little more heat with the hairdryer. This process is a balance of heating and peeling.
- Continue this process until the entire sticker is removed.
Step 4: Conquer the Sticky Residue
It’s very common for some sticky residue to be left behind, especially with older stickers. Don’t panic! This is the easiest part to clean up.
- Choose your adhesive remover: rubbing alcohol, WD-40, or a commercial product like Goo Gone.
- Apply a small amount of the remover directly onto a clean microfiber cloth, not directly onto the glass. This prevents it from dripping down onto your car’s paint or trim.
- In small, circular motions, rub the sticky residue with the cloth. You’ll feel the residue start to break down and lift off.
- For very stubborn spots, you can let the remover sit for a minute or two to let it work its magic before wiping.
- Continue wiping until all the stickiness is gone. You might need to apply a little more remover to your cloth as you go.
Step 5: The Final Clean and Polish
You’re almost there! The sticker is gone, the residue is gone, and now it’s time to make your window look perfect. This final step removes any oily film from the adhesive remover and leaves a crystal-clear finish.
- Spray your favorite automotive glass cleaner onto the area you just worked on.
- Using a fresh, clean microfiber cloth, wipe the glass clean. Use a side-to-side motion, then switch to an up-and-down motion to eliminate any streaks.
- Stand back and admire your work! The glass should look like there was never a sticker there at all.
Alternative Methods and What to Avoid
While the heat-and-scrape method is the most reliable, there are a few other things people try. It’s also incredibly important to know what not to do to avoid damaging your car.
Comparing Residue Removers
Not sure which cleaner to use for the leftover goo? Here’s a simple breakdown to help you decide.
| Remover | Pros | Cons | Best For |
|---|---|---|---|
| Rubbing Alcohol | Inexpensive, evaporates quickly, no oily film. | May require a bit more rubbing on very tough residue. | Most common sticker residue and general-purpose use. |
| WD-40 | Excellent at breaking down tough, old adhesive. Many people have it already. | Leaves an oily residue that requires extra cleaning with glass cleaner. | Very stubborn, baked-on adhesive that alcohol struggles with. |
| Commercial Remover (Goo Gone) | Specifically formulated for this task; highly effective. | Costs more, may have strong odors. Also requires a final cleaning. | The toughest, stickiest messes where you want maximum power. |
BIG Warning: Things You Should NEVER Do
Saving you from a costly mistake is just as important as showing you the right way. Please avoid these common pitfalls:
- NEVER use a metal razor blade. While it might seem faster, a metal blade can easily create deep, permanent scratches in your glass. Always stick to plastic.
- NEVER scrape on the inside of a window with defroster lines. The thin, orange or brown lines on your rear window are fragile. A scraper can easily cut them, causing your defroster to fail. For stickers on the inside, rely only on heat and a chemical remover.
- NEVER use harsh solvents on tinted windows. If your windows have an aftermarket tint film (which is on the inside), harsh chemicals like acetone or lacquer thinner can eat away at the film, causing it to bubble or discolor. Stick to soapy water or very diluted rubbing alcohol, and test in an inconspicuous corner first.
- NEVER rush the process. Trying to rip the sticker off without proper heating will just tear it into a dozen tiny pieces, creating more work for you. Patience is key.
For more information on chemical safety when using cleaning products, you can refer to guidance from government agencies like the U.S. Environmental Protection Agency’s Safer Choice program, which helps identify products with safer chemical ingredients.

Frequently Asked Questions (FAQ)
1. Can I use a metal razor blade on my car window?
It’s highly recommended that you do not. While glass is very hard, a metal blade can easily cause permanent scratches, especially if any grit is trapped underneath it. A plastic razor blade is much safer and just as effective for this job.
2. How do I remove sticker residue without a special cleaner?
Rubbing alcohol is a fantastic, commonly available option. If you don’t have that, you can try using a small amount of peanut butter or cooking oil. The oils help break down the adhesive. Apply it, let it sit for 10-15 minutes, scrape the gunk off with a plastic scraper, and then clean the oily spot with soap and water.
3. Will this heat method work on tinted windows?
Yes, but you must be extra careful. Aftermarket window tint is a film applied to the inside of the glass. Use only a hairdryer on a low-to-medium setting, and don’t heat one spot for too long. Excessive heat could potentially damage the tint film. Never use a scraper on a tinted surface, as it will scratch or tear the film.
4. What’s the best way to remove old, brittle stickers that just crumble?
For stickers that are so old they crack into tiny pieces, heat is your best friend. Heat the area thoroughly for at least a minute to soften whatever is left of the adhesive. Then, use your plastic scraper to gently shave off the pieces. After you get the vinyl part off, you’ll be left with a layer of adhesive, which you can then remove with rubbing alcohol or WD-40.
5. How do I get rid of that sticky outline or film left on the glass?
That sticky film is the adhesive residue. The best way to remove it is by applying rubbing alcohol or a commercial adhesive remover to a microfiber cloth and rubbing the area in small circles. The solvent will dissolve the glue, allowing you to wipe it away cleanly.
6. Can I use vinegar or nail polish remover to remove car stickers?
You can try white vinegar, as its acidity can help break down some adhesives, though it’s generally less effective than rubbing alcohol. You should AVOID nail polish remover. Most contain acetone, which is a very harsh solvent that can damage car paint, plastic trim, and window tint.
7. Is it safe to use a heat gun instead of a hairdryer?
A heat gun can be used, but with extreme caution. Heat guns get much hotter than hairdryers and can shatter glass if the heat is too concentrated or the temperature is too high. If you use one, keep it on the lowest possible setting, hold it at least 6-8 inches away from the glass, and keep it moving constantly. For beginners, a hairdryer is the much safer and recommended choice.
You’ve Got This! A Clean and Clear View Ahead
And there you have it! That old, unwanted sticker is gone for good, and your car’s glass looks fantastic. See? I told you that you could do it. By following these simple, proven steps—cleaning, heating, peeling, and wiping away the residue—you’ve safely restored your window to its original, clear state. You didn’t need to pay a professional or use any complicated tools. You tackled the problem yourself, and now you have the skill and confidence to do it again anytime.
Taking care of your car is all about learning these small, manageable tasks. Each one you master makes you a more confident and capable car owner. So give yourself a pat on the back for a job well done. Enjoy that crystal-clear view, and know that you’re ready for the next simple car care project that comes your way!