How to Repair Torn Car Seat: Expert DIY Guide
There’s nothing more frustrating than noticing a tear in your car seat. It’s like a small blemish that catches your eye every time you get in the car.
But don’t worry; you can fix it yourself without spending a fortune on professional repairs. Imagine the satisfaction of restoring your car seat to its original condition, all by yourself! This guide will walk you through the simple steps to repair torn car seats, making it easy for you to handle the task with confidence.
Whether you’re dealing with a small rip or a larger tear, we’ve got you covered. By the end of this article, you’ll have the knowledge and tools to fix your car seat, leaving it looking as good as new. So, let’s dive in and transform that tear into a distant memory!
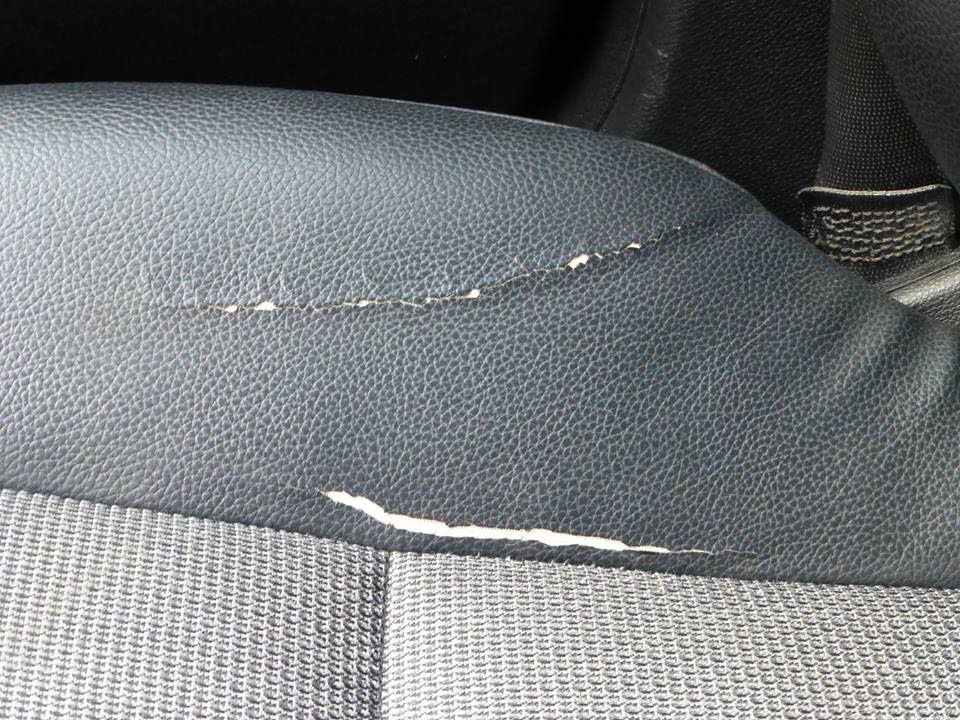
Credit: www.reddit.com
Assessing The Damage
Assessing the damage on a torn car seat helps plan repairs effectively. Identify tears, rips, and worn areas. This ensures you choose the best method for fixing the seat, whether sewing or using a repair kit. Proper assessment prevents further damage and extends the seat’s life.
Types Of Tears
Car seats can have different kinds of tears. Cuts are sharp and straight. Rips are jagged and rough. Worn spots show faded fabric. Each tear needs its own fix. Knowing the type helps in repair. Different methods suit different tears. Choose wisely to fix it well.
Extent Of Damage
Small tears are easy to repair. Big tears need more work. Look for extra damage around the tear. Check for missing fabric pieces. Some tears affect the seat structure. Minor damage can be patched quickly. Major damage requires more planning. Assess carefully before starting any repair.
Gathering Tools And Materials
To fix a torn car seat, you need some tools. Start with a needle and strong thread. A sewing kit can be very handy. You might also need scissors. These help to cut extra fabric. Fabric glue is another tool. It holds the fabric together. A measuring tape is useful too. It helps to measure fabric correctly. Lastly, have a marker. It marks where you need to sew.
Picking the right fabric is key. Look for a fabric that matches your seat. It should be strong and durable. Choose a color that blends in. Leather is a good option for many seats. If your seat is cloth, find a similar cloth. Check the texture. It should feel like your original seat. This will make the repair less visible.
Preparing The Seat
First, gather your cleaning supplies. You will need a cloth, mild soap, and water. Wet the cloth with the soapy water. Gently rub the torn area to remove dirt. Make sure the seat is completely dry before moving to the next step. Clean seats help the repair last longer.
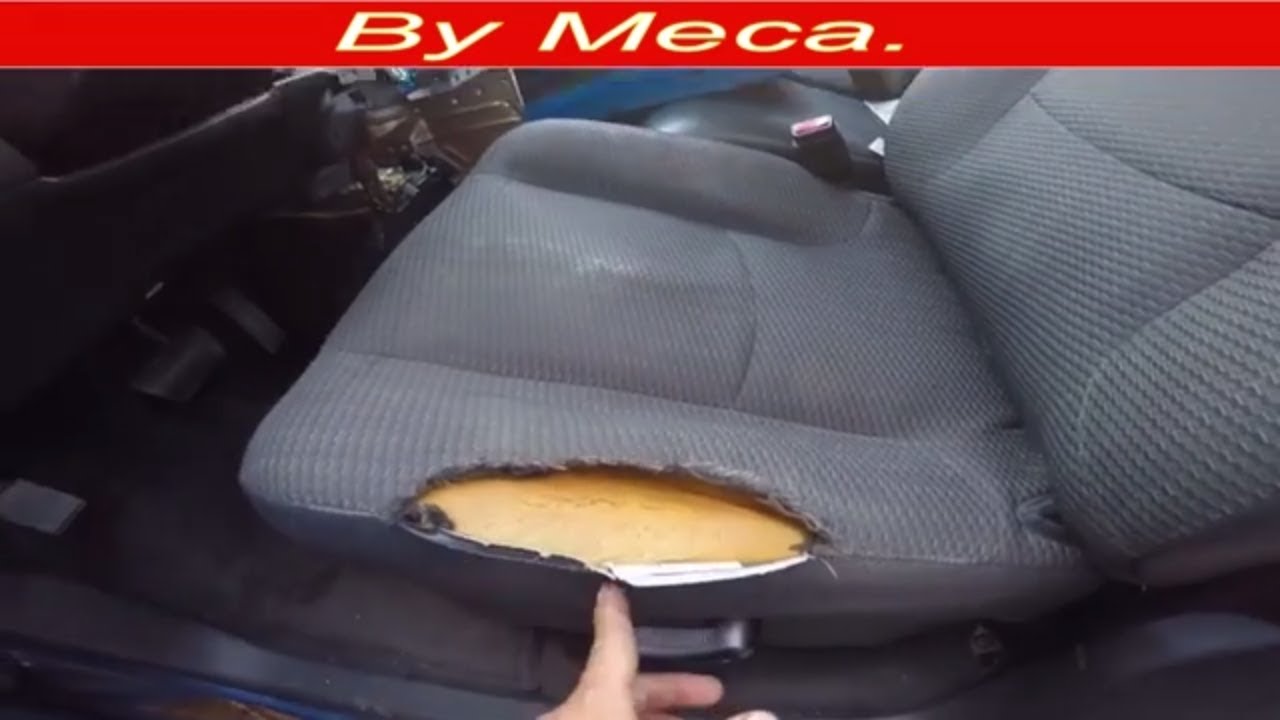
Check your car manual for seat removal instructions. Some seats have hidden screws. Use a wrench or screwdriver to loosen these screws. Lift the seat carefully. Place it on a flat surface. This makes repair work easier. Be gentle to avoid further damage.
Credit: www.youtube.com
Repair Techniques
Small tears in your car seat can be fixed by sewing. First, gather a needle and strong thread. Choose a color that matches the seat. Then, gently push the needle through the fabric. Pull the thread tightly but be careful. Make sure each stitch is close to the last one. This will make the repair strong. Finally, tie a knot at the end of the thread. Trim any extra thread with scissors.
For bigger holes, patching is the best option. Cut a piece of fabric slightly bigger than the hole. The fabric should match your car seat. Use fabric glue to attach the patch. Press the patch firmly onto the seat. Let it dry for a few hours. This will make sure the patch stays in place. Check if the edges are secure. If not, add more glue to the edges.
Using Adhesive Solutions
Fabric glue can fix small tears. It is easy to use. Clean the seat first. Apply the glue on the torn area. Press the edges together. Let it dry for a few hours. This glue holds fabric well. It keeps the seat looking neat. Always check the glue instructions. Some glues dry faster.
Iron-on patches are great for larger rips. Choose a patch that matches the seat color. Place the patch over the tear. Use an iron to press it down. Heat helps the patch stick better. Be careful with the iron heat settings. Some seats might get damaged with high heat. Ensure the patch is secure. It should not peel off easily.

Credit: www.reddit.com
Reinforcing The Repair
Fixing a torn car seat involves a few simple steps. Start by cleaning the area around the tear. Then use a repair kit to patch the tear securely. Ensure the patch blends well with the seat’s fabric for a seamless look.
Adding Extra Stitching
Extra stitching makes the repair stronger. Use strong thread for the stitching. Choose a color that matches the seat. Sew slowly and carefully. Double the stitching if needed. This helps the repair last longer.
Using Reinforcement Fabric
Reinforcement fabric gives support to the torn area. Pick a fabric that is durable. Cut it to fit the torn area. Place it under the tear. Glue or sew it in place. Make sure it is secure. This fabric will keep the seat strong.
Finishing Touches
Matching colorsis key to a seamless repair. Choose a fabric that fits your car seat color. Bring a fabric sample when you shop. This helps match the color perfectly. Mix and match until you find a close match. A slight difference can stand out.
Make sure the repair looks neat. Trim loose threads. Check for wrinkles or folds. A tidy finish is important. It makes the repair look professional. Take your time to get it right.
Ensuring durabilityis crucial. Use strong threads for sewing. They hold the fabric together well. Stitch tightly to avoid gaps. Consider using fabric glue for extra strength. Inspect the repair after a few days. Make sure it stays in place. Regular checks keep the seat looking good.
Preventing Future Damage
Protective covers keep your car seats safe. They stop dirt and spills. Easy to clean and remove. Choose covers made from strong materials. They last longer. Fit them snugly on the seats. Avoid loose covers. Loose covers can slip off easily. Covers should match your car interior. This keeps the car looking nice.
Regular maintenance is key to a clean car seat. Vacuum seats weekly. This removes dust and crumbs. Check for small tears often. Fix them quickly. Use a soft cloth to wipe seats. Avoid harsh chemicals. Chemicals can harm the seat fabric. Condition leather seats once a month. This keeps them soft and shiny.
Frequently Asked Questions
How Can I Fix A Small Tear In My Car Seat?
To fix a small tear, you can use a fabric adhesive or repair kit. Start by cleaning the area around the tear. Apply the adhesive or patch as instructed. Let it dry completely before use. This quick fix can prevent the tear from growing bigger.
What Tools Are Needed For Car Seat Repair?
For car seat repair, you typically need fabric adhesive, a patch kit, and scissors. You may also require a needle and thread for sewing. Having a clean cloth and alcohol wipes for cleaning the area is helpful. These tools help make the repair process smoother.
Can I Sew A Torn Car Seat Myself?
Yes, you can sew a torn car seat yourself using a needle and thread. Ensure you choose a thread that matches the seat fabric. Clean the area, then carefully stitch the tear. This method is effective for larger tears, providing a durable solution.
Is Professional Repair Necessary For Leather Seats?
Professional repair for leather seats is recommended, especially for significant damage. Leather requires specific techniques and materials that experts possess. DIY repairs may not match the quality of professional work. Professionals ensure the repair blends seamlessly with the original seat.
Conclusion
Fixing a torn car seat is simple with the right steps. Start by gathering necessary tools. Follow the repair process with care and patience. Clean the area before you begin. Choose a suitable patch or fabric to match. Secure it properly for a neat finish.
Regular maintenance prevents further damage. Save money by doing it yourself. Enjoy a clean and comfortable car seat. Feel proud of your accomplishment. Keep these tips handy for future repairs. Happy driving with your refreshed car interior!