How to Replace a Car Fender the Right Way
Replacing a car fender might seem like a big job, especially if you’re new to working on cars. You might wonder if it’s too hard or if you’ll make a mistake. But don’t worry!
This guide will show you How to
What Is a Car Fender and Why Replace It
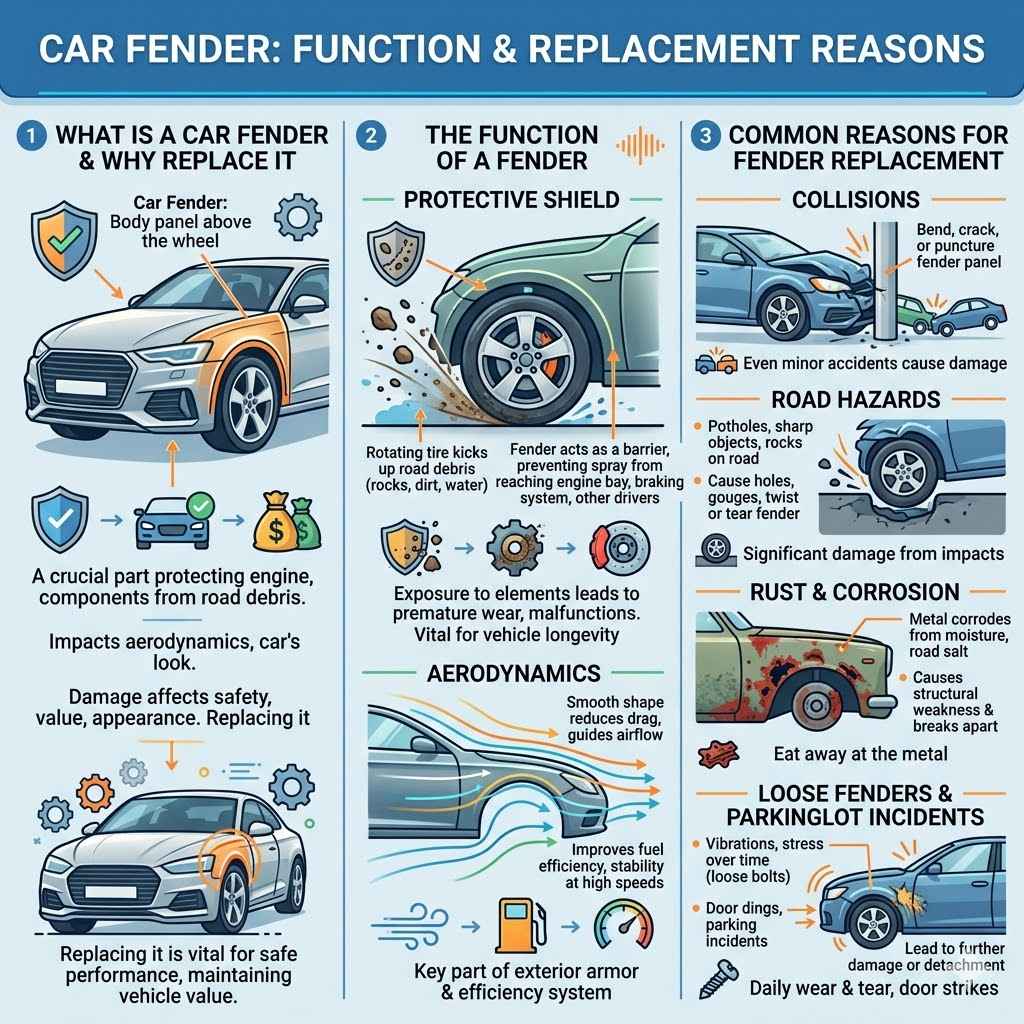
A car fender is the body panel located above your car’s wheel. Its main job is to protect the engine and other parts from debris kicked up by the tires. It also plays a role in the car’s overall look and aerodynamic design.
Fenders can get damaged from minor accidents, hitting potholes, or even just from wear and tear over time. When a fender is damaged, it’s not just about looks; it can also affect how safely your car performs. Replacing a damaged fender is important for both safety and maintaining your vehicle’s value and appearance.
The Function of a Fender
The fender serves multiple vital roles for your vehicle. Primarily, it acts as a shield, preventing dirt, rocks, water, and other road spray from being flung upwards by the rotating tires. This protection extends to the car’s engine bay, braking system, and even to other drivers on the road.
Without functional fenders, your car’s components could be exposed to corrosive elements and physical damage, leading to premature wear and potential malfunctions.
Beyond protection, fenders contribute to a car’s aerodynamics. They help guide airflow around the wheels, which can influence fuel efficiency and stability at higher speeds. A smooth, well-shaped fender can reduce drag, making your car more efficient.
Think of them as a key part of your car’s exterior armor and efficiency system, working hard to keep things protected and running smoothly.
Common Reasons for Fender Replacement
Many things can lead to a fender needing replacement. The most frequent cause is a collision, even a minor one like bumping into another car or a pole. This can bend, crack, or puncture the fender.
Road hazards are another big culprit. Hitting a deep pothole can twist or even tear a fender off. Debris on the road, like sharp metal objects or large rocks, can also cause significant damage, leaving holes or deep gouges.
Rust is a common issue, especially on older cars or those driven in areas with salty roads. Moisture and salt can eat away at the metal, causing it to corrode and eventually break apart. Sometimes, fenders can simply become loose over time due to vibrations and stress from driving, leading to them becoming damaged or detached.
Even parking lot incidents, like a door being opened too forcefully into the fender, can cause damage that requires replacement.
Tools and Materials Needed
Before you start the process of replacing a car fender, it’s essential to gather all the necessary tools and materials. Having everything ready will make the job much smoother and prevent you from having to stop midway to search for something. The right equipment ensures you can work safely and effectively, leading to a professional-looking finish.
This section will cover what you need to have on hand.
Essential Tools for Fender Replacement
You’ll need a basic set of tools that most car owners should have. A socket wrench set with various sizes is crucial, as fenders are typically attached with bolts. You’ll likely need 10mm, 12mm, and 14mm sockets, but sizes can vary.
A ratchet handle is used with the sockets. A set of screwdrivers, both Phillips and flathead, will be needed for any plastic clips or fasteners.
Pliers, including needle-nose and regular pliers, are useful for gripping small parts or holding bolts. A pry bar can help gently loosen stubborn connections. You’ll also need a torque wrench to tighten the bolts to the correct specifications, which is vital for ensuring the fender stays securely in place and doesn’t cause further damage.
Safety glasses are a must to protect your eyes from debris. Gloves will keep your hands clean and protected.
New Fender and Associated Parts
The most important new part, of course, is the replacement fender itself. Make sure you order the correct fender for your car’s make, model, year, and side (driver’s or passenger’s). It’s often best to get an unpainted fender and have it professionally painted to match your car’s color, though some aftermarket fenders come pre-painted.
You will also need new fender clips or fasteners, as the old ones might be damaged or lost during removal.
Sometimes, you might need to replace the inner fender liner, also known as a splash guard, if it’s damaged. This plastic piece sits behind the fender and helps protect the engine bay from road debris. New bolts or nuts might also be a good idea, especially if the old ones are rusted or stripped.
Many auto parts stores sell fender hardware kits that include many of these small but important pieces.
Step-by-Step Guide to Replacing a Car Fender
Now that you have your tools and parts ready, let’s get to the actual process of replacing the fender. This guide aims to make How to Replace a Car Fender the Right Way feel straightforward. We will cover everything from preparing your workspace to securing the new fender in place.
Follow these steps carefully for a successful repair.
Preparation and Safety Precautions
Before you begin, ensure your car is parked on a level surface. Engage the parking brake firmly. If you’re working on a vehicle that you suspect might roll, it’s wise to place wheel chocks behind the rear wheels.
Always wear your safety glasses to protect your eyes from falling debris or metal shavings. Wearing work gloves is also recommended to prevent cuts and keep your hands clean.
It’s a good idea to disconnect the car battery’s negative terminal. This prevents any accidental electrical shorts, especially if you need to work near wiring or sensors. Clear the area around the fender of any tools or obstructions.
Make sure you have good lighting, either natural daylight or portable work lights, to see clearly what you are doing.
Removing the Old Fender
The process of removing the old fender involves locating and undoing all the bolts and clips that hold it in place. Start by opening the car’s hood. You’ll find bolts along the top edge of the fender where it meets the hood and the A-pillar (the pillar between the front door and the windshield).
Next, look where the fender meets the front bumper. There are usually several bolts or screws holding these parts together. You might also need to remove the inner fender liner, which is held by clips and screws, to access bolts located behind it.
These bolts connect the fender to the car’s frame or body structure. Sometimes, the fender is also attached to the door frame.
Carefully remove all fasteners. Keep them organized, perhaps in a magnetic tray or labeled containers, as they may differ in size. Once all bolts and clips are removed, the fender should be loose.
Gently pull the fender away from the car. If it feels stuck, double-check for any missed fasteners.
Installing the New Fender
With the old fender off, clean the mounting areas on the car’s body. This is a good time to check for any rust or damage you might have missed. Now, position the new fender onto the car.
Align the bolt holes on the fender with the corresponding holes on the car’s body.
Start by loosely attaching a few bolts to hold the fender in place. Don’t tighten them completely yet. This allows you to make adjustments for a perfect fit.
Once the fender is aligned correctly, begin tightening the bolts. Start with the bolts on the top and front edges, then work your way to the rear and any hidden fasteners.
Use your torque wrench to tighten all bolts to the manufacturer’s specified torque. This is important to ensure the fender is securely attached without overtightening and potentially damaging the new part or the car’s body. Reinstall any clips or fasteners you removed.
If you replaced the inner fender liner, attach that now as well.
Final Touches and Painting
After the new fender is securely bolted on, check its alignment with the hood, doors, and bumper. Make sure there are even gaps all around. If the fender is unpainted, you’ll need to take it to a professional auto body shop for painting.
They have the equipment and expertise to match your car’s color perfectly and apply a durable finish.
Once painted and reattached, give your car a good wash. Inspect the work to ensure everything looks right and feels solid. Small adjustments can sometimes be made to panel gaps by slightly loosening and retightening bolts.
This final check ensures your repair looks professional and is done the right way.
Troubleshooting Common Fender Issues
Even with careful work, you might run into minor problems during a fender replacement. Knowing how to handle these common issues can save you a lot of frustration. This section focuses on solutions to make sure your repair is successful and looks as good as new.
Panel Gaps and Alignment Problems
One of the most common challenges is getting the panel gaps just right. The spaces between the fender, hood, bumper, and door need to be consistent. If the gaps are too wide or too narrow, it can make the repair look amateur.
This usually happens if the bolts aren’t tightened evenly or if the new fender isn’t perfectly aligned before tightening.
To fix this, loosen the bolts slightly on the problematic side. Gently push or pull the fender to adjust its position. Sometimes, you might need to loosen bolts on adjacent panels too, like the bumper, to achieve proper alignment.
Tighten the bolts gradually, checking the gaps as you go. Patience is key here.
Stripped Bolts or Fastener Holes
It’s possible to accidentally strip a bolt head or damage the threaded hole in the car’s body. If a bolt head is stripped, a bolt extractor kit can often remove it. If the threaded hole is damaged, you might need to repair it.
For smaller holes, a thread repair kit or a slightly larger bolt might work.
In some cases, especially with mounting points on the car’s frame, a professional body shop might need to use specialized tools to repair the threads or even weld in a new mounting point. If a plastic clip breaks, these are usually inexpensive and easy to replace. Auto parts stores often sell universal clip kits.
Dealing with Rust and Corrosion
If you discover rust around the fender mounting areas, it’s important to address it. Rust can weaken the car’s body structure. Small spots of surface rust can be sanded down to clean metal, treated with a rust converter, and then primed and painted.
For larger areas of rust that have eaten through the metal, professional repair might be necessary.
Ignoring rust can lead to more significant structural problems down the line. It’s always better to fix rust when you first find it. This might involve cutting out the rusted section and welding in a new piece of metal, a job best left to experienced professionals if you’re not familiar with welding.
Maintenance Tips for Your New Fender
Once your new fender is installed and painted, you’ll want to keep it looking its best. Proper care will extend its lifespan and maintain your car’s appearance. Here are some simple tips to help you with that.
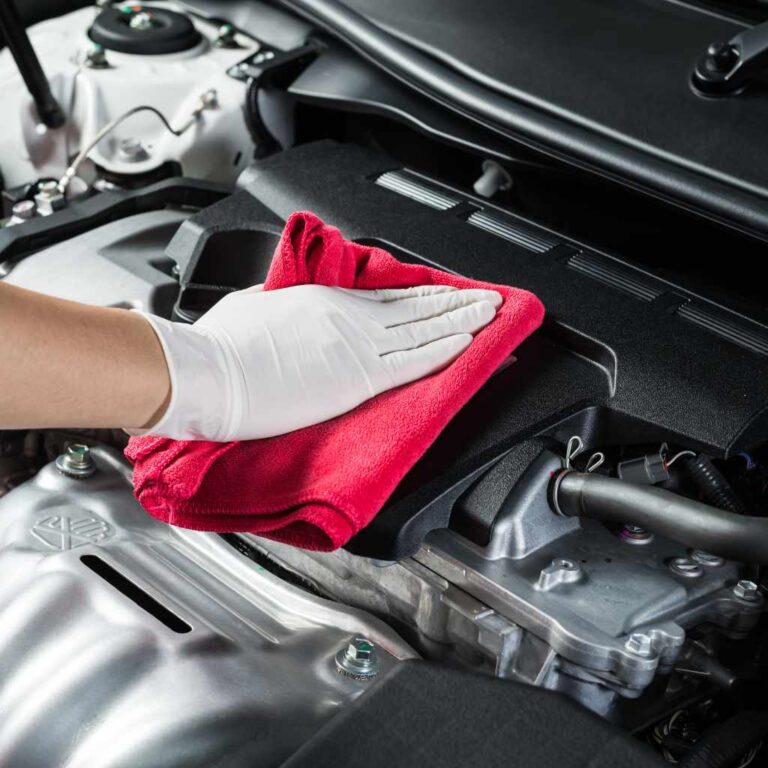
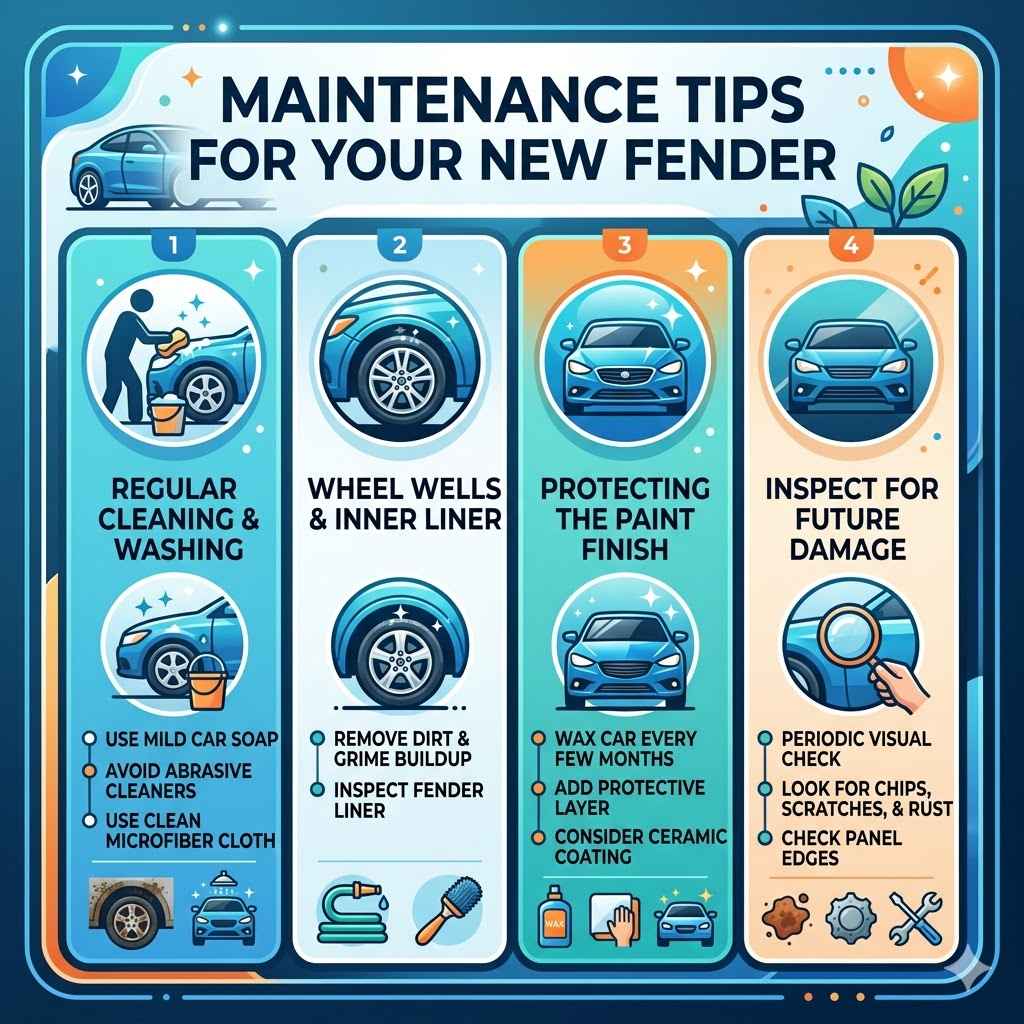
Regular Cleaning and Washing
Regular washing is the best way to keep your new fender clean and protected. Use a mild car soap and plenty of water. Avoid abrasive cleaners or harsh brushes that could scratch the paint.
Pay attention to cleaning the wheel wells and the inner fender liner, as dirt and grime can build up there.
After washing, it’s a good idea to dry the fender with a clean microfiber cloth. This prevents water spots. If you notice any tar or sticky residue, use a specialized tar remover, but always test it on an inconspicuous area first to ensure it won’t damage the paint.
Protecting the Paint Finish
To protect the paint finish from UV rays and environmental damage, consider waxing your car every few months. A good quality car wax will add a protective layer and make the paint easier to clean. If you live in an area with harsh weather, like heavy snow or intense sun, more frequent waxing might be beneficial.
Consider applying a ceramic coating for even more durable protection. Ceramic coatings can last for several years and provide excellent resistance to scratches, chemicals, and UV rays. This adds an extra layer of defense for your investment.
Inspecting for Future Damage
Make it a habit to visually inspect your new fender periodically. Look for any new chips, scratches, or signs of rust, especially in the areas where it meets other body panels. Early detection of minor issues can prevent them from becoming bigger, more expensive problems.
During your regular car maintenance checks, like oil changes, take a moment to glance at the fender. If you notice anything concerning, address it promptly. This proactive approach ensures your fender remains in excellent condition for years to come.
Frequently Asked Questions
Question: How long does it typically take to replace a car fender
Answer: Replacing a car fender can take anywhere from 2 to 4 hours for someone with some mechanical experience. If it’s your first time, it might take longer, perhaps 4 to 6 hours, especially if you’re also dealing with painting or minor rust.
Question: Do I need to remove the car bumper to replace the fender
Answer: In many cases, yes. The fender is often attached to the bumper at the front edge, and removing the bumper provides better access to all the bolts and fasteners holding the fender in place.
Question: Can I just bend a dented fender back into shape instead of replacing it
Answer: For minor dents where the metal isn’t creased or torn, it might be possible to pull the dent out. However, significant damage usually requires replacement to restore the fender’s structural integrity and appearance.
Question: Is it cheaper to replace a fender myself or take it to a mechanic
Answer: Doing it yourself is almost always cheaper. You save on labor costs, which are often the biggest part of the expense. You’ll only pay for the fender, paint, and any necessary supplies.
Question: What if my new fender doesn’t perfectly match my car’s color
Answer: This can happen if you buy a pre-painted fender or try to match the color yourself without professional equipment. The best solution is to have a professional auto body shop paint the fender to match your car’s exact paint code.
Summary
Learning How to Replace a Car Fender the Right Way is a manageable DIY project. By gathering the correct tools and parts, following the step-by-step removal and installation process, and knowing how to troubleshoot common issues, you can successfully repair your vehicle. Take your time, prioritize safety, and enjoy the satisfaction of a job well done.