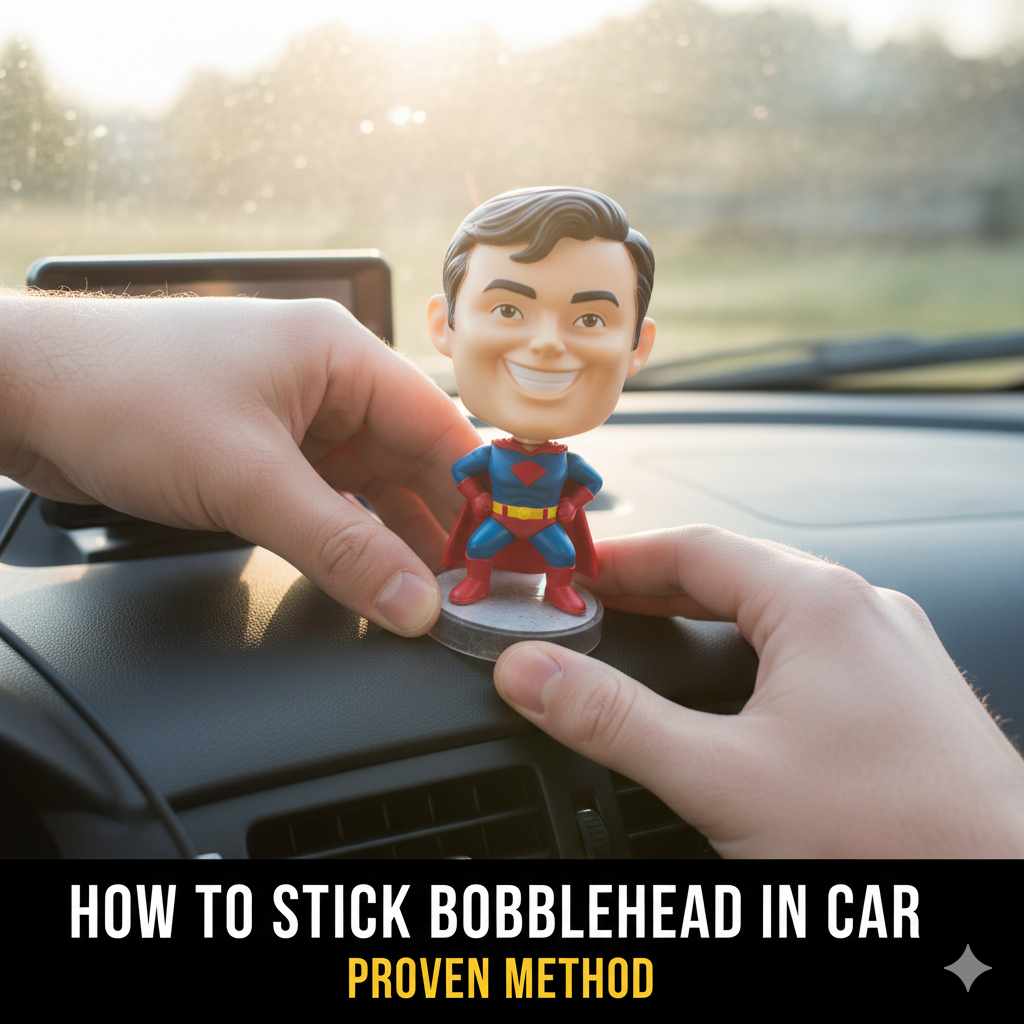
How To Stick Bobblehead In Car: Proven Method
Permanently secure your bobblehead in your car safely and stylishly! This guide offers a proven method using simple adhesive techniques, ensuring your quirky co-pilot stays put without distractions. Get ready for a wobble-free ride!
Does that little bobblehead on your car dashboard have a mind of its own? We’ve all been there – a sudden turn, a bumpy road, and suddenly your fun bobblehead is doing more tumbling than bobbling. It’s not just annoying; it can be a real distraction while you’re driving. A loose bobblehead can fall, roll under your pedals, or even create a safety hazard. But don’t worry! You don’t need to be a car guru to fix this. This guide will walk you through a simple, effective, and proven method to keep your bobblehead exactly where you want it. We’ll cover the best materials to use and an easy-to-follow process so you can enjoy your ride with your bobblehead friend securely in place.
Why Your Bobblehead Needs a Secure Home
Bobbleheads are a fun way to personalize your car and add a touch of personality to your daily commute. However, the dashboard and front of a car are dynamic environments. Vibrations from the engine, the constant motion of the vehicle, and changes in speed can all conspire to loosen even a well-placed bobblehead. When this happens, the consequences can range from mildly irritating to genuinely dangerous.
A bobblehead that’s not secured properly can:
- Roll away: It might slide off the dashboard and get lost in the nooks and crannies of your car.
- Fall into pedals: This is a serious safety risk as it could interfere with your ability to brake or accelerate. Imagine needing to slam on the brakes and your foot hits a novelty toy instead of the pedal!
- Distract you: Watching it constantly shift or fall can take your eyes off the road, which is never a good thing.
- Damage your dashboard: Some methods of sticking things can leave sticky residue or even damage the surface of your dashboard if not done carefully.
That’s where a reliable method for securing your bobblehead comes in. You want a solution that is strong enough to withstand the rigors of driving but also easy enough for anyone to apply without causing damage to your car’s interior. We’re going to focus on a method that prioritizes both security and ease of use. By the end of this article, you’ll have a clear plan and the confidence to ensure your bobblehead stays put, letting you focus on the road ahead.

Choosing the Right Adhesive: The Key to Success
The biggest factor in how well your bobblehead stays in place is the adhesive you choose. Not all sticky stuff is created equal, and picking the wrong kind can lead to frustration, residue, or a bobblehead that still takes a tumble. We need something that offers a strong bond but is also flexible enough to handle vibrations and temperature changes common in a car. We also want something that won’t harm your dashboard’s surface.
Here are some top contenders for sticking your bobblehead, along with their pros and cons:
| Adhesive Type | Pros | Cons | Best For |
|---|---|---|---|
| Removable Mounting Putty (e.g., Blu-Tack, Poster Putty) | Easy to use, repositionable, leaves little to no residue, inexpensive. | May not be strong enough for very heavy bobbleheads or extremely bumpy rides. Can melt or become less sticky in very high heat. | Lightweight bobbleheads or temporary placement needs. |
| Heavy-Duty Double-Sided Tape (e.g., VHB Tape) | Extremely strong and permanent bond, waterproof, handles vibrations well, good for heavier items. | Can be very difficult to remove, may leave residue or damage surfaces if removed improperly. Not repositionable. | Heavier bobbleheads or those needing a very secure, long-term hold. |
| Command Strips (specifically designed for automotive use or lightweight mounting) | Strong hold, designed to be removed cleanly without damage, available in various weight limits. | Can be more expensive than putty, requires careful application and removal following instructions. | Medium-weight bobbleheads where clean removal is a priority. |
| Silicone Adhesive/Sealant (e.g., Permatex Silicone Adhesive, Clear RTV Silicone) | Forms a flexible, strong, and waterproof bond. Excellent vibration resistance. Can be used for a more “molded” attachment. | Takes time to cure (24-72 hours for full strength). Permanent once cured. Can be messy to apply if not careful. Requires a clean surface. | Bobbleheads of any weight where a permanent, strong bond is desired. |
Md Meraj’s Recommendation: The Two-Layer, Two-Adhesive Method
For the absolute best balance of security, ease of use, little to no damage, and affordability, I recommend a two-step approach using different adhesives for slightly different purposes. This method is what I find works most reliably and is my go-to when I want something to stay put but still be manageable.
We will use a combination of:
- Mounting Putty for initial, flexible adhesion to the bobblehead’s base.
- A High-Strength Double-Sided Adhesive Pad or VHB Tape for bonding to the car’s dashboard.
This layered approach allows the putty to absorb some of the minor vibrations and movement, while the more robust adhesive ensures it stays firmly attached to the dashboard. We’ll go into the step-by-step process next.
Proven Method: Step-by-Step Guide to Sticking Your Bobblehead
This method is designed for maximum effectiveness with minimal hassle. We’ll use a combination of mounting putty and a strong double-sided adhesive pad. This approach ensures your bobblehead has some a flexible buffer while still being firmly attached to your car’s dashboard.
What You’ll Need:
Before you start, gather these simple supplies:
- Your bobblehead
- Mounting Putty: Look for a good quality, reusable adhesive putty. Examples include Blu-Tack, UHU patafix, or similar brands found at office supply stores.
- High-Strength Double-Sided Adhesive Pad: This is crucial. I recommend products like 3M Command Strips for moderate weight, or for a more permanent and serious hold, look for automotive-grade VHB (Very High Bond) double-sided tape. You can often find these in automotive sections of hardware stores or online. Make sure to choose one rated for the weight of your bobblehead and suitable for automotive interior surfaces.
- Rubbing Alcohol (Isopropyl Alcohol) and a clean cloth or cotton pad.
- A pair of scissors or a craft knife (if using VHB tape that needs cutting).
- A small flat tool or a credit card to press down firmly.
Step-by-Step Installation:
-
Prepare Your Workspace and Bobblehead:
Find a suitable spot on your dashboard. Make sure it’s a flat, smooth surface away from direct airflow from vents (which can blow the head) and out of direct sunlight if possible (high heat can degrade some adhesives over time). Clean the base of your bobblehead. If it has dust or debris, wipe it down with a slightly damp cloth and let it dry completely. For this method, we’re going to apply the putty to the bobblehead first.
-
Apply Mounting Putty to the Bobblehead Base:
Take a small amount of your mounting putty. Knead it in your fingers for a few seconds to make it pliable. Then, carefully press the putty onto the bottom of your bobblehead’s base. You don’t need a lot; just enough to create a thin, even layer. The goal is not to stick it down fully with the putty, but to create an adaptable layer for the stronger adhesive.
Tip: Start with a pea-sized amount and add more if needed. You want the putty to fill any small gaps on the base but not overflow excessively.
-
Prepare the Dashboard Surface:
This is a critical step for any adhesive to hold properly. Take your clean cloth or cotton pad and dip it lightly in rubbing alcohol. Gently wipe down the area on your dashboard where you plan to place the bobblehead. This removes any dust, oil, wax, or residue that could prevent the adhesive from sticking. Let the alcohol evaporate completely, which usually takes less than a minute. You should feel a clean, dry surface.
Important Note on Dashboard Materials: Most modern dashboards are made of vinyl, plastic, or composite materials. Rubbing alcohol is generally safe, but if you have an unusually textured or coated dashboard, or if you’re unsure, test the rubbing alcohol on an inconspicuous area first. For very sensitive surfaces, a specific interior car cleaner might be a better choice, but rubbing alcohol is usually effective.
-
Apply the High-Strength Double-Sided Adhesive:
Now, take your chosen high-strength double-sided adhesive pad or VHB tape. If you’re using VHB tape, cut a small piece that is slightly larger than the base of your bobblehead’s attachment point or slightly larger than the area you intend to cover on your dashboard. Peel off one side of the backing paper.
Carefully align this sticky side onto the bottom of the bobblehead’s base, pressing it down firmly where the mounting putty is. The putty should now be sandwiched between the bobblehead base and the adhesive pad.
Why this sandwich? The putty acts as a cushioning layer. It distorts slightly, allowing the firmer VHB tape to make better contact with the dashboard. It also helps distribute pressure and slight movements, reducing stress on the bond point. Think of it like a shock absorber for your bobblehead!
-
Bond the Bobblehead to the Dashboard:
Peel off the second backing paper from the double-sided adhesive pad. Immediately and carefully position the bobblehead onto the prepared spot on your dashboard. Once you have it in the desired position, press down very firmly. Use your fingers, or a small flat tool like a credit card or stiff plastic card, to apply even pressure across the entire base of the bobblehead for at least 30-60 seconds. Really get in there and press hard!
This firm pressure is crucial for the adhesive to properly bond to the dashboard surface. Ensure all edges are making good contact.
-
Curing Time (If Applicable for VHB or Silicone):
If you used a high-strength VHB tape or a silicone adhesive (which is another excellent, but more permanent option if you plan to install it that way), many of these adhesives achieve their strongest bond after a period of time. For VHB tape, it’s often recommended to let it sit undisturbed for at least 24 hours before significant use or subjecting it to major stress. For silicone, it can take up to 72 hours to fully cure. While your bobblehead might feel secure right away, giving it this curing time will ensure the strongest possible bond. Mounting putty and Command Strips generally don’t require a long curing time, but it’s always good practice to let them settle for a few hours.
And there you have it! Your bobblehead should now be securely fixed to your dashboard, ready to add some character without the worry of it tumbling around during your drive. The combination of the putty for flexibility and the strong adhesive for grip is a reliable way to achieve this.
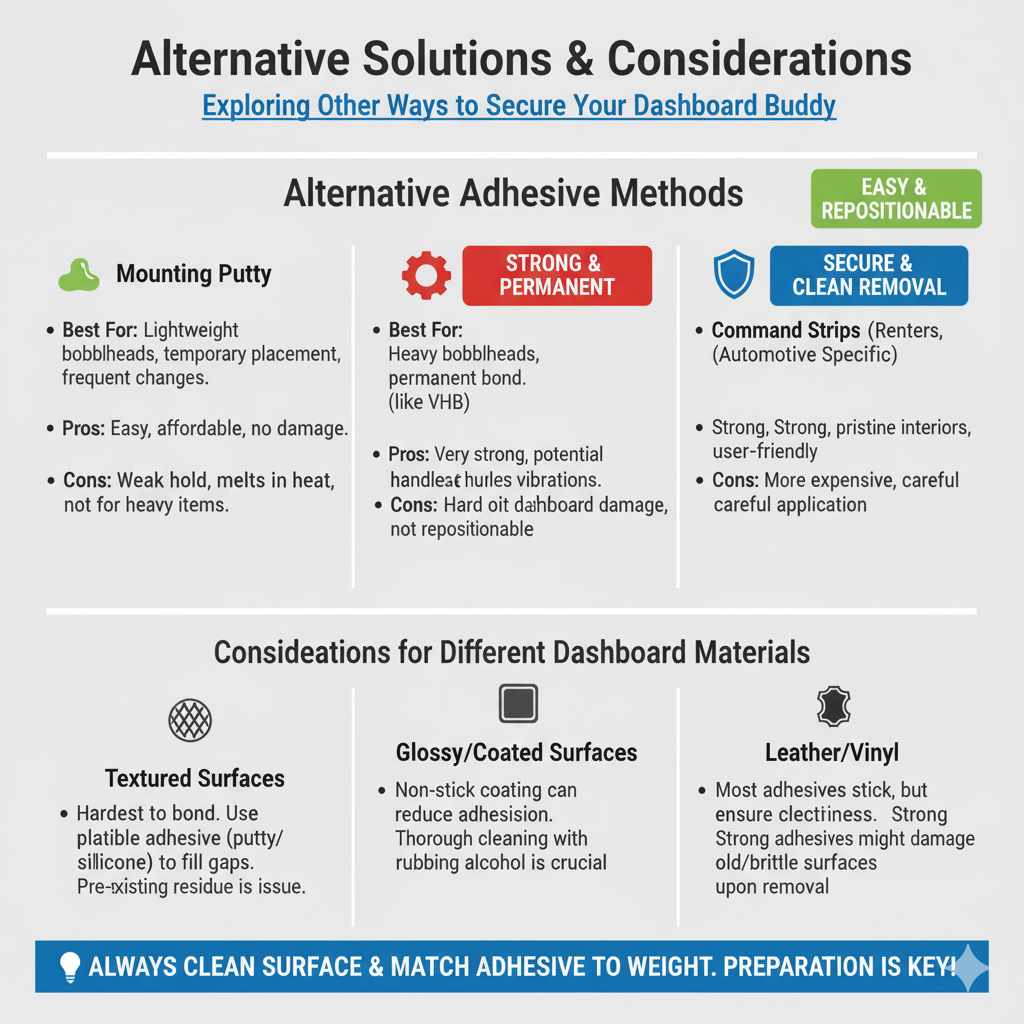
Alternative Solutions and Considerations
While the two-layer adhesive method is my preferred approach, there are other options that might suit different needs or preferences. It’s always good to know what else is available, especially if the primary method doesn’t quite fit your situation.
Using Only Mounting Putty
Best for: Very lightweight bobbleheads, or if you are almost certain your car will not experience severe bumps or jerky movements. Also good for younger drivers or those who like to change their car decor frequently.
How to do it: Use a generous amount of mounting putty, ensuring it covers the entire base of the bobblehead. Press it firmly onto a clean dashboard surface. Reapply as needed if it starts to loosen.
Pros: Extremely easy to use, very affordable, repositionable, won’t damage most surfaces.
Cons: Least secure option, can melt or lose stickiness in extreme heat, not suitable for heavier or larger bobbleheads.
Using Only Heavy-Duty Double-Sided Tape (like VHB)
Best for: Bobbleheads that are heavier, or if you want a truly permanent and robust bond. This is for those who plan to keep the bobblehead in place for the life of the car or don’t mind a more involved removal process later.
How to do it: Clean the dashboard surface thoroughly with rubbing alcohol and allow it to dry. Cut a piece of VHB tape that matches or slightly exceeds the base of the bobblehead. Apply the tape to the bobblehead’s base or directly to the dash. Press down firmly for at least 30-60 seconds, and ideally let it cure for 24 hours.
Pros: Very strong and long-lasting bond, handles vibrations well, suitable for heavier items.
Cons: Difficult to remove without damaging the dashboard’s surface, leaves a very strong bond that might require tools and patience to break, not repositionable.
Using Command Strips (Automotive Specific or Weighted)
Best for: People who want a secure hold but also the peace of mind that comes with knowing the adhesive is designed for clean removal. Great for renters or those who like to keep their car’s interior pristine.
How to do it: Follow the instructions on the Command Strip packaging meticulously. This usually involves applying strips to the bobblehead base, pressing firmly, and allowing them to adhere before applying the bobblehead to the dashboard.
Pros: Strong hold designed to be removed cleanly, available in various weight classes, user-friendly.
Cons: Can be more expensive than putty, requires careful application and removal to avoid damage, might not be as robust as VHB tape for very heavy items.
Considerations for Different Dashboard Materials
It’s worth noting that different dashboard materials can affect adhesion. Soft-touch plastics, heavily textured surfaces, or dashboards with a glossy coating might present challenges for any adhesive.
- Textured Surfaces: These are the hardest. You might need to use a more pliable adhesive like putty or silicone to fill the gaps. Pre-existing residue can also be a major issue with textured dashboards.
- Glossy or Coated Surfaces: These can sometimes be less receptive to adhesives as they might have a slightly waxy or non-stick coating. Thorough cleaning with rubbing alcohol is extra important here.
- Leather or Vinyl: Most adhesives will stick to these, but always ensure the surface is clean. Some strong adhesives might pull or damage very old or brittle leather/vinyl upon removal.
For definitive advice on automotive interior care and materials, resources like Auto Care offer general insights into cleaning and maintaining different car surfaces.
No matter which method you choose, always prioritize cleaning the surface and ensuring the adhesive is rated for the weight of your bobblehead. A little preparation goes a long way!
Frequently Asked Questions (FAQ)
Q1: Will this method damage my car’s dashboard?
Using a combination of mounting putty and a quality double-sided adhesive like VHB tape, or Command Strips, is designed to minimize damage. The key is the thorough cleaning of the dashboard surface beforehand and following the removal instructions if you ever need to take it off. For a permanent bond with VHB, removal might require some effort and possibly a plastic trim removal tool and a heat gun on a low setting to soften the adhesive, but it’s generally manageable if done carefully.
Q2: How much adhesive do I need?
For mounting putty, use just enough to create a thin, even layer on the base of the bobblehead. For double-sided tape or strips, ensure the piece you cut is slightly smaller than or the same size as the bobblehead’s base, covering it as much as possible. You want to maximize the contact area between the adhesive and both the bobblehead and the dashboard.