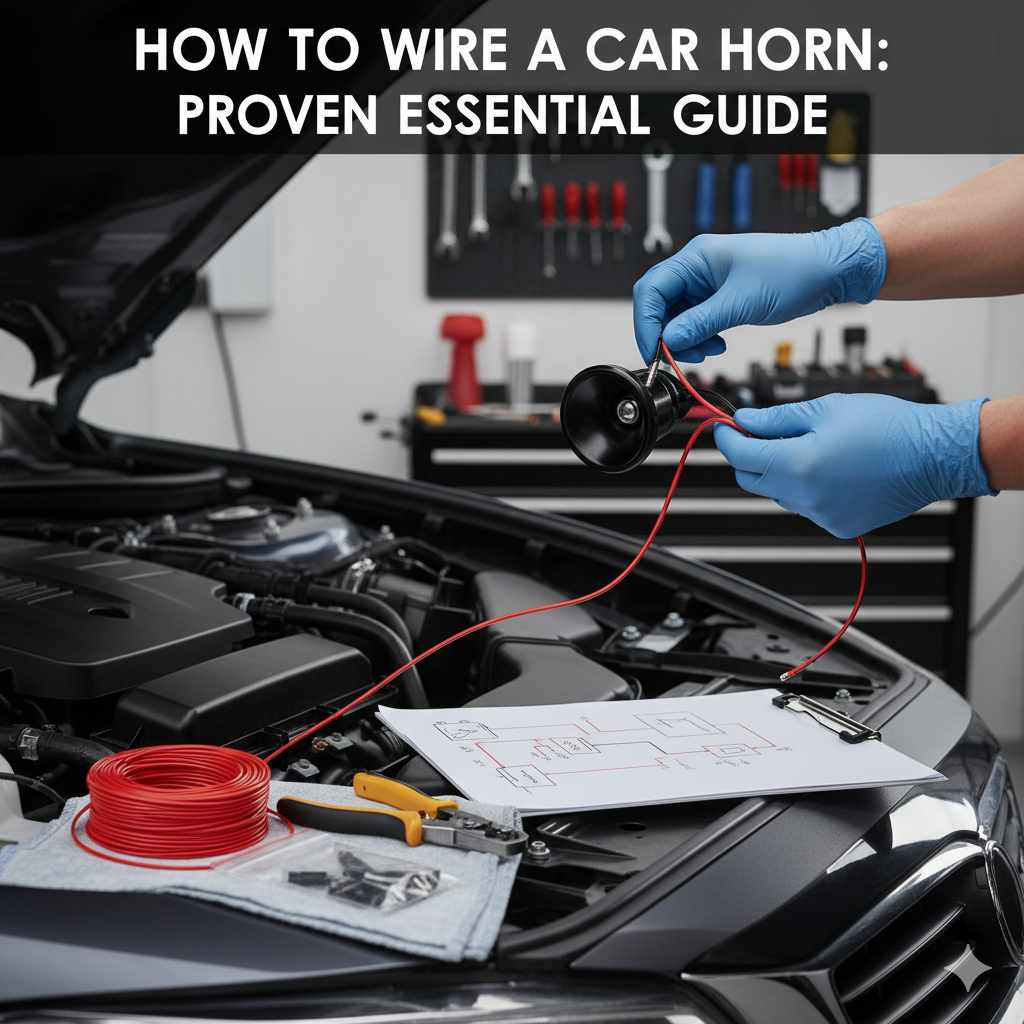
How to Wire a Car Horn: Proven Essential Guide
Wire your car horn easily and safely with this step-by-step guide. We break down the process, list the tools you’ll need, and offer proven tips to get your horn working perfectly again, saving you time and money.
Is your car horn silent when you need it most? It can be a real headache, especially when you want to alert others or just express a little road frustration. Many drivers think fixing their car horn is a complicated job meant only for mechanics. But guess what? With a little guidance, you can absolutely tackle this yourself! I’m Md Meraj, and I’m here to show you exactly how to wire a car horn, making it simple, safe, and stress-free. We’ll go through everything you need, step-by-step, so you can get that honk back in action. Let’s get your car making noise again!
Why Does My Car Horn Stop Working?
Car horns are simple devices, but a few things can go wrong. Often, it’s a loose wire, a blown fuse, or a faulty relay. Sometimes, the horn itself gives out. Understanding these common culprits is the first step to fixing it. We’ll focus on the wiring aspect today, which is a very common reason for a non-working horn.
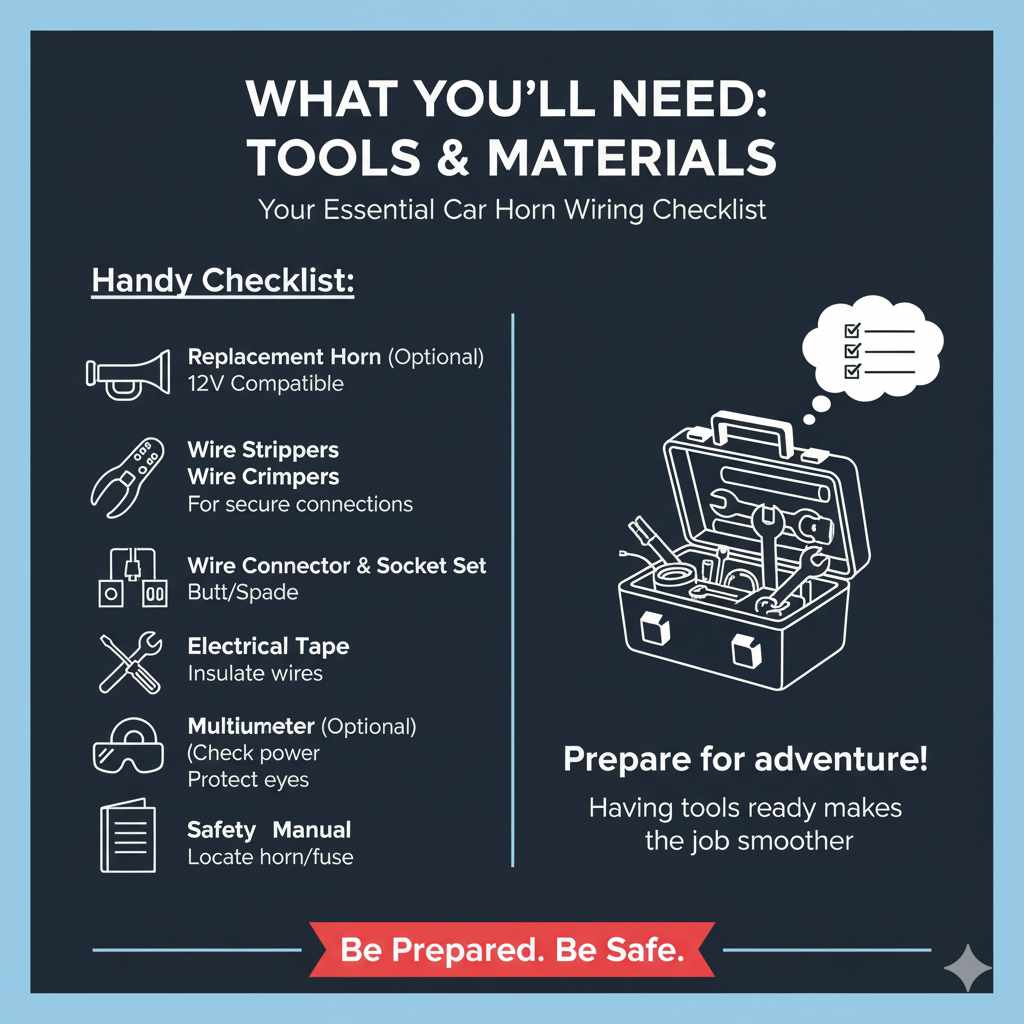
What You’ll Need: Tools and Materials
Before we start, let’s gather everything you need. Having all your tools ready makes the job go much smoother. Think of this as packing for an adventure – you want to be prepared!
Here’s a handy checklist:
- Replacement Horn (Optional): If your old horn is broken, you’ll need a new one. Make sure it’s compatible with your car’s voltage (usually 12V).
- Wire Strippers: These are essential for safely removing insulation from wires.
- Wire Crimpers: Used to attach new connectors to wires securely.
- Wire Connectors (Butt Connectors or Spade Connectors): These little guys join wires together.
- Screwdriver Set: You’ll likely need one for removing panels or the horn itself.
- Socket Wrench Set: handy for removing bolts.
- Electrical Tape: For insulating any spliced connections and keeping things tidy.
- Multimeter (Optional but Recommended): This tool is super helpful for checking if there’s power getting to where it needs to go. It takes the guesswork out of diagnosing electrical issues.
- Safety Glasses: Always protect your eyes!
- Owner’s Manual: This is your car’s best friend. It will show you where the horn, horn relay, and fuse are located.
Understanding Your Car’s Horn System
Your car’s horn system might seem a bit mysterious, but it’s basically a circuit. When you press the horn button, you’re closing a switch. This switch tells a relay to send power from your car’s battery to the horn. The horn then vibrates and makes that loud noise!
The main components are:
- The Horn Button/Switch: This is what you press on your steering wheel.
- The Horn Relay: A small electrical switch that controls the flow of high current to the horn using a low-current signal from the horn button.
- The Horn(s): The actual device that makes the sound.
- Fuse: Protects the circuit from too much electrical current.
- Wiring: Connects all these parts together.
Most modern cars have two horns, a high-tone and a low-tone, to create a more distinctive sound. The wiring is generally quite similar regardless of how many horns you have.
Step-by-Step Guide: How to Wire a Car Horn
Let’s get down to business! This guide assumes your horn isn’t working due to a wiring issue, a bad relay, or a blown fuse. We’ll cover checking and replacing these common problems if they’re the cause.
Step 1: Safety First! Disconnect the Battery
This is the most crucial step. You’re working with electrical components, so you must disconnect the negative terminal of your car battery. This prevents any accidental shocks or short circuits. Remember to always disconnect the negative (black) cable first.
- Locate your car battery.
- Use a wrench to loosen the nut on the negative terminal clamp.
- Gently pull the negative cable off the battery post.
- Tuck the cable away so it can’t accidentally touch the battery terminal.
Step 2: Locate Your Car’s Horn and Relay
Consult your owner’s manual to find the exact location of your horn(s), horn relay, and the fuse box. The horns are usually located behind the grille at the front of your car. The relay is often found in the fuse box under the hood, but can sometimes be located elsewhere. The fuse box is usually under the dashboard or under the hood.
Step 3: Check the Horn Fuse
A blown fuse is a very common cause of a non-functional horn. Each fuse is designed to melt and break the circuit if too much current flows through it, protecting your car’s electrical system.
- Open the fuse box and look for the fuse labeled “Horn” (check your owner’s manual for the exact label and location).
- Carefully pull the fuse out. Many fuse boxes come with a small plastic tool for this, or you can use needle-nose pliers.
- Inspect the fuse. If the metal filament inside is broken or looks burnt, the fuse is blown.
- Replace it with a new fuse of the exact same amperage rating. You can find the rating (e.g., 15A, 20A) printed on the fuse itself. Using a fuse with a higher rating can damage your electrical system.
If replacing the fuse fixes the problem, congratulations! No further wiring is needed.
Step 4: Test the Horn Relay (If Fuse is Good)
If the fuse is fine, the relay might be the issue. The relay is an electromagnet that uses a small current to switch a larger current, controlling the horn. Sometimes, the contacts within the relay can get dirty or worn out.
How to Test a Horn Relay
This can be done with a multimeter. First, we need to identify the pins on the relay. Most automotive relays have four or five pins. You’ll typically find a diagram on the relay itself or in your owner’s manual.
Here’s a common 4-pin relay configuration:
| Pin Function | Description |
|---|---|
| 30 | Power input from battery (always hot) |
| 87 | Power output to horn |
| 85 | Ground for coil |
| 86 | Power input for coil (from horn switch) |
To test the relay without removing it (if possible, or with it removed):
- Identify the power source for the coil (Pin 86): With the ignition on, use your multimeter to check for 12V at this pin when the horn button is pressed. If you don’t have power here, the issue is with the horn switch or its wiring.
- Check for power at Pin 30: This pin should always have battery voltage, even with the ignition off.
- Test the coil resistance: With the relay removed and off, set your multimeter to measure resistance (Ohms). Measure across pins 85 and 86. A good relay will show a resistance value, typically between 50 and 100 ohms, indicating the coil is intact. An infinite resistance means the coil is broken.
- Test for continuity to the horn (Pin 87): Without removing the relay, connect a jumper wire from pin 85 to a good ground. Then, with the ignition on, check for 12V at Pin 87. If you have 12V to Pin 30 and 86 is connected to ground, but you don’t get 12V at Pin 87, the relay is likely faulty.
- Listen for a click: Sometimes, you can hear a click when the relay is activated. Press the horn button and listen. If you don’t hear a click, it could be the relay or the switch.
If the relay is faulty, replace it with an identical one. Ensure the part number is the same.
An example of how a horn system relay works can be seen by looking at general automotive relay principles. Reputable automotive electrical component suppliers often have diagrams illustrating relay functions.
Step 5: Inspect and Test the Horn(s)
If the fuse and relay are good, the problem might be the horn itself or its wiring. The horns are usually bolted to the car’s frame or radiator support.
- Visual Inspection: Look at the horn connectors. Are they clean and free of corrosion? Is the wiring intact, not frayed or broken?
-
Test the Horn Directly: You can test the horn directly using jumper wires from your car battery (or a known good 12V source).
- Connect a jumper wire from the positive (+) terminal of your battery to the positive terminal of the horn.
- Connect another jumper wire from the negative (-) terminal of your battery to the mounting bracket of the horn (which serves as its ground).
| Horn Type | Where to Find It | Why It Might Be Bad |
|---|---|---|
| Electric Horn (most common) | Front of the vehicle, behind the grille | Internal diaphragm failure, corrosion, physical damage. |
| Air Horn (less common on standard cars) | May require extra components like an air compressor | Leak in the system, compressor failure, solenoid issues. |
If the horn sounds when directly connected, it means the horn itself is good, and the problem lies in the wiring or the components controlling it (switch or relay) that you’ve already checked. If it doesn’t sound directly, the horn is likely bad and needs replacement.
Step 6: Replacing a Faulty Horn
If you determined the horn is faulty, you’ll need to replace it.
- Disconnect the wire connector(s) from the old horn.
- Unbolt the old horn. Keep track of any washers or brackets.
- Mount the new horn in the same position, using the original hardware if possible.
- Reconnect the wire connector(s). Ensure they are snug.
Step 7: Checking and Repairing Horn Wiring
This is where it gets into actual “wiring” a car horn. Often, wires can become loose, corroded, or broken over time, especially near the horn itself due to vibrations or road debris.
Common Wiring Issues and How to Fix Them
- Loose Connectors: If a connector is loose, it might not be making good contact. You can gently crimp the connector slightly to ensure a tighter fit, or replace the connector entirely with a new one from an auto parts store.
- Corroded Connectors: Clean any corrosion from the connectors using a wire brush or sandpaper. You can also use electrical contact cleaner.
- Broken Wires: If a wire is broken or frayed, you’ll need to splice in a new section or repair the existing wire.
How to Splice and Connect Wires
This is a common automotive repair task. Here’s how to properly splice a wire:
- Strip the Wires: Use wire strippers to carefully remove about 1/2 inch of insulation from the end of each wire you need to connect.
- Insert into Connector: Take a new butt connector or spade connector. Insert the stripped end of one wire into one end of the connector.
- Crimp the Connector: Use your wire crimpers to firmly crimp the metal part of the connector onto the wire. You want it to be snug and secure.
- Repeat for the Other Wire: Insert the stripped end of the second wire into the other end of the connector and crimp it firmly.
- Test the Connection: Gently tug on both wires to ensure they are securely held by the connector.
- Insulate: Wrap the entire connector and a bit of the wire on either side with electrical tape to prevent short circuits and protect it from the elements. Heat shrink tubing is another excellent option for a more durable and weatherproof connection.
A reliable source for learning about proper electrical connections in vehicles is the National Highway Traffic Safety Administration (NHTSA), which provides guidelines related to automotive safety and repair.
Step 8: Reconnecting the Battery and Testing
Once you’ve made all your repairs or replacements:
- Double-check all connections to make sure they are secure and insulated.
- Reconnect the negative battery terminal. Tighten the clamp securely.
- Get in your car and test the horn! Press the horn button. You should hear that familiar sound.
If it works, great job! If not, don’t despair. Go back through the steps, especially checking fuses, relays, and power at each point with your multimeter. Sometimes electrical gremlins are tricky!
Troubleshooting: What If It Still Doesn’t Work?
If you’ve followed these steps and your horn still won’t honk, here are a few more common issues:
- Horn Switch/Clock Spring: The problem might be inside your steering wheel. The horn switch or the “clock spring” (a part that allows electrical connections to the steering wheel to rotate) could be faulty. This is a more complex repair and might require professional help.
- Wiring Harness Damage: Sometimes, the main wiring harness leading to the horn can be severely damaged. This is less common but possible.
- Grounding Issues: Ensure the horn itself and any relays have a good ground connection to the car’s metal chassis. Poor grounds are notorious for causing electrical problems.
For issues within the steering column, it’s often best to consult a professional mechanic. Safety systems like airbags are integrated here, and it’s crucial to handle them with care.
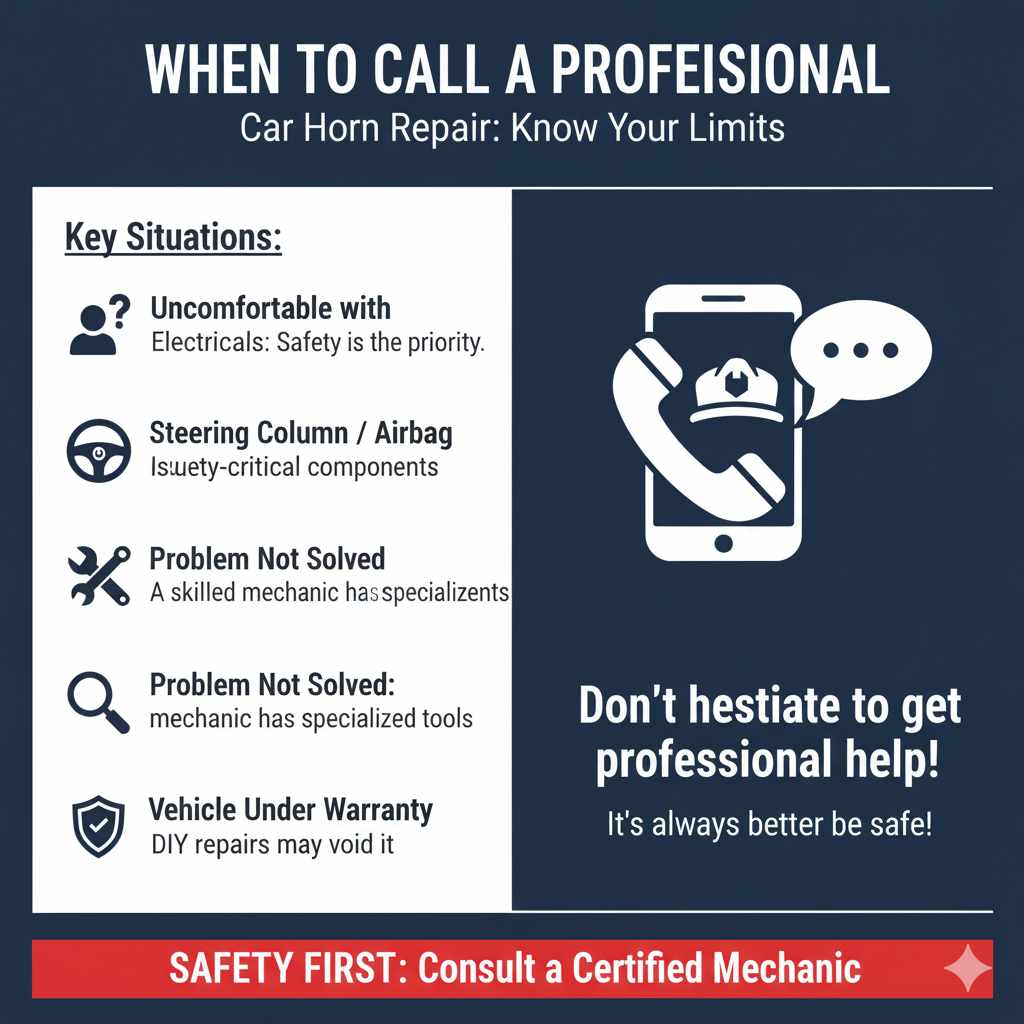
When to Call a Professional
While many horn issues are DIY-friendly, there are times when it’s better to seek expert help:
- If you’re uncomfortable working with electrical systems. Safety is always the priority.
- If the problem seems to be within the steering column or involves the airbag system. These are safety-critical components.
- If you’ve tried all the steps and can’t diagnose the problem. A skilled mechanic has specialized tools and experience.
- If your vehicle is still under warranty. DIY repairs could void it.
Don’t hesitate to get professional help if you’re not confident. It’s always better to be safe!
Frequently Asked Questions (FAQ)
What is the most common reason a car horn stops working?
The most common reasons are a blown fuse, a faulty horn relay, or a bad horn connection/wire. Less frequently, the horn itself can fail.
Can I replace my car horn with a louder one?
Typically, yes. You can often upgrade to a louder or different sounding horn, but ensure it’s compatible with your car’s 12V electrical system and that the mounting points are similar. Check local regulations regarding horn noise levels.
How much does it typically cost to fix a car horn?
If it’s a DIY fix like a fuse or relay, it can cost just a few dollars. Replacing a horn itself might cost $20-$50 for the part, plus your time. Professional repair can range from $100-$300 or more, depending on the complexity and labor rates.
Do I need a special tool to remove a car horn fuse?
Many fuse boxes come with a small plastic fuse puller. If not, a pair of needle-nose pliers can be used gently. Avoid using metal tools that could short out adjacent fuses.
Where can I find a wiring diagram for my car’s horn system?
Your car’s owner’s manual is the best place to start. You can also find diagrams in service manuals for your specific make and model, which are available at most auto parts stores or online vehicle repair resources.
Is it safe to wire a car horn myself?
Yes, it is safe as long as you follow proper safety procedures, especially disconnecting the battery before starting work. Always use the correct parts and ensure connections are insulated.
Conclusion
And there you have it! Wiring a car horn might seem like a daunting task, but as you can see, it’s totally achievable for the average car owner. By understanding the basic components, following these straightforward steps, and taking your time, you can get your horn back to full working order. Remember to always prioritize safety by disconnecting the battery, and don’t be afraid to consult your owner’s manual or call in a professional if you encounter anything beyond your comfort level. You’ve got this!