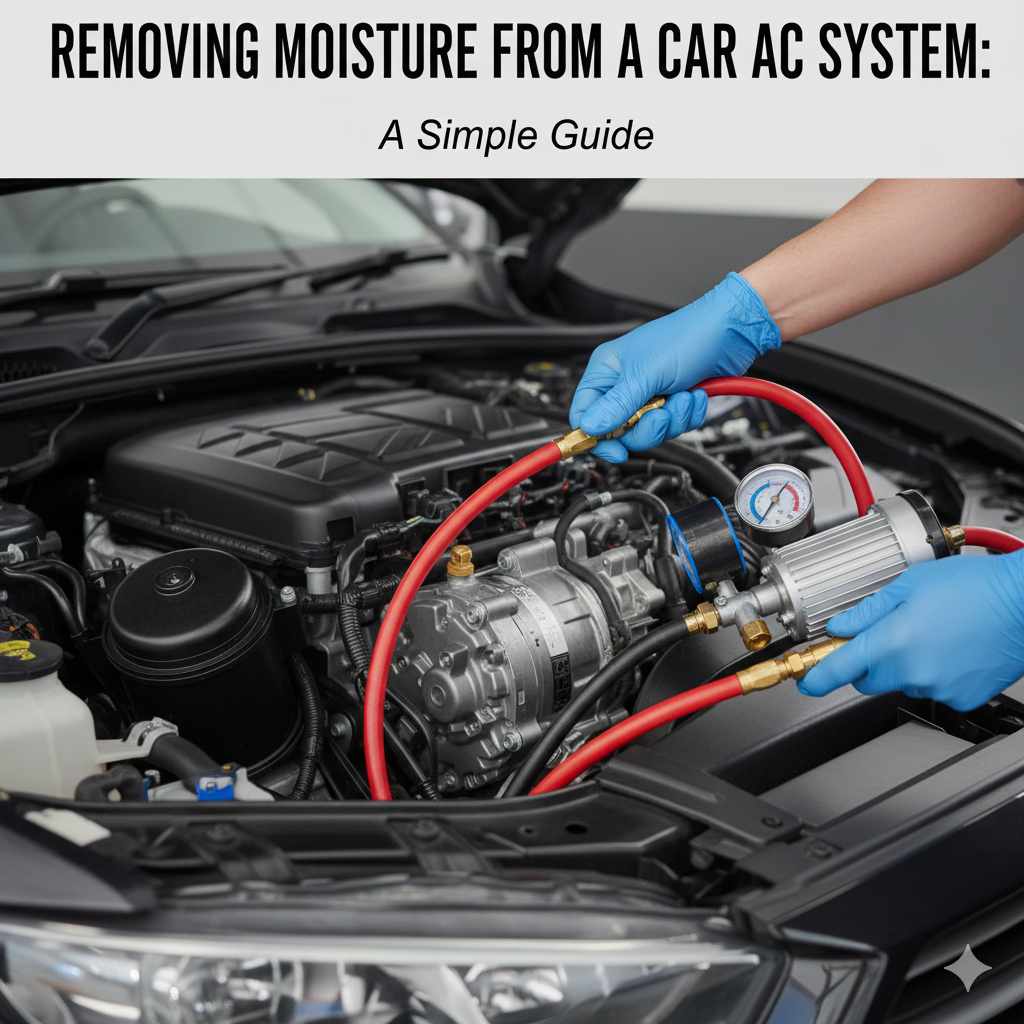
Removing Moisture From a Car AC System: A Simple Guide
If you’re wondering about How to Remove Moisture From a Car AC System, you’re not alone! It’s a common issue that can cause a lot of problems. For beginners, it might seem tricky, but don’t worry. This guide will make everything easy to follow, step by step. We’ll explore the causes, the tools you need, and the procedures to get your AC running cool and dry. Let’s get started!
Why Moisture Matters in Your Car’s Air Conditioning
Moisture inside your car’s AC system is a problem for several reasons. It can lead to reduced cooling performance, because water prevents the refrigerant from working correctly. More importantly, moisture causes rust and corrosion within the system’s metal components, leading to expensive repairs down the road. It can also create a breeding ground for mold and mildew, which can cause unpleasant odors and, in some cases, affect your health. The AC system is designed to be a closed environment, and moisture disrupts its proper function. By finding and removing the source of moisture, you protect the investment of your vehicle and ensure that the AC system continues to provide reliable, clean, and cool air.
The Main Culprits Behind Moisture Buildup
Several factors can cause moisture to enter your car’s AC system. One of the most common is leaks. The refrigerant lines, seals, and the compressor itself can develop leaks over time, allowing air – and the moisture it contains – to seep in. Another factor is improper servicing. If the system is opened for repairs without the correct procedures, such as evacuating the system and properly sealing it afterwards, moisture can be introduced. Humidity in the air during servicing plays a significant role. Finally, the design of the AC system itself can contribute. Condensation forms as the system cools the air, and if this is not properly drained, it can lead to moisture issues.
Leaks in the System: Any crack or gap in the AC lines, the condenser, or the evaporator core can let air and moisture into the system. Over time, these parts can deteriorate because of vibration and age.
To pinpoint leaks, mechanics use a leak detector, which may be dye-based or electronic. Once detected, the leaking part must be replaced or repaired to stop further moisture intake. Replacing faulty components is usually better than repair, especially for rubber components that degrade over time.
-
Improper Servicing Techniques: Opening the AC system to
A good mechanic will always use a vacuum pump to evacuate the system before recharging it. Failure to do so will almost certainly result in decreased performance and potentially system damage. It is a critical step in proper air conditioning maintenance.
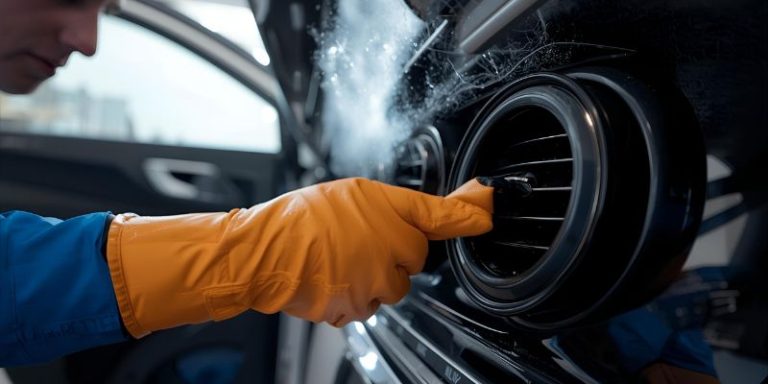
- Environmental Humidity: Even when the system is not actively leaking, simply opening it on a humid day can introduce a significant amount of moisture. The air contains water vapor, which can condense and remain inside the components.
-
Work should be performed in a cool, dry area whenever possible to minimize this effect. Additionally, using a nitrogen purge after opening the system can help to remove any remaining humidity. By managing these conditions, technicians can reduce the risk of moisture contamination.

Essential Tools and Materials You’ll Need
Before you begin the process of removing moisture from your car’s AC system, you’ll need the right tools and materials. These items will help you diagnose the problem, evacuate the system, and ensure it’s working efficiently. Having these items on hand will save you time and provide a solid starting point for dealing with AC problems. Ensure that you have all the necessary items before starting to work on the air conditioning system, because opening the system without the correct equipment can cause more damage. Let’s explore what you will need for the task.
Gathering Your AC Arsenal
A good set of tools is essential for any car maintenance project, and removing moisture is no exception. While some of these tools may require an initial investment, they can save you money in the long run by allowing you to handle AC issues yourself. Additionally, having these tools lets you ensure the quality of the work and the longevity of your AC system. The following list covers the tools required for diagnosing, evacuating, and recharging your AC system correctly.
AC Manifold Gauge Set: This is probably the most vital tool, and it allows you to measure the pressure of the refrigerant. This set has high- and low-pressure gauges, which will help you check for leaks and diagnose problems.
A manifold gauge set shows both the high and low-pressure sides of the AC system. You will need to attach the manifold gauges to the AC system service ports to monitor pressure changes. The gauges provide a snapshot of the AC’s overall status.
Vacuum Pump: This pump is used to evacuate the air and moisture from the AC system before recharging it with refrigerant. It creates a vacuum, drawing out any contaminants.
The vacuum pump is the most crucial piece of equipment for drying the system. It connects to the AC system and pulls a vacuum, removing moisture. Look for pumps that offer good CFM (cubic feet per minute) ratings for efficient performance.
Refrigerant Can with Valve or Refrigerant Recovery/Recycling Machine: You’ll need a container of the correct refrigerant for your vehicle, along with a valve to control the flow. Alternatively, a refrigerant recovery machine will extract the old refrigerant, allowing you to recharge with fresh refrigerant.
Refrigerant containers usually connect directly to the AC manifold. A recovery machine is a good investment if you plan on doing AC work often, as it helps you remove the refrigerant from the system without releasing it into the atmosphere. Be sure to use the proper type of refrigerant for your car.
Leak Detector: These tools help you locate any leaks in the AC system. These tools can be electronic or dye-based.
Leak detectors identify where refrigerant is escaping. Electronic leak detectors are more sensitive, while a dye-based system uses a UV light to show leaks. This ensures you fix the leaks before moisture can re-enter.
Supporting Supplies and Safety Gear
Besides the main tools, there are other items that you will need to complete the task safely and effectively. These supplies will protect you and your vehicle. Also, using the right supplies will make the process easier and more successful. When working on any car component, safety and carefulness are essential. The right supplies and protective equipment can reduce the risks and guarantee that the job goes smoothly. Here are some of the additional supplies you will want to get before you start:
Safety Glasses: Always wear safety glasses when working with AC systems to protect your eyes from refrigerant, which can cause frostbite if it comes into contact with your skin.
Working on AC systems often involves the use of high-pressure refrigerant. Safety glasses are crucial to protect your eyes from leaks or accidental sprays.
Gloves: Wear gloves to protect your hands from cold refrigerant and any other chemicals involved.
Gloves prevent your skin from coming into contact with chemicals, dirt, and refrigerant. Insulated gloves are helpful when working in cold environments or with cold lines.
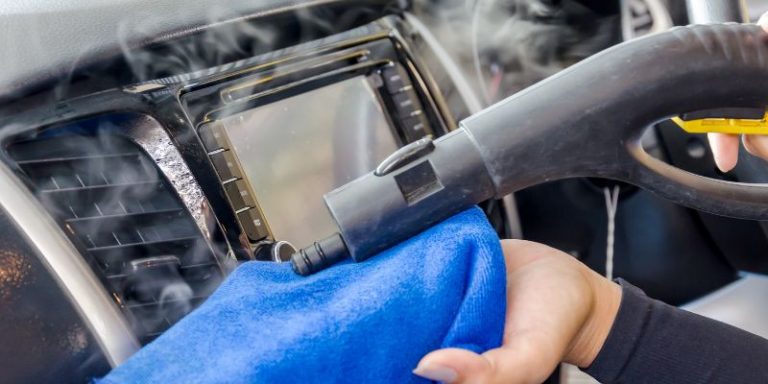
Rags or Towels: These are helpful for cleaning up spills and wiping down components.
Rags are useful for absorbing any accidental refrigerant leaks, spills, and keeping your workspace clean. Keep plenty of rags nearby.
Correct Refrigerant Type: Check your car’s manual to determine the correct type of refrigerant for your vehicle. Use only the recommended refrigerant.
Using the wrong refrigerant can damage the AC system. The type of refrigerant is generally printed on a sticker under the hood of your car.
O-rings and Seals (if needed): These are critical components that prevent leaks. Keep a set of replacement O-rings and seals if you plan on opening any part of the system.
These rubber parts seal the various components of the AC system. They are often damaged during the system’s dis-assembly or reassembly and should be replaced to prevent leaks.
Step-by-Step: Removing Moisture From Your Car AC System
Now that you have the right tools, it is time to get to work. Removing moisture from your car’s AC system involves several carefully executed steps. Each step plays a vital role in ensuring that the system is completely dry and ready for optimal performance. This method will guide you through the process, from diagnosis to final recharging. Read through these instructions and then execute them carefully.
Testing and Initial Preparations
Before you begin the process of removing moisture from your AC system, you must first do a system test. This will help you know whether you have a leak or any other problem. Next, make sure you prepare your vehicle and workspace for the task at hand. Taking these precautions will help to make the process smoother, safer, and more effective. Testing and preparation are the first and most critical steps towards restoring your AC system’s performance.
-
- Check the AC System Pressure: Connect the AC manifold gauge set to the system. Turn on the AC and observe the pressure readings on both the high- and low-pressure sides. Unusual readings can indicate a problem.
Use the manifold gauge to check if the AC system is performing correctly. High and low pressures that don’t match the specifications in the service manual will indicate a problem. Pressure that is too low may indicate a leak or insufficient refrigerant.
-
- Inspect for Leaks: Use a leak detector to look for any signs of refrigerant leaks. Pay close attention to the connections, hoses, and compressor. If you see an oily residue, it could be a leak.
Detecting leaks is critical. Leaks allow moisture to enter, which will require the system to be evacuated before it can be recharged. Electronic leak detectors or a dye-based system can assist in finding the leaks.
-
- Prepare the Vehicle: Park your car in a well-ventilated area, and make sure the engine is cool. Disconnect the negative terminal of the car battery for safety.
Working in a well-ventilated space is important because refrigerant can displace oxygen. Disconnecting the negative terminal prevents electrical shorts during the repairs.
-
- Gather Your Tools and Materials: Ensure you have all the necessary tools and replacement parts. You do not want to realize that you are missing something halfway through the process.
Having all of your tools and equipment at hand will make the process much easier. Being prepared will help make the procedure less frustrating and more efficient.
Evacuating the System
Evacuating the AC system is a critical step in removing moisture and preparing it for recharging. This step involves using a vacuum pump to remove all air, moisture, and any remaining refrigerant from the system. It creates a vacuum environment. This section describes the process step by step, from connecting the pump to verifying the vacuum, to ensure that the process is successful.
-
- Connect the Vacuum Pump: Attach the vacuum pump to the AC system using the service ports on both the high and low-pressure sides of the AC manifold gauge set.
Connect the vacuum pump to the service ports on your AC manifold gauges. This is where the vacuum pump will remove the air and moisture from the AC system. Make sure all connections are tight to avoid leaks.
-
- Activate the Vacuum Pump: Turn on the vacuum pump and let it run for about 30–60 minutes. This will allow the pump to pull out all the air and moisture.
Letting the pump run for the required time is very important. This ensures that the system is fully evacuated. The time required depends on the size of the system and the power of the vacuum pump.
-
- Monitor the Vacuum: Watch the gauges on the AC manifold to ensure that the vacuum holds. If the vacuum drops, there may be a leak in the system.
Monitoring the vacuum gauge helps you determine if the evacuation process is working. The gauge will indicate how well the vacuum is being maintained.
-
- Close the Valves and Turn Off the Pump: Once the vacuum has held for the specified time, close the valves on the AC manifold gauge set and turn off the vacuum pump. Disconnect the pump and gauge set from the AC system.
Make sure you shut off the pump before disconnecting it, otherwise, you could let air and moisture back into the system. Properly closing the valves ensures that the system stays vacuumed.
Recharging the AC System
Recharging the AC system is the last step in removing moisture. This is when you add the right amount of refrigerant back into the system. It is important to add the right amount to keep the AC system working efficiently and correctly. The following steps will guide you through this process, from attaching the refrigerant can to monitoring performance. These instructions are key to restoring the cooling capability of your vehicle’s air conditioner.
-
- Connect the Refrigerant Can: Attach the refrigerant can or recovery machine to the AC system. Connect it through the service port with the correct refrigerant.
Make sure you use the appropriate type of refrigerant for your vehicle, which is commonly indicated on a sticker in your engine compartment. Connect it carefully to the correct service port.
-
- Add Refrigerant: Open the valve on the refrigerant can and let the refrigerant flow into the system. Follow your car’s service manual to determine the correct amount of refrigerant.
Add refrigerant slowly and steadily. Many AC systems require a precise amount of refrigerant. Overfilling can cause issues with your AC system’s performance.
-
- Monitor the Pressure: While adding refrigerant, keep an eye on the pressure readings on the AC manifold gauge set.
Monitoring pressure is critical. If pressures are too high or too low, this might indicate an issue with the system.
-
- Check Performance: Start the car and turn on the AC. Observe the temperature of the air coming out of the vents. Check for proper cooling.
Once you are done, run the AC to check its performance. If you feel cool air, then the system is running correctly. If not, it can indicate a leak or other problem. Compare air temperature at the vents with the ambient temperature outside to verify proper function.
Dealing with Common Issues and Troubleshooting
While removing moisture can resolve many AC problems, you may encounter other issues during the process. This part will discuss common problems and how to troubleshoot them. These are common issues that can appear during or after you are removing moisture, and these are often easily fixable. By addressing these concerns, you can make sure that your AC system is working correctly.
Addressing Leaks and Vacuum Problems
Sometimes, removing moisture from your car AC system reveals other problems, like leaks or issues with the vacuum pump. Proper troubleshooting is critical to the success of your AC system restoration. This will help you identify the root causes of the issues and how to fix them. Quick responses and correct fixes will help you prevent more damage. Here are some of the most common issues you might face during the process.
Vacuum Won’t Hold: If the vacuum does not hold, this is often caused by a leak. Check all connections, hoses, and components for damage.
This is a common issue and usually means that you have a leak somewhere in your system. Inspect all connections, hoses, and components, looking for any signs of damage or wear.
Refrigerant Leaks: Use a leak detector to find the source of the leak. Repair or replace any leaking components, such as hoses, O-rings, or the compressor.
If you suspect a refrigerant leak, use a leak detector, either electronic or a dye-based system. Then, you can repair or replace any parts that are leaking. Common areas for leaks include the compressor, hoses, and the evaporator core.
Low Cooling Performance: If the AC still doesn’t cool well after recharging, there may be other issues, such as a clogged expansion valve or a failing compressor.
If the AC is still not cooling effectively after you add the refrigerant, other issues may be present, such as a clogged expansion valve or a failing compressor. This requires further examination and troubleshooting.
Compressor Issues: If the compressor is not working, it may need to be replaced. Listen to the compressor for unusual noises, as this can be a sign of internal damage.
If the compressor is not working, it will need to be replaced. Listen to the compressor for noises and check its ability to engage. If these are signs of problems, it may need to be replaced.
Diagnosing and Addressing Other AC Problems
Sometimes, AC problems go beyond moisture. Various parts can fail or malfunction. Understanding these issues will help you to pinpoint the root causes of AC problems and the solutions. This requires examining a variety of AC components and symptoms, which will enhance your ability to diagnose and fix the AC issues and make sure your car is running cool.
Clogged Expansion Valve: A clogged expansion valve can restrict refrigerant flow. This will prevent your AC from cooling properly. Replace the valve if necessary.
A clogged expansion valve will prevent the refrigerant from circulating effectively. This can reduce cooling performance. The expansion valve must be replaced if it becomes clogged. The expansion valve regulates refrigerant flow into the evaporator, controlling the cooling process.
Faulty Compressor: A malfunctioning compressor won’t be able to compress and circulate the refrigerant, and it may not cool at all. Replacing the compressor is often the fix.
The compressor is the heart of the AC system. If it’s malfunctioning, the system will not cool effectively. It compresses the refrigerant, which allows it to flow through the system. Symptoms of compressor failure include noises, or a lack of cooling. Replace the compressor, if needed.
Electrical Issues: Check the fuses, relays, and wiring for the AC system. These electrical components can cause the AC system to fail.
Faulty fuses, relays, or wiring problems are common causes of AC issues. Check all electrical connections for corrosion or damage. Replace any damaged components. Ensure all fuses are working.
Condenser Problems: Ensure that the condenser is clean and not blocked. Poor airflow over the condenser will reduce cooling efficiency.
The condenser is responsible for releasing heat from the refrigerant. Ensure that there is adequate airflow, as this is important for the system’s performance. Clean the condenser fins to remove any debris or dirt. The condenser must be in good shape to function correctly.
Frequently Asked Questions
Question: How often should I remove moisture from my car’s AC system?
Answer: It’s usually not a regular maintenance task unless you notice performance issues or suspect a leak. Ideally, moisture removal is done during repairs or servicing that involves opening the system.
Question: What happens if I don’t remove moisture from the AC system?
Answer: Moisture can cause corrosion, reduce cooling efficiency, and create mold and mildew. Over time, these issues can lead to costly repairs.
Question: Can I remove moisture from my car’s AC system without special tools?
Answer: No, you’ll need a vacuum pump at a minimum to properly evacuate the system and remove the moisture.
Question: Is it safe to handle refrigerant?
Answer: Refrigerant can be dangerous if mishandled. Always wear safety glasses and gloves, and work in a well-ventilated area.
Question: What kind of refrigerant does my car use?
Answer: Check the sticker under your hood, or consult your car’s owner’s manual to determine the correct type of refrigerant.
Final Thoughts
Understanding and addressing How to Remove Moisture From a Car AC System is key for preserving its performance. While it might seem complex, the process involves a few fundamental steps. Identifying the source of moisture, using the correct tools, and following the outlined procedures are critical for success. Remember, moisture not only hurts cooling efficiency but can also damage your system. By taking care of this issue, you’re investing in your vehicle’s long-term health and your comfort. If you have any doubts about your ability to do the work, consider calling a professional to avoid more damage. Get started today, and enjoy a cool and comfortable ride!