How to Fix a Car Seat: Tears, Worn Spots, Cushions, Adjusters
To fix a car seat, first name the problem: a torn or worn cover, a sagging cushion, or a seat that will not adjust. Surface damage to a cover can often be repaired in place with a kit, but seats carry airbag parts, so removing, re-covering or unbolting one is a dealer job. This guide gives a problem-by-problem table, the kit steps from the makers’ own instructions, and clear stop points. It covers your vehicle’s seat, not a child restraint.
Common Car Seat Problems and Solutions
Best Hand-Sewing Kit for Seat Seams
|
BAGERLA Heavy Duty Sewing Kit with Upholstery Needles, Thread and Awls A tools-only kit for stitching a split seam or a torn cover by hand. It does not include filler, color compound or backing fabric.
|
As an Amazon Associate we earn from qualifying purchases. Spec-based pick from the listing, not a hands-on test.
The table sorts common problems by what a home repair can reasonably touch, using only the pages we read (Permatex instructions, Mazda and Kia owner’s manuals, NHTSA). Where they give no DIY steps, we say see a professional.
| Problem | What the sources say | Safe first check | DIY or pro |
|---|---|---|---|
| Small tear or hole in a cloth cover | Permatex describes a fabric kit that repairs automobile upholstery in place with adhesive, colored powders and a backing fabric | Look at the hole: is only the cover damaged, or can you see foam? | DIY with a kit, if the cover is intact and foam is not exposed |
| Split seam | Permatex says a damaged spot can be sewn with a hooked needle and thread after the backing fabric is inserted | Check that the seam is reachable without taking the seat apart | DIY hand stitch if reachable; pro if the cover must come off |
| Cracked or torn vinyl or leather | Permatex describes a vinyl and leather kit with backing fabric, filler, color compound and a heat tool | Clean the area, check how large the damage is | DIY for small damage (kit practice patch first); pro for large panels |
| Tear down to the foam | Mazda lists seat cushions torn or damaged down to the urethane as a reason not to drive with the seat | Look for exposed foam or a flapping cover | Book a dealer inspection before relying on the seat |
| Seat will not lock or slide | Mazda says to make sure adjustable parts are locked by trying to slide the seat and rock the seatback | Look under and around the rails for a stuck object | Check for objects first; pro if it still will not lock |
| Power seat dead or one direction only | Kia warns that items under front seats can interfere with the sensing components and wiring harnesses | Remove loose items from the floor around the seat | See our power seat guide; pro for wiring |
| Loose or wobbling seat | Mazda says loosening any bolts on a seat is dangerous because seats contain airbag components | Do not tighten or loosen bolts yourself | Pro or dealer, and check recalls |
| Sagging cushion | Neither maker page we read gives a home rebuild procedure | Note whether the seat sits level and locks | Pro; do not unbolt the seat to work on it |
| Seat involved in a crash | Mazda says to have a dealer inspect seats, belt pretensioners and airbags after a collision | Do not try to repair it | Dealer inspection |
Safety First! Important Considerations
Seats are part of the crash-protection system. Here is what the pages we read say, in plain terms.
- Do not modify or replace seats. Mazda’s MX-5 manual says modifying or replacing the seats, such as replacing the upholstery or loosening any bolts, is dangerous because the seats contain air bag components of the supplemental restraint system, and says to consult an authorized dealer if a seat must be removed or reinstalled.
- Do not modify front seats. Kia’s owner’s manual says modification of the front seats could interfere with the supplemental restraint system sensing components or side air bags.
- Keep the floor clear. Kia says items placed under the front seats can interfere with the sensing components and wiring harnesses, and Mazda says an object under the seat can stop it from locking securely.
- Air bags deploy once. The NHTSA air bag page says air bags can only deploy once and that used ones must be replaced at an authorized repair center before the vehicle is driven again.
- Recalls first. If a seat is loose or a seat-related warning light is on, search your vehicle on the NHTSA recall lookup before paying for a repair. NHTSA notes the VIN search shows only unrepaired recalls.
We give no battery-disconnect or wait-time steps: the pages we read do not specify them for seats. Follow your own manual, and leave airbag-seat wiring to a professional.
1. Fabric Tears and Rips
A small cloth tear is the most DIY-friendly seat problem, as long as the cover is intact and no foam is showing. The Permatex Fabric Repair Kit instructions (item 25247) run in this order:
- Clean the damaged spot with a household cleaner and trim off loose threads.
- If padding is missing and the damage is depressed, fill the area with common household cotton, spread evenly.
- Mix the fabric powders in the supplied container (shake 30 to 45 seconds) and use the color chart to match the fabric.
- For a hole or larger, cut the backing fabric slightly larger than the damage and insert it into and under the damage.
- Apply the air-dry adhesive with the spatula, sift the colored powders over it through the screen applicator, pack them down and copy the fabric pattern with the spatula.
- Let it dry several hours (overnight preferred), blow off loose powder, and if the spot gets hard wear, spray a light coat of clear aerosol hairspray once dry.
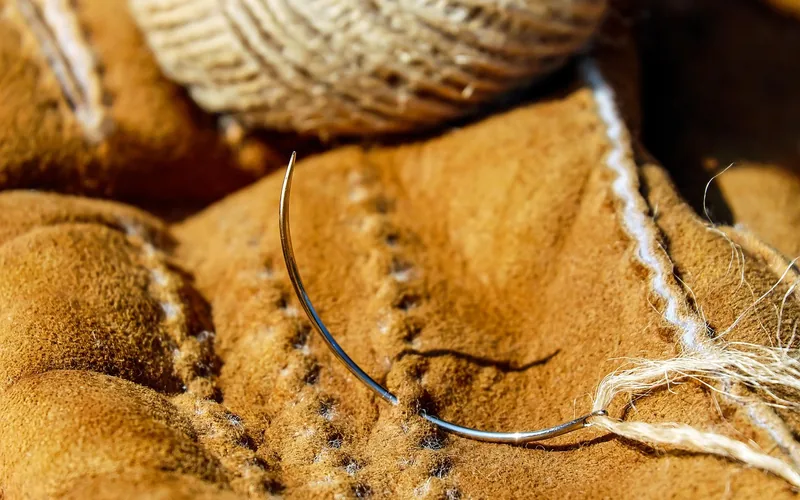
Permatex adds that very large damage can be sewn with a hooked needle and thread after the backing fabric is inserted; that is where a sewing kit like the pick above fits. For matching guides, see our cloth seat tear guide and the ripped seat guide.
2. Worn or Faded Upholstery
A worn spot is different from a hole: the fabric is thin or bald but not open. The Permatex fabric kit is described as matching popular colors and textures, and its hairspray tip is aimed at areas that get hard wear. No maker page we read gives a whole-seat dye method, so we do not recommend one. For general cleaning before a repair, see how to clean fabric seats.
3. Worn or Cracked Leather
For cracked or torn vinyl and leather, Permatex’s technical data sheet for its Vinyl and Leather Repair Kit lists seven steps and says to read all seven first and make a practice repair on the included vinyl sample. In short:
- Clean with a strong household cleaner, make sure the area is dry, trim frayed threads, and remove charred material if it is a burn.
- Insert cloth backing fabric slightly larger than the damage (not needed for cuts, burns or holes under 1/4 inch).
- Choose the grain paper closest to your surface (fine, coarse or medium) and outline the damage on it.
- Fill with the clear vinyl adhesive and filler, then allow 4 hours to dry; it shrinks slightly and leaves a void for the color compound.
- Match the color with the chart and test it on undamaged vinyl, then wipe it off.
- For a soft area like a seat, do not add the hardener (it is for hard areas such as door panels). Apply thin layers, do not overfill, and tape the grain paper over the uncured compound.
- Heat cure: warm the tool 4 minutes, never let the tool touch the vinyl directly, and rotate it on the grain paper for 35 to 45 seconds without overheating the paper.
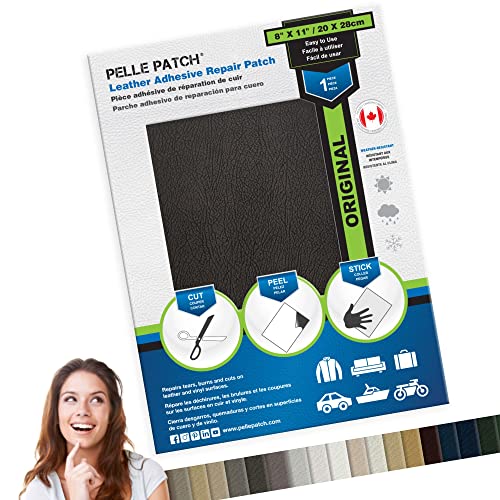
Related reading: fixing leather car seats, repairing a leather car seat, cigarette burns and restoration kits.
4. Sagging Seat Springs or Padding
This is where DIY advice online gets risky. A sagging cushion usually means working inside the seat, and Mazda’s manual lists loosening seat bolts and replacing upholstery as dangerous because of the air bag components. The pages we read give no home rebuild procedure, so none is given here. If the seat sits level and locks, you can drive and book an inspection; if foam is exposed, Mazda’s warning about driving with damaged seats applies. For cosmetic cover options, see upholstery patches and car upholstery repair.
5. Malfunctioning Seat Adjusters (Manual and Electric)
Start with the checks the owner’s manuals support. Clear anything from under and around the seat, since Mazda says objects can stop a seat locking securely and Kia says items under the front seats can interfere with sensing components and wiring harnesses. Then slide the seat and rock the seatback to confirm it locks, as Mazda describes.
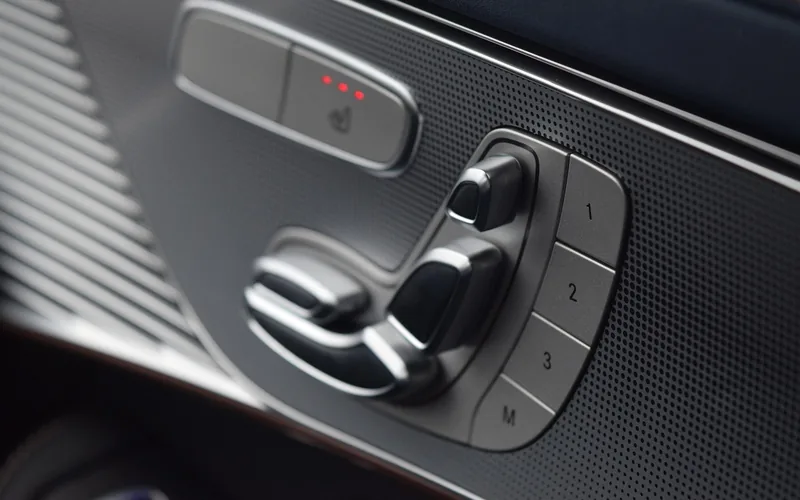
We found no primary page telling owners to lubricate or dismantle seat tracks, so check your own manual before spraying anything. For a power seat that will not move, read our electric seat guide; to gain legroom safely, see how to move a seat back. Seat heaters sit in the same wiring area, so a dead heater is a professional job (see heated seat safety for background).
Essential Tools for Car Seat Repair
| Repair | What the kit or listing includes | Not included |
|---|---|---|
| Cloth tear (Permatex 25247) | 7 assorted fabric compound colors, 2 cups air-dry adhesive, screen applicator, spatula, mixing container, instruction card with color chart | Household cleaner, cotton, scissors, hairspray |
| Vinyl or leather (Permatex data sheet) | Colored resin compounds, adhesive curing compound and filler, heat transfer tool, grain paper, backing fabric, practice vinyl | Household cleaner, razor or knife, tape |
| Hand sewing (hero listing) | 25 needles, 12 thread rolls of 50 m, 3 awls, 2 seam rippers, scissors, thimble, storage bag | Filler, color compound, backing fabric |
How Much Does It Cost to Fix a Car Seat?
We found no maker or government page giving seat repair prices, so we quote none. A kit costs what its listing shows at checkout; anything needing seat removal goes through a dealer, so ask for a written estimate.
Common Mistakes to Avoid
| Mistake | Why it matters (source) | Do this instead |
|---|---|---|
| Unbolting or re-covering an airbag-equipped seat | Mazda says replacing upholstery or loosening bolts is dangerous because seats contain air bag components | Use the dealer; patch only in place |
| Skipping the practice patch | Permatex says to make a practice repair on the included vinyl sample first | Practice first |
| Overfilling a vinyl repair | Permatex says to use less compound, not more, since more is easy to add later | Thin layers |
| Putting items under the front seats | Kia says it can interfere with sensing components and wiring harnesses | Keep the floor clear |
When to Call a Professional
- Foam is showing or the cover is torn through, per Mazda’s damaged seat warning.
- The seat is loose, will not lock, or wobbles: do not touch the bolts.
- Any seat-related warning light, or any crash involving that seat: dealer inspection of seats, pretensioners and air bags.
- A dead power seat or heater with no loose item on the floor: wiring.
Child restraints are a separate case. This guide gives no repair steps for them. NHTSA says to follow the car seat maker’s instructions and to register your seat for recall notices; see our car seat installation guide.
Frequently Asked Questions (FAQ)
How much does it typically cost to fix a car seat?
We could not verify shop prices from a maker or government page, so we do not quote one. For a kit repair, the price shown on the Amazon listing at checkout is the figure that counts; for anything involving seat removal, ask a dealer for a written estimate.
Can I use household glue to fix a tear in my car seat?
The maker instructions we read use purpose-made products: Permatex’s fabric kit uses an air-dry fabric adhesive with a backing fabric, and its vinyl and leather kit uses a clear vinyl adhesive and filler. We found no maker page recommending household glue, so use the kit adhesive.
My car seat feels loose. What could be the problem?
Do not tighten or loosen the bolts yourself. Mazda says loosening seat bolts is dangerous because seats contain air bag components, and Kia and Mazda both warn that objects under the seat can interfere with locking or sensing parts. Clear the floor, check the lock by rocking the seat, then check recalls and see a dealer.
Can I fix a child car seat myself?
This page does not cover child restraints. NHTSA says to follow the car seat maker’s instructions and to register the seat so you receive recall notices. Contact the maker or a car seat inspection station instead of improvising a repair.
Conclusion
Surface repairs to a seat cover are within reach with a kit and patience. Anything inside the seat, near its bolts or around its wiring belongs to a dealer, because the owner manuals we read tie seats to the air bag system. When in doubt, check recalls and ask for an inspection.
Products related to this article
Sponsored / affiliate links. As an Amazon Associate I earn from qualifying purchases. I may earn additional commission from eligible campaigns.