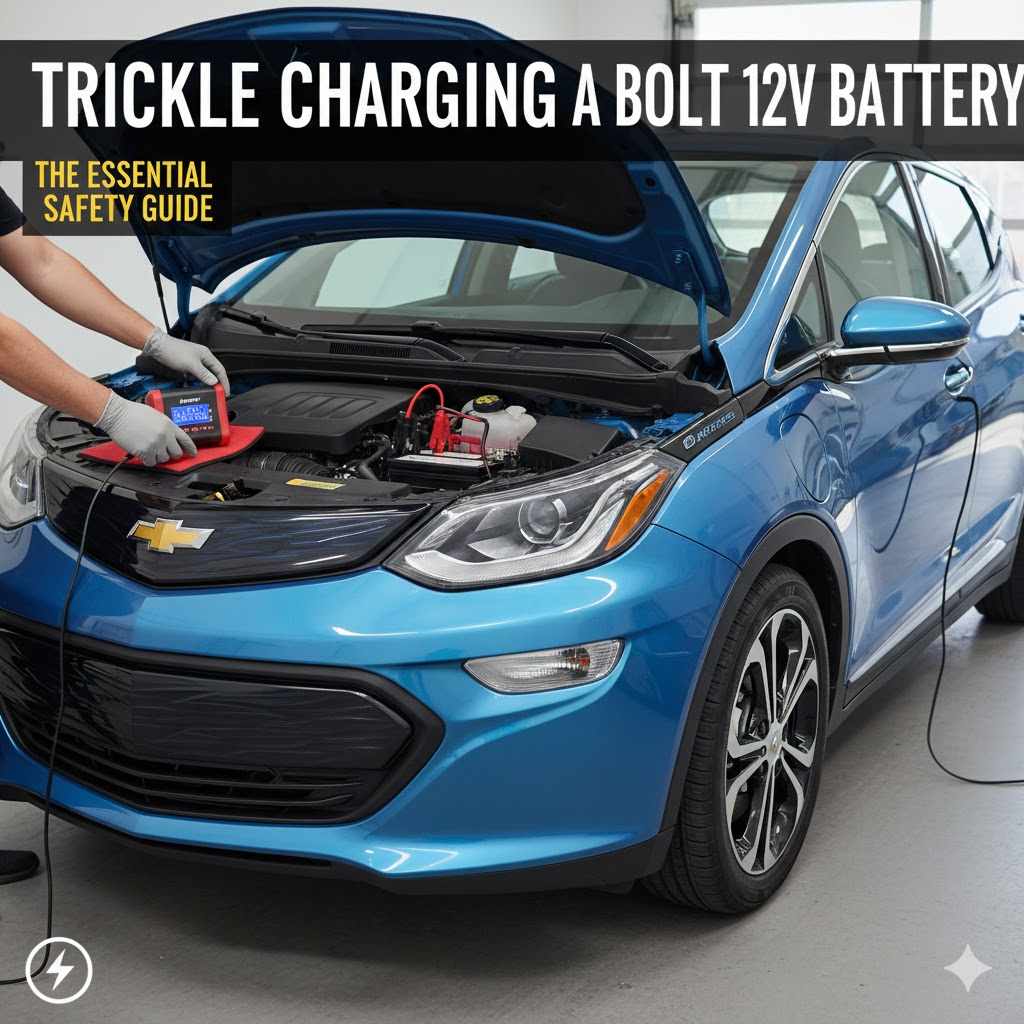
Trickle Charging a Bolt 12V: The Essential Safety Guide
Yes, you can safely trickle charge your Bolt’s 12V battery while it is connected to the car. Use a modern “smart” trickle charger compatible with AGM batteries. For maximum safety, connect the positive (red) clamp to the positive battery terminal and the negative (black) clamp to a designated ground point on the car’s frame, not directly to the battery’s negative terminal.
You hop in your Chevy Bolt, ready to go. You press the start button, and… nothing. The big, high-voltage battery shows plenty of charge, but your car is completely dead. What gives? This is a frustrating moment many Bolt owners face, and the culprit is often the small 12-volt battery.
Don’t worry, this is a common issue with a very simple solution. You don’t need to call a tow truck or spend a lot of money at the dealership. With a small tool called a trickle charger, you can bring that 12V battery back to life safely and easily, right in your own garage.
I’m Md Meraj, and my goal is to make car care simple for everyone. In this guide, I’ll walk you through every step of trickle charging your Bolt’s 12V battery. We’ll cover why it’s important, how to do it safely, and answer all your questions along the way. Let’s get you back on the road with confidence!
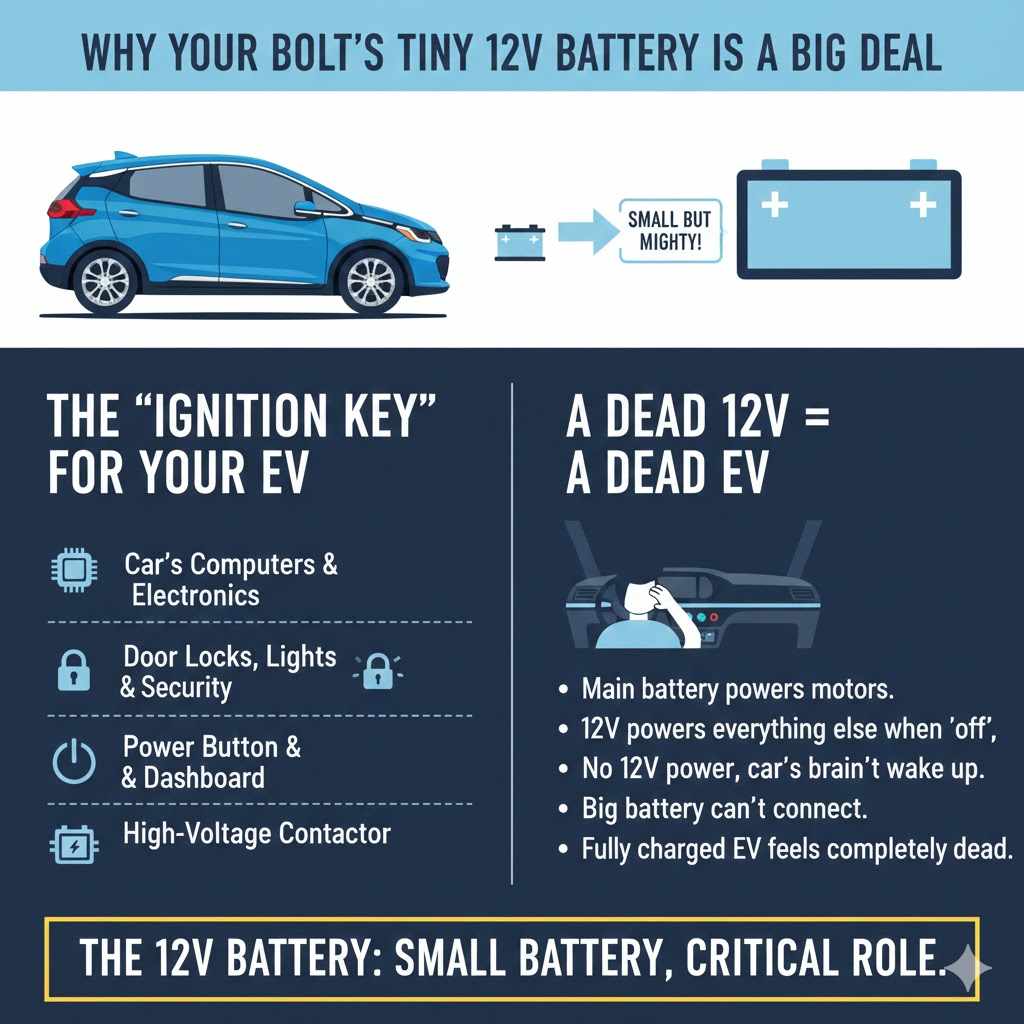
Why Your Bolt’s Tiny 12V Battery is a Big Deal
It might seem strange that an advanced electric car relies on a traditional 12V battery, just like a gas-powered one. But this little battery plays a huge role. It’s the “ignition key” for your entire car.
The main high-voltage battery pack powers the motors that turn the wheels. The small 12V battery, on the other hand, powers everything else when the car is “off,” including:
- The car’s computers and onboard electronics.
- The door locks, interior lights, and security system.
- The power button and the dashboard display.
- Most importantly, it powers the contactors that connect the main high-voltage battery to the rest of the car.
In short, if your 12V battery is dead, the car’s brain can’t wake up to tell the big battery to get to work. That’s why a fully charged EV can feel completely dead. The 12V battery is small but mighty!
What is a Trickle Charger? (And Why It’s Your Battery’s Best Friend)
A trickle charger is a type of smart battery charger that delivers a very low, slow, and steady stream of power to your battery. Think of it like a dripping faucet slowly filling a bucket, rather than a fire hose blasting it full.
This slow-and-steady approach is much healthier for modern batteries. It prevents overcharging, which can damage the battery and shorten its life. A good trickle charger is also a “battery maintainer.” This means it’s smart enough to stop charging when the battery is full and only turn back on when it senses the voltage has dropped a little. This makes it perfect for long-term storage or for cars that aren’t driven every day.
Trickle Charger vs. Regular Charger: What’s the Difference?
It’s important to know the difference between chargers. Using the wrong one can do more harm than good. Here’s a simple breakdown:
| Charger Type | How It Works | Best For | Safety for a Bolt |
|---|---|---|---|
| Trickle Charger / Maintainer | Delivers a low, slow charge (usually 0.5 to 2 amps). Smart models turn off when the battery is full. | Maintaining battery health, long-term storage, and safely recharging a dead battery. | Excellent. This is the recommended tool for the job. |
| Standard Battery Charger | Delivers a higher current (5 to 15 amps) to charge faster. Older models may not shut off automatically. | Charging larger batteries or when speed is needed. | Use with caution. Can overcharge and damage the AGM battery if not monitored. |
| Jump Starter / Booster Pack | Provides a large burst of power to start the car immediately. It does not charge the battery. | Emergency situations to get the car started. | Good for emergencies only. It’s a temporary fix, not a solution for a weak battery. |
How to Know When Your Bolt’s 12V Battery Needs Help
Your car will often give you clues that the 12V battery is getting weak. Paying attention to these signs can help you prevent getting stranded. You might need a trickle charger if:
- Your car sits for long periods. If you’re going on vacation or don’t drive your Bolt for more than a week, the 12V battery can slowly drain.
- You take many short trips. Short drives don’t give the car enough time to fully top off the 12V battery.
- You see a “Service Battery Charging System” warning. This message on your dash is a clear signal to check the 12V system.
- Electronics act strange. If your interior lights seem dim, the power locks are slow, or the infotainment system is glitchy, a weak 12V battery could be the cause.
- The car is completely unresponsive. This is the most obvious sign that your 12V battery is dead.
Choosing the Right Trickle Charger for Your Bolt
Not all trickle chargers are created equal. Your Chevy Bolt uses a specific type of battery called an AGM (Absorbent Glass Mat) battery. These are more advanced than old-school lead-acid batteries and require a compatible charger.
What to Look For:
- A “Smart” Charger: This is the most important feature. A smart charger (also called a microprocessor-controlled charger) analyzes the battery and adjusts the charging process automatically. It prevents overcharging and can switch to a “maintenance” or “float” mode to keep the battery ready for months.
- AGM Compatibility: Look for a charger that specifically lists an “AGM” setting. This ensures the charging voltage is correct for your battery type.
- Low Amperage: For maintaining and slowly charging, a charger with 1 to 4 amps is perfect. Higher amperage isn’t necessary and can be harder on the battery.
- Safety Features: Good chargers have built-in protection against sparks, reverse polarity (hooking it up backward), and short circuits.
Brands like NOCO, Battery Tender, and CTEK are well-regarded and make excellent smart chargers that are perfect for a Chevy Bolt.
Safety First! Your Pre-Charging Checklist
Working with car batteries is very safe if you follow a few simple rules. Your safety is the top priority. Before you connect anything, run through this quick checklist.
- Read the Manuals: Take a few minutes to read the instructions for both your trickle charger and the battery section of your Chevy Bolt owner’s manual.
- Work in a Ventilated Area: A garage with the door open or a carport is ideal. While AGM batteries are sealed, it’s always best practice to have good airflow when charging any battery.
- Gear Up: Wear safety glasses to protect your eyes and gloves to keep your hands clean.
- Inspect the Battery: Look at the 12V battery. Do you see any cracks, leaks, or bulging on the case? If so, stop. The battery may be damaged and should be replaced.
- Charger Off: Make sure the trickle charger is unplugged from the wall outlet before you connect or disconnect the clamps.
- No Sparks: Keep flames, cigarettes, and anything that could create a spark far away from the battery. For more information on battery safety, you can review guidelines from the Occupational Safety and Health Administration (OSHA).
Step-by-Step: How to Safely Trickle Charge Your Bolt’s 12V Battery
Alright, you’ve done your safety check and have the right charger. Let’s get this done! I’ll break it down into simple, easy-to-follow steps. Don’t rush—just follow along.
Step 1: Park the Car and Open the Hood
Park your Bolt on a flat, level surface and engage the parking brake. Make sure the car is turned completely off. Pull the hood release lever, which is usually located on the driver’s side, near your left knee. Then, go to the front of the car, find the secondary latch under the hood, and lift it open. Prop the hood up securely.
Step 2: Locate the 12V Battery
The 12V battery is located in the engine bay. As you face the car, it will typically be on the right side, under a plastic cover. You may need to lift or unclip this cover to get access to the battery terminals.
Step 3: Identify the Positive (+) and Negative (-) Terminals
This is a critical step. Look closely at the battery. You will see two posts where the wires connect.
- The Positive (+) terminal is almost always marked with a plus sign and often has a red plastic cover.
- The Negative (-) terminal is marked with a minus sign and is connected to a black cable.
Step 4: Locate a Chassis Ground Point
For modern cars like the Bolt, it is safest to connect the negative charger clamp to a chassis ground, not the negative battery terminal itself. A chassis ground is a solid, unpainted metal part of the car’s frame or engine block. Look for a sturdy bolt or a metal bracket away from the battery. This helps protect the car’s sensitive electronics.
Step 5: Connect the Trickle Charger (The Right Way!)
Remember this simple rule: connect before you plug in, and unplug before you disconnect.
- Make sure the charger is unplugged from the wall.
- Connect the POSITIVE (RED) clamp to the POSITIVE (+) battery terminal. Make sure it has a solid, secure connection.
- Connect the NEGATIVE (BLACK) clamp to the CHASSIS GROUND POINT you found in the previous step. Clamp it firmly to a bare metal bolt or bracket.
- Double-check that your clamps are secure and not touching each other or any other metal parts.
Step 6: Plug In and Power On the Charger
Now, you can plug the trickle charger into a standard wall outlet. Turn the charger on if it has a power switch. Most smart chargers will automatically start analyzing the battery. You may see indicator lights flash as it determines the battery’s condition.
Step 7: Select the Correct Charging Mode
If your charger has different modes, select the one that is appropriate for your battery. This will usually be a “12V AGM” or a similar setting. If your charger is fully automatic, it may select the correct mode for you.
Step 8: Let It Charge
Be patient. Trickle charging is a slow process by design. It can take anywhere from a few hours to a full day to completely charge a depleted battery. The great thing about a smart charger is that you don’t have to watch it. It will charge the battery to 100% and then automatically switch to maintenance mode to keep it topped off.
Step 9: Disconnect Safely (The Reverse Order)
Once the charger indicates the battery is full, it’s time to disconnect. Always disconnect in the reverse order of how you connected.
- Unplug the charger from the wall outlet FIRST. This is the most important step to prevent sparks.
- Disconnect the NEGATIVE (BLACK) clamp from the chassis ground.
- Disconnect the POSITIVE (RED) clamp from the positive battery terminal.
That’s it! You can now close the hood and start your car. Your 12V battery should be healthy and ready to go.
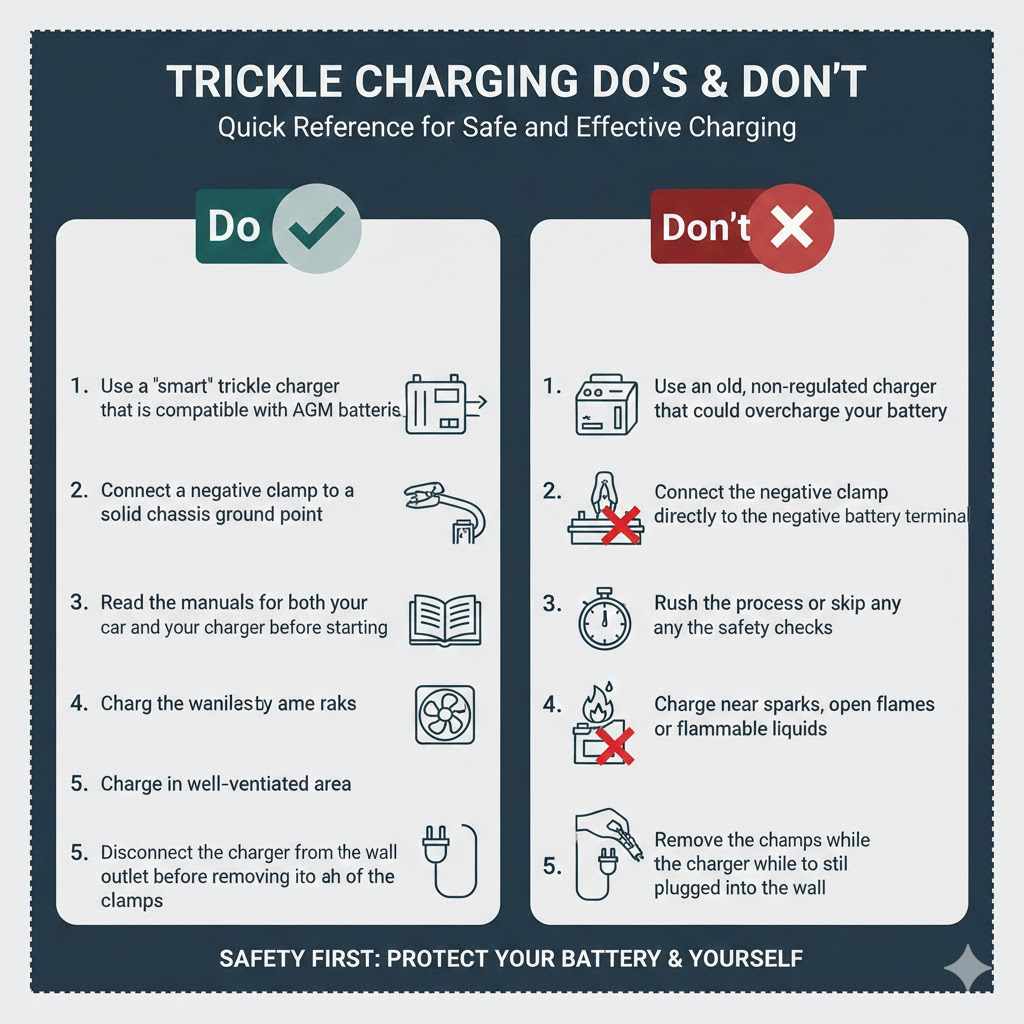
Trickle Charging Do’s and Don’ts
Here’s a quick reference table to help you remember the key points for safe and effective charging.
| Do ✅ | Don’t ❌ |
|---|---|
| Use a “smart” trickle charger that is compatible with AGM batteries. | Use an old, non-regulated charger that could overcharge your battery. |
| Connect the negative clamp to a solid chassis ground point. | Connect the negative clamp directly to the negative battery terminal. |
| Read the manuals for both your car and your charger before starting. | Rush the process or skip any of the safety checks. |
| Charge in a well-ventilated area. | Charge near sparks, open flames, or flammable liquids. |
| Disconnect the charger from the wall outlet before removing the clamps. | Remove the clamps while the charger is still plugged into the wall. |
Frequently Asked Questions (FAQ)
1. How long does it take to trickle charge a Bolt’s 12V battery?
It depends on how depleted the battery is. If it’s just a little low, it might only take 4-8 hours. If it’s completely dead, it could take 12-24 hours or more. The smart charger will tell you when it’s done.
2. Can I use any trickle charger on my Chevy Bolt?
No. It’s very important to use a smart charger that is specifically compatible with AGM batteries. Using the wrong type of charger can damage the battery.
3. Will trickle charging my 12V battery also charge the main high-voltage EV battery?
No, they are two completely separate systems. The trickle charger only works on the small 12V battery that powers the car’s accessories and computers.
4. Is it bad to leave a trickle charger on all the time?
If you have a modern “smart” charger or battery maintainer, it is perfectly safe to leave it connected for weeks or even months. These devices are designed for long-term maintenance and will not overcharge your battery.
5. What happens if I connect the clamps backward?
Most modern smart chargers have reverse-polarity protection. If you connect them backward, the charger will usually display an error light and will not send any power, preventing damage. However, it’s always best to double-check your connections to avoid any risk of sparks or damage to the charger or your car.
6. Why can’t I just jump-start the car instead?
A jump-start is a great emergency fix to get your car started, but it doesn’t solve the underlying problem of a weak battery. A jump-start only provides enough power to start the car once. If the 12V battery is weak, it will likely be dead again the next time you try to start it. Trickle charging properly recharges and restores the battery’s health.
You’ve Got This!
Taking care of your Bolt’s 12V battery might seem intimidating at first, but as you’ve seen, it’s a straightforward and safe process. By using a smart trickle charger and following these simple steps, you can save yourself time, money, and the headache of being stranded.
Learning these basic maintenance skills builds confidence and puts you in control of your vehicle’s health. You don’t have to be a master mechanic to handle a task like this. Just by reading this guide, you’ve already taken the most important step. Now you have the knowledge to keep your Chevy Bolt reliable and ready for the road. Happy driving!