Weather Seals for Car Doors: Types and Installation Guide
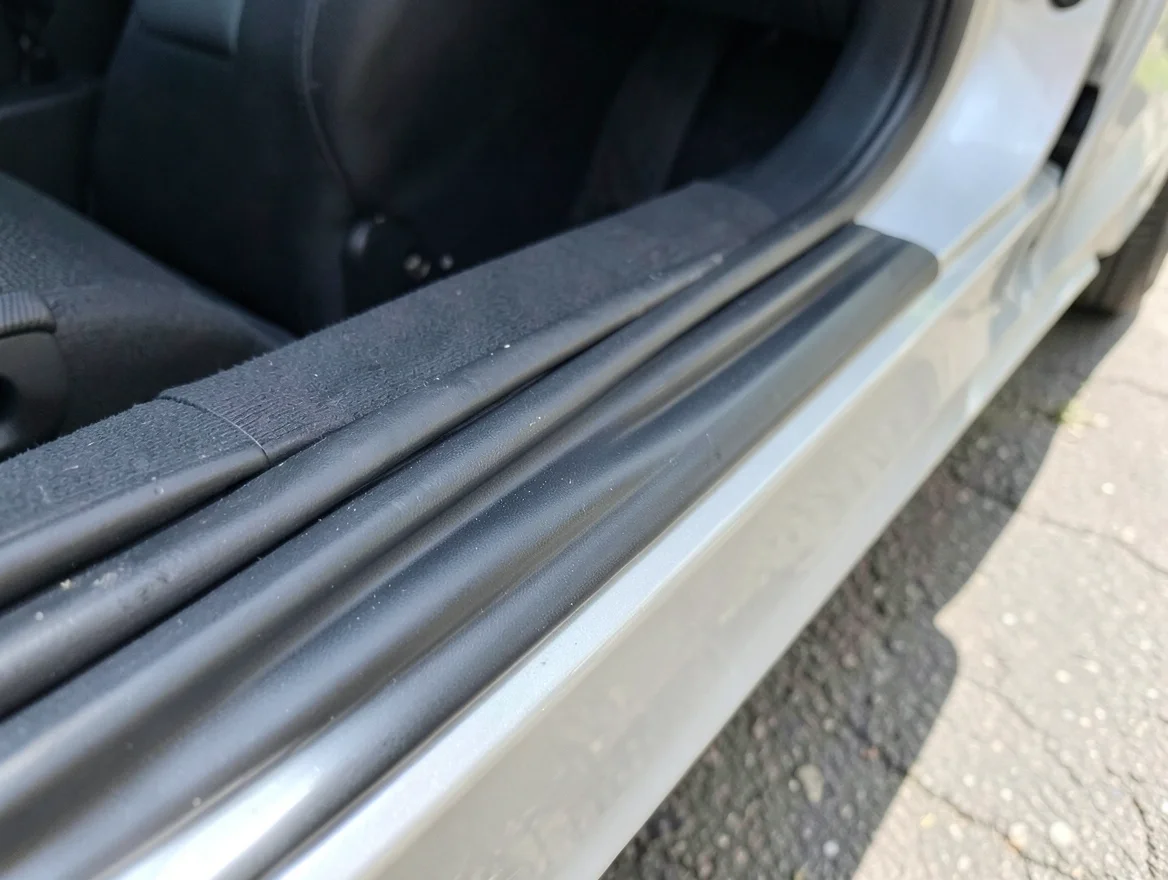
Weather seals for car doors are the rubber strips that run along the door frame and body opening, closing the gap between the door and the car. They block wind noise, rain, and dust from getting into the cabin, and a worn or missing seal is one of the most common, and cheapest to fix, causes of a car that suddenly feels drafty, noisy, or damp on the floor mats.
This guide covers what these seals are made of, the different types you will run into, the warning signs that yours need replacing, and how to install a new one yourself.
What Are Car Door Weather Seals?
BUDGET-FRIENDLY PICK
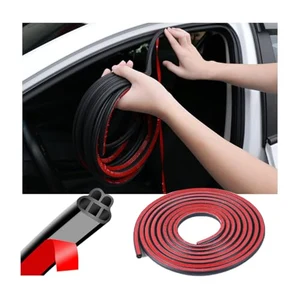 |
Mandark 32.8 Ft 5-Hole Car Door Seal Strip – $8.99 A self-adhesive dual-layer rubber strip that covers the type of universal door-edge weatherstripping this guide walks you through installing.
|
A car door weather seal is a flexible rubber strip fitted around the door opening, or along the edge of the door itself, so that when the door closes the seal compresses and fills the gap between the door and the body. That compressed seal is what keeps rain, dust, and wind noise from getting past the door and into the cabin.
Factory seals are molded specifically for each vehicle and are usually held in place with clips or a retainer channel that snaps into a groove pressed into the body. Aftermarket replacement strips, like the universal seals covered later in this guide, use a self-adhesive backing instead, which is why they are the easier DIY option when a factory seal has hardened, cracked, or come loose.
What Are Car Door Seals Made Of? EPDM Rubber vs. PVC Trim
Most automotive door seals are made from EPDM rubber (ethylene propylene diene monomer), a synthetic rubber prized for resisting heat, UV light, and ozone without going brittle the way cheaper rubber compounds do over a few years of sun exposure. On many seals, the soft EPDM sponge bulb, the part that actually compresses against the door, is bonded to a firmer PVC or rubber trim section that clips onto the metal body flange and holds the whole strip in shape.
That two-material design is sometimes called a dual-durometer seal: a soft, flexible bulb for sealing paired with a stiffer retainer section for a secure fit. It is worth knowing this distinction because it explains why a cheap universal strip that is all one soft rubber can feel mushy or come loose over time, while a proper bulb-and-trim seal holds its shape for years.
Types of Car Door Weather Seals
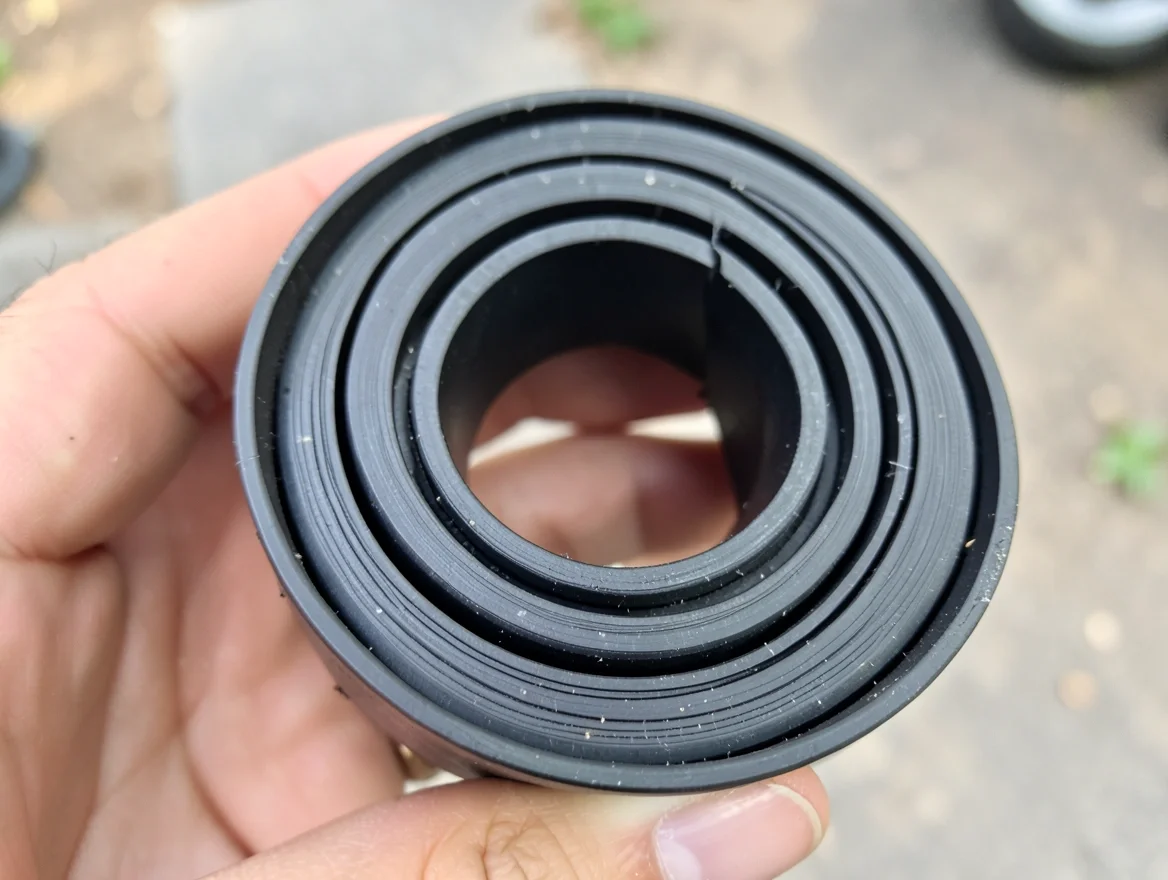
Not every door seal looks or installs the same way. Here is how the main types compare:
| Seal Type | Where It is Used | How It Installs | Typical Price |
|---|---|---|---|
| Bulb / tubular EPDM seal | Main perimeter seal around the door opening | Factory clip-in channel or press-fit onto a body flange | $10–$40 per door (OEM-style aftermarket) |
| D-shape or trapezoid seal | Trunk lids, hoods, and some door edges | Adhesive-backed or channel-mounted | $10–$30 |
| Flat self-adhesive trim strip | Universal retrofit for doors, trunks, hoods | Peel-and-stick along a cleaned edge | $9–$27 for 30–50+ ft rolls |
| Foam sponge tape | Secondary gap-filler behind the main seal | Peel-and-stick, cut to length | $6–$15 |
Universal self-adhesive strips, the kind reviewed in the product box above, are the most common DIY option because they do not require matching an exact OEM part number. The tradeoff is that they need to be trimmed and test-fit by hand, so they will never seat quite as precisely as a factory-molded seal.
Signs Your Car Door Seals Need Replacing
- A whistling or rushing noise at highway speed that was not there before, a sign air is bypassing a flattened or torn section of seal.
- Wet floor mats or water spots inside the door after rain or a car wash, even with the windows fully up.
- Visible cracking, hardening, or a flattened bulb where the rubber no longer springs back after you press it with a finger.
- The door feels harder to close or does not make a solid, cushioned thunk, sometimes a sign the seal has come loose from its channel rather than actually worn out.
- Noticeably more cabin noise or a draft around the door edge, especially in cold weather when hardened rubber loses what little flexibility it has left.
If you are only hearing a whistle from one specific spot rather than the whole door, it is worth checking that section closely first. Sometimes a seal has simply popped out of its channel in one place and can be pressed back in without buying a replacement at all.
How to Install a Replacement Car Door Weather Seal
- Clean the door frame or edge thoroughly. Wash away dirt and old adhesive residue with soap and water, then wipe the surface with isopropyl alcohol and let it dry completely. Any leftover wax, oil, or moisture will keep the new adhesive from bonding.
- Measure and cut the strip to length. Measure the full perimeter of the door opening or edge you are sealing and cut with a couple of extra inches of margin, since it is easier to trim off excess than to come up short.
- Dry-fit the seal before peeling any backing. Lay the strip along the edge to confirm the profile actually seats against the gap and the door still closes normally with it in place.
- Peel back a few inches of the adhesive backing and start at one corner or the bottom of the door, pressing the strip firmly into place as you slowly peel and work your way around.
- Press firmly along the entire length once it is positioned, paying extra attention to corners, where strips are most likely to lift over time.
- Let the adhesive cure before slamming the door. Close the door gently for the first 24 hours so the seal has time to bond fully before it takes repeated impact.
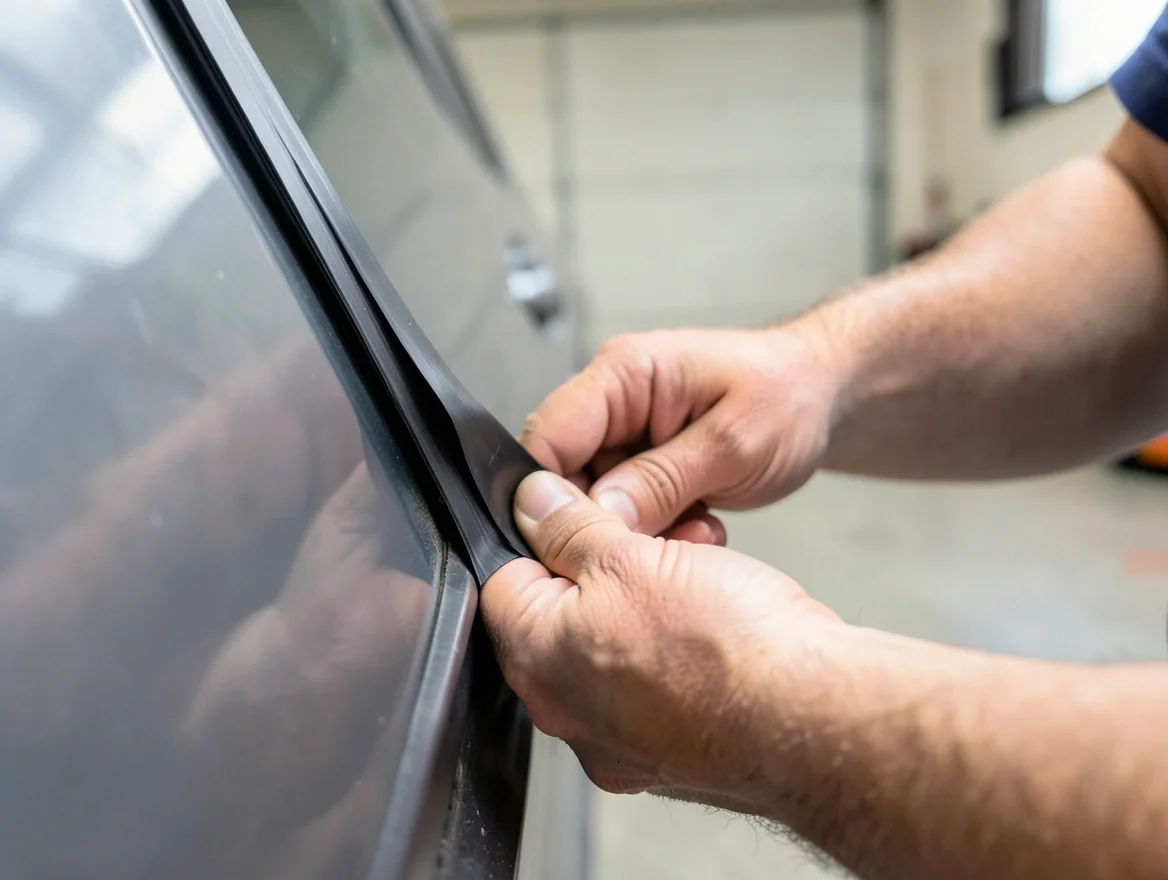
If your car uses a factory seal that clips into a molded channel rather than a self-adhesive strip, the process is different: the old seal typically pulls out of the channel by hand or with a trim tool, and the new OEM-style seal presses back into that same groove instead of being glued down.
How Much Does It Cost to Replace Car Door Seals?
| Option | Typical Cost |
|---|---|
| Universal self-adhesive strip (DIY, per roll) | $9–$27 |
| OEM-style molded replacement seal (parts only, per door) | $30–$150+ |
| Professional installation labor (per door) | $50–$150 |
A universal adhesive strip is by far the cheapest fix and works well for noise and minor water intrusion. If a door has a torn or missing OEM channel seal, or the metal flange it clips onto is damaged, an exact-fit factory-style seal is worth the extra cost since it will seal and last closer to the original.
Door Seals vs. Window Channel Seals vs. Door Edge Guards
It is easy to mix these three up since they are all rubber trim on the same door. The weather seals covered in this guide run around the door opening or door edge and are the main barrier against noise and water getting into the cabin. Window channel seals are a separate part that runs around the glass itself, and problems there usually show up as a leaking or rattling window rather than a leaking door, so if that is what you are dealing with, our guide on how to replace car window seals covers that job specifically. Door edge guards, by contrast, are a cosmetic add-on that protects paint from door dings in parking lots; they are not a weatherproofing part, and we cover those separately in our guide to durable car door edge guards.
Frequently Asked Questions
What Are Weather Seals for Car Doors?
Weather seals for car doors are rubber strips fitted around the door opening or door edge that close the gap between the door and the body when it shuts. They block rain, dust, and wind noise, and help the cabin hold its temperature. Most are made of EPDM rubber, and aftermarket replacements are usually self-adhesive for easy installation.
How Do I Install Car Door Seal Strips?
Clean the door frame or edge and let it dry fully, then measure and cut the strip to length with a little extra margin. Dry-fit it first, then peel back the adhesive backing a section at a time and press the strip firmly into place, working around the entire edge. Avoid slamming the door for about 24 hours while the adhesive fully bonds.
Why Choose Rubber Weather Stripping for Cars?
Rubber, particularly EPDM rubber, stays flexible and resists UV, ozone, and temperature swings far better than cheaper plastics, so it keeps sealing tightly for years instead of hardening and cracking after one summer. That flexibility is what lets it compress against the door and hold a consistent seal against noise, water, and drafts.
Are Car Door Seals Universal?
Aftermarket self-adhesive strips are sold as universal and can be trimmed to fit most cars, trucks, SUVs, and RVs, which makes them a convenient DIY option. Factory seals, on the other hand, are molded to an exact vehicle and are not interchangeable between models, so a genuine OEM-style replacement needs to match your specific car.
Can Weather Seals Reduce Car Noise?
Yes. A properly seated seal blocks the gap where wind noise and road noise would otherwise leak into the cabin. Replacing a flattened, cracked, or missing seal is one of the cheapest ways to noticeably quiet down a car, especially at highway speed where wind noise is most noticeable.
How Much Does It Cost to Replace Car Door Seals?
A universal self-adhesive strip typically runs $9 to $27 per roll, enough for a full door or more. An OEM-style molded seal costs more, generally $30 to $150 or higher per door for parts alone, and professional installation adds roughly $50 to $150 per door if you would rather not do it yourself.
Conclusion
A worn or missing door seal is a small, inexpensive part that has an outsized effect on how quiet and dry your car feels. If you are hearing wind noise, finding damp spots after rain, or can see hardened and cracked rubber around the door, a universal self-adhesive strip is a quick weekend fix, and an exact-fit OEM-style seal is worth the extra cost if the factory channel or clips are damaged. Either way, a properly sealed door is one of the simplest upgrades you can make to everyday comfort behind the wheel.
Products related to this article
Sponsored / affiliate links. As an Amazon Associate I earn from qualifying purchases. I may earn additional commission from eligible campaigns.