Do Cars Come With Jumper Cables? Essential Guide
Do cars come with jumper cables universally? No, most new cars do not include jumper cables as standard equipment. While convenient, they are typically sold separately or are a dealership add-on. Knowing where to store them and how to use them is key for every driver.
Few moments cause more stress on the road than hearing that dreaded silence after turning the key: a dead battery. It’s a common issue that happens to everyone, often at the worst possible time. You might assume your new car came prepared for this situation, but the reality about standard equipment can be surprising. Don’t worry! This guide cuts through the confusion. We will clearly explain whether your car should have jumper cables, where you might find them, and most importantly, how to safely use them when you need a jump start. Getting prepared is easier than you think.
Do Cars Come With Jumper Cables? The Straight Answer
As a trusted automotive guide, I want to give you the clearest answer right away: generally, no, the average new car sold today does not automatically include a set of jumper cables in the trunk or toolbox from the factory.
This is often a confusing point for new drivers. Manufacturers focus on the mechanical essentials, and accessories like heavy-duty cables are usually considered optional extras. However, this doesn’t mean you shouldn’t have them. Proper preparation is a cornerstone of confident driving.
Why Manufacturers Skip Including Cables
Why skip such a crucial safety item? The reasons are usually related to cost, space, and driver expectation:
- Cost Savings: Every small item added to the assembly line adds to the vehicle’s final price. Manufacturers aim to keep base prices competitive.
- Under-Hood Clutter: Many modern engine bays are packed tightly. Manufacturers prefer to keep the area clean, leaving specialized tools to the owner.
- The Rise of Jump Starters: Many drivers now opt for portable lithium-ion jump starter packs instead of traditional cables, which can be confusing to use.
When You Might Find Cables (The Exceptions)
While rare, there are a few scenarios where you might find cables included:
- Dealership Promotions: Sometimes, the dealership will throw in a cheap set of cables as a “thank you” or to cover a gap in the new car package. Always check the glove box or trunk area upon purchase.
- Truck/Heavy-Duty Packages: Larger trucks, especially those designed for towing or off-roading, might include heavy-gauge cables as part of a “work-ready” package.
- Older Vehicles: Vehicles built before the late 1990s often included a basic toolkit, which sometimes contained thinner jumper cables.
Buying the Right Jumper Cables: Quality Matters
Since you likely need to purchase your own set, the next crucial step is choosing the right pair. Not all cables are created equal. Using cheap, thin cables can lead to slow charging or, worse, damage to your modern vehicle’s sensitive electronics. Think of jumper cables as an electrical lifeline!
Understanding Cable Gauge (Thickness)
The most important specification for jumper cables is the gauge (AWG). This number indicates the thickness of the copper wire inside the insulation. Remember this simple rule:
Lower Gauge Number = Thicker Wire = Better Conductivity = Faster Jump.
For everyday passenger cars, SUVs, and small trucks, you need cables that can handle the starting current without overheating. Here is a quick guide to choosing the correct gauge:
| Recommended Gauge | Best For | Length (Feet) | Why This Gauge? |
|---|---|---|---|
| 8 Gauge (Thick) | Large Trucks, Diesel Engines, Older Cars | 10–20 Feet | Handles very high initial current draw safely. |
| 10 Gauge (Medium) | Standard Sedans, Small SUVs, 4-Cylinder Engines | 12–16 Feet | Offers excellent balance between portability and power. (The sweet spot for most drivers.) |
| 12 Gauge (Thin) | Small Economy Cars Only (Use with Caution) | Up to 10 Feet | Can overheat on high-demand vehicles; fine for minor boosts. |
Essential Cable Features to Look For
When shopping, ensure your cables have these protective features:
- Heavy-Duty Clamps: The clamps should be robust, ideally with copper-plated jaws for excellent metal-to-metal contact. Avoid plastic clamps if possible.
- Insulation Quality: Look for cables made from durable, cold-resistant PVC or rubber insulation. This prevents cracking in winter weather, which is when you often need them most.
- Proper Length: Aim for at least 12 to 16 feet. This length gives you the flexibility to park two cars safely apart without struggling to reach both batteries.
Pro Tip for Modern Cars: Have a look at reliable resources on battery maintenance, such as guides provided by organizations like AAA, which stress the importance of using quality materials for electrical connections.
Where to Store Your Jumper Cables
It does no good to own excellent jumper cables if you can’t find them in an emergency. Proper storage ensures safety and accessibility.
Optimal Storage Locations
The goal is to keep them contained, dry, and away from anything sharp or extremely hot.
- The Trunk Well: Most vehicles have a shallow well under the main trunk floor, usually where the spare tire is stored. This is the ideal spot as it is dry and out of the way.
- Dedicated Bag: Always keep your cables coiled neatly inside the strong storage bag they came in. This prevents them from tangling with other items in your trunk (like tools or groceries).
- Avoid the Cabin (If Possible): Do not store them under a passenger seat or loose in the back seat. In the event of a sudden stop, loose heavy cables can become dangerous projectiles.
When to Choose a Portable Jump Starter Instead
For the ultimate convenience and safety, many drivers prefer a portable lithium jump starter pack. These are compact, self-contained units that do not require a second running car. They are an excellent alternative, especially for drivers who often travel alone.
Jump Starter Pros vs. Cables Cons:
- Safety: Less confusing connection process; reduced chance of accidental short-circuiting against engine components.
- Convenience: Requires no helper car. You can use it yourself, anytime, anywhere.
- Maintenance: Must be recharged periodically, unlike cables which require no power.
Step-by-Step Guide: How to Safely Jump Start a Car
This is where confidence comes in. Following these steps precisely ensures a safe and successful jump start. Remember, we are aiming for a safe connection between two batteries using the cables.
Preparation Checklist (Safety First!)
Before you even touch the clamps, check these critical safety points:
- Check for Damage: Inspect both cars. Ensure neither battery is leaking, cracked, or frozen (a cracked or leaking battery should never be jumped).
- Position Vehicles: Park the “good” car (the donor vehicle) close enough so the cables can reach both batteries comfortably, but ensure the cars are NOT touching metal-to-metal. Turn off both vehicles.
- Engage Brakes: Put both cars in Park (automatic) or Neutral (manual) and set the parking brakes firmly.
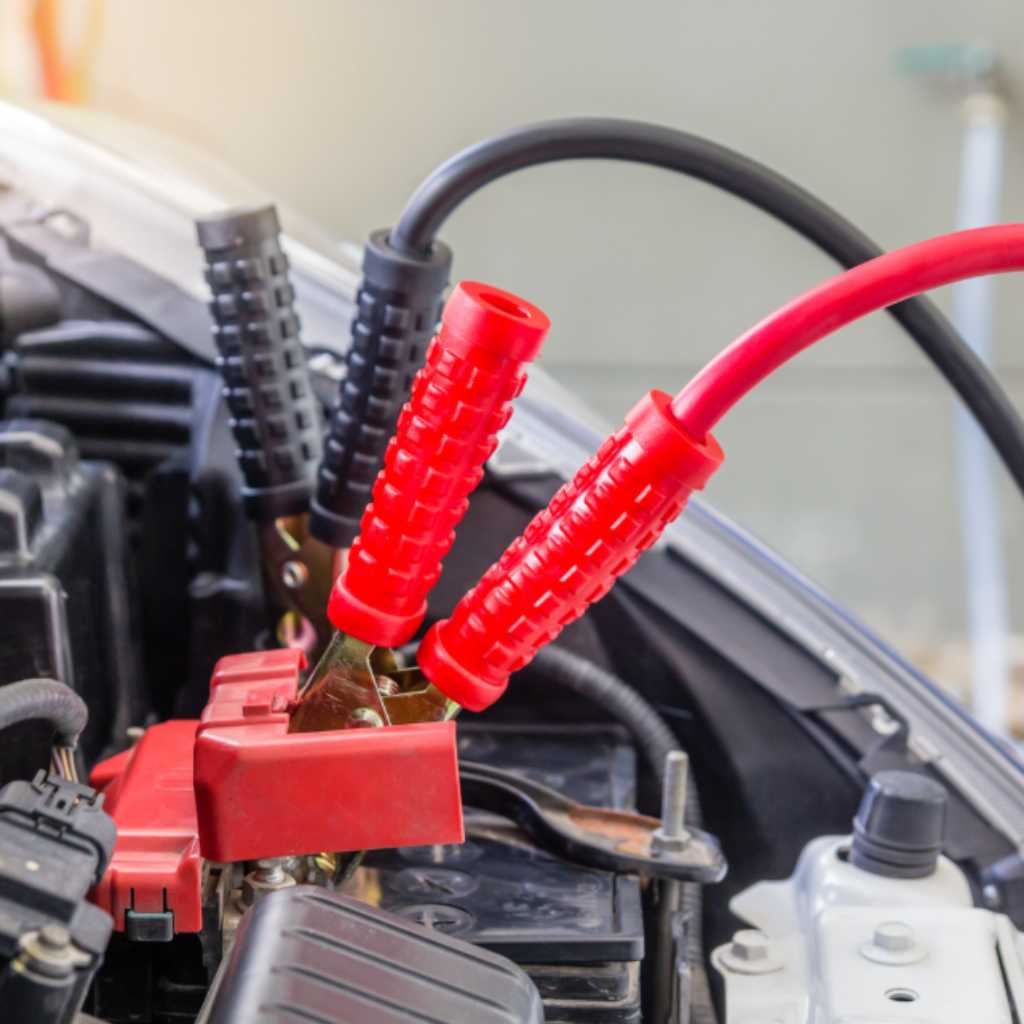
- Locate Terminals: Identify the positive (+) terminal (usually marked with a red cap or a plus sign) and the negative (-) terminal (usually marked black or a minus sign) on both batteries.
The Six Steps to Connecting and Starting
Memorize this sequence! Getting the order wrong is the primary cause of dangerous sparks or electronic damage.
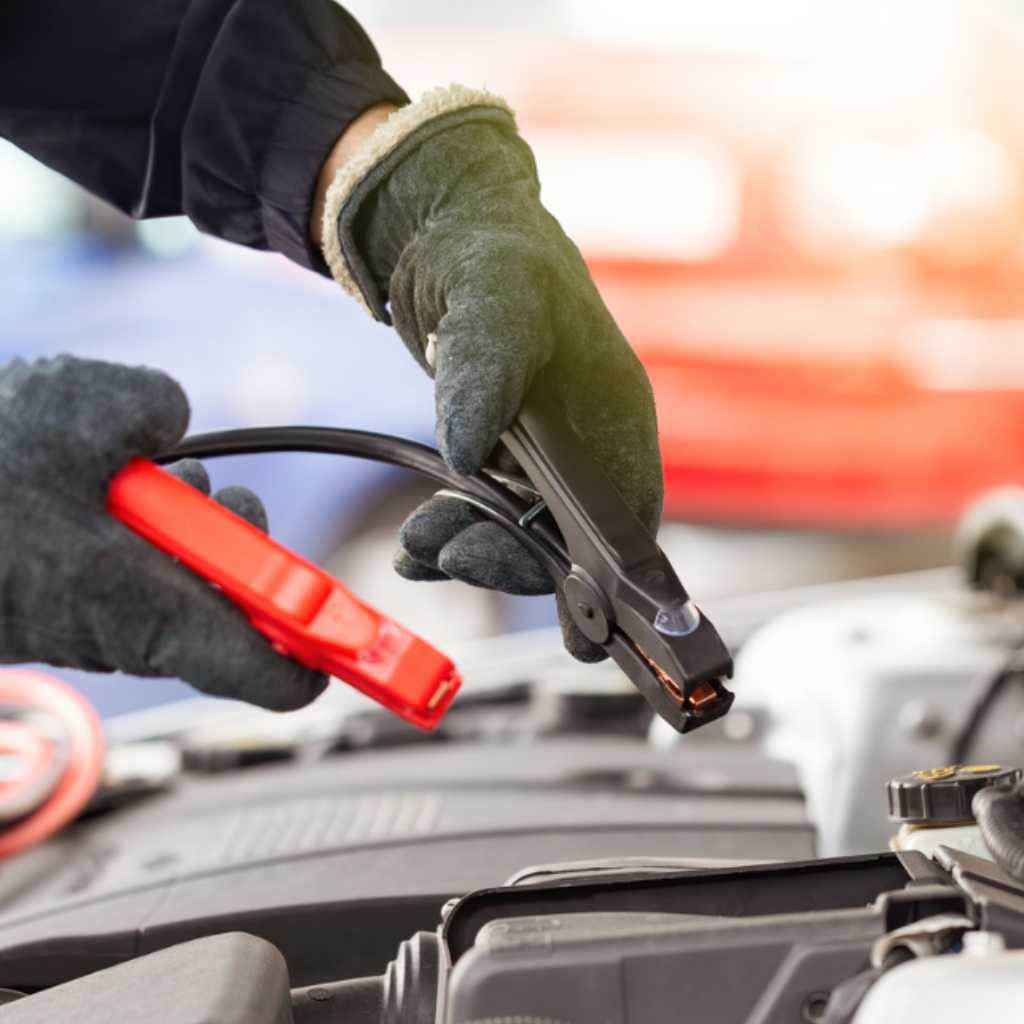
Step 1: Connect to the Dead Battery (Positive First)
Take the RED (positive) clamp and attach it securely to the POSITIVE (+) terminal of the dead car’s battery.
Step 2: Connect to the Donor Battery (Positive)
Take the other RED (positive) clamp and attach it securely to the POSITIVE (+) terminal of the good/donor car’s battery.
(At this point, you have the two red clamps connected to the positive posts of both batteries.)
Step 3: Connect to the Donor Battery (Negative Second)
Take the BLACK (negative) clamp and attach it securely to the NEGATIVE (-) terminal of the good/donor car’s battery.
Step 4: The Crucial Grounding Connection (Negative Last)
This is the most important safety step. Take the other BLACK clamp. DO NOT attach it to the dead battery’s negative post. Instead, attach it to an unpainted, heavy piece of metal on the engine block or chassis of the dead car. This acts as a safe ground away from the battery, where any small spark is less likely to ignite battery gases.
Step 5: Start the Donor Vehicle
Start the engine of the good (donor) car. Let it run for 3 to 5 minutes. This sends a charge into the dead battery. You might gently rev the running engine slightly higher than idle.
Step 6: Start the Dead Vehicle
After waiting, turn off the donor car’s engine (some guides prefer leaving it running, but turning it off first can reduce demand) and try starting the dead car. If it starts, let it run for a few minutes before moving to disconnection.
Disconnecting the Cables (Reverse Order)
Disconnecting is just as important as connecting. You must reverse the connection order exactly:
- Remove the BLACK clamp from the chassis/ground of the running car (the one that was just started).
- Remove the BLACK clamp from the donor car’s negative (-) terminal.
- Remove the RED clamp from the donor car’s positive (+) terminal.
- Remove the RED clamp from the newly running car’s positive (+) terminal.
Once disconnected, keep the revived car running for at least 20 minutes (driving is best) to allow the alternator to recharge the battery sufficiently.
Troubleshooting Common Jump Start Issues
Even with perfect instructions, things can sometimes go wrong. Here are quick fixes for common problems:
Problem 1: Nothing Happens When Trying to Start the Dead Car
Possible Cause: Poor connection or the battery is completely beyond help.
Fix: Check every single clamp connection. Wiggle them firmly to ensure solid contact with the metal terminals. If the connection seems good, the battery might be too far gone and needs replacement, or the issue might be the starter motor, not the battery. Check your vehicle’s diagnostic status using resources like the U.S. Department of Energy’s auto maintenance sections for deeper insights.
Problem 2: Loud, Excessive Sparking During Connection
Possible Cause: You might have connected the final black clamp too close to or directly on the dead battery’s negative terminal, causing a larger arc.
Fix: Immediately secure the final clamp to a clean, unpainted metal ground point away from the battery. If you see sparks after the final connection, wait a moment for them to dissipate before attempting to start the car. If sparking is violent, disconnect everything and re-verify the order.
Problem 3: The Donor Car’s Engine Stalls After Starting the Dead Car
Possible Cause: The good battery was also low, or the dead car drew too much power too fast.
Fix: Reconnect the cables (positive to positive, negative to donor negative) and run the donor car for a longer period—try 10 minutes—before attempting to start the dead car again. This ensures the donor battery transfers more substantial energy.
Jumper Cables vs. Portable Jump Starters: Which is Right for You?
Deciding between traditional cables and modern electronic boosters depends on your driving habits and tolerance for complexity. Here is a comparison to help you decide where to invest your money.
| Feature | Traditional Jumper Cables | Portable Jump Starter |
|---|---|---|
| Cost | Low ($20 – $60) | Moderate to High ($70 – $150+) |
| Power Source | Requires a running donor vehicle | Self-contained battery |
| Ease of Use (Connection) | Requires correct ordering and knowledge of terminals | Plug-and-play functionality; safety features often built-in |
| Maintenance | None (other than storage) | Must be kept charged regularly |
| Best For | Drivers who frequently travel with others; budget-conscious owners. | Solo drivers; those needing roadside self-reliance. |
If you are confident you can always reliably find another driver (like a roadside assistance provider or a friendly stranger), good, heavy-gauge cables are an excellent, cost-effective investment. If you want peace of mind knowing you can handle a dead battery alone in a remote area, invest in a high-quality lithium jump starter.
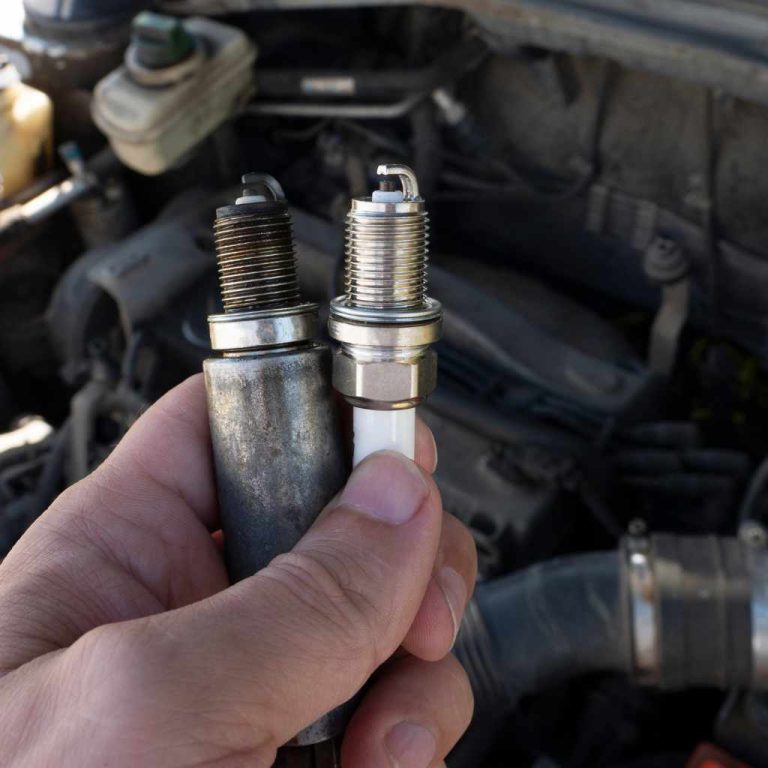
Battery Health: Preventing the Need for Jumps
The best tool is one you never have to use! Taking proactive steps to maintain your battery health will drastically reduce the chances of getting stranded.
Basic Battery Maintenance Tips
- Clean the Terminals: Corrosion (white or blue powdery buildup) blocks the electrical connection. Use a wire brush designed for battery terminals (available at any auto parts store) and a baking soda/water solution to clean buildup every year or two.
- Check Battery Age: Most car batteries last between three to five years. If your battery is approaching that age and you notice slow cranks on cold mornings, get it tested at a local auto parts store—most test them for free!
- Avoid Parasitic Drain: Ensure interior lights, glove box lights, and trunk lights are fully turned off when you leave the car. Leaving accessories (like phone chargers) plugged in drains the battery slowly over time.
- Maintain Good Driving Habits: If you drive very short distances (less than 15 minutes) frequently, your alternator doesn’t have enough time to fully replenish the power used during starting. Take the car for a decent, uninterrupted drive (30 minutes or more) once a week.
Frequently Asked Questions (FAQ) for Beginner Drivers
Q1: If I use jumper cables, can I damage my car’s computer (ECU)?
A: Yes, it is possible. Modern cars have sensitive electronics. The risk comes from connecting or disconnecting the cables improperly, causing a large electrical surge or short circuit. Always follow the connection/disconnection order precisely, and use the chassis ground point for the final negative connection.
Q2: How long should I let the donor car run before trying to start my dead car?
A: For a weak battery, run the donor car for a minimum of 5 minutes at a normal idle speed. If the weather is very cold, extending this time to 10 minutes is better to transfer adequate surface charge.
Q3: Can I jump-start a hybrid vehicle using traditional cables?
A: Most hybrid vehicles have a separate, small 12-volt battery used specifically for running accessories and the computer system—just like a standard car. You jump-start that small battery, not the large hybrid battery pack. Always check your owner’s manual for the exact jump points, as they are often hidden under the hood or in the trunk.
Q4: What should I do with the cables immediately after successfully starting the car?
A: Disconnect them immediately following the reverse sequence we discussed. Once they are disconnected, do not let the clamps touch each other! Coiled them neatly and put them back in their dedicated storage bag in your trunk.
Q5: Does it matter which end of the cable is longer?
A: No. The important factor is the total length of the cable, not which specific end connects to which car. However, ensure your positive (red) and negative (black) cables are long enough to comfortably reach both batteries without stretching.
Q6: If I jump-start my car, do I need to replace the battery right away?
A: Not necessarily. If the battery is less than three years old, it likely just discharged deeply (maybe you left the lights on). Drive the car for 30 minutes to recharge it, and see if it starts easily the next time.