How to Safely Connect a Car Battery to a Wall Plug
You cannot connect a car battery directly to a household outlet. Use a 12V charger or maintainer matched to the battery type, connect the battery first, then plug in AC. Get the sequence wrong and you can overheat the battery, blow a fuse, or create a shock and fire hazard. This guide shows the correct charger, the safe connection sequence, and the most common mistakes to avoid.
Can you connect a car battery directly to a wall plug?
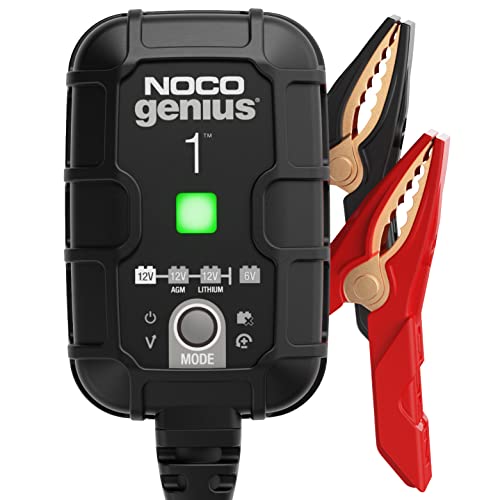

No. A US household wall outlet supplies 120V AC, and a 12V car battery cannot accept that power directly. The outlet must feed a battery charger or maintainer with AC-to-DC conversion built in, so the charger can reduce voltage and control current before power reaches the battery.
What the charger does between the wall and the battery
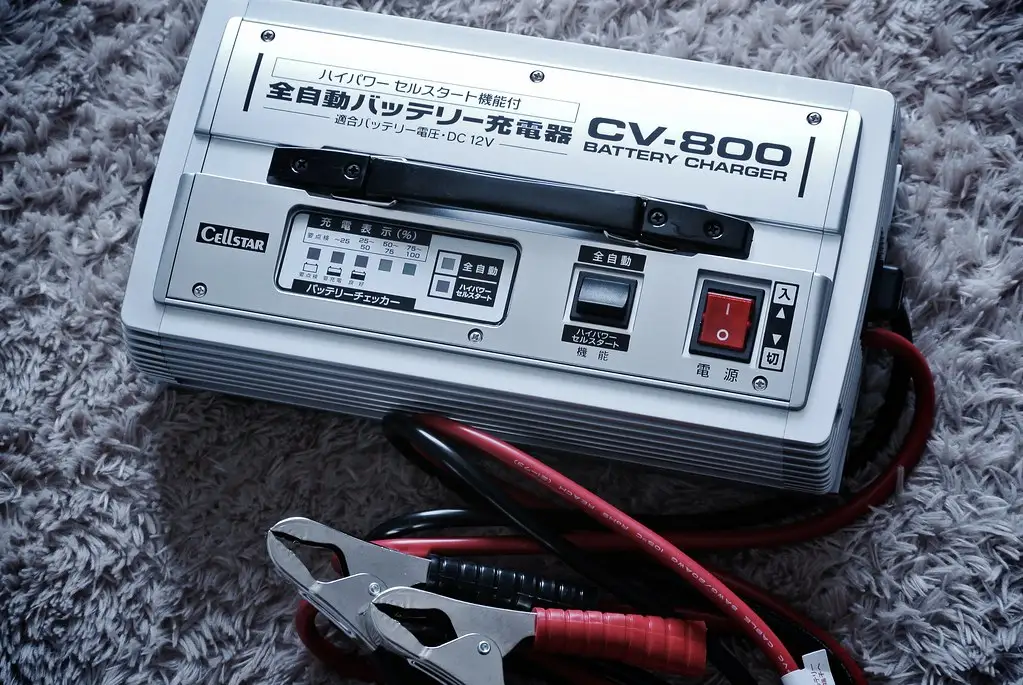
A proper charger has its own AC wall cord and insulated clamps. It takes 120V AC from the outlet, converts it to the correct DC output, and limits current so the battery receives charge safely. That is why bare wire, improvised adapters, or clamp-to-wall tricks are not acceptable.
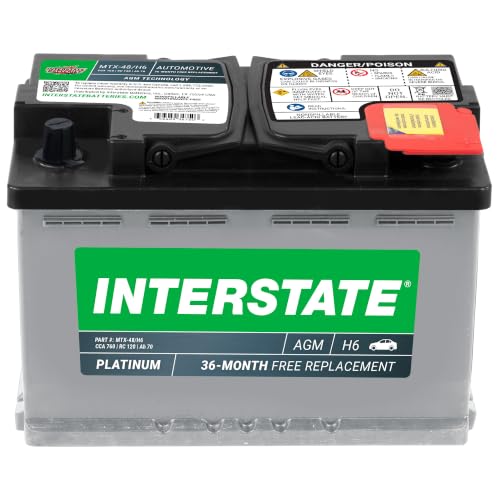
Nearly all consumer cars use 12V batteries, but the chemistry can vary. Flooded lead-acid, AGM, EFB, and lithium batteries do not always charge the same way, so charger choice matters before the clamps ever touch a terminal.
When charging is the right move and when replacement is safer
Charging makes sense when the battery is discharged but physically sound. If the case is cracked, swollen, leaking, or badly corroded, do not try to force a charge. A damaged battery can vent, overheat, or fail suddenly, and replacement is the safer path.
📊 A household wall outlet always supplies 120V AC in the US. Source: How to Safely Connect a Car Battery to a Wall Plug.
What charger do I need for a 12V car battery?
Pick a charger or maintainer made for 12V batteries, and match its mode to the battery chemistry. Small maintainers often run at 0.75-1.5A for storage or long-term upkeep, while full chargers often run at 4-10A for a stronger recharge. AGM, EFB, and lithium batteries may require dedicated modes or a specialized charger.
Maintainer or full charger?
A maintainer is the right choice for a parked vehicle that only needs to stay topped up. A full charger is better when the battery needs recovery after sitting too long or being left with lights on. If the battery is deeply discharged, a maintainer may not start charging at all.
AGM, EFB, and lithium mode basics
AGM or EFB batteries need a compatible smart charger mode when the charger specifies it. Lithium car batteries require a specialized charger. If the charger has a lithium setting, use it only with batteries the maker says are compatible. Do not assume a normal lead-acid setting is close enough.
If your vehicle uses an AGM battery and the charger offers different battery-type modes, choose the mode that matches the battery. Use the AGM setting, not standard, because the charger may change its charging profile. If the battery is lithium and the charger has no lithium mode, stop there.
What equipment and safety checks should you use first?
Before connecting anything, put on safety glasses and gloves, work in a well-ventilated area, and switch the vehicle off. Inspect the battery for cracks, leaks, swelling, or heavy corrosion. Check that the charger label matches 12V output and the battery chemistry, and make sure the cables and clamps are intact.
Check the leads, labels, and clamp insulation
The charger’s clamps and cord are already built and insulated. That insulation lowers short-circuit and shock risk. Red clamp means positive, black clamp means negative. If the insulation is nicked, the clamp jaws are loose, or the cord is damaged, do not use the charger.
Can you use an extension cord?
Yes, on the AC side only, if the cord is rated and the charger maker allows it. Use the extension cord between the wall and the charger, never on the DC clamp side. The output leads belong to the charger, not to a homemade extension or exposed splice.
How do you safely connect a car battery to a wall plug?
Connect the battery first, then plug the charger into the wall. Start with the vehicle off, ventilation in place, and PPE on. Attach red to positive first, then black to negative or the manufacturer-approved ground point. Only after that should the charger go into the 120V outlet.
The safe connection sequence
- Turn the vehicle off and remove the key.
- Inspect the battery case, terminals, and clamps.
- Put on safety glasses and gloves, and keep the area ventilated.
- Connect the red clamp to the positive (+) terminal first.
- Connect the black clamp to the negative (-) terminal or approved ground point.
- Plug the charger into the wall and confirm the charger powers up normally.
Where to place the clamps and why polarity matters
Terminal polarity matters because reversing it can trigger a fault light, blow a fuse, or damage the charger. Positive is marked +, negative is marked -. If the battery is in the vehicle and the maker allows a chassis ground, follow that instruction for the black clamp. Do not guess.
A common first-timer mistake is clipping the black lead to the wrong post because both terminals look similar in low light. That usually ends with a fault indicator before charging starts. It is better to stop, identify the markings, and reconnect correctly than to force the charger.
What should you do if the charger shows a fault or will not start?
Stop and check polarity, clamp contact, and charger settings first. A fault light can mean reversed leads, a poor connection, a blown fuse, or a battery that is too deeply discharged for the charger to recognize. If the battery is sulfated or damaged, the charger may refuse to begin.
Common failure modes
Reversed polarity is the simplest error and the easiest to fix. Loose clamps can also stop the charger from starting because it cannot read the battery correctly. A battery that has sat deeply discharged may need a stronger charger, a recovery mode, or replacement if it will not accept charge.
When to stop and choose another charger or replace the battery
If the charger repeatedly faults after the clamps are corrected, do not keep trying random settings. Check the fuse if the charger has one, confirm the battery chemistry mode, and inspect for physical damage. If the battery is swollen, leaking, or otherwise compromised, replacement is the safe answer.
What is the difference between a battery charger and a power inverter?
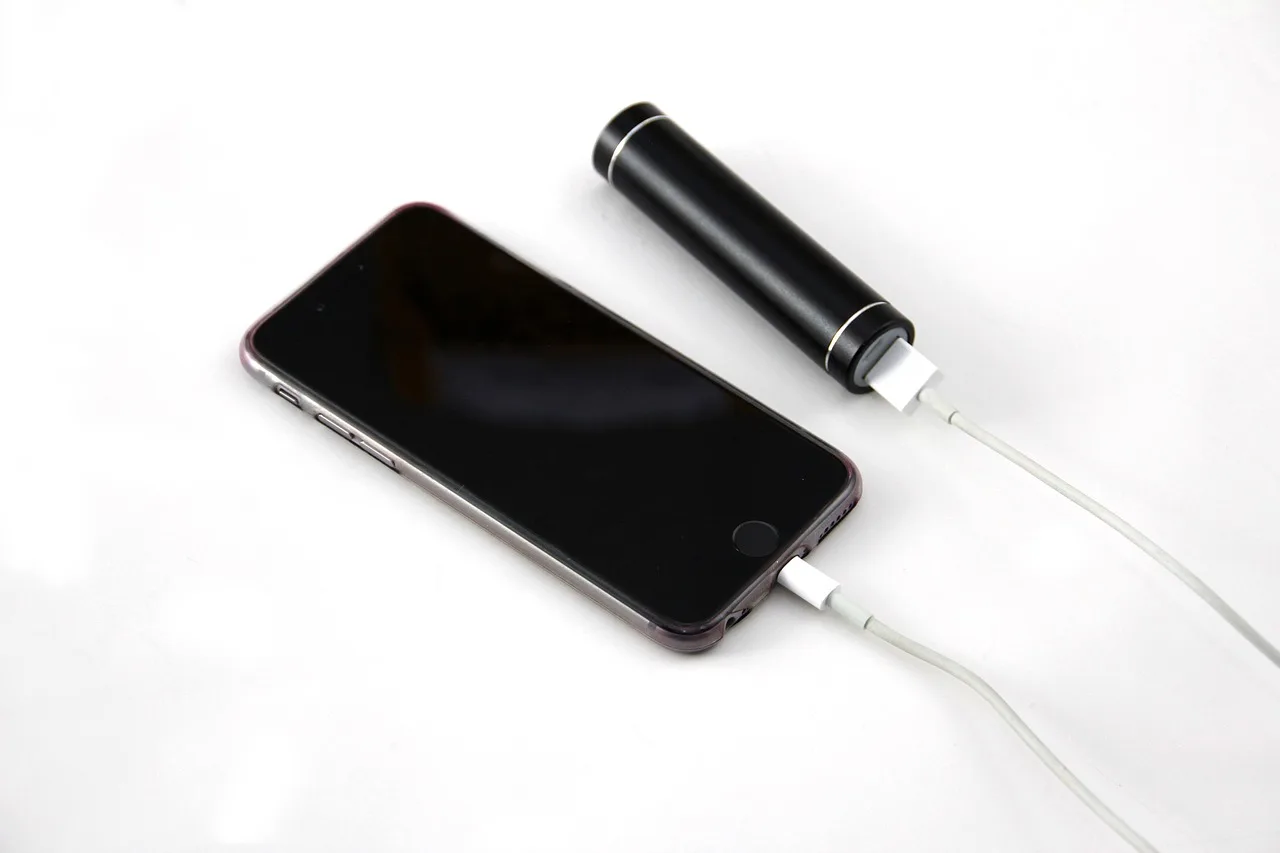
A battery charger moves power from the wall to the battery. A power inverter does the opposite, taking DC power from the battery and turning it into AC for household devices. They are not interchangeable, and an inverter cannot safely replace a charger for charging a car battery.
Do not mix up the use cases
If the goal is to refill a 12V car battery from household power, you need a charger or maintainer with AC-to-DC conversion built in. If the goal is to run a laptop or small appliance from a vehicle battery, that is inverter territory. One feeds the battery; the other draws from it.
Can you charge AGM or EFB car batteries with a normal charger?
Only if the charger explicitly supports AGM or EFB, or its normal mode is approved by the battery maker. AGM or EFB batteries often need a compatible smart charger mode. Using the wrong profile can undercharge the battery or charge it in a way the maker does not recommend.
What to look for on the charger label
Check for AGM mode, EFB mode, or an automotive mode that specifically includes those chemistries. If the charger only says “12V” without any chemistry guidance, that is not enough. Match the charger to the battery, not the other way around.
Is it dangerous to connect a car battery to 120V AC?
A 120V AC outlet is not directly compatible with a 12V car battery, and a direct connection can cause overheating, sparks, fire, or electrical shock. The outlet must power a charger first. Never connect bare wires or a battery terminal directly to household AC.
Why the danger is so immediate
AC wall power is far above what a car battery is built to accept. The charger’s job is to step that power down and regulate it. Without that control, current can rise fast enough to damage the battery and surrounding wiring before a fuse has time to protect anything.
Safe connection checklist and quick reference

Use this as a one-page check before you plug anything in. It keeps the battery type, charger mode, and fault response in one place so you can stop before a bad setup becomes a damaged battery or charger.
| Battery type | Charger mode/current | What to do if the charger indicates fault or won’t start |
|---|---|---|
| Flooded lead-acid 12V | Standard 12V mode; maintainer 0.75-1.5A for storage, full charger 4-10A for recovery | Check red-to-positive and black-to-negative, clean heavy corrosion, confirm clamps are tight, then retry |
| AGM 12V | AGM smart mode; choose a charger that explicitly supports AGM | Switch to AGM mode, verify polarity, and stop if the charger still faults after contact is confirmed |
| EFB 12V | EFB-compatible smart mode; use the maker’s recommendation | Use the correct EFB setting if available; if not, do not assume standard mode is acceptable |
| Lithium 12V automotive battery | Specialized lithium charger only | Do not proceed with a lead-acid charger; use the charger specified for that lithium chemistry |
| Deeply discharged battery | Recovery-capable smart charger, if the maker allows it | If it will not start, the battery may be sulfated or too far gone; try a compatible charger once, then consider replacement |
Do not proceed box
Do not proceed if the battery is damaged, swollen, leaking, or visibly cracked. Do not proceed if the battery is lithium and you do not have the correct lithium charger. Do not proceed if the charger cord, clamps, or insulation are damaged, or if the charger is not rated for 12V automotive use.
6-step connection and disconnection sequence
- Vehicle off, area ventilated, gloves and safety glasses on.
- Inspect the battery and charger, and confirm the correct chemistry mode.
- Connect red to positive (+) first.
- Connect black to negative (-) or approved ground, then plug the charger into the wall.
- To disconnect, turn the charger off and unplug it from the wall first.
- Remove the black clamp first, then the red clamp.
Picture a compact sedan with a dead battery after a week at the airport. If the battery is a standard flooded lead-acid unit, a 0.75-1.5A maintainer may be too slow for a quick recovery, while a 4-10A charger can be a better match. If the charger faults immediately, check polarity and contact before anything else.
Frequently asked questions
What charger do I need for a 12V car battery?
You need a charger or maintainer designed for 12V automotive batteries, with a mode that matches the battery chemistry. Flooded lead-acid can often use a standard automotive mode, while AGM, EFB, and lithium batteries may need a specific setting or a specialized charger.
What size amp charger is best for a dead car battery?
For maintenance, small chargers at 0.75-1.5A are common. For a dead battery that needs recovery, a fuller charger in the 4-10A range is often the better choice. If the battery is deeply discharged or faulting, the charger may need a recovery mode or the battery may need replacement.
Can I use an extension cord with a car battery charger?
Yes, if it is on the AC side only and the cord is rated for the job. The extension cord can run from the wall to the charger. It should not be used on the DC clamp side, where the charger’s own insulated leads must do the work.
Should I disconnect the car battery before charging it?
Not always. Many chargers can be connected with the battery in place if the vehicle is off and the manufacturer allows in-vehicle charging. If the battery is hard to access, heavily corroded, or the vehicle maker requires removal, disconnecting the battery may be safer.
How do you disconnect a battery charger safely after charging?
Turn the charger off, unplug it from the wall, then remove the black clamp first and the red clamp second. That reverse order reduces the chance of shorting the positive terminal to ground. Keep your gloves and glasses on until the leads are clear.
What is the difference between a battery charger and a power inverter?
A charger sends power from the wall into the battery. An inverter does the reverse, turning battery DC into AC for devices. If you want to charge a car battery from household power, you need a charger, not an inverter. They solve different problems.
Products related to this article
Sponsored / affiliate links. As an Amazon Associate I earn from qualifying purchases. I may earn additional commission from eligible campaigns.