How To Get Previous Owner Smell: Proven Success
Tired of that lingering “previous owner smell” in your car? This guide offers proven, easy DIY methods to eliminate unwanted odors, leaving your car smelling fresh and clean, no matter its history.
Cars, like homes, can hold onto the scents of their previous occupants. Whether it’s a faint hint of stale smoke, gym clothes, a beloved (and sometimes regrettable) air freshener, or something even more mysterious, that “previous owner smell” can make your driving experience less enjoyable. It’s a common frustration for car buyers, leaving you wondering if your ride will ever truly feel like your own. But don’t worry! Getting rid of stubborn odors is achievable. We’ll walk you through simple, effective steps that you can do yourself, transforming your car’s interior from questionable to inviting.
Understanding Lingering Car Odors
Before we dive into the solutions, let’s briefly touch on why these smells stick around. Cars are essentially enclosed spaces, often with porous materials like fabric seats, carpets, and headliners that can absorb odors deeply. Ventilation systems can also trap particles and scents. Even seemingly minor things, like spilled coffee or a forgotten item, can contribute to a persistent aroma over time. The key is to not just mask the smell, but to neutralize it at its source. This involves a combination of deep cleaning and targeted odor elimination techniques. Ready to give your car’s interior a fresh start?
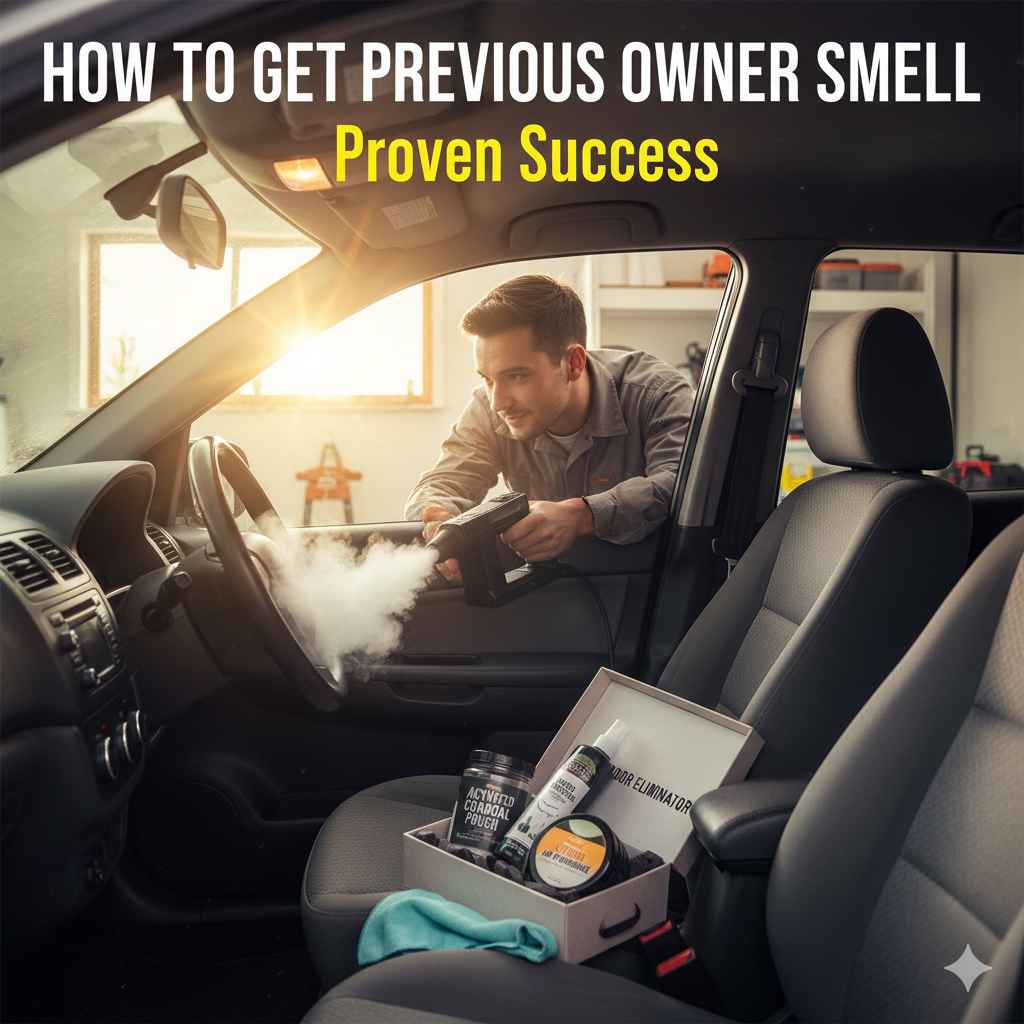
Step-by-Step Guide: How to Get Previous Owner Smell Out of Your Car
This process is designed for beginners and focuses on accessible methods and tools. We’ll cover everything from initial cleaning to final deodorizing.
Step 1: The Deep Clean – Declutter and Vacuum
This is the essential first step. You can’t eliminate smells if the source is still there!
- Remove Everything: Take out all personal items, floor mats, trash, and anything else that doesn’t belong in the car. Check under seats, in seat pockets, and in the trunk.
- Empty Trash Receptacles: Dispose of any car trash bins or containers properly.
- Initial Vacuum: Use a powerful vacuum cleaner with crevice attachments. Go over every inch of the interior: seats (including between cushions and under them), carpets, floor mats, headliner (gently!), dashboard, door panels, and trunk. The goal is to remove loose debris, dust, and surface-level odor carriers.
Step 2: Attack Fabric Surfaces – Shampoo and Extraction
Fabric is a magnet for smells. Deep cleaning these surfaces is crucial.
- Remove Floor Mats: Take your floor mats outside. Shake them out thoroughly.
- Carpet and Upholstery Cleaner: Choose a cleaner specifically designed for automotive interiors. Look for enzymatic cleaners, as they are excellent at breaking down organic odor-causing molecules.
- Application: Follow the product instructions carefully. Typically, you’ll spray the cleaner onto the seats, carpets, and headliner (again, be gentle with the headliner to avoid damaging the adhesive).
- Agitation: Use a soft-bristled brush to gently work the cleaner into the fabric fibers. This helps lift dirt and odors.
- Extraction/Wiping: For carpets and seats, you can use a wet/dry vacuum or a dedicated carpet extractor for best results. If you don’t have one, you can use clean, damp microfiber cloths to wipe away the cleaner and loosened dirt. For the headliner, lightly blot with a damp cloth to avoid saturation.
- Drying: Ensure all surfaces are completely dry. Open doors and windows, or use fans, to speed up the process. Dampness can lead to mold and mildew, which create new, unpleasant smells.
Step 3: Clean Hard Surfaces and Vents
Even hard surfaces and the ventilation system can trap smells.
- Wipe Down: Use an all-purpose interior cleaner or a mixture of water and white vinegar (50/50) on dashboards, door panels, consoles, steering wheel, and vinyl or leather surfaces. Use microfiber cloths to avoid scratching.
- Detailing Chrome and Plastic: Pay attention to nooks and crannies.
-
Clean Air Vents: This is critical! Odors get sucked into your HVAC system.
- Simple Spray: You can spray a bit of odor eliminator or even a lightly scented cleaner into the vents while the fan is running (but not the AC or heat, just the fan). Be cautious not to oversaturate.
- Vent Brushes: Use specialized vent brushes to clean the louvers.
- Cabin Air Filter: Consider replacing your cabin air filter (often located behind the glove box). A dirty filter can recirculate odors. Check your car’s manual for its location and replacement instructions. You can find guides on how to replace a cabin air filter at YourMechanic.com.
Step 4: Tackle Stubborn Odors – The Power of Baking Soda and Vinegar
These household staples are your allies against persistent smells.
- Baking Soda: Sprinkle a generous amount of baking soda over all fabric surfaces, including carpets, seats, and the trunk. Let it sit for at least a few hours, or preferably overnight. Baking soda is a fantastic natural deodorizer that absorbs odors. After it has had time to work, vacuum it up thoroughly.
- White Vinegar Steam: For very stubborn smells, steam cleaning with vinegar can be effective. Place a bowl or two of white vinegar in the car overnight. The vinegar fumes help neutralize odors. Alternatively, you can place a pot of water with a cup of white vinegar inside and simmer it on a portable induction burner placed safely away from flammable materials and never left unattended (ensure excellent ventilation if attempting this) for an hour or two. Safety First: If simmering, ensure ample ventilation, never leave it unattended, and keep away from flammable materials. This is an advanced technique and requires caution. A simpler method is to spray a diluted vinegar solution (50/50 water and vinegar) onto fabrics, let it sit for 15-30 minutes, and then wipe down or vacuum.
Step 5: Odor Neutralizers and Air Fresheners
Once the deep cleaning is done, you can use specific products to neutralize remaining odors and introduce a pleasant scent.
- Odor Bombs/Foggers: These products release a fine mist that penetrates the entire cabin, neutralizing odors. Follow the instructions precisely, as you’ll typically need to run the car’s fan system with the product inside and then air out the car thoroughly.
- Activated Charcoal Bags: These are excellent for passive odor absorption. Place several bags in discreet locations throughout the car. They work by adsorbing odor molecules from the air.
- Enzyme Sprays: These continue to work on breaking down odor-causing molecules long after application. Use them on upholstery and carpets.
- Essential Oils (Use Sparingly): A few drops of essential oil (like lemon, lavender, or eucalyptus) on cotton balls placed in discreet locations can add a pleasant, natural scent. Avoid spraying directly onto surfaces.
- Air Fresheners: Use these as a final touch to add a pleasant fragrance, but only after neutralizing the bad smells.
Step 6: Professional Ozone Treatment (Optional, for Extreme Cases)
If odors are incredibly severe and DIY methods aren’t fully successful, professional help might be the answer.
- What it is: Ozone treatment uses ozone gas (O₃) to break down and eliminate odor molecules. It’s highly effective but should be performed by professionals.
- Why it works: Ozone is a powerful oxidant that can neutralize even the most stubborn odors like smoke, pet smells, and mildew.
- When to consider: If you’ve tried everything else and the smell persists, or if the car was smoked in heavily. Learn more about ozone generators and their use in odor removal on resources like the EPA’s website regarding ozone and health.

Tools and Supplies You’ll Need
Here’s a quick list of what you might want to have on hand:
| Item | Description |
|---|---|
| Vacuum Cleaner | With crevice and upholstery attachments |
| Microfiber Cloths | Several for cleaning and drying |
| Soft-Bristled Brush | For agitating cleaners on fabric |
| Automotive Upholstery Cleaner | Enzymatic cleaners are recommended |
| All-Purpose Interior Cleaner | For hard surfaces |
| White Vinegar | For neutralizing odors |
| Baking Soda | For absorbing odors |
| Odor Eliminator Spray/Bomb | Targeted odor neutralizers |
| Activated Charcoal Bags | Passive odor absorption |
| Cabin Air Filter | Optional, for replacement |
| Vent Brush Set | For cleaning air vents |
Tips for Success and Prevention
- Patience is Key: Some odors take time to fully dissipate. You might need to repeat some steps.
- Ventilation is Crucial: Always allow ample fresh air circulation during and after cleaning.
- Test in an Inconspicuous Area: Before applying any cleaner to a large surface, test it on a small, hidden spot to ensure it doesn’t cause discoloration.
- Address Spills Immediately: The best way to avoid smells is to clean up any spills or messes as soon as they happen.
- Regular Cleaning: Keep up with regular vacuuming and interior wipe-downs to prevent odors from building up in the first place.
- Avoid Over-Masking: Don’t just cover up smells with heavy air fresheners. Focus on removing the source first.
Frequently Asked Questions (FAQ)
Q1: How long does it typically take to get rid of a previous owner smell?
With thorough cleaning, it can take anywhere from a few hours to a couple of days for most residual odors to fade completely. Stubborn smells, like heavy smoke, might require professional treatments or multiple DIY attempts.
Q2: Can I use a home carpet cleaner in my car?
Yes, in most cases. However, always dilute it according to instructions and test in an inconspicuous area first. Automotive-specific cleaners are often formulated to be safer for car interiors.
Q3: Is ozone treatment safe for my car’s interior?
When performed by professionals, ozone treatment is generally safe. It’s crucial that the vehicle is unoccupied during treatment and thoroughly aired out afterward, as ozone can be harmful to breathe. Professionals know how to do this safely. For more on ozone generators, consult the EPA’s guidance.
Q4: What’s the best way to clean a car headliner?
Be very gentle. Use a microfiber cloth lightly dampened with an upholstery cleaner or diluted white vinegar. Blot, don’t rub, and avoid saturating the material, as this can loosen the adhesive and cause it to sag. Always test in a hidden spot first.
Q5: My car still smells musty after cleaning. What could be the cause?
Musty smells often come from moisture. Check for leaks, ensure all carpets and upholstery are completely dry, and consider cleaning your HVAC system and replacing the cabin air filter, as these can harbor mold and mildew.
Q6: Are essential oils a good permanent solution for car smells?
Essential oils can provide a temporary pleasant scent, but they are not a solution for eliminating underlying odors. It’s best to use them as a final step after thoroughly cleaning and neutralizing any bad smells.
Q7: How can I prevent new smells from forming in my car?
Regularly vacuum and clean your interior, clean up spills immediately, avoid eating in your car if possible, use car trash bags, and ensure your car is well-ventilated, especially after rain or carrying items.
Conclusion
Dealing with a “previous owner smell” might seem daunting, but it’s a challenge you can overcome with a systematic approach. By decluttering, vacuuming thoroughly, deep cleaning all surfaces, and utilizing natural deodorizers like baking soda and vinegar, you can effectively neutralize most stubborn odors. Remember to pay special attention to those often-overlooked areas like air vents and the cabin air filter. For extremely persistent smells, professional options like ozone treatment are available. With a bit of effort and the right techniques, you can transform your car’s interior, making every drive a more pleasant and fresh experience. Enjoy your newly odor-free ride!