My First Time Adjusting a Maxi Cosi Car Seat Guide
Set a Maxi-Cosi car seat by matching the straps to the child’s shoulders, tightening until you cannot pinch the strap at the collarbone, and keeping the seat’s level indicator in the approved zone. A poor setup can leave the seat loose, put the straps in the wrong place, or tilt the seat too far back or forward, which reduces protection in a crash. This guide walks you through the first checks, the order to make each adjustment, and the final fit test before the first drive.
What to check before you touch the seat



Start with the exact model and seat category. Maxi-Cosi’s support center groups seats into infant, convertible, and booster categories, and the first adjustment steps differ across those families. The support center also says to pick your car seat type first, then open the matching guide or installation video by item number.
Look for the item number on the label or the packaging, then use it to find the English user guide and model-specific installation video. Maxi-Cosi says model-specific help exists for seats such as the Mico™ Luxe+ Infant Car Seat, which has installation videos for rear-facing with and without a base, and the Andi 360° Rotating All-in-One Convertible Car Seat, which also includes an installation video.
Check whether the seat uses ISOFIX, a vehicle seat belt, or both. Some infant and rotating seats use an ISOFIX base with Click & Go installation. Others can install rear-facing with the vehicle belt when ISOFIX anchor points are unavailable.
What you’ll need before the first adjustment
- Your Maxi-Cosi user guide or the online guide for the exact item number
- The installation video for the same model, if available
- Your vehicle owner manual for belt routing and anchorage points
- Enough space to move the seat and inspect both sides of the shell
- Good light so you can check strap slots, headrest height, and belt path markings
📊 The guide notes convertible baby/toddler car seats can be used up to approximately 4 years. Source: Maxi-cosi.
How do I adjust a Maxi-Cosi car seat for the first time?
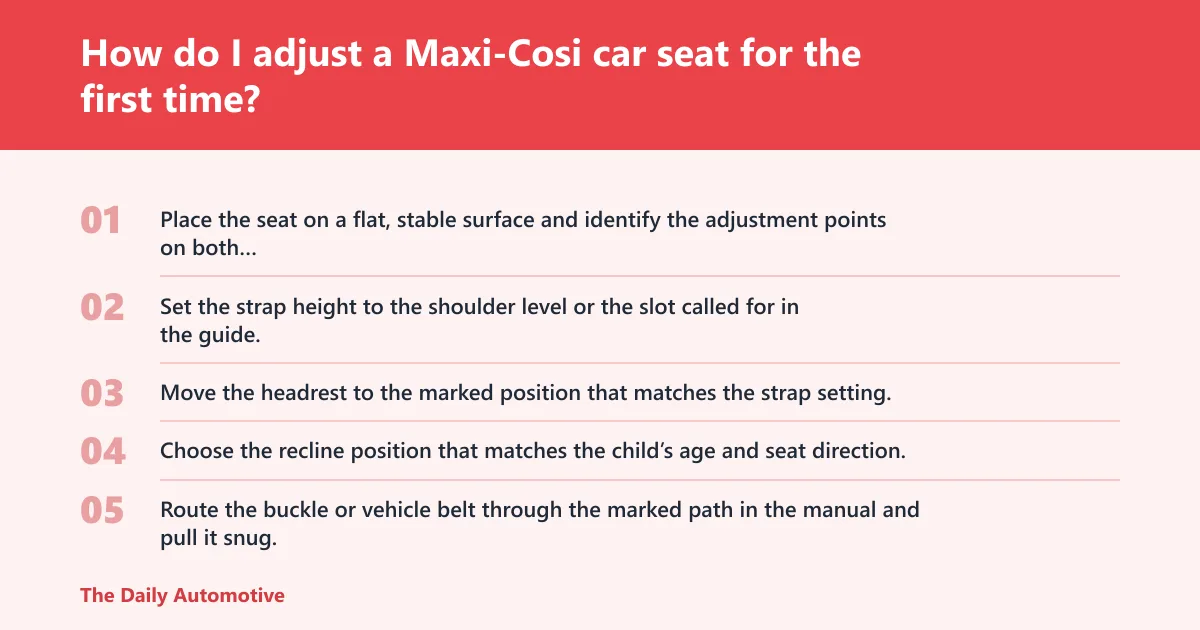
Set the straps first, then the headrest, then the recline, and finish by checking the installation path and buckle. That order matters because the shoulder slots, headrest, and recline work together, especially on rearward-facing infant and convertible seats. Finish by checking that the seat is tight, level, and routed exactly as the manual shows.
- Place the seat on a flat, stable surface and identify the adjustment points on both sides of the shell.
- Set the strap height to the shoulder level or the slot called for in the guide.
- Move the headrest to the marked position that matches the strap setting, if the model links the two.
- Choose the recline position that matches the child’s age and seat direction.
- Route the buckle or vehicle belt through the marked path in the manual and pull it snug.
- Lock the installation method, then check for movement at the belt path or base.
- Confirm the final fit before the first drive.
For rear-facing use, keep the straps at or just below the shoulders. Raise only the parts the manual allows, then recheck that the straps sit at or just below the shoulders for rear-facing use. If the buckle feels stiff, stop and check for misrouting before forcing it.
How do I raise or lower the straps on a Maxi-Cosi seat?
Set the straps so they leave the seat at the same height as the child’s shoulders for the stage shown in the manual. On many rear-facing seats, that means the straps sit at or just below the shoulders. If the straps and headrest move together, raise or lower both as one unit.
After moving the straps, pull each shoulder strap evenly. The straps should lie flat, with no twist from the back of the shell to the chest clip or buckle area. If one side is shorter, rethread or reset the adjustment before use. A twisted strap can change how the seat loads in a crash.
How do I change the headrest on a Maxi-Cosi car seat?
Move the headrest only after you confirm the strap setting, because some seats use the headrest to help set shoulder-slot height. The correct position keeps the child’s head supported without pushing the straps too low or too high. The manual or label usually shows the proper relation between shoulder height and headrest position.
Check both sides after adjustment. The headrest should sit squarely, not tilted to one side, and the straps should rise with it if the design links the two. If the headrest catches or feels stuck, release the seat’s adjustment control and try again rather than forcing it.
How do I adjust the recline on a Maxi-Cosi infant seat?
Set the recline before the first drive so the seat angle matches the vehicle position and the child’s stage. Infant seats often need a more reclined position for rear-facing use, and some include a built-in level indicator or angle guide. Keep the indicator inside the approved zone shown in the manual.
On some infant seats, recline changes with the base. On others, the shell or a support leg sets the angle. Check the model-specific guide first, because the control can be a lever, a dial, or a base adjustment step. A wrong angle can leave the head too far forward or the seat outside the approved range.

How do ISOFIX, Click & Go, and seat belt installs differ?
ISOFIX uses the vehicle’s anchor points and a matching base or seat connectors to fix the child seat in place, and Maxi-Cosi notes that ISOFIX installation makes fitting easier. Click & Go is the quick-lock action on some bases and rotating systems. A vehicle seat belt is the alternate method when anchor points are unavailable, and some Maxi-Cosi infant seats can install rear-facing without a base.
When an ISOFIX base is used
Use the base when the model is designed for it and your vehicle has the right anchor points. Some infant seats and 360 rotating seats pair with a base for easier daily clicks in and out. Confirm the base indicators turn green or the manual’s equivalent signal before placing the seat on it.
Suppose the base clicks in, but the seat still rocks side to side. That usually means the connectors are not fully engaged or the support leg is not set to the floor correctly. Recheck the base instruction steps before putting the child in the seat.
When the vehicle seat belt is the correct option
Use the belt when the model allows belt installation or when the car has no ISOFIX anchor points. Some rear-facing infant seats, including the Mico™ Luxe+ Infant Car Seat, have installation videos for rear-facing with and without a base, and the same model also supports rear-facing without a base using the vehicle belt.
Confirm that the belt runs through the exact path molded or marked on the shell. A mismatched route can make the seat feel tight at one point and loose at another. Tighten the belt until the seat stays within the movement limit named in the manual.
First-use adjustment checklist by seat type
The first adjustment checklist below gives you the order that matters most for each Maxi-Cosi seat type. Use it after you find the model guide and before the first drive. Maxi-Cosi also recommends registering a car seat to receive product updates, which helps when a guide or part note changes.
| Seat type | Adjustment controls to locate | What the correct fit looks like | Most common first-time mistake to avoid |
|---|---|---|---|
| Infant | Strap height slots, recline indicator, base or belt path, handle position | Straps at shoulder level or per guide, level indicator in range, seat locked to base or belt path | Setting the seat too upright or routing the belt through the wrong path |
| Convertible | Strap slots, headrest release, rear-facing recline setting, top belt path if forward-facing | Rear-facing angle set correctly, straps aligned to shoulders, straps flat and snug | Using the infant position after the child has outgrown it |
| 360 rotating | Base lock, rotation release, strap/headrest linkage, support leg or tether points | Seat locks in both travel positions, rotation clicks fully, base stays stable | Assuming the rotating seat is secure before checking the base indicators |
| Booster | Belt guide, headrest height, shoulder-belt route, lap-belt placement | Shoulder belt lies across the center of the chest and collarbone, lap belt sits low on the hips | Letting the shoulder belt slip off the guide or under the arm |
What are the most common first-time mistakes?
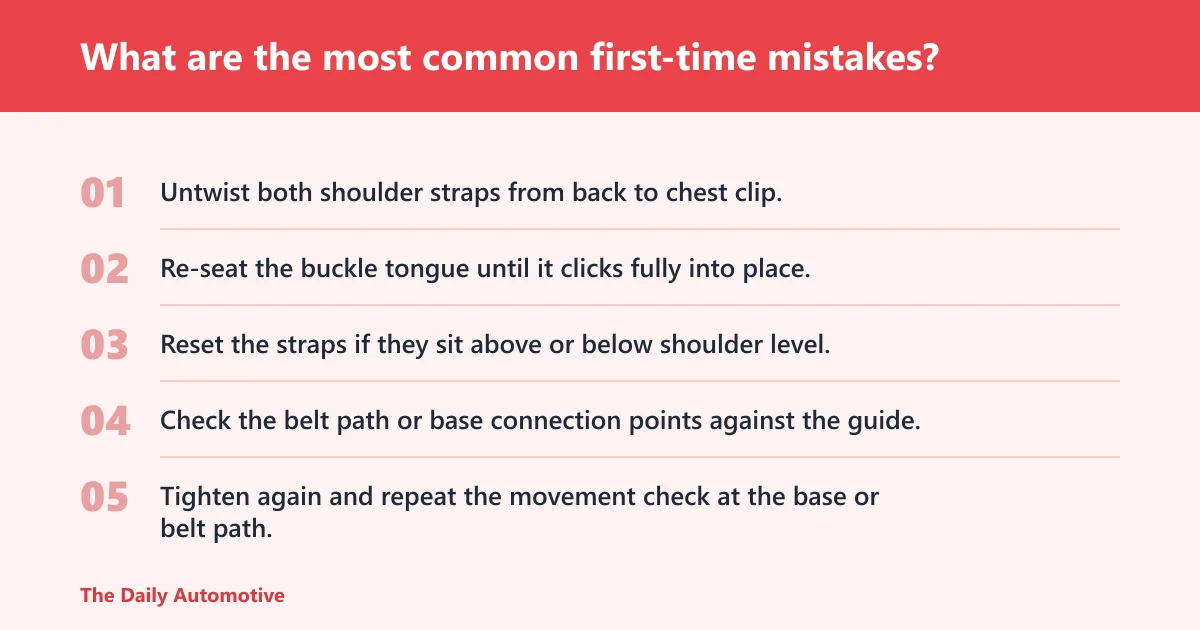
The most common errors are twisted straps, a buckle that is not fully engaged, a strap height that does not match the shoulders, and a belt path that does not match the manual. The first use often exposes stiffness in the adjusters, which can hide an incomplete click or a belt that looks tight but is routed wrong.
- Untwist both shoulder straps from back to chest clip.
- Re-seat the buckle tongue until it clicks fully into place.
- Reset the straps if they sit above or below shoulder level.
- Check the belt path or base connection points against the guide.
- Tighten again and repeat the movement check at the base or belt path.
If that didn’t work, try this next
- Remove the seat from the vehicle and reinstall it from step one in the manual.
- Switch to the model’s installation video and follow the same order on screen.
- Compare the item number on the seat with the guide header to confirm you have the right instructions.
- If the issue is still unclear, stop using the seat until Maxi-Cosi support or the vehicle manual resolves the mismatch.
A common first-timer mistake is pulling the straps tight while the buckle tongues are not seated evenly. The straps feel snug for a moment, then one side loosens. Reinsert both tongues, then pull the adjustment strap again until the straps lie flat across the collarbone.
Another frequent problem is choosing the wrong setup for the age stage. Rearward-facing travel is recommended for babies, and Maxi-Cosi’s buying guide says i-Size rearward-facing is recommended until at least 15 months. The guide also notes that convertible baby and toddler seats can be used up to approximately 4 years. Older R44 guidance still appears in some buying comparisons, where baby seats are described as suitable from birth up to 13 kg under R44.
Which Maxi-Cosi model is the easiest to adjust for a newborn?
The easiest model is usually the one that matches your vehicle, installation method, and daily routine, not a single universal seat. For a newborn, an infant seat with a clear recline indicator and a base that uses Click & Go installation is often simpler to set up than a rotating all-in-one. Maxi-Cosi’s support resources let you compare the exact model before you buy.
For example, the Peri™ 180° Rotating Infant Car Seat appears in the guide as a specific product, and the 360 family includes rotating convenience through a base-and-seat system. Those features help daily use, but the correct choice still depends on whether you need ISOFIX or a belt install, and whether your vehicle has the right anchor points.
Why rearward-facing matters for the first seat
Rearward-facing travel gives better neck protection for babies because the seat spreads crash forces across the back of the shell. That is why the newer i-Size/R129 guidance recommends rearward-facing until at least 15 months. If the child stays in a convertible seat longer, some models can keep that rearward-facing position to about 4 years.
Where do I find the user guide or installation video for my Maxi-Cosi seat?
Use Maxi-Cosi’s Car Seat Support Center, then search by item number to find the English user guide and the matching installation video. The support center says to choose the car seat type first, which keeps infant, convertible, and booster instructions separated. That matters because base, belt, and rotating-seat steps are not interchangeable.
Open the guide before the seat goes into the car, then match every label on the shell to the diagram in the manual. If your model has both belt and base options, open both videos and follow the one that matches your installation method. The right manual beats guesswork every time.
Frequently asked questions
How do I adjust a Maxi-Cosi car seat for the first time?
Start with the exact model guide, set the straps at shoulder level, move the headrest if the model links it to the straps, set the recline, and then confirm the belt path or base lock. Finish with a movement check at the base or belt path before the first drive.
How do I raise or lower the straps on a Maxi-Cosi seat?
Use the strap release or rear adjustment point shown in the manual, then set the straps so they meet the shoulders at the correct height for rear-facing or forward-facing use. Pull both sides evenly and make sure neither strap is twisted before buckling.
How do I change the headrest on a Maxi-Cosi car seat?
Release the headrest mechanism described in the guide, move it to the next marked position, and check that the straps follow it correctly if the model links the two. The headrest should stay square and should not pinch the straps.
How do I adjust the recline on a Maxi-Cosi infant seat?
Use the recline lever, dial, or base adjustment shown for your exact model, then keep the level indicator inside the approved zone. For rear-facing infant use, the seat should sit at the angle the manual calls for, not whatever feels upright enough.
What does ISOFIX mean on a Maxi-Cosi car seat?
ISOFIX means the seat or base attaches to the vehicle’s anchor points rather than relying only on the belt. Maxi-Cosi notes that ISOFIX installation makes fitting easier, and some infant and rotating seats use an ISOFIX base with Click & Go installation.
Can I install a Maxi-Cosi car seat with a seat belt instead of a base?
Yes, if your exact model allows it. Maxi-Cosi’s Mico™ Luxe+ Infant Car Seat has rear-facing installation videos for both with-base and without-base setups, and it also supports rear-facing without a base using the vehicle belt. Check the guide for the correct belt path.
Where do I find the user guide or installation video for my Maxi-Cosi seat?
Open Maxi-Cosi’s Car Seat Support Center, choose the seat type, then search by item number to get the English user guide and the matching installation video. If the seat has both ISOFIX and belt options, open the video that matches the way you plan to install it.
Products related to this article
Sponsored / affiliate links. As an Amazon Associate I earn from qualifying purchases. I may earn additional commission from eligible campaigns.