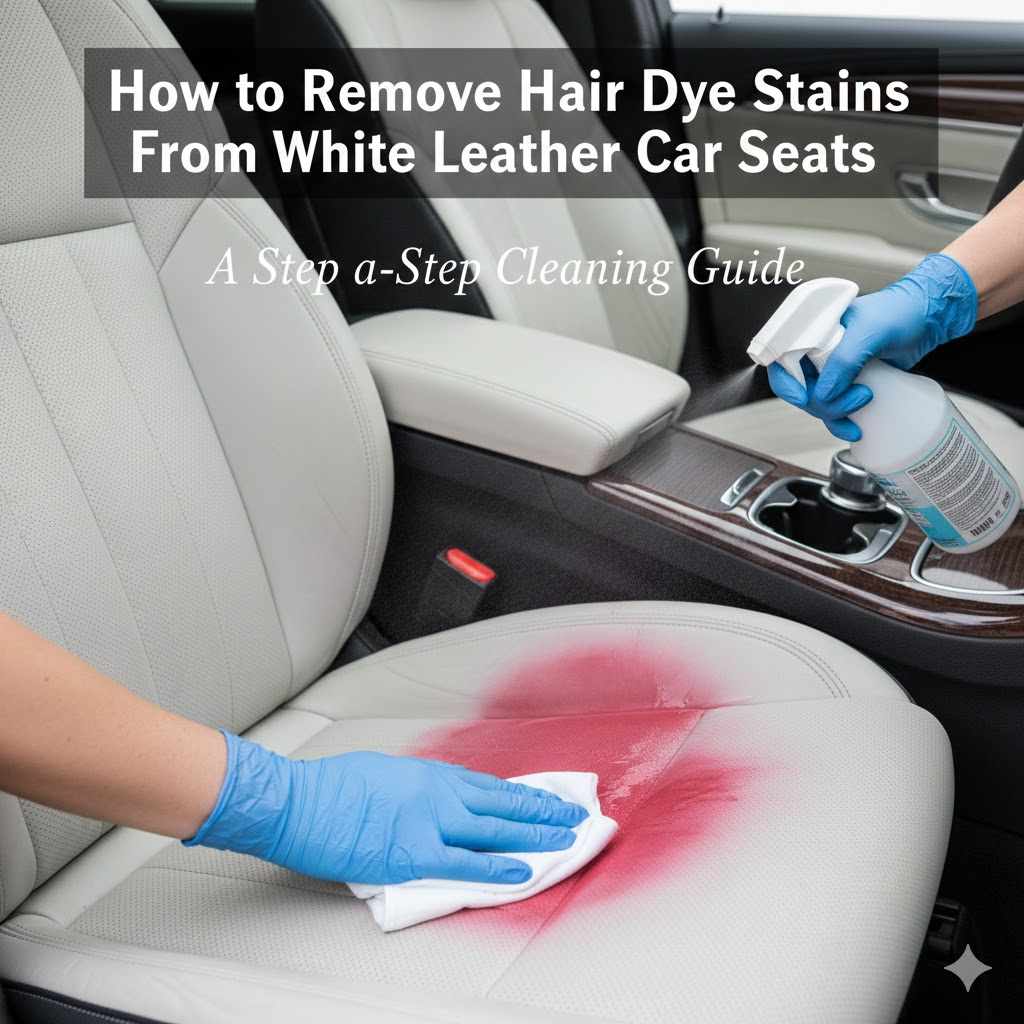
How to Remove Hair Dye Stains From White Leather Car Seats
It can be a real worry when hair dye accidentally lands on your nice white leather car seats. It feels like a big problem because white leather can show almost anything. Getting out these tough stains can seem tricky, especially if you’re new to cleaning them.
But don’t fret! We’ve got a simple plan to help you remove hair dye stains from white leather car seats. We’ll walk you through it step by step so you can get your seats looking great again.
Understanding Hair Dye Stains On Leather
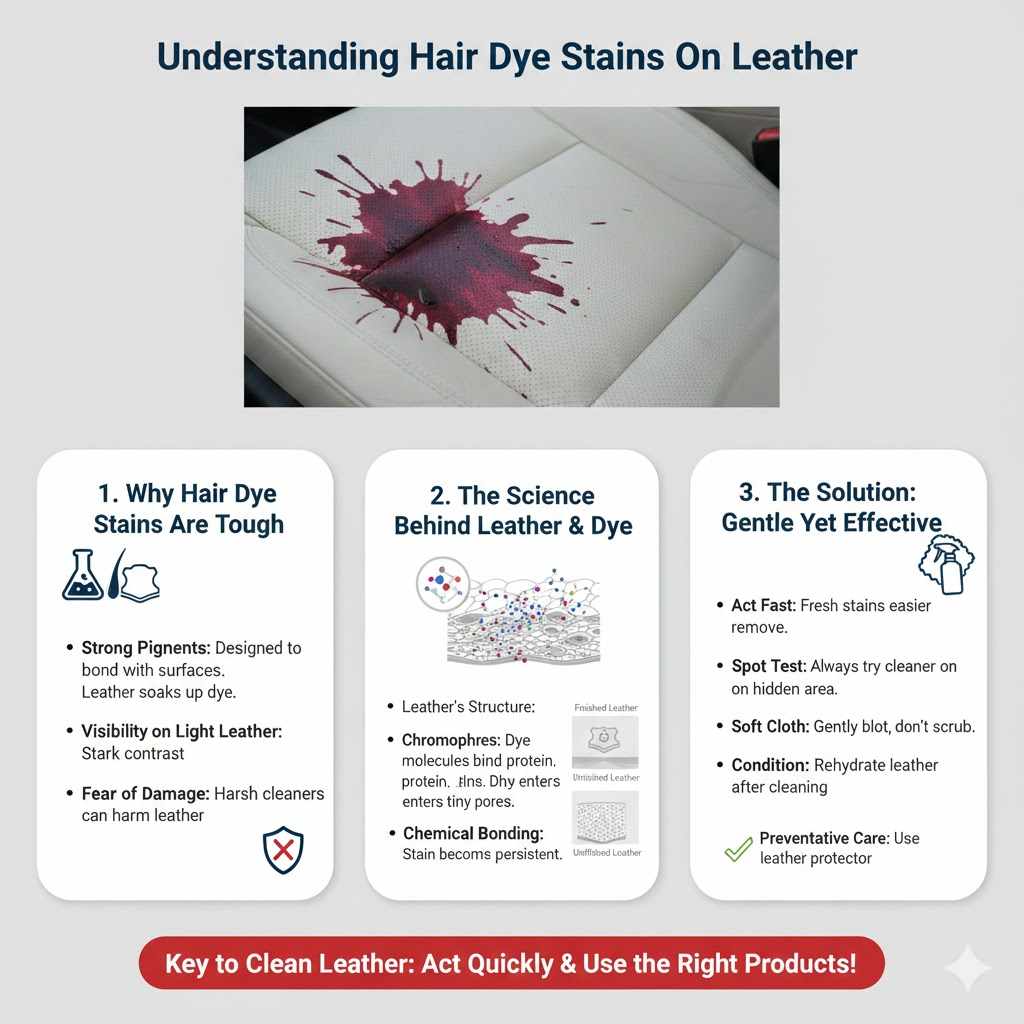
Hair dye stains on leather, especially white leather, are a common concern for car owners. The dyes used in hair coloring are highly pigmented and designed to bond with surfaces, making them stubborn. When these dyes come into contact with porous materials like leather, they can quickly seep into the surface.
White leather is particularly vulnerable because the contrast with the dye color is so stark, making any mark highly visible. This means even a small spill can feel like a major issue. Beginners often worry because they fear using the wrong cleaning product might damage the leather, making the stain worse or creating new problems like discoloration or drying out the material.
The goal is to lift the dye without harming the leather’s finish.
Why Hair Dye Stains Are Tough
Hair dye contains strong chemicals and pigments. These are made to stick to hair very well. When they hit leather, especially light-colored leather, they act like ink.
They want to soak into the material’s tiny pores.
This soaking in makes them hard to remove. It’s not like a simple dirt smudge that you can just wipe away. The color has actually started to bond with the leather fibers.
The lighter the leather, the more obvious and difficult the stain becomes to tackle.
Many people worry they will damage the leather if they scrub too hard or use the wrong cleaner. This is a valid concern. Leather is a natural material, and harsh chemicals can dry it out, crack it, or change its color.
The challenge is finding a balance. You need something strong enough to break down the dye but gentle enough for the leather. This balance is what makes beginners hesitant.
They are unsure where to start or what products are safe and effective.
The Science Behind Leather and Dye
Leather is a natural material made from animal hides. It has a complex structure of fibers. These fibers are porous, meaning they have tiny holes.
This porosity is what allows leather to breathe and feel soft.
However, this same porosity is why dyes can be so difficult to remove. Hair dye contains potent coloring agents, often called chromophores. These molecules are specifically designed to bind to protein structures, which are abundant in both hair and leather.
When hair dye spills, these chromophores penetrate the leather’s pores. They attach themselves to the protein matrix of the leather. This chemical bonding is what makes the stain so persistent.
It’s not just sitting on the surface; it’s part of the material now.
Different types of leather finishes can affect how easily a stain can be removed. For example, finished or coated leathers (like top-grain or full-grain with a protective coating) might be less porous than unfinished or aniline leathers. The coating can act as a barrier, preventing the dye from penetrating too deeply.
However, even on finished leather, the dye can still stain the protective layer or find its way through imperfections.
Removing the dye requires breaking these chemical bonds or lifting the pigment from the pores without damaging the leather’s structure or natural oils. This is why gentle, yet effective, cleaning methods are essential.
Gather Your Cleaning Supplies
Before you start trying to remove hair dye stains from white leather car seats, it’s important to have the right tools. Using the wrong products can make the problem worse. You want to gather a few simple things that are commonly found around the house or easily bought at a store.
This preparation makes the cleaning process smoother and more effective. Having everything ready means you can act quickly once you begin.
Essential Cleaning Agents
You’ll need a few key items. First, a gentle, pH-neutral leather cleaner is a good starting point. This is designed specifically for leather and won’t strip its natural oils.
Look for products that say they are safe for all leather types.
Another option is a mild soap. A very diluted solution of mild dish soap (like Dawn) or a gentle liquid hand soap can work. Make sure it’s not a harsh detergent.
The key is dilution to avoid damaging the leather.
For tougher stains, you might consider is a specialized leather dye remover. These are made to target dye stains specifically and are formulated to be safe for leather when used as directed. Always test these in an inconspicuous area first.
Rubbing alcohol (isopropyl alcohol) can also be effective, but it must be used with extreme caution. It can dry out leather very quickly. It should be diluted and used only on the stain itself, followed by immediate conditioning.
Baking soda is another household item that can be useful. It’s a mild abrasive and can help lift stains. You can make a paste with it.
Tools for Application and Removal
You’ll need soft, lint-free cloths. Microfiber cloths are ideal because they are absorbent and won’t scratch the leather. Have several on hand.
Cotton swabs (Q-tips) are excellent for targeting small stain areas. They allow for precise application of cleaning solutions without spreading the stain.
A soft-bristled brush, like a toothbrush with very soft bristles, can help gently work cleaning solutions into the stain without causing damage.
A small bowl or container is useful for mixing cleaning solutions.
Finally, a good quality leather conditioner is absolutely necessary. After cleaning, leather needs to be rehydrated to prevent it from drying out and cracking.
Testing Cleaners Safely
Before you apply any cleaning product to a visible stain, you must test it. Find a hidden spot on the leather. This could be under the seat, on the side of a seat bolster, or a small corner that isn’t usually seen.
Apply a small amount of the cleaner you plan to use to this hidden area. Use a cotton swab or a corner of your microfiber cloth.
Let it sit for the amount of time recommended for the cleaning product, or for a few minutes if you’re using a homemade solution.
Then, gently wipe the area clean with a damp cloth. Let it dry naturally. Check for any changes in color, texture, or finish.
If there are no negative effects, the cleaner is likely safe to use on the stain.
Step-By-Step Stain Removal Process
Now that you have your supplies, it’s time to tackle that hair dye stain. We’ll go through the process methodically. This is designed to be easy to follow, even if you’ve never cleaned leather stains before.
The key is patience and gentle action. We want to lift the stain, not push it deeper or damage your car’s seats.
Step 1 Blotting Fresh Stains
If the hair dye is fresh, act fast! The sooner you treat it, the easier it will be to remove. Grab a clean, dry, lint-free cloth immediately.
Gently blot the stain. Do not rub! Rubbing will spread the dye and push it deeper into the leather pores.
Continue blotting with fresh sections of the cloth until no more dye transfers to the cloth. This initial blotting removes as much of the excess dye as possible from the surface. It’s a crucial first step that makes all the subsequent cleaning much more effective.
For very fresh, wet dye, you can even use a bit of paper towel. Just be careful not to press too hard. The goal is absorption, not smearing.
Once you’ve blotted as much as you can, you can proceed to cleaning solutions.
Step 2 Applying a Gentle Cleaner
Start with your pH-neutral leather cleaner. Apply a small amount to a clean microfiber cloth, not directly to the seat. Gently dab the stained area.
Work from the outside of the stain inward. This prevents spreading.
Do not saturate the leather. You just want to moisten the stained area enough to lift the dye. Let the cleaner sit for a minute or two, depending on the product’s instructions.
Gently wipe the area with a clean, damp cloth to remove the cleaner and lifted dye. Then, use a dry cloth to absorb any excess moisture.
Step 3 Using Mild Soap Solution
If the leather cleaner didn’t fully remove the stain, you can try a very diluted mild soap solution. Mix a tiny drop of mild dish soap or liquid hand soap with a cup of lukewarm water. Dip a cotton swab or a corner of a microfiber cloth into the solution.
Wring it out well so it’s damp, not wet.
Gently dab the stain. Again, work from the outside in. Avoid scrubbing.
After dabbing, wipe the area clean with a cloth dampened with plain water. Then, dry the area thoroughly with a clean, dry cloth.
This method uses the soap’s slight degreasing properties to help lift the pigment without being overly harsh. The dilution is key to protecting the leather’s natural oils and finish.
Step 4 Trying Rubbing Alcohol (With Caution)
For stubborn stains, rubbing alcohol can be effective, but it’s a last resort for many as it can be drying. Dilute it: mix one part rubbing alcohol with two parts water. Dip a cotton swab into this solution and wring out any excess.
Gently dab the stain. Work very carefully and only on the stained spot. Do not let it soak into the leather.
As soon as you see the dye lifting onto the swab, switch to a clean swab.
Immediately after treating the stain with alcohol, wipe the area with a cloth dampened with plain water. Then, dry it completely with a soft cloth. This step must be followed by prompt conditioning.
If the alcohol seems to be affecting the leather’s color or texture even when diluted, stop using it immediately.
Step 5 Using Baking Soda Paste
Another option for stubborn stains is a baking soda paste. Mix baking soda with a small amount of water until it forms a thick paste. Apply this paste directly to the stain with a cotton swab or your finger.
Let the paste sit on the stain for about 10-15 minutes. It will help draw the dye out of the leather.
After the paste has sat, gently wipe it away with a clean, damp cloth. Rinse the cloth frequently. Once the paste is gone, wipe the area with plain water again, and then dry thoroughly with a soft cloth.
Baking soda acts as a mild abrasive and absorbent. It can help lift dried-on dye and soak up remaining pigment. Be gentle when wiping it off to avoid scratching the leather.
Step 6 Conditioning the Leather
After cleaning, your leather needs moisture. Apply a good quality leather conditioner to the entire area you cleaned, and ideally to the whole seat. This replenishes the natural oils that may have been stripped during cleaning.
Use a clean, soft cloth to apply the conditioner in a thin, even layer. Buff it in gently. Let it soak in for a few minutes, then buff off any excess with another clean cloth.
Conditioning is vital. It keeps the leather soft, supple, and protected against future stains and damage. Without it, the leather can become dry, brittle, and prone to cracking over time.
Step 7 Repeat if Necessary
Some stubborn stains might not come out completely in the first attempt. If you still see some color, you can repeat the cleaning process. Always allow the leather to dry fully between attempts.
Start again with the gentlest method first. If that doesn’t work, move to the next level of cleaner. Be patient.
It might take a few tries to fully remove a deeply set hair dye stain from white leather car seats.
The goal is to be persistent but gentle. Over-scrubbing or using harsh chemicals repeatedly can cause permanent damage. It’s better to do several gentle treatments than one aggressive one.
Preventing Future Stains
Once you’ve successfully cleaned your white leather car seats, you’ll want to avoid future mishaps. Prevention is always easier than cure, especially when dealing with delicate materials like white leather. Taking a few simple precautions can save you a lot of worry and effort down the line.
Think of these as easy habits to protect your car’s interior.
Be Mindful During Hair Dyeing
The most effective way to prevent hair dye stains is to be extremely careful when you are dyeing your hair. If you dye your hair at home, make sure you are in a well-ventilated area, preferably one with easy-to-clean surfaces.
Wear old clothes and cover your car seats if you are in or near your vehicle. Even a small drip can cause a noticeable mark on white leather. Consider placing old towels or seat covers over your car seats if you are doing your hair in a garage or driveway.
Always have cleaning supplies ready before you start dyeing your hair. This way, if an accident happens, you can deal with it instantly. Quick action is key to preventing stains from setting.
Use Seat Covers and Towels
For everyday protection, especially if you dye your hair regularly or transport people who might have dyed hair, consider using seat covers. There are many types available, from custom-fit ones to simple throw-over covers.
Having a dedicated towel or a small disposable mat can be very useful. If you know you have just dyed your hair and need to get into your car, place this towel or mat over the seat before sitting down. This creates a barrier between your hair and the leather.
These protective measures are low-cost and can save you the stress and potential expense of deep cleaning or even professional upholstery repair. They are especially helpful if you have kids or pets who might also track colorants into the car.
Regular Leather Care
Keeping your leather well-maintained is another proactive step. Regularly clean and condition your car’s leather seats. Clean leather is less porous and more resistant to staining.
Conditioning keeps the leather supple and helps it repel liquids.
A good leather care routine involves cleaning spills as soon as they happen. Also, apply a leather conditioner every few months. This will help maintain the leather’s natural protective barrier.
A well-conditioned leather surface is less likely to absorb liquids quickly, giving you more time to wipe them up before they become a serious stain. It also makes the leather more resilient to wear and tear.
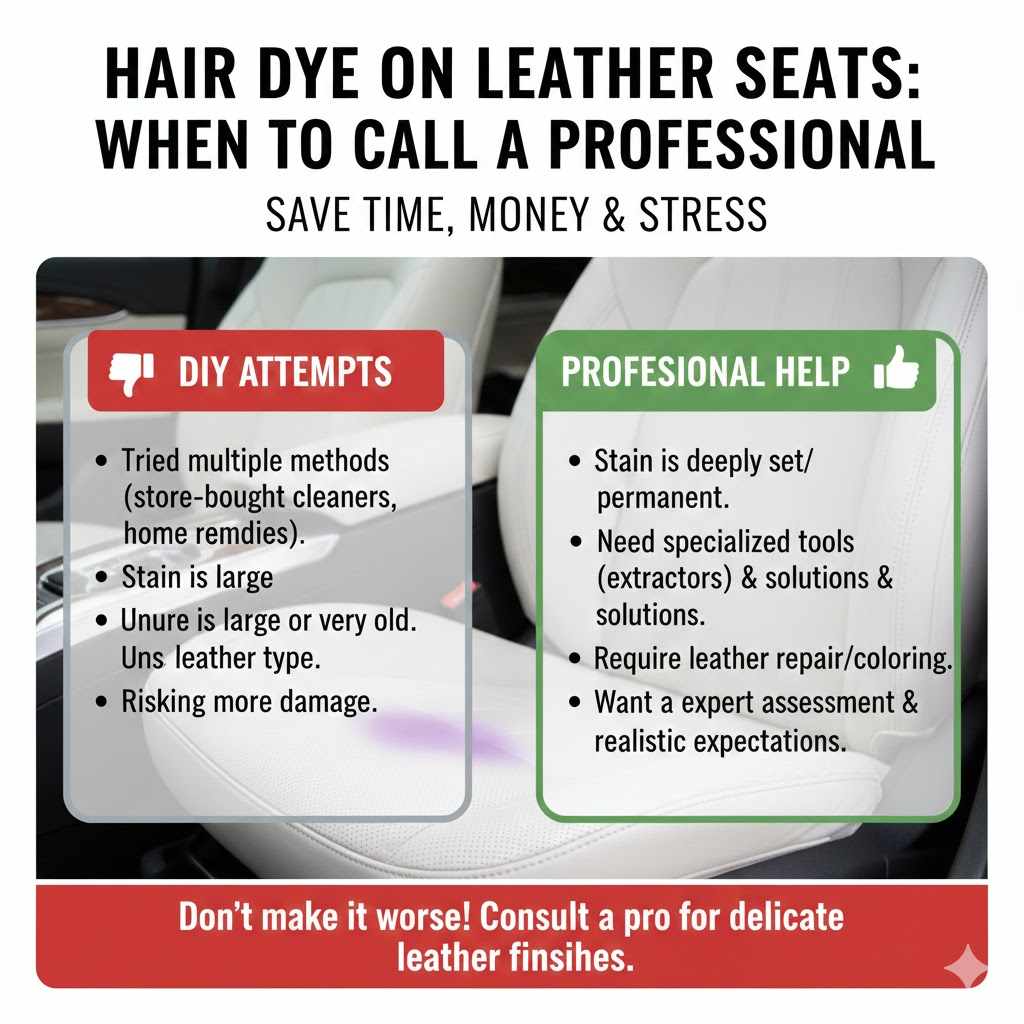
When to Call a Professional
While many hair dye stains on white leather car seats can be managed with DIY methods, there are times when professional help is the best option. If you’ve tried several cleaning methods without success, or if the stain is very large or old, a professional detailer or leather repair specialist might have the tools and expertise to handle it.
They have access to specialized cleaning agents and techniques that are not available to the general public. They can also assess the type of leather and the severity of the stain more accurately. Attempting to clean a very difficult stain yourself could potentially cause more damage than good.
Sometimes, a stain might have set so deeply that professional restoration is needed. This is particularly true for older vehicles or those with very delicate leather finishes. Professionals can often repair or recolor areas of the leather if the dye has caused permanent discoloration.
Recognizing a Professional Job
A professional detailer or leather specialist will have specific equipment, like high-powered extractors and specialized cleaning solutions. They will also have extensive training in identifying different leather types and the best ways to treat them.
They can often provide an assessment of the damage and give you a realistic expectation of what can be achieved. This includes knowing when a stain is permanent or when repair is the only viable option.
If you’re unsure about cleaning the stain yourself, or if you’ve made the situation worse through attempts, it’s always wise to consult a professional. They can save you time, money, and stress in the long run.
Frequently Asked Questions
Question: How quickly should I try to clean a hair dye stain on white leather car seats
Answer: You should try to clean a hair dye stain as quickly as possible. Fresh stains are much easier to remove than set-in stains. The sooner you act, the better your chances of complete removal.
Question: Can I use bleach to remove hair dye stains from leather
Answer: No, you should never use bleach on leather. Bleach is a very harsh chemical that will likely damage the leather, strip its color, dry it out, and cause permanent discoloration.
Question: What is the best way to remove a really old hair dye stain
Answer: For very old stains, you may need to try a dedicated leather dye remover or consult a professional detailer. Multiple gentle cleaning attempts with various solutions might be necessary, always followed by conditioning.
Question: Will conditioning the leather help with existing stains
Answer: Conditioning will not directly remove an existing stain. However, it is crucial after cleaning to restore moisture to the leather. It also helps protect the leather and can make future stains easier to remove.
Question: Can I use baby wipes to clean hair dye from leather
Answer: Some baby wipes might contain mild cleaning agents, but they can also contain alcohols or perfumes that could be harsh on leather. It’s best to use products specifically designed for leather or mild, diluted soap and water.
Conclusion
Successfully removing hair dye stains from white leather car seats is achievable. Focus on quick action, gentle cleaning methods, and always condition the leather afterward. Patience and the right products are your best allies.