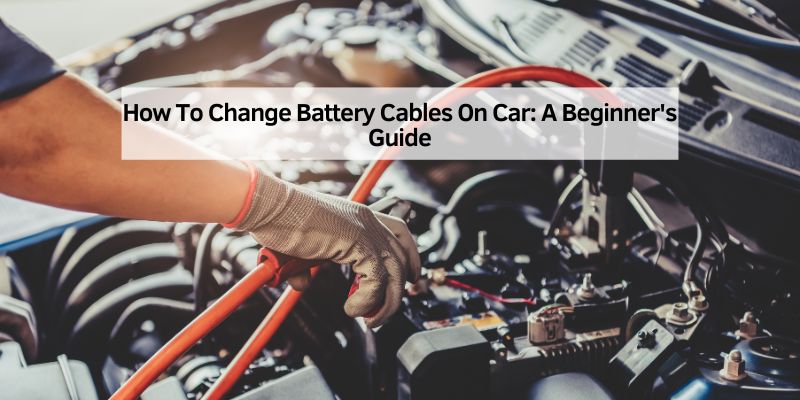
How to Change Battery Cables on a Car: Signs, Gauge & Steps
My first time changing battery cables was a bit of a mess—I zapped myself with a spark and nearly dropped a wrench on my foot! But don’t worry, I’ve learned the ropes since then, and I’m here to guide you through this simple car fix. This article will walk you through how to change battery cables on a car, step by step, with easy tips and tricks. Whether you’re a beginner, a car enthusiast, or a seasoned DIYer, you’ll find clear advice to get your car’s electrical system humming. We’ll cover what battery cables do, tools you need, safety tips, and common mistakes to avoid. Let’s make this a breeze!
Quick Answer
To change car battery cables: disconnect the negative (-) cable first, then the positive (+), clean the terminals, then reconnect positive first and negative last. Use 4 to 2 AWG copper cable matched to your old cable’s gauge, and replace any cable with frayed wire, melted insulation, or corrosion creeping inside the jacket rather than just cleaning the terminal.
What Are Battery Cables and Why Do They Matter?
Battery cables are thick wires that connect your car’s battery to its electrical system. They carry power to start the engine and run things like your radio or lights. Think of them as the car’s lifeline for electricity. If they’re worn, corroded, or broken, your car might not start, or it could act weird, like flickering lights. Replacing them is a cheap fix—usually $20-$50 for cables—compared to towing or mechanic bills. I learned this the hard way when my old sedan wouldn’t start, and new cables saved the day!
Tools and Materials You’ll Need
You don’t need a fancy toolbox to swap battery cables. Here’s what I use, all easy to find at auto stores or online:
- Wrench or socket set (usually 8mm or 10mm for battery bolts)
- Wire brush or battery terminal cleaner
- Gloves and safety glasses (trust me, sparks aren’t fun)
- New battery cables (red for positive, black for negative)
- WD-40 (for rusty bolts)
- Petroleum jelly (to prevent corrosion)
Table 1: Tool Comparison for Changing Battery Cables
| Tool | Cost | Why It’s Handy |
|---|---|---|
| Wrench Set | $10-$20 | Loosens bolts easily |
| Socket Set | $15-$30 | Faster for tight spaces |
| Wire Brush | $5-$10 | Cleans corrosion off terminals |
Caption: Pick a wrench or socket set based on your budget and comfort. A wire brush is a must for a clean connection.
Our Top Pick
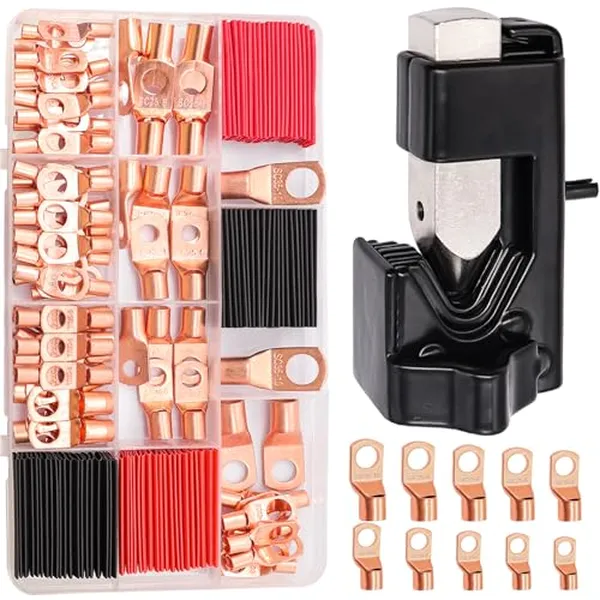
Taiss 160-Piece Battery Cable Crimper & Lug Kit
Best for: Making your own new cable ends in 4, 6, or 8 AWG once you cut the old cable to length.
Why we picked it: Includes the hammer-crimp tool and a full assortment of copper lugs with heat-shrink, so you can size the new cable exactly instead of hoping a pre-made replacement fits.
Main drawback: Hammer crimping takes a bit more elbow grease than a hydraulic crimper.
View Our Pick on Amazon
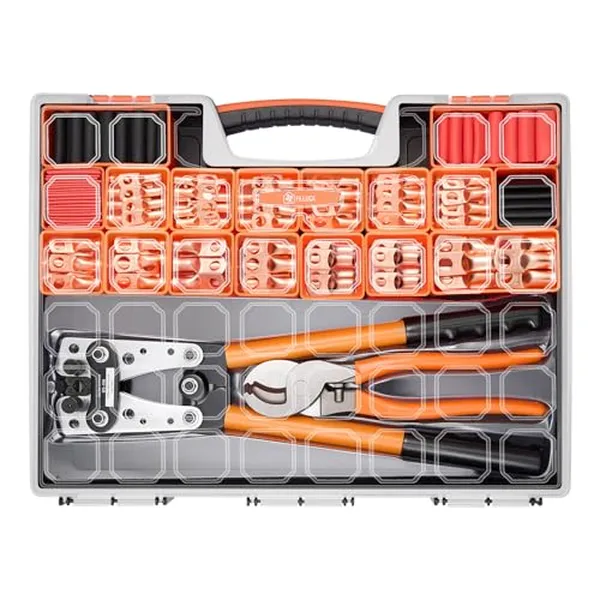 Filluck 245-Piece Cable Ends Kit Best for: Bigger gauge ranges (2 AWG down to 2/0). Why we picked it: Covers heavy trucks and relocated batteries that need thicker cable, plus a wire cutter. Main drawback: Overkill if you only need one or two ends. Check on Amazon |
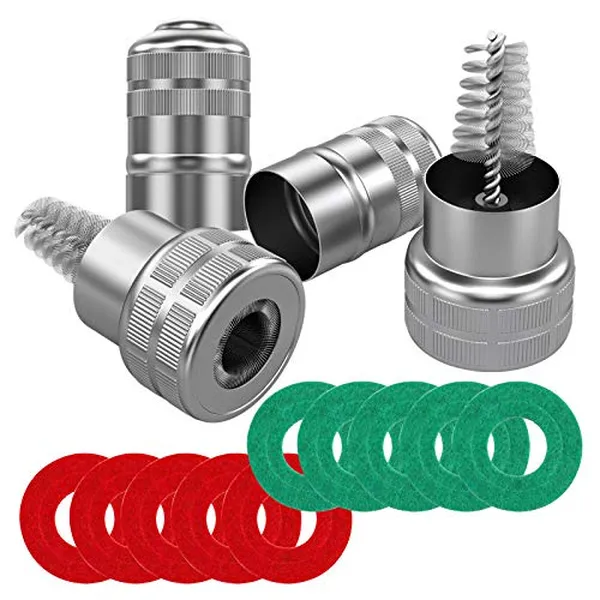 TKDMR Terminal Cleaner + Anti-Corrosion Washers Best for: Step 6 — scrubbing corrosion off the posts before you bolt on new cables. Why we picked it: The dual-brush design cleans both the post and the inside of the clamp, and the fiber washers help block new corrosion. Main drawback: Washers are a nice-to-have, not a fix for a bad cable. Check on Amazon |
 Permatex 22058 Dielectric Grease Best for: The last step — sealing out moisture and acid once the new cables are bolted on. Why we picked it: A trusted, widely-stocked brand; a thin coat on the post and clamp slows corrosion far better than petroleum jelly alone. Main drawback: A little goes a long way — don’t overdo it. Check on Amazon |
How Do You Know It’s the Cable (Not Just the Terminal)?
A lot of “battery won’t start” problems turn out to be a dirty terminal, not a bad cable — cleaning the post fixes those. But sometimes the cable itself is the problem, and no amount of scrubbing will fix it. Here’s how to tell the difference before you start disconnecting anything.
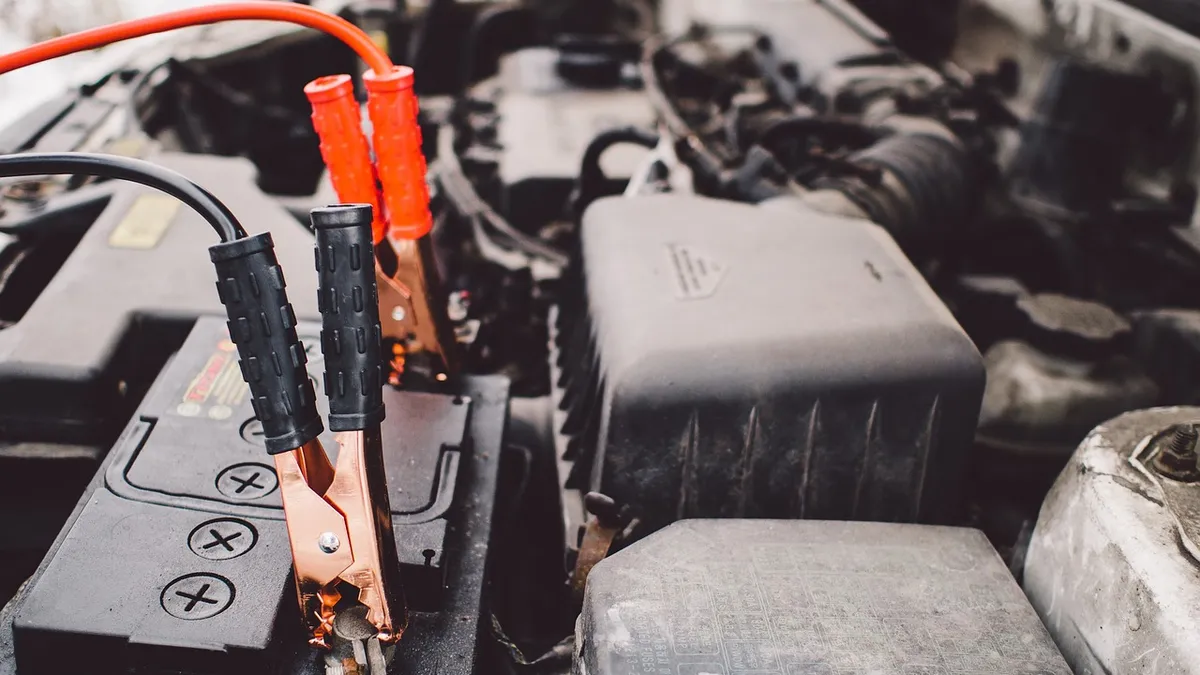
- Frayed or exposed wire strands: If you can see bare copper through cracked or split insulation, replace the cable. Exposed strands invite corrosion and can short against metal parts of the engine bay.
- Melted, bubbled, or discolored insulation: This usually means the cable overheated at some point, often from a loose connection, a short, or a cable that’s too thin for the current it’s carrying. Even if it “still works,” a cable that’s been hot once is a fire risk waiting to happen again.
- Corrosion creeping inside the insulation (not just on the exposed terminal): Squeeze the cable a few inches back from the clamp. If it feels stiff, crusty, or crunchy instead of flexible, battery acid has wicked up inside the jacket and is corroding the strands you can’t see. Cleaning the visible post won’t fix this — the corrosion is already inside the wire.
- A cable that’s too short or stretched taut: Common after a battery relocation, a battery tray swap, or an aftermarket stereo/alarm install that moved things around. A cable under constant tension will eventually crack at the clamp or pull the terminal loose.
If your car’s cables show any of these signs, cleaning won’t help — jump to the step-by-step guide below and swap the cable itself.
Step-by-Step Guide to Change Battery Cables
Here’s how I change battery cables on a car. Follow these steps, and it’ll be a piece of cake!
Step 1: Stay Safe and Prep
Turn off your car and pop the hood. Make sure it’s in park (or parking brake on for manuals). Remove the keys to avoid any oops moments. Put on gloves and safety glasses—electricity isn’t a toy. I once skipped gloves and got a tiny shock. Not cool!
Step 2: Find the Battery
Look for a black box with two metal posts, usually near the front of the engine bay. Some cars hide it under a cover or in the trunk (check your manual). My old Honda’s battery was tucked on the right side, easy to spot.
Step 3: Identify Positive and Negative
The battery has two terminals: positive (+) and negative (-). Red cables are usually positive, black are negative. If they’re both black, follow the cable—negative goes to the car’s body or engine, positive to the starter. Double-check to avoid mix-ups.
Step 4: Disconnect the Negative Cable First
Always start with the negative cable to break the circuit safely. Loosen the bolt with a wrench (turn counterclockwise). If it’s stuck, spray WD-40 and wait a minute. Wiggle the cable off gently. I mark the negative terminal with tape to avoid confusion later. (If you’re only swapping a battery rather than the cables themselves, our guide on which terminal to connect first on a car battery covers that specific job in more depth.)
Step 5: Disconnect the Positive Cable
Now loosen and remove the positive cable the same way. Be gentle—don’t yank! If there’s a plastic cover, squeeze the clips to open it. Set both cables aside so they don’t touch the battery.
Step 6: Clean the Terminals
Use a wire brush to scrub corrosion off the battery posts. They should shine like new. Corrosion looks like white or green gunk and can block power. I once skipped this step, and my car still struggled to start—lesson learned!
Step 7: Install New Cables
Start with the positive cable. Attach it to the positive (+) terminal and tighten the bolt snugly (don’t overdo it). Then connect the negative cable to the negative (-) terminal — positive first, negative last, every time. Rub a bit of petroleum jelly or dielectric grease on both to stop future corrosion.
How tight should the clamp be? Most top-post clamps are spec’d around 5-7 Nm (roughly 44-62 in-lb) — snug enough that the cable doesn’t wiggle, but not so tight you crack the battery’s soft lead post. If you don’t have a torque wrench, hand-tight plus a firm quarter-turn with a wrench is a reasonable rule of thumb. For a refresher on the safe reconnect order when you’re putting in a whole new battery instead of new cables, see which terminal to connect first when installing a new car battery.
Step 8: Test Your Work
Hop in and turn the key. Your car should start smoothly, and lights should work fine. If not, check that connections are tight and clean. My first try failed because I forgot to tighten a bolt—easy fix!
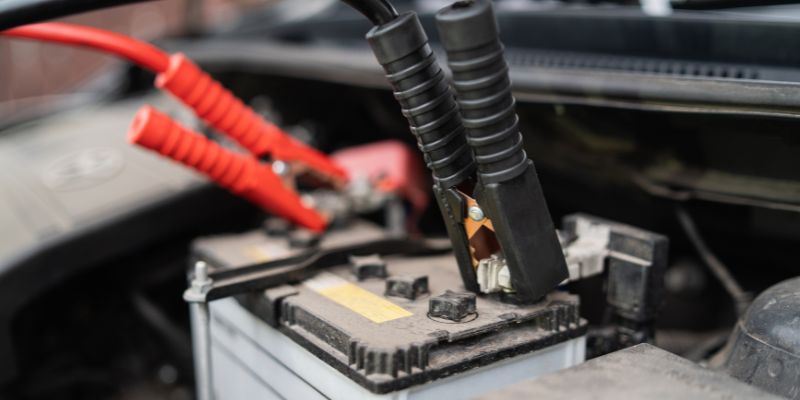
What Gauge Battery Cable Do I Need?
Most passenger cars use 4 AWG to 2 AWG cable for the main battery-to-starter and battery-to-ground runs — thick enough to handle a starter motor’s typical 100-150 amp draw without overheating. The right gauge depends mostly on how long the run is, not just what’s “standard”:
| Cable Run Length | Recommended Gauge | Typical Use |
|---|---|---|
| Up to 3 feet | 6 AWG | Short battery-to-starter runs on many compact cars |
| 3-7 feet | 4 AWG | Most sedans, coupes, and light trucks |
| 7-10 feet | 2 AWG | Trucks/SUVs with a rear- or trunk-mounted battery |
| Over 10 feet | 1/0 AWG | Relocated batteries, high-draw accessories, continuous 100A+ loads |
The easiest way to match gauge is to check the old cable — most are printed with the AWG size right on the jacket. If the print has worn off, take the old cable (or its lug) to an auto parts store and match it by eye, or measure the bare copper’s diameter with calipers. When in doubt, size up rather than down: a slightly thicker cable never hurts, but one that’s too thin can overheat under a hard crank or a hot engine bay.
Benefits and Drawbacks of Replacing Battery Cables
Why It’s Worth It
- Saves Money: New cables cost less than a tow or mechanic visit.
- Quick Fix: Takes 20-30 minutes, even for beginners.
- Better Performance: Clean connections mean a happier car.
Drawbacks to Watch For
- Wrong Cables: Get the right size for your car (check your manual or ask at the store).
- Corrosion Returns: Use petroleum jelly to keep it at bay.
- Hidden Issues: If cables don’t fix the problem, the battery or starter might be the culprit.
Table 2: Cost Comparison for Battery Cable Replacement
| Option | Cost | Pros | Cons |
|---|---|---|---|
| DIY | $20-$50 | Cheap, learn a skill | Takes time, small risk |
| Mechanic | $100-$200 | Fast, professional | Pricey, wait time |
Caption: Doing it yourself saves cash but takes a bit of effort. Weigh your options!
My Top Tips for Success
After a few cable swaps, here’s what I’ve learned to make it smooth:
- Check Cable Length: Make sure new cables reach where the old ones did. Measure if you’re unsure.
- Double-Check Connections: Loose bolts cause trouble. Snug is good, but don’t strip the bolt.
- Keep a Rag Handy: Corrosion dust can be messy. Wipe it up to keep things tidy.
Common Mistakes to Avoid
- Mixing Up Cables: Connecting positive to negative can fry your car’s system. Label them if needed.
- Skipping Safety Gear: Gloves and glasses protect you from sparks or acid.
- Not Cleaning Terminals: Gunk blocks power, so scrub well.
I once mixed up the cables and got a scary spark. Now I always double-check with a quick glance at the battery’s + and – signs.
Alternative Approaches
If new cables don’t fix your car, try these:
- Test the Battery: Auto stores can check if it’s dead (free at most places).
- Check the Starter: A bad starter mimics cable issues. Listen for a click when you turn the key.
- Clean with Baking Soda: Mix with water to scrub tough corrosion off terminals.
Frequently Asked Questions
Why Do Battery Cables Go Bad?
Cables get corroded from battery acid or wear out over time. Heat, moisture, or loose connections speed this up. Check them yearly to catch issues early.
How Do I Know If My Cables Need Replacing?
Look for corrosion, frayed wires, or if your car won’t start. Flickering lights or weak starts are clues. Test with a multimeter if you’re advanced.
Can I Use Universal Cables?
Yes, but make sure they fit your car’s battery and reach the connections. Check your car’s manual or ask at the store for the right size.
Is It Safe to Change Cables Myself?
Yes, if you follow safety steps. Disconnect the negative cable first, wear gloves, and keep tools away from both terminals at once.
How Long Does It Take to Change Battery Cables?
About 20-30 minutes for beginners. With practice, it’s a 15-minute job. Have tools ready to speed things up.
What If My Car Still Won’t Start?
Check the battery or starter. A dead battery or faulty starter can act like bad cables. Auto stores can test both for free.
How Can I Prevent Corrosion?
Use petroleum jelly on terminals after connecting. It blocks moisture and acid. Check cables every few months for gunk buildup.
What Gauge Cable Do I Need for My Car?
Most cars need 4 AWG to 2 AWG cable, depending on the length of the run. Match the gauge printed on your old cable, or size up if you’re unsure — a thicker cable is safer than one that’s too thin.
Do I Need to Replace Both Cables, or Just the Bad One?
You can replace just the cable that’s actually damaged. If only the negative (ground) cable is frayed or corroded inside, there’s no need to replace the positive one too — just make sure any new cable matches the old one’s gauge and terminal type.
Conclusion
Changing battery cables is a simple, money-saving fix anyone can tackle. With the right tools, the right gauge, and a bit of care for the disconnect/reconnect order, you’ll have your car running smoothly in 20-30 minutes. If you’re just swapping the battery itself rather than the cables, see our guide on which cable goes on a car battery first for that specific process. For more car tips, check out YourMechanic or CarTalk.
Products related to this article
Sponsored / affiliate links. As an Amazon Associate I earn from qualifying purchases. I may earn additional commission from eligible campaigns.