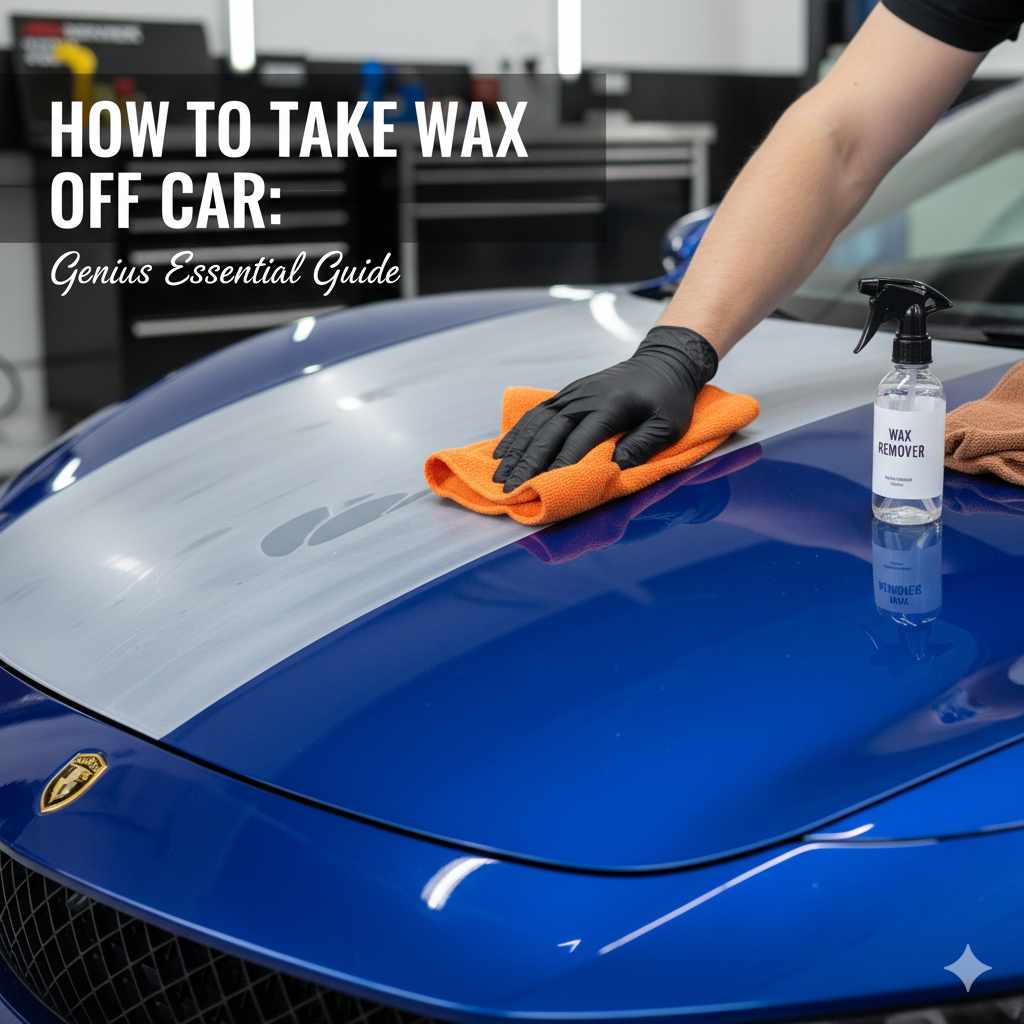
How To Take Wax Off Car: Genius Essential Guide
Get stubborn car wax residue off your vehicle quickly and easily with simple household items and gentle techniques, restoring your car’s shine without damage. This guide provides foolproof steps for a perfect finish every time.
How To Take Wax Off Car: Your Genius Essential Guide
Ever finished waxing your car, only to notice white, chalky streaks and spots left behind? It’s a common frustration that can mar the otherwise beautiful shine you worked so hard to achieve. This waxy residue often clings stubbornly to trim, seals, and even textured plastic, making your car look unfinished and dull. Don’t worry if this has happened to you! Removing that unwanted wax is simpler than you might think, and with the right approach, you can banish those hazy marks and reveal the true gleam of your vehicle.
In this guide, I’ll walk you through easy, step-by-step methods using everyday items and a little bit of know-how. We’ll cover the most effective ways to lift that wax without harming your car’s surfaces. Get ready to reclaim that showroom shine!
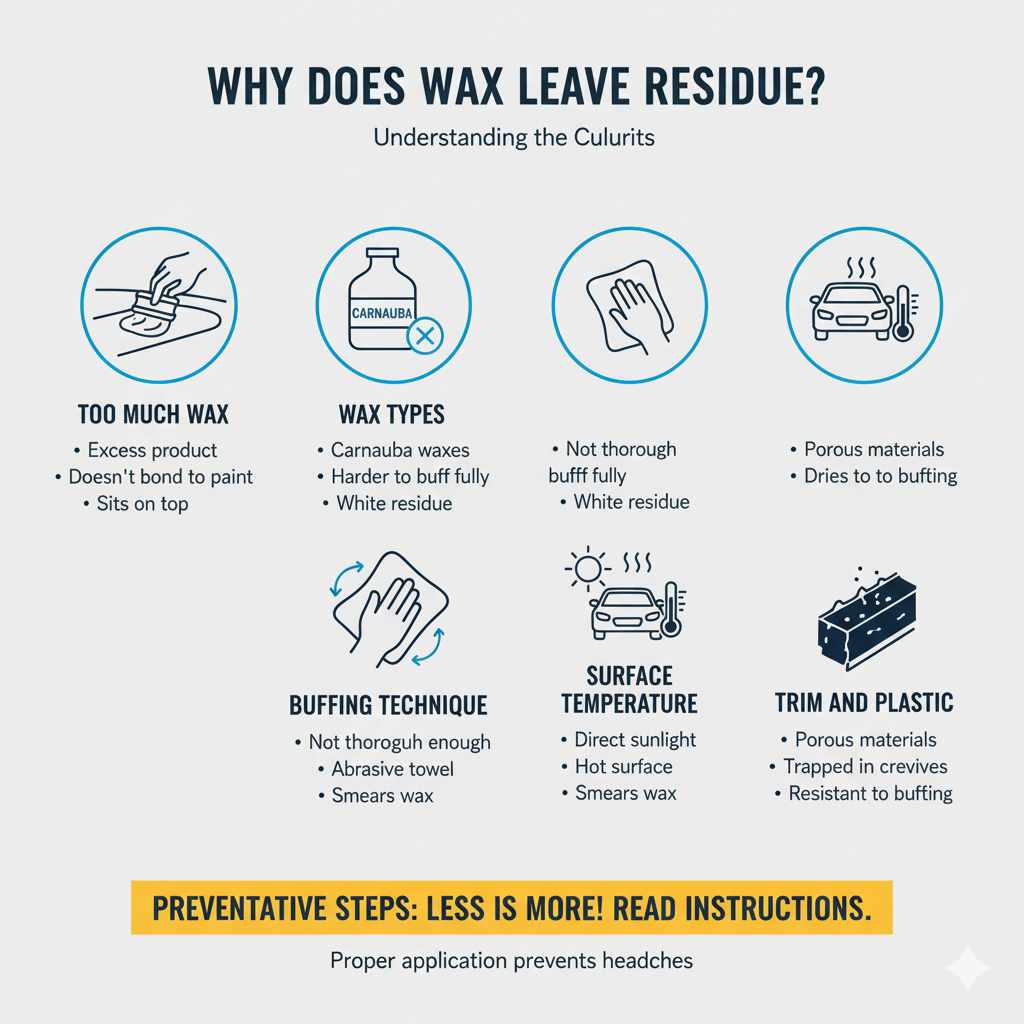
Why Does Wax Leave Residue?
Before we dive into the removal process, let’s understand why this happens. It’s usually a combination of factors:
- Too Much Wax: Applying more wax than the surface can hold is the most common culprit. Excess product doesn’t bond to the paint and instead sits on top, waiting to become a nuisance.
- Wax Types: Carnauba waxes, especially cheaper formulas, can sometimes be harder to buff off completely and are more prone to leaving a white residue.
- Buffing Technique: Not buffing thoroughly enough or using a towel that’s too abrasive can smear the wax rather than remove the excess cleanly.
- Surface Temperature: Applying wax in direct sunlight or on a hot surface can cause it to dry too quickly, making it difficult to remove.
- Trim and Plastic: These materials are porous and textured. Wax easily gets trapped in the microscopic pores and crevices, making it resistant to simple buffing.
Essential Tools You’ll Need
You probably have most of these items around your home already! Gathering your supplies beforehand makes the whole process smoother.
- Microfiber Towels: Crucial for buffing and cleaning. Have plenty of clean ones handy. These are gentle and highly absorbent. You can find great microfiber towels from reputable automotive detailing suppliers.
- All-Purpose Cleaner (APC) or Dedicated Trim Cleaner: For tougher residue. Look for pH-neutral cleaners to be safe on most surfaces.
- Detailing Swabs or Soft Bristle Brushes: For getting into tight nooks and crannies.
- Warm Water: Sometimes, a little warmth is all you need.
- Gloves (Optional): If you’re using stronger cleaners.
- Buckets: For rinsing towels or diluting cleaners if needed.
The Easiest Ways To Take Wax Off Car
Let’s get straight to the methods. We’ll start with the simplest and move to slightly more involved techniques if needed.
Method 1: The Power of a Clean Microfiber Towel
Often, the residue is simply a matter of not buffing completely. A clean, dry microfiber towel is your first line of defense.
- Grab a Clean Microfiber Towel: Make sure it’s completely dry and free of any dirt or grit.
- Gently Buff in a Circular Motion: Work on one small section at a time. Use light to moderate pressure.
- Flip and Fold Your Towel: As the towel picks up wax, flip it to a clean side. Fold it to expose a fresh surface frequently. This prevents you from just spreading the wax around.
- Repeat as Needed: If one towel becomes saturated with wax, switch to a fresh one.
This method works best for fresh wax residue on painted surfaces where it hasn’t had a chance to harden or set into textured areas. For immediate removal after waxing, this is often all you need!
Method 2: Warm Water and a Microfiber Towel
If dry buffing isn’t cutting it, a little warmth can help soften stubborn wax.
- Dampen a Microfiber Towel: Use warm water – not hot, just comfortably warm to the touch. Wring out the towel so it’s damp, not dripping wet.
- Gently Wipe Affected Areas: Work on small sections. The dampness and warmth help lift the wax.
- Follow Up with a Dry Towel: Immediately buff the area dry with a separate, clean, dry microfiber towel. This removes the loosened wax and prevents water spots.
- Rinse and Repeat: If residue remains, you can repeat the process. Be sure to rinse your damp towel frequently in clean water to avoid re-applying wax.
This is particularly effective on painted surfaces and slightly textured plastics where the wax may have started to adhere more firmly.
Method 3: All-Purpose Cleaner (APC) or Trim Cleaner
For wax residue that has dried on, settled into trim, or is proving particularly stubborn, a mild cleaner is your next step. Always test any cleaner in an inconspicuous spot first.
Choosing the Right Cleaner:
- pH-Neutral APC: Many car-specific all-purpose cleaners are pH-neutral and safe for most automotive surfaces, including paint, plastic, rubber, and vinyl.
- Dedicated Trim Cleaners: These are formulated specifically for exterior plastic and rubber, making them a safe and effective choice for trim residue.
- Avoid Harsh Chemicals: Never use solvents like Goo Gone or WD-40 directly on painted surfaces or sensitive plastics unless specifically instructed by the product. While they might remove wax, they can also damage your car’s finish.
Steps for Using a Cleaner:
- Dilute if Necessary: If using an APC concentrate, follow the manufacturer’s recommended dilution ratio for light cleaning. A common starting point is 10:1 (water to APC), but check the label.
- Spray Lightly onto a Microfiber Towel or Brush: Don’t drench the surface directly, especially if it’s an area sensitive to overspray. Applying to your applicator (towel or brush) gives you more control.
- Gently Agitate: For painted surfaces or smooth plastic, use the damp (with cleaner) microfiber towel to gently wipe. For textured trim, use a soft-bristled brush or detailing swab dipped in the diluted cleaner. Work in small sections.
- Wipe Away Residue: Immediately follow up by wiping the area clean with a separate, damp microfiber towel (rinsed in plain water).
- Dry and Buff: Finish by drying and lightly buffing the area with a clean, dry microfiber towel.
- Rinse Thoroughly: After cleaning all affected areas, give them a final rinse with clean water to ensure no cleaner residue is left behind.
This method is excellent for wax stuck in the lines of trim, around emblems, and on textured plastic bumpers. For more persistent issues on plastic, specialized products designed for plastic care might be necessary, always following their specific instructions.
Method 4: Detail Brushes and Swabs for Tight Spots
Sometimes, the wax finds its way into places your towel just can’t reach. That’s where detail brushes and swabs shine.
- Detail Brushes: Look for brushes with soft synthetic bristles. These are designed for delicate automotive surfaces.
- Cotton Swabs: Perfect for very fine crevices, edges, and around emblems.
How to Use Them:
- Apply Cleaner to the Tool: Lightly dampen your detail brush or swab with your APC or trim cleaner.
- Gently Work the Area: Carefully brush or dab the wax residue. The tool will lift the wax from the tight spots.
- Wipe Up with Microfiber: Have a clean microfiber towel and a damp (plain water) microfiber towel ready. Wipe away the loosened wax and any cleaning solution immediately.
- Follow with a Dry Buff: Use a dry microfiber to finish.
These tools are invaluable for areas like panel gaps, around windshield wipers, door handles, and tight trim edges where wax loves to hide.
Dealing with Wax on Different Car Surfaces
The material of your car’s surface matters when removing wax residue.
Painted Surfaces
Wax is generally easiest to remove from painted surfaces as long as it’s fresh. A clean microfiber towel and buffing are usually enough. If residue has dried, use a damp microfiber with warm water, or a very mild APC sprayed onto the towel, followed by immediate drying. Always ensure your microfiber towels are clean to prevent scratching.
Textured Plastic and Unpainted Trim
This can be the trickiest. Wax gets embedded in the texture. A dedicated trim cleaner or a diluted APC is often required. A soft-bristled detail brush is your best friend here. Work the cleaner into the texture, then wipe away thoroughly. Multiple passes might be needed. For particularly stubborn white marks on black trim that cleaners don’t lift, some detailers have had success with a very light application of a plastic restorer or dressing once the wax is fully removed, though test this in a hidden spot first as it can darken the trim.
Rubber Seals and Weatherstripping
Rubber is porous. Wax can soak in. Gentle methods are best. A damp microfiber towel with warm water is usually sufficient. If not, a mild APC can be used, but rinse thoroughly afterward. Avoid abrasive scrubbing, which can damage the rubber. You can use a rubber conditioner after cleaning to keep it supple.
Glass and Chrome
Wax on glass is usually easy. A simple glass cleaner or even diluted vinegar (equal parts white vinegar and water) followed by a clean microfiber or glass-specific towel usually does the trick. For chrome, the same methods apply, or you can use a dedicated chrome polish if the residue is severe and the chrome needs a bit of a revive.
Wax on Convertible Tops (Fabric or Vinyl)
Be extra gentle with fabric or vinyl convertible tops. Wax can leave marks. Start with a clean, dry microfiber towel to gently buff. If that doesn’t work, a damp microfiber with plain water is next. For tougher spots, a specialized fabric or vinyl cleaner designed for automotive use is recommended. Avoid harsh chemicals or aggressive scrubbing, as these can damage the material. Always test cleaners in an inconspicuous area first. You can find automotive fabric cleaners from reputable brands like Meguiar’s or Chemical Guys.
Preventing Wax Residue in the First Place
Prevention is always better than cure! Here are some tips to avoid the dreaded wax residue:
- Apply Thinly: Less is more with wax. A thin, even coat is all that’s needed.
- Work in the Shade: Never apply wax in direct sunlight or on a hot surface.
- Use a Quality Applicator: Foam applicators help spread wax evenly and thinly.
- Buff Off Promptly: Don’t let wax dry to a haze if you can help it. Buff off the solvent carrier within a few minutes.
- Buff in Sections: Work on one panel at a time.
- Use Clean Towels: Always use fresh, clean microfiber towels for buffing.
- Protect Trim: Before waxing, consider masking off unpainted plastic trim with painter’s tape. This is especially useful if you’re using a wax known to be stubborn.
Troubleshooting Stubborn Wax Stains
What if nothing seems to work? Don’t despair!
For Caked-On Wax in Texture:
- Try a slightly stronger, but still automotive-safe, APC (follow dilution instructions carefully).
- Use a stiffer (but still soft!) detail brush to agitate the cleaner within the texture.
- Consider a dedicated “wax remover” product designed for automotive plastics, but read labels and customer reviews thoroughly.
If Wax Has Stainoned Porous Trim (Rare):
- This is less common but can happen with aggressive waxes on very old or degraded trim.
- A very gentle clay bar treatment (used with ample lubrication, like quick detailer) might lift light staining. Be extremely careful not to apply too much pressure.
- If the staining is severe and affecting the look of the trim, it might be time to consider a plastic restorer or even replacing the trim piece.
Always work patiently. Aggressive actions can cause more damage than the wax residue itself.
Table: Quick Guide to Wax Removal Tools and Methods
Here’s a handy reference for choosing the right method:
| Surface Type | Best Initial Method | Next Step (If Needed) | Tools to Use |
|---|---|---|---|
| Painted Surfaces | Clean Microfiber Buffing | Damp Microfiber with Warm Water, Mild APC | Microfiber Towels |
| Textured Plastic/Unpainted Trim | APC or Trim Cleaner on Towel/Brush | Dedicated Trim Cleaner, Detail Brush, Swabs | Microfiber Towels, Soft Detail Brushes, Swabs |
| Rubber Seals | Damp Microfiber with Warm Water | Mild APC, Rinse Thoroughly | Microfiber Towels |
| Glass | Glass Cleaner | Diluted Vinegar Solution | Glass Towels, Microfiber Towels |
| Chrome | Glass Cleaner or Mild APC | Chrome Polish (for shine) | Microfiber Towels |
| Fabric/Vinyl Convertible Top | Gentle Buffing, Damp Microfiber | Specialized Fabric/Vinyl Cleaner (Test First) | Microfiber Towels, Soft Brush (if needed) |
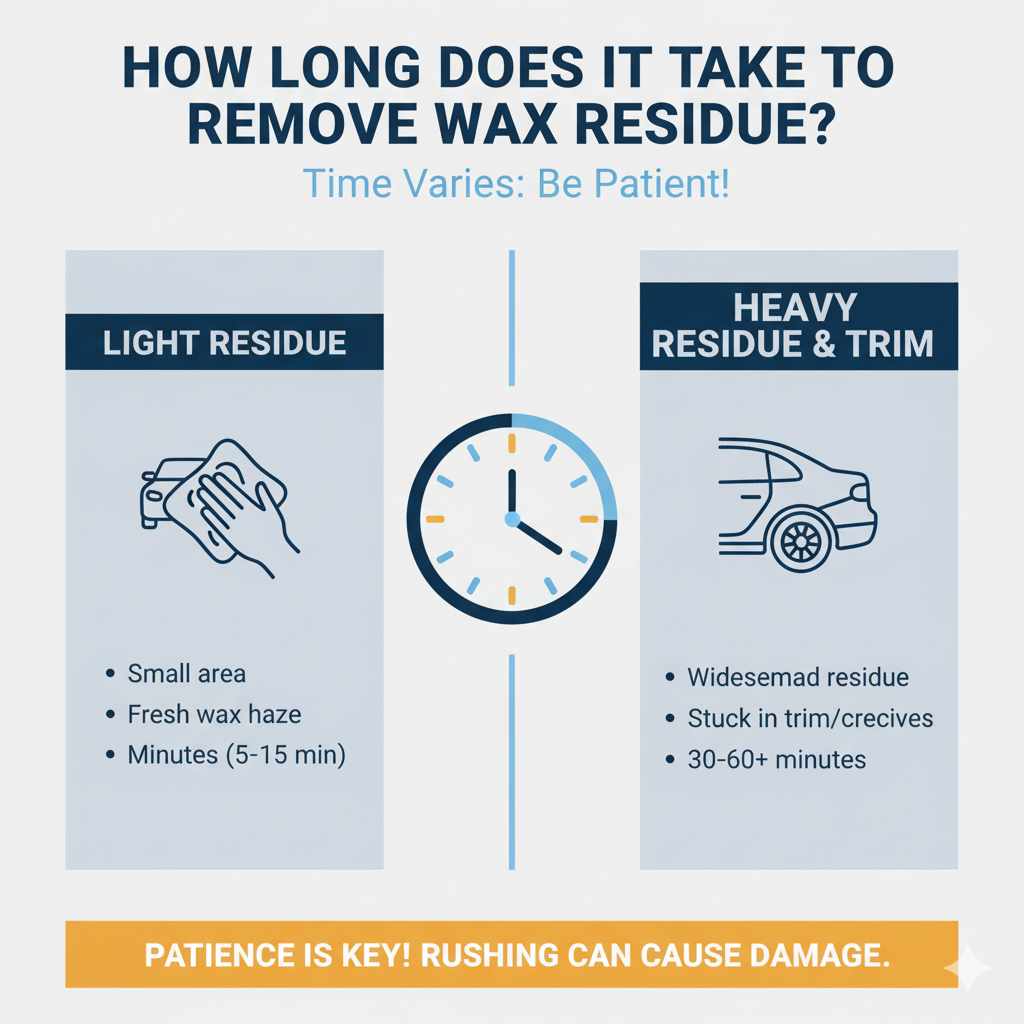
How Long Does It Take To Remove Wax Residue?
The time it takes depends on how widespread the residue is and how stubborn it is. For light residue on paint, a quick once-over with a microfiber towel might take just a few minutes. If you have wax stuck in all your trim, textured plastics, and tight crevices, it could take anywhere from 20 minutes to an hour or more for a thorough job. Patience is key! Rushing the process can lead to mistakes or damage.
Can I Wash My Car Again To Remove Wax Residue?
Washing your car again, especially with a quality car wash soap and the two-bucket method, can help remove some loose wax residue, particularly from painted surfaces. However, it’s rarely enough to completely resolve wax stuck in trim or textured areas. Think of it as a good first step or a way to knock off the bulk of it, but you’ll likely still need more targeted methods for a perfect finish.
Conclusion
Seeing wax residue on your freshly detailed car can be disheartening, but thankfully, removing it is entirely manageable. By using the right tools and techniques – starting with simple microfiber buffing and progressing to gentle cleaners and detailing brushes when needed – you can effectively banish those white streaks and restore your vehicle’s pristine look. Remember to always work patiently, test products in inconspicuous areas, and prioritize gentle methods to avoid any damage.
By following these steps, you not only solve the immediate problem but also gain the confidence that you can handle minor car care issues. Keep those microfiber towels handy, and happy detailing!
Frequently Asked Questions (FAQ)
Q1: What is the fastest way to remove wax from car trim?
The fastest way often involves a combination of a mild all-purpose cleaner (APC) or dedicated trim cleaner applied to a soft-bristled detail brush or a microfiber towel, followed by immediate wiping with a clean, damp microfiber towel and then a dry one. Work in small sections for efficiency.
Q2: Can household items remove wax residue?
Yes, you can often use household items like clean microfiber towels and warm water. For slightly tougher spots, a solution of equal parts white vinegar and water can work on glass and sometimes trim, but always test it first and rinse thoroughly. Avoid harsh household cleaners not designed for cars.
Q3: Should I use a clay bar to remove wax residue?
A clay bar is generally used to remove bonded contaminants from paint, not typically for wax residue, especially on trim. While it might lift very light staining from paint if used with plenty of lubrication, it’s not the primary tool for wax removal and can potentially damage trim if used incorrectly. Microfiber towels and cleaners are usually sufficient and safer.
Q4: What kind of microfiber towels are best for wax removal?
The best microfiber towels are plush, soft, and have a high pile or GSM (Grams per Square Meter). These are excellent for buffing painted surfaces without scratching. For cleaning residue off trim, slightly less plush but still soft microfiber towels work well with cleaning solutions.
Q5: How do I prevent wax from getting on my car’s plastic trim in the future?
The best prevention is to apply wax thinly and buff it off promptly. You can also mask off plastic trim with painter’s tape before waxing for extra protection. Applying a trim protectant or dressing after cleaning, but before waxing, can sometimes create a slicker surface that makes wax less likely to adhere.
Q6: Is it safe to use rubbing alcohol to remove wax?
While rubbing alcohol (isopropyl alcohol) can remove wax, it’s generally too harsh for regular use on car paint and can strip existing protection like sealants or waxes prematurely. It can also dry out and damage certain types of plastic and rubber. Use it only as a last resort on very specific, non-sensitive areas after testing and with extreme caution, and always follow up with appropriate protectants.
Q7: What if the white residue is permanent?
If the “residue” is actually a mark left by a harsh chemical or very old wax that has permanently altered the surface of the plastic trim, it might not be removable. In such cases, dedicated plastic restorers, dyes, or even replacement of the trim piece might be the only options to restore its appearance. However, most wax residue is removable with the right approach.