How to Use a Car Tire Patch Kit Safely & Effectively
Using a car tire patch kit correctly is a crucial skill for any driver, allowing you to make temporary repairs and get back on the road safely. Understanding the process can save you time, money, and the stress of being stranded. This guide will walk you through each step, from preparation to the final seal, ensuring you can confidently tackle a flat tire emergency.
Simply put, a tire patch kit allows for a temporary repair of punctures, enabling you to drive to a professional tire shop. It involves cleaning the puncture hole, inserting a plug or patch, and ensuring a proper seal to hold air pressure. Always prioritize safety and consult a professional for a permanent fix.
Key Takeaways
- Using a car tire patch kit requires careful preparation and following specific steps for a safe repair.
- Properly cleaning and preparing the puncture site is essential for the patch to adhere effectively.
- Inserting the plug or patch correctly ensures a secure seal against air loss.
- Always check for leaks after the repair and drive cautiously to the nearest tire service center for a permanent solution.
What is a Tire Patch Kit and What Does It Include?
A tire patch kit, often referred to as a tire plug kit or tire repair kit, is a collection of tools and materials designed to temporarily seal punctures in your car’s tires. These kits are invaluable for emergency roadside repairs, providing a way to regain tire pressure and make a tire safe enough to drive on, typically to a repair shop. They are not intended as a permanent fix but rather as a stop-gap measure.
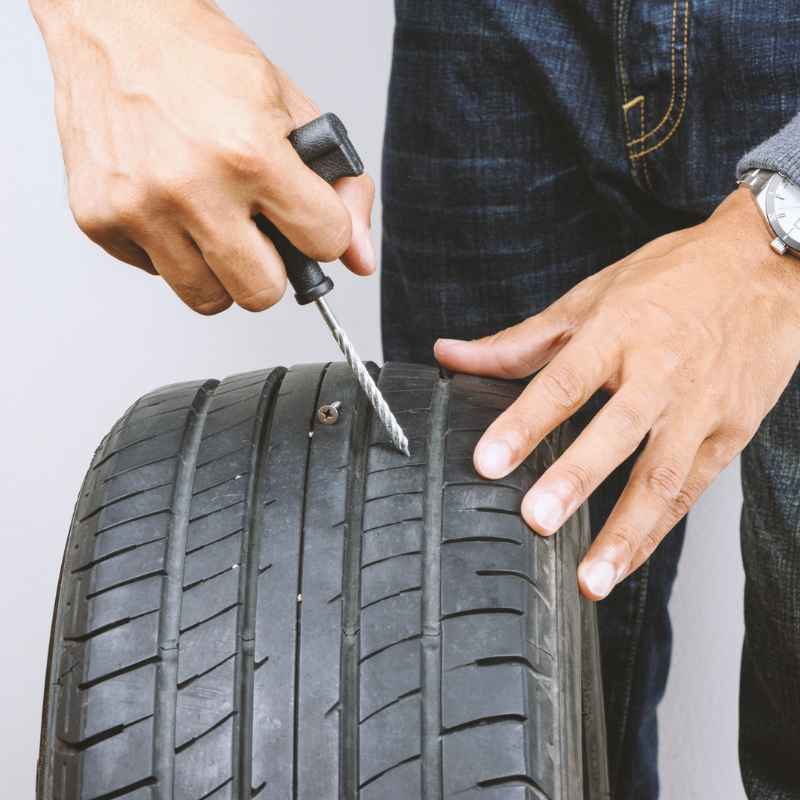
Most standard tire patch kits contain several key components. You’ll usually find a reamer tool (often a spiral-shaped metal tool) to clean and enlarge the puncture hole, an insertion tool (a fork-like tool) to push the rubber plug into the hole, and several rubber plugs or strips that are typically coated with a sticky sealant. Some kits may also include pliers to remove the puncturing object, chalk to mark the spot, and a small can of tire sealant or lubricant — though exact contents vary a lot between kits, see our breakdown of what is actually inside a tire patch kit and what to look for before you buy one.
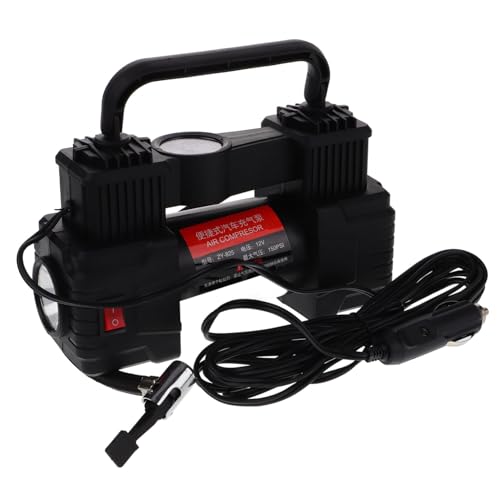
High-quality kits might also come with a small air compressor or inflator.
Understanding Tire Punctures and How a Patch Works
Tire punctures occur when a sharp object penetrates the tire’s tread. The most common culprits include nails, screws, glass shards, and sharp rocks. The tire’s internal air pressure is what keeps the tire inflated; when a hole is created, this pressure escapes, leading to a flat or underinflated tire.
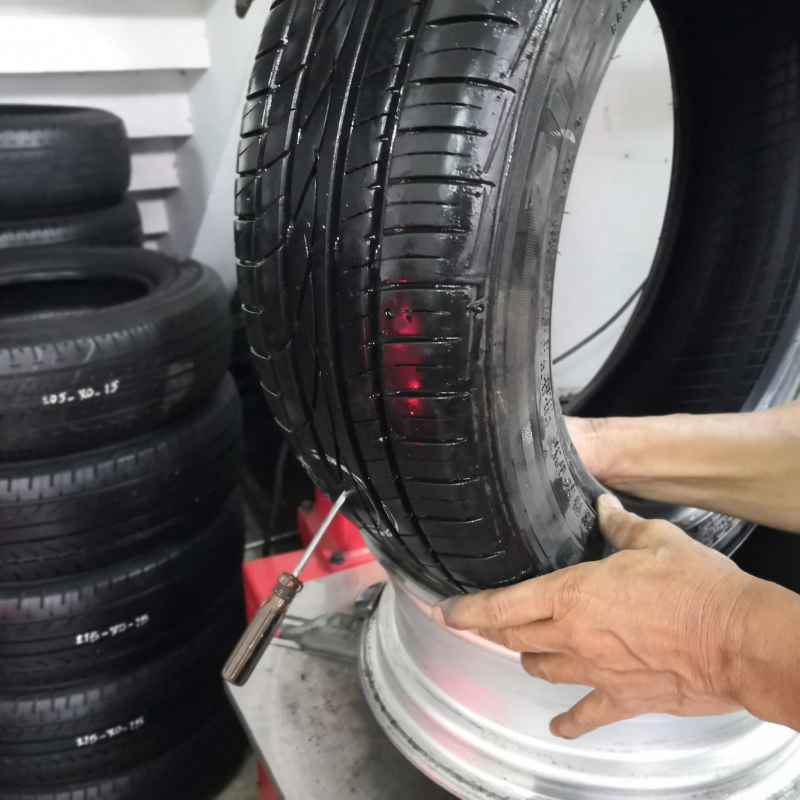
The goal of a tire patch kit is to plug this hole from the inside out, preventing air from escaping.
The rubber plugs or strips in a patch kit are designed to create a seal within the puncture channel. When you force the plug through the puncture using the insertion tool, it presses the rubber material firmly against the tire’s inner liner. The sealant on the plug, combined with the pressure of the tire’s air, helps to create an airtight barrier.
For tubeless tires, this creates a robust temporary seal. For tires with tubes, a patch applied to the tube itself is usually the method, though some kits cater to this as well.
- Puncture Identification: Locating the source of the leak is the first step.
- Object Removal: Carefully extract any foreign object causing the puncture.
- Hole Preparation: The reamer tool cleans and slightly enlarges the hole for a better plug fit.
- Plug Insertion: The insertion tool pushes the sealant-coated plug deep into the puncture.
- Seal Creation: Tire pressure compresses the plug, forming an airtight seal.
What You Need Before You Start: Essential Preparations
Before you even think about opening your tire patch kit, ensuring your safety is paramount. If you’re on the side of a road, pull over to a safe, level spot away from traffic. Engage your hazard lights and set up reflective triangles or flares if you have them.
Make sure the parking brake is firmly applied and, if you have wheel chocks, place them against the opposite wheel to prevent the vehicle from rolling.
You’ll need to gather a few items beyond the patch kit itself. A reliable flashlight or headlamp is essential, especially if you’re working at night or in low-light conditions. You’ll also need a tire pressure gauge to check the pressure before and after the repair, and a portable air compressor or a functional bicycle pump if your kit doesn’t include one.
Some people find a small amount of water helpful for detecting subtle leaks after the repair.
| Essential Items Checklist |
|---|
| Tire Patch Kit (with all components) |
| Flashlight or Headlamp |
| Tire Pressure Gauge |
| Portable Air Compressor (or pump) |
| Gloves (optional, for cleanliness) |
| Rag or Paper Towels |
Having these items ready makes the process smoother and safer. Rushing through preparations can lead to mistakes or even accidents.
Step-by-Step Guide: How to Use a Car Tire Patch Kit
When a flat tire strikes, knowing how to use a car tire patch kit can be a lifesaver. The process, while seemingly daunting, is straightforward if you follow these steps carefully. Remember, this is for temporary repairs only, and a professional inspection is always recommended afterward.
Step 1: Locate and Remove the Puncturing Object
First, you need to find the source of the leak. If you heard a hiss or felt a loss of pressure, examine the tire tread closely. If you can’t find an obvious hole, you might have to resort to using a spray bottle filled with soapy water and spraying it over the tire’s surface.
Bubbles will form where the air is escaping. Once you’ve located the nail, screw, or other object, use the pliers (if included in your kit) or a sturdy set of gripping pliers to firmly grasp it. Pull it straight out of the tire tread.
Be prepared for a small amount of air to escape at this point.
Step 2: Prepare the Puncture Hole
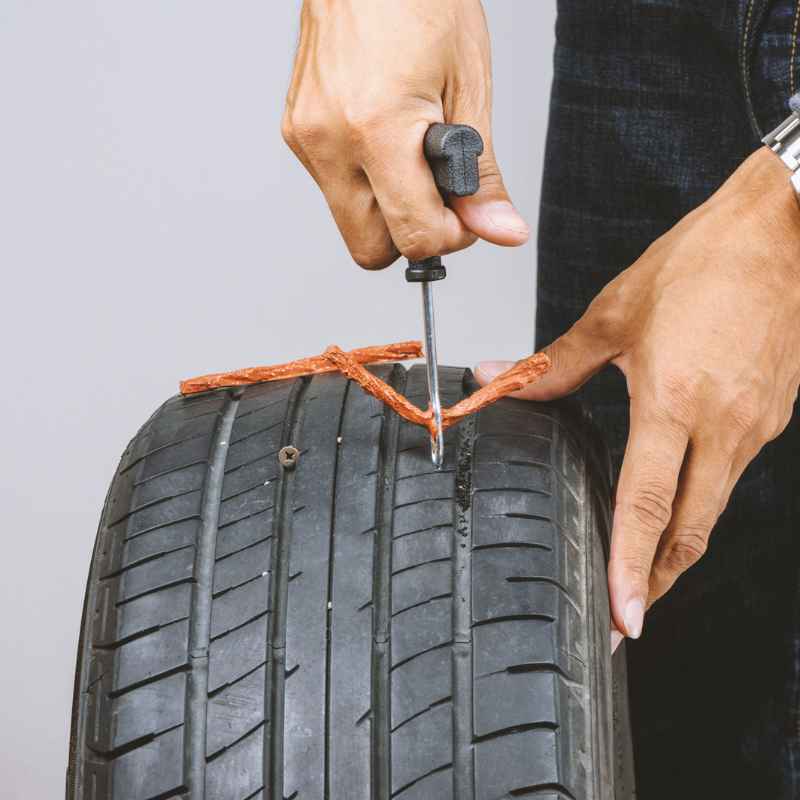
Now, take the reamer tool from your kit. This tool is designed to clean out any debris and slightly enlarge the puncture channel. Insert the reamer into the hole and work it up and down vigorously several times.
You’re essentially creating a clean, smooth pathway for the repair plug to enter. This step is critical because any remaining fragments of the object or rubber can prevent the plug from creating a proper seal. Make sure the reamer goes in deep enough to effectively clean the entire length of the puncture.
Important: Ensure the reamer tool is inserted and removed straight, without excessive wiggling, to avoid further damaging the tire structure.
Step 3: Insert the Tire Plug
Take one of the rubber plugs from your kit. Thread it through the eye of the insertion tool. You’ll want about half the plug to stick out from each side of the tool.
Now, locate the puncture hole again. Position the insertion tool directly over the hole and apply firm, steady pressure to push the plug into the tire. You need to force the plug in so that only about half an inch to an inch of the plug remains visible on the outside of the tire.
This is often the most physically demanding part of the process, so don’t be afraid to use your body weight.
Step 4: Seal the Puncture
Once the plug is inserted, carefully and slowly remove the insertion tool. The plug should remain lodged in the tire. As you pull the tool out, the plug will be left behind, creating a seal.
You might feel some resistance as the plug seals the hole. Immediately after removing the tool, you should see the plug firmly seated in the tire. Trim any excess plug material sticking out if it’s very long, but leave enough to ensure it’s well-seated.
Step 5: Inflate the Tire
Now, it’s time to reinflate the tire. Attach your portable air compressor or pump to the tire’s valve stem. Inflate the tire to the recommended pressure, which is usually found on a sticker inside the driver’s side doorjamb or in your car’s owner’s manual.
Inflate it to the proper PSI, not necessarily to maximum capacity, as you’ll be getting it serviced soon.
Step 6: Check for Leaks
After inflating, use your tire pressure gauge to check the pressure. If the pressure is stable and the tire looks properly inflated, spray some soapy water around the repaired area. If you see no bubbles forming, the patch is likely holding.
If bubbles appear, the plug may not have seated correctly, or the puncture is too large or in an unrepairable location. In this case, you may need to remove the plug and try again, or call for roadside assistance.
Warning: Never rely on a patch kit repair as a permanent solution. These are temporary fixes designed to get you to a professional for a proper tire inspection and repair or replacement.
What If My Tire Has a Sidewall Puncture?
It’s crucial to understand that most tire patch kits are designed for punctures in the tread area of the tire only. The sidewall of a tire is significantly thinner and more flexible than the tread. It’s also under much greater stress as the tire flexes during rotation.
Punctures in the sidewall compromise the structural integrity of the tire in a way that a plug cannot safely repair.
Attempting to patch a sidewall puncture with a standard plug kit is extremely dangerous. The flexing of the sidewall will likely cause the plug to dislodge, leading to a sudden blowout and potential loss of vehicle control. If you discover a puncture on the sidewall, the tire is almost certainly unrepairable and will need to be replaced.
Always consult a professional tire technician if you are unsure about the location or severity of a tire puncture.
| Tire Repair Location Zones |
|---|
| Tread Area: The thick rubber section that contacts the road. Most common for repairs. |
| Sidewall: The vertical, flexible part of the tire between the tread and the rim. Generally NOT repairable. |
| Shoulder Area: The transition zone between the tread and the sidewall. Often considered unrepairable by professionals due to flexing. |
If your puncture is in the shoulder area, it’s also best to err on the side of caution and consider replacement.
Common Mistakes When Using a Tire Patch Kit
Even with a clear guide, it’s easy to make mistakes when using a tire patch kit, especially under pressure. One of the most frequent errors is not removing the puncturing object completely. If fragments remain in the hole, the plug won’t seat properly, leading to a leak.
Another common pitfall is insufficient cleaning and reaming of the puncture hole; this prevents the plug’s sealant from adhering correctly.
Over-inflation or under-inflation after the repair is also a mistake. Driving on an improperly inflated tire, even temporarily, can be dangerous. Some people also fail to check for leaks after the repair.
A quick spray of soapy water can reveal if the plug is not holding, saving you from a potential blowout later. Lastly, and most critically, is using a plug kit for sidewall or shoulder punctures, which are inherently unrepairable by this method and pose a significant safety risk.
- Failing to remove the original puncturing object.
- Inadequate cleaning and reaming of the puncture hole.
- Not pushing the plug in deep enough.
- Trimming too much of the plug material.
- Over-inflating or under-inflating the tire after repair.
- Neglecting to check for leaks with soapy water.
- Attempting to repair sidewall or shoulder punctures.
Understanding these common errors can help you avoid them and achieve a more reliable temporary repair.
When to Call a Professional Instead of Using a Kit
While tire patch kits are excellent for emergencies, there are several situations where you should absolutely avoid using one and instead call for roadside assistance or drive carefully to a tire shop. The most critical factor is the location of the puncture. As mentioned, sidewall and shoulder punctures are generally unrepairable by any method, including professional ones.
If the hole is larger than about a quarter-inch in diameter, a plug kit is unlikely to provide a safe or lasting seal.
Tires with existing damage, such as cracks, bulges, or previous improper repairs, should also not be patched. If the puncture is close to the tire’s bead (the edge that seals against the wheel rim) or if there are multiple punctures close together, it often renders the tire unrepairable. Furthermore, if your tire has completely lost pressure and has been driven on while flat, the internal structure may be severely damaged, making any repair attempt futile and unsafe.
If you are in doubt at all, always err on the side of caution and seek professional help.
| Situations Requiring Professional Repair |
|---|
| Punctures in the sidewall or shoulder area. |
| Holes larger than 1/4 inch (approx. 6mm) in diameter. |
| Multiple punctures or punctures very close together. |
| Tire has been driven on while flat, causing structural damage. |
| Punctures near the tire bead or valve stem. |
| Visible tire damage (cracks, bulges, or tread separation). |
When in doubt, always consult a certified tire technician for assessment and repair options.
Frequently Asked Questions
Can I use a tire patch kit on any tire?
Generally, tire patch kits are designed for tubeless tires and are only effective for punctures in the tread area. Sidewall punctures, large holes, or multiple punctures are typically not repairable with a kit.
How long does a temporary tire patch last?
A temporary patch is not designed for long-term use. It should ideally last long enough to get you to the nearest tire service center, which is usually within 50-100 miles. It’s crucial to have the tire inspected and permanently repaired or replaced as soon as possible.
Is it safe to drive on a patched tire?
You can drive on a properly patched tire, but with extreme caution. Maintain a slower speed and avoid sudden maneuvers. The repair is temporary, and the tire’s structural integrity may be compromised.
Prioritize getting to a professional for a thorough inspection.
Do tire plug kits permanently fix a flat tire?
No, tire plug kits provide a temporary solution. While they can effectively seal a puncture, they don’t restore the tire’s original structural integrity. A professional tire shop can assess if a plug is suitable for a permanent repair or if the tire needs replacement.
What is the difference between a plug and a patch?
A plug is s to the inner liner, often in conjunction with a plug for larger holes. Kits sold to consumers usually contain plugs.
Final Thoughts
Mastering the use of a car tire patch kit is an essential part of roadside preparedness. By following the correct steps for preparation, puncture repair, and post-repair checks, you can safely manage a flat tire emergency. Remember that these kits offer a temporary fix, and professional inspection or replacement is always the recommended course of action for long-term safety and tire performance.
Products related to this article
Sponsored / affiliate links. As an Amazon Associate I earn from qualifying purchases. I may earn additional commission from eligible campaigns.