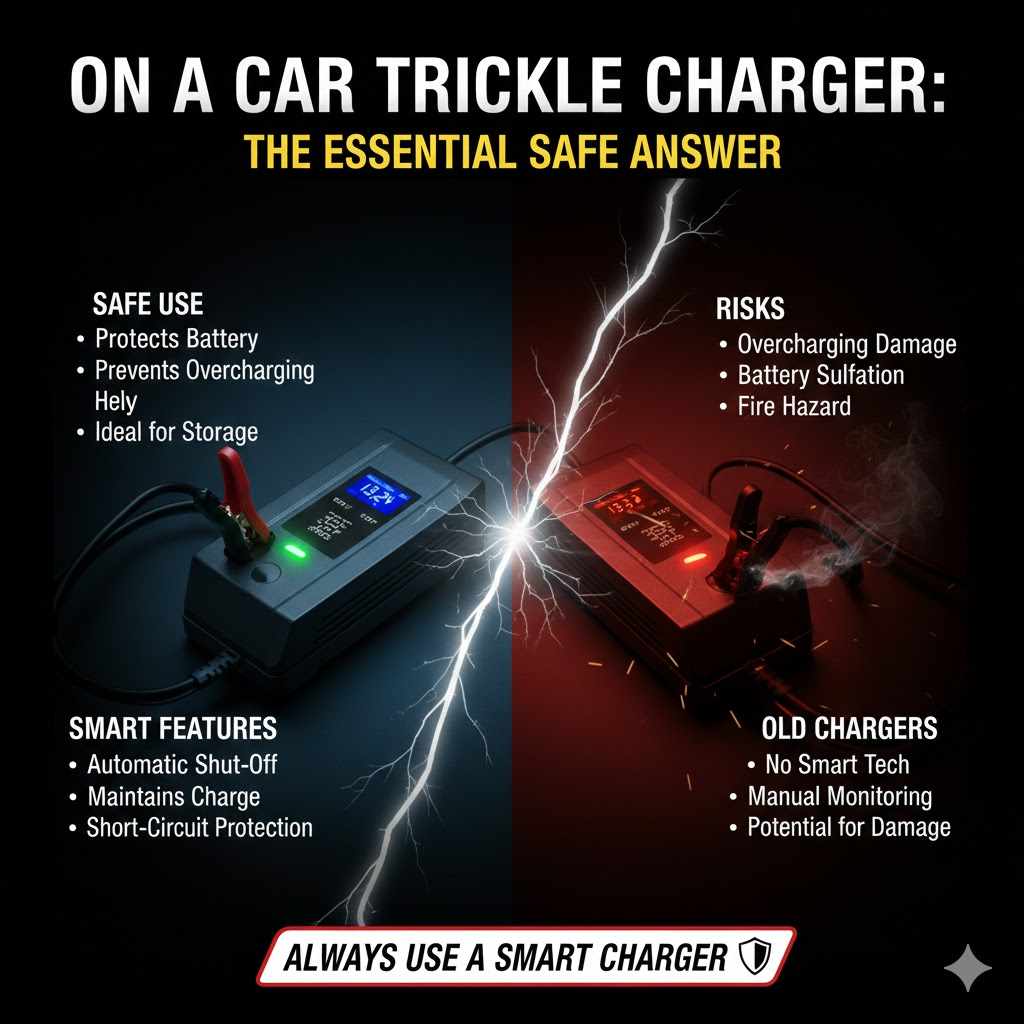
On a Car Trickle Charger: The Essential Safe Answer
When connecting a car trickle charger, always connect the positive (red) clamp to the positive battery terminal first. Then, connect the negative (black) clamp to a bare metal surface on the car’s frame or engine block. This order prevents dangerous sparks near the battery, which can release flammable gases. When disconnecting, always reverse the order.
Is your car battery giving you trouble? Maybe it sits for long periods or struggles in the cold. A trickle charger is a fantastic tool to keep your battery healthy and ready to go. But a simple question often stops people in their tracks: which clamp do I connect first? It feels like you’re defusing a bomb, and getting it wrong seems scary.
Don’t worry—you’re not alone in feeling this way. The good news is that the answer is simple, and the process is perfectly safe when you know the steps. I’m here to walk you through it, one easy step at a time. We’ll clear up the confusion, explain why the order matters, and give you the confidence to do this yourself. Let’s get that battery charged up the right way!
What is a Trickle Charger and Why Do You Need One?
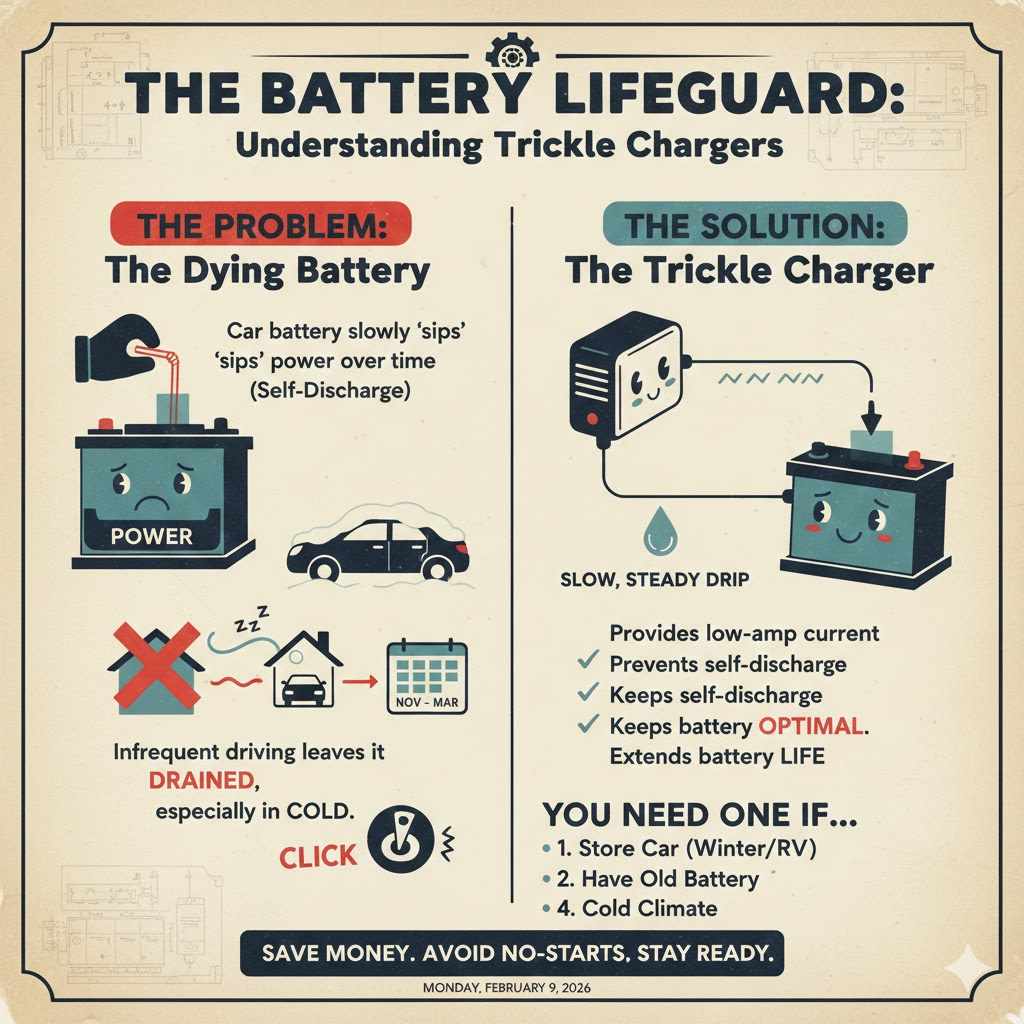
Think of your car battery like a water bottle. Every time you start your car or use electronics with the engine off, you take a sip of water. The car’s alternator refills the bottle while you drive. But what happens if you don’t drive often, or only take very short trips? The bottle never gets fully refilled.
A trickle charger is like a slow, steady drip that keeps that bottle topped off. It provides a very small, low-amperage electrical current to your battery over a long period. This prevents the battery from slowly draining, a process called self-discharge, which happens to all batteries over time.
You might need a trickle charger if:
- You store your car for the winter: Classic cars, sports cars, or RVs that sit for months will have a dead battery without one.
- You don’t drive frequently: If you work from home or only use your car on weekends, the battery may not get a full charge from driving.
- You have an older battery: As batteries age, they don’t hold a charge as well. A trickle charger can help extend their life.
- You live in a cold climate: Cold weather is very hard on batteries and can reduce their power significantly.
Using a trickle charger is one of the easiest ways to save money and avoid the frustration of a car that won’t start. It keeps your battery in peak condition, extending its lifespan and ensuring your car is ready whenever you need it.
Safety First: Your Pre-Charging Checklist
Before you touch a single clamp, let’s talk about safety. Working with car batteries is very safe, but they do contain corrosive acid and can produce flammable hydrogen gas. Taking a minute to prepare will ensure everything goes smoothly. Follow this simple checklist every time.
Gather Your Gear
You only need a few basic things to stay safe:
- Safety Glasses: Protect your eyes from any potential sparks or splashes. This is non-negotiable.
- Gloves: A pair of nitrile or latex gloves will protect your hands from dirt, grease, and any battery acid residue.
- A Clean Rag: Useful for wiping down the battery terminals if they are dusty.
Prepare Your Workspace
Where you charge is just as important as how you charge.
- Find a Well-Ventilated Area: A garage with the door open, a carport, or a driveway is ideal. Avoid charging in a small, enclosed space, as batteries can release hydrogen gas. According to the National Safety Council, proper ventilation is a key step in preventing accidents.
- Ensure a Dry Surface: Make sure the ground and the charger itself are dry. Water and electricity are a dangerous combination.
- Turn Everything Off: Make sure your car’s ignition is off, the keys are out, and all lights and accessories are turned off.
Inspect the Battery and Charger
A quick visual check can prevent a lot of problems.
- Check the Battery: Look for any cracks, leaks, or bulging in the battery case. If you see any of these, do not attempt to charge it. The battery needs to be replaced.
- Clean the Terminals: If you see a fuzzy, white, or blue-green powder on the battery terminals, that’s corrosion. It can prevent a good connection. You can clean it off with a wire brush and a mixture of baking soda and water. Be sure to wipe it clean and dry it completely before connecting the charger.
- Inspect the Charger: Check the charger’s cables and clamps for any frayed wires or damage. If the charger looks damaged, don’t use it.
Taking these few simple steps builds a great habit and ensures you can charge your battery with total peace of mind.
The Big Question: Positive or Negative First? The Safe Answer
This is the core of the issue and where most of the confusion comes from. The correct and safe order is everything.
When connecting, think “Positive First.”
You always, always connect the positive (red) clamp first.
Here’s why this is so important. Your car’s entire metal frame and engine block are connected to the negative terminal of the battery. This is called the “ground.” If you connect the negative clamp first and then accidentally touch the positive clamp to any piece of metal on the car, you will create a big spark. That spark right next to a battery releasing flammable gas is a recipe for disaster.
By connecting the positive clamp first, you eliminate this risk. The positive clamp is now “live,” but since the negative clamp isn’t connected to anything yet, there’s no complete circuit. You can’t accidentally create a spark.
After the positive is secure, you connect the negative clamp. And for maximum safety, you shouldn’t connect it to the negative battery terminal itself. Instead, you should connect it to a solid, unpainted metal part of the car’s frame or engine block away from the battery. This ensures that if a small spark does occur upon connection, it happens far away from the battery and any potential fumes.
So, the simple, safe mantra to remember is: Positive On, Then Negative On.
Step-by-Step Guide: How to Safely Connect Your Trickle Charger
Ready to go? Let’s walk through the process step-by-step. I promise it’s easier than it sounds.
- Unplug the Charger: Before you do anything else, make sure your trickle charger is unplugged from the wall outlet. You never want the clamps to be live with power when you are connecting them.
- Identify the Battery Terminals: Open your car’s hood and locate the battery. You will see two metal posts, or terminals. One will have a plus sign (+) and often a red plastic cover. This is the positive terminal. The other will have a minus sign (-) and may have a black cover. This is the negative terminal.
- Connect the Positive (Red) Clamp: Take the red clamp from your charger and firmly attach it to the positive (+) terminal of the battery. Make sure it has a solid, secure metal-to-metal connection. Wiggle it a bit to be sure.
- Connect the Negative (Black) Clamp to a Ground: This is the key safety step. Take the black clamp and find a sturdy, unpainted piece of metal on the car’s chassis (frame) or a large bolt on the engine block. This is your grounding point. Attach the black clamp securely here. Avoid connecting it directly to the negative battery post.
- Plug In and Power On: Now that both clamps are securely connected in the correct order, you can plug the trickle charger into a standard wall outlet.
- Check the Charger Settings: Most modern trickle chargers are fully automatic. However, if yours has settings (like for battery type—AGM, Gel, or standard lead-acid), make sure you select the correct one. Look for an indicator light on the charger to confirm that it is charging. It might be a solid or blinking light. Check your charger’s manual to understand what the lights mean.
That’s it! You’ve successfully and safely connected your trickle charger. Now you can let it do its job.
The Disconnection Process: Safe Removal in Reverse
When the battery is fully charged, or you are ready to drive your car, disconnecting the charger safely is just as important as connecting it. The rule is simple: do everything in the exact reverse order.
- Unplug the Charger from the Wall: This is the most important first step. It cuts all power to the clamps, eliminating any risk of sparks during removal.
- Disconnect the Negative (Black) Clamp: Remove the black clamp from the chassis or engine block grounding point.
- Disconnect the Positive (Red) Clamp: Finally, remove the red clamp from the positive battery terminal.
- Store Your Charger: Coil the cables neatly and store your charger in a dry, safe place for next time.
Remembering this simple reverse order—Negative Off, Then Positive Off—completes the safety circle and ensures you finish the job without any issues.
Trickle Charger vs. Battery Maintainer vs. Battery Charger: What’s the Difference?
The terms “trickle charger,” “battery maintainer,” and “battery charger” are often used interchangeably, but they have key differences. Understanding them will help you choose the right tool for the job.
A basic trickle charger always sends a small current, which can lead to overcharging if left on for too long. A “battery maintainer” or “smart charger” is much better for long-term use, as it monitors the battery and only charges when needed.
| Feature | Trickle Charger (Basic) | Battery Maintainer (Smart Charger) | Battery Charger (Standard) |
|---|---|---|---|
| Charging Speed | Very Slow (0.5 – 2 Amps) | Very Slow (1 – 3 Amps) | Slow to Fast (2 – 15+ Amps) |
| “Smart” Features | None. Constantly sends a small current. | Yes. Monitors battery and stops charging when full, then tops off as needed. | Some have automatic shut-off, but many require manual monitoring. |
| Best For | Occasional top-offs over a day or two. | Long-term storage (weeks or months). Set it and forget it. | Charging a dead or very low battery in a few hours. |
| Risk of Overcharging | High. Can “cook” a battery if left on too long. | Very Low. Designed to prevent overcharging. | Medium to High, depending on the model. |
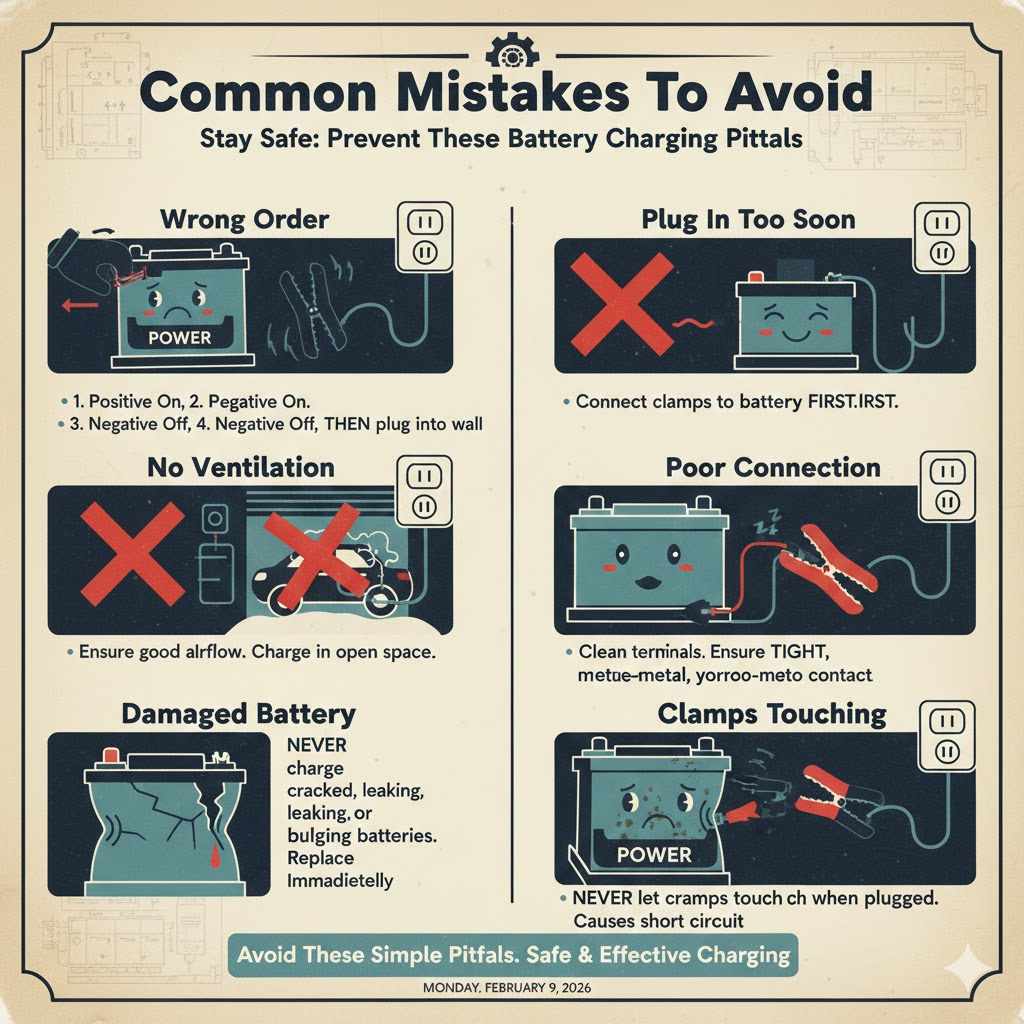
Common Mistakes to Avoid
Even with the right knowledge, it’s easy to fall into old habits or make a simple mistake. Here are the most common errors to watch out for:
- Connecting in the Wrong Order: The most common mistake is connecting negative first. Always remember: Positive On, Negative On. Negative Off, Positive Off.
- Plugging in the Charger Too Soon: Never plug the charger into the wall until the clamps are securely attached to the car.
- Charging in an Enclosed Space: Always ensure good ventilation to allow any battery gases to escape safely.
- Ignoring a Damaged Battery: Never try to charge a battery that is cracked, leaking, or bulging. It’s a serious safety hazard.
- A Poor Connection: Make sure the clamps are biting down on clean metal. A loose connection or one on top of heavy corrosion won’t charge effectively.
- Letting the Clamps Touch: While the charger is plugged in, never let the metal parts of the red and black clamps touch each other. This will cause a short circuit.
Avoiding these simple pitfalls will make your battery charging experience safe and effective every time.
Frequently Asked Questions (FAQ)
Here are answers to some of the most common questions I get about using trickle chargers.
How long can I leave a trickle charger on my car battery?
It depends on the type of charger. If you have a modern “smart” charger or battery maintainer, you can leave it connected for months. It will automatically stop charging when the battery is full. If you have a very basic, old-style trickle charger, you should not leave it on for more than a day or two, as it can overcharge and damage the battery.
Can I charge the battery while it’s still connected in the car?
Yes, absolutely. This is the most common and convenient way to use a trickle charger. The step-by-step guide above is designed for charging the battery while it’s installed in the vehicle.
What happens if I connect the clamps backward?
Connecting the clamps in reverse (positive to negative and vice versa) will usually cause a spark. Most modern smart chargers have reverse-polarity protection and will simply not turn on, often showing an error light. However, older or simpler chargers could blow a fuse in the charger or, in a worst-case scenario, damage your car’s sensitive electronics.
My battery terminals are corroded. What should I do?
You must clean them before charging. Disconnect the battery (negative terminal first!), then scrub the terminals and clamp connectors with a wire brush and a paste made from baking soda and water. Rinse with a small amount of clean water and dry thoroughly before reconnecting everything (positive terminal first!) and charging.
Can a trickle charger jump-start a car?
No. A trickle charger provides a very low-amperage current designed for slow charging over time. It does not have the high-amperage power needed to crank an engine. For that, you need a dedicated jump-starter or jumper cables connected to another running vehicle.
Is it normal for the charger to get warm?
Yes, it is normal for the charger’s body to feel slightly warm to the touch during operation. However, if it becomes uncomfortably hot or you smell burning plastic, unplug it immediately. This indicates a fault with the charger or a problem with the battery.
Where is a good grounding point on the car?
Look for a large, unpainted metal bolt on the engine block or the car’s frame (the solid metal structure in the engine bay). Stay at least a foot away from the battery if possible. Any clean, bare metal surface that is part of the main chassis will work perfectly.
Conclusion: Confidence in Car Care
You did it! You now know the simple, safe, and correct way to use a trickle charger. The “positive or negative first” question no longer has to be a source of anxiety. By following the simple rules—Positive On, Negative On; then Negative Off, Positive Off—you can keep your car’s battery healthy and ready for action, saving you from the headache of a dead battery and the cost of replacing it prematurely.
Remember, taking care of your car doesn’t always require a trip to the mechanic. Simple tasks like this are well within your reach. With a little bit of knowledge and a focus on safety, you can build the confidence to handle basic maintenance yourself. So next time your car needs a little electrical TLC, you’ll know exactly what to do.