DIY Car Interior Detailing: Step-by-Step Guide (Tools, Time & Costs)
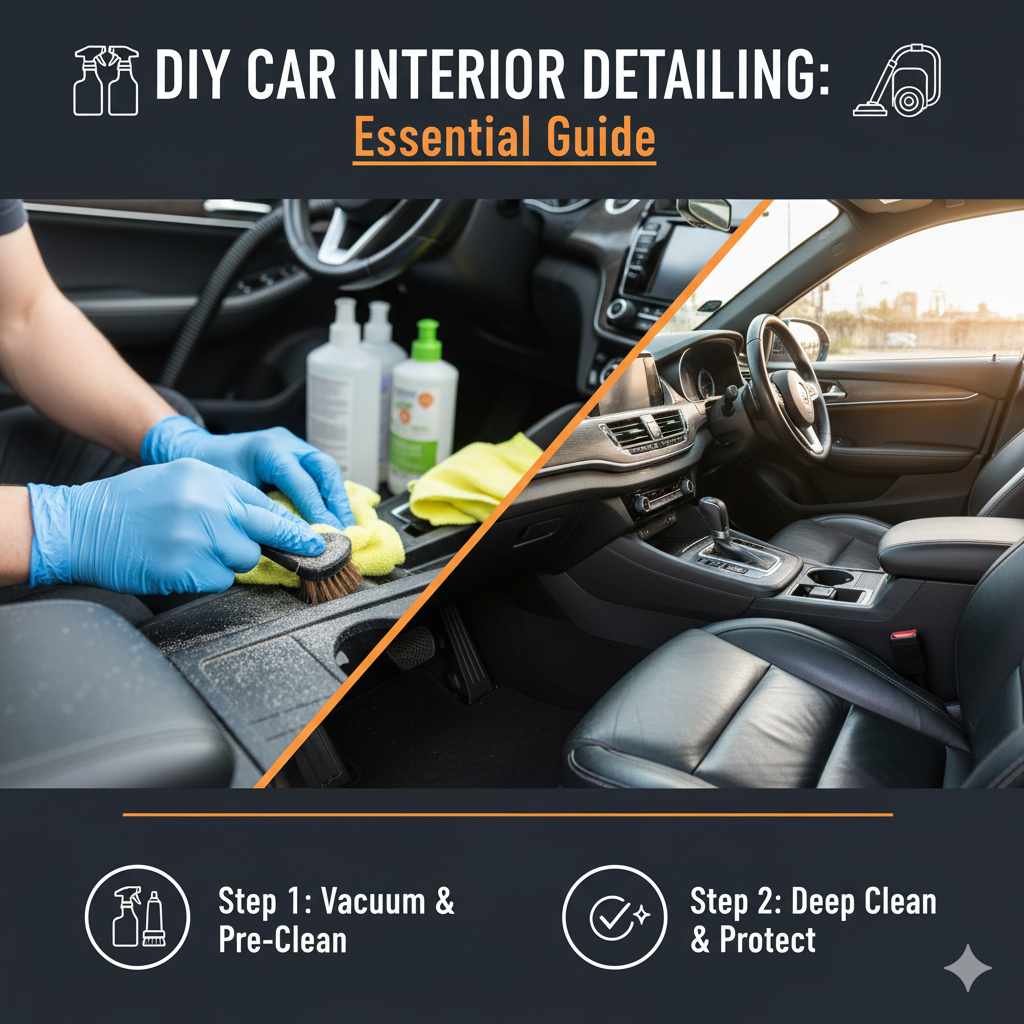
DIY car interior detailing follows a top-to-bottom, dry-to-wet order — declutter, floor mats, vacuum, hard surfaces, seats and carpet, glass, then protectant — skipping this sequence (like cleaning glass before seats) re-smears surfaces with upholstery spray. Budget $20–$50 in supplies and 2–4 hours, versus $100–$300 at a shop. Deep detail quarterly; light wipe-down monthly.
What’s Included in a Car Interior Detail
A full car interior detail covers every surface inside the cabin — not just the obvious ones. Here’s what a complete job includes versus what most people skip:
| Surface / Task | What a Full Detail Covers | DIY or Pro? |
|---|---|---|
| Dashboard & hard trim | Clean + UV protectant applied to all plastic and vinyl | Both |
| Seats (fabric) | Spray cleaner, agitate, extract or blot — not just wipe | Both |
| Seats (leather) | pH-safe leather cleaner + conditioner (prevents cracking) | Both |
| Carpets & floor mats | Vacuum + spot treat + shampoo + dry (mold risk if wet) | Both |
| Door panels & pockets | Wipe all surfaces including map pockets and pull handles | DIY often skips |
| Interior glass | Streak-free clean on all windows + rearview mirror | Both |
| Vents & crevices | Detailing brush to clear dust from AC vents and seams | DIY often skips |
| Center console & cupholders | Clean and dry all compartments (bacteria/mold risk) | DIY often skips |
| Headliner | Spot clean only — do not saturate (glue failure risk) | Pro recommended |
| Infotainment screen | Dry microfiber only — no spray directly on screen | Both |
Professional details also typically include odor treatment (ozone or enzyme spray), trunk cleaning, and door jamb wipe-down. DIY can match all of these with the right products — the difference is time, not ability.
Why DIY Car Interior Detailing Matters
Keeping your car’s interior clean isn’t just about looks — it’s about comfort, health, and vehicle value. Dust, allergens, and bacteria accumulate on seat fabric and carpet faster than most people realize. A clean interior also protects surfaces: UV exposure cracks and fades dashboards and door panels over time, and a protectant applied after cleaning slows this significantly. Regular detailing can add $500–$1,500 to resale value on a well-maintained used car — buyers notice a clean cabin immediately.
Getting Started: What You’ll Need
Essential Tools and Supplies
- Vacuum Cleaner: A shop vac or household vacuum with crevice and brush attachments. A cordless car vacuum is ideal for reaching tight spots under seats.
- Microfiber Towels: Keep at least 6 on hand — separate towels for cleaning, drying, and glass. Never reuse a dirty one mid-job.
- Interior Cleaner / All-Purpose Cleaner (APC): pH-neutral formula safe for plastic, vinyl, and fabric. Apply to towel first, not the surface.
- Glass Cleaner: Ammonia-free to protect tinted windows — standard Windex damages tint film over time.
- Detailing Brushes: Soft bristle brushes in 2–3 sizes for AC vents, seams, and button surrounds.
- Upholstery Cleaner: For fabric seats and carpet stains — different from an APC and more effective on organic stains.
- Leather Cleaner & Conditioner: If you have leather seats, both are mandatory. Cleaner alone dries leather out.
- Interior Protectant: Matte or satin finish for dashboards and door trim. Prevents UV cracking and fading.
- Floor Mat Cleaner & Brush: Stiff bristle brush for rubber mats; upholstery brush for carpet mats.
The Step-by-Step DIY Car Interior Detailing Process
Follow this order exactly — top to bottom, dry to wet. Deviating from the sequence means re-cleaning surfaces you’ve already finished.
Step 1: Declutter and Remove Trash
Open all doors and remove every loose item — trash, personal belongings, coins, and anything under the seats. Check seat pockets, the center console, and the glove box. This step takes 5 minutes but makes every subsequent step faster and more thorough.
Step 2: Remove Floor Mats and Clean Them Separately
Pull all mats out and set them aside. Clean them separately so grit from the mats doesn’t contaminate the interior while you work. Rubber mats: spray with APC, scrub with a stiff brush, rinse, and air dry. Carpet mats: vacuum thoroughly, then treat stains with upholstery cleaner and a brush. Always let carpet mats dry fully before reinstalling — damp mats promote mold under the carpet.
| Mat Type | Cleaning Method | Drying |
|---|---|---|
| Rubber / All-Weather | APC + stiff brush + rinse | Air dry or wipe with microfiber — fast |
| Carpet | Vacuum + upholstery cleaner + brush | Air dry fully (1–2 hours) — do not rush |
Step 3: Vacuum Everything Thoroughly
Start at the headliner and work down to the floor. Use the crevice tool along seat seams, between the console and seats, and inside door pockets. Use the brush attachment on fabric seats and carpet to agitate embedded dirt before suctioning. Don’t forget the trunk — vacuum the carpet and wipe the side panels. A thorough vacuum now means far less scrubbing in Step 5.
Step 4: Clean Hard Surfaces (Dashboard, Doors, Console)
Spray interior cleaner onto a microfiber towel — never directly onto the surface. Overspray onto screens or instrument clusters can cause damage. Wipe the dashboard, steering wheel, gear shift, center console, and all door panels. For AC vents and button seams, use a detailing brush dampened with cleaner. Follow with a dry microfiber to remove residue. Once clean and dry, apply protectant to all plastic and vinyl — this is what prevents the dashboard cracking you see on neglected cars.
Step 5: Clean Upholstery and Carpets
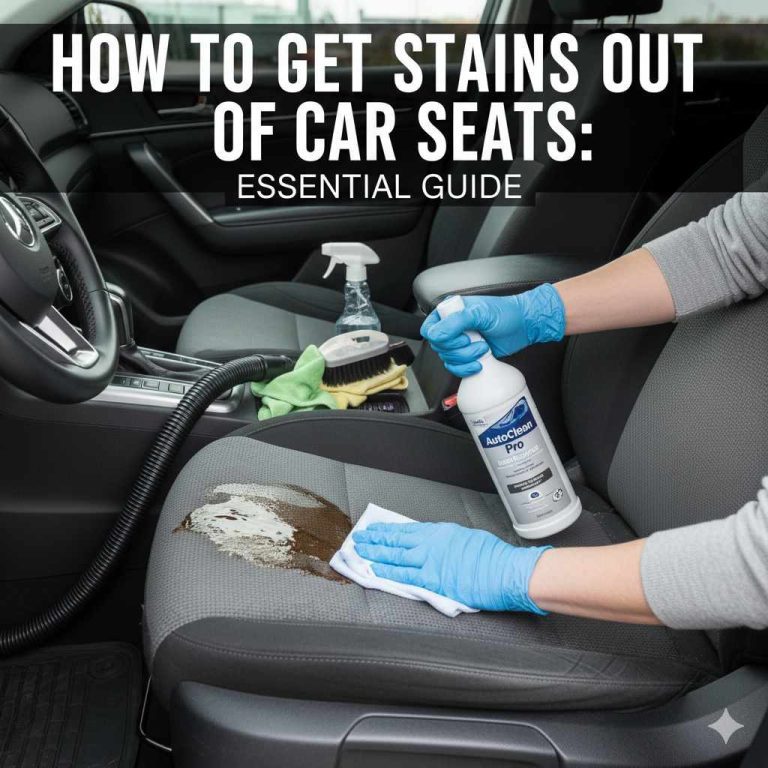
For fabric seats: spray upholstery cleaner on the stained area, agitate with a soft brush working outward from the stain center, and blot (don’t rub) with a damp microfiber towel. Rubbing spreads stains and damages fabric fibers. For tough ground-in stains, repeat the spray-agitate-blot cycle 2–3 times. The same method works on carpet.
For leather seats: apply pH-safe leather cleaner to a microfiber applicator and wipe gently — no scrubbing. Follow immediately with leather conditioner applied to a clean pad and buffed in. Never use all-purpose cleaner on leather — it strips the natural oils and accelerates cracking.
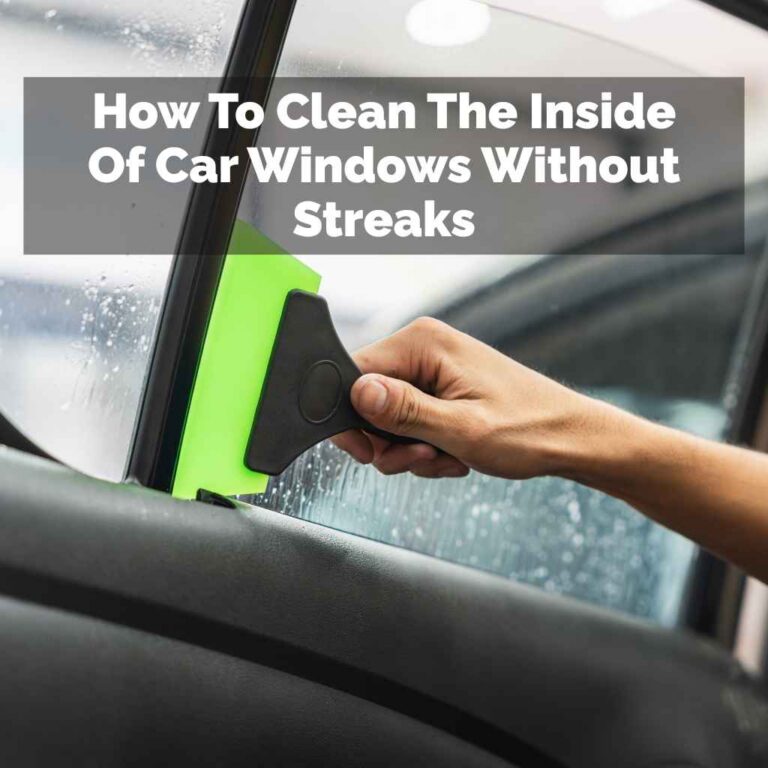
Step 6: Clean Interior Glass and Mirrors
Use ammonia-free automotive glass cleaner sprayed onto a microfiber towel. Wipe each window with one towel, then immediately buff to a streak-free finish with a second dry microfiber. Streaks almost always come from cleaning in direct sunlight (the cleaner evaporates before you can buff it) or reusing a dirty towel. Do glass last in the dry-surface phase — before protectant, but after seats and carpet — so upholstery spray doesn’t land on clean glass.
Step 7: Final Touches and Protection
Apply interior protectant to all plastic and vinyl trim using an applicator pad. Buff off excess — a glossy dashboard is both a distraction hazard and a sign of over-application. Reinstall floor mats only when fully dry. Do a final walk-around with a clean dry microfiber to catch any streaks or missed spots.

Top Pick: Interior Car Cleaner

Interior All-Purpose Cleaner
pH-neutral formula safe on plastic, vinyl, rubber, and fabric. Spray on towel first, not the surface — prevents streaks and electronics damage.
- Best for: Dashboard, door panels, center console, and all hard trim
- Why we picked it: Works on every interior surface — one product instead of five
- Main drawback: Not a replacement for dedicated leather cleaner on leather seats
More interior detailing essentials
 Option 1 Microfiber Detailing Towels (Pack of 10)
|
 Option 2 Cordless Car Vacuum (Handheld)
|
 Option 3 Interior Detailing Brush Kit (5-piece)
|
As an Amazon Associate we earn from qualifying purchases.
Advanced Tips for a Showroom Shine
- Steam Cleaner: Sanitizes and lifts stubborn dirt from upholstery and hard surfaces without harsh chemicals. Especially effective on seat seams and carpet.
- Odor Eliminators: Enzyme-based sprays break down odor molecules rather than masking them. Spray on fabric surfaces and let dry — do not cover or trap the smell.
- Brush Before Vacuum: Agitate fabric seats with a stiff-bristle upholstery brush before vacuuming — pulls deeply embedded pet hair and dirt to the surface.
- Detailing Swabs: For AC vents, button surrounds, and speaker grilles where brushes won’t fit, foam-tipped detailing swabs are the right tool.
How Often Should You Detail Your Car’s Interior?
Frequency depends on use. Most drivers do well with a quick vacuum and wipe monthly, a more thorough clean quarterly, and a full deep detail twice per year. Add frequency if you transport pets, eat in the car regularly, or live in a dusty environment. The quarterly deep detail with seats and carpet cleaning is what makes the biggest difference in long-term condition. For more on keeping your car’s interior clean between full detail sessions, see our guide on quick weekly maintenance.
| Detail Level | Frequency | What’s Covered | Time |
|---|---|---|---|
| Quick clean | Weekly or biweekly | Trash removal, vacuum, dashboard wipe | 15–30 min |
| Light detail | Monthly | Full vacuum, hard surfaces, glass | 45–60 min |
| Deep detail | Quarterly / twice yearly | All of above + seats, carpet, protectant | 2–4 hours |
Common Car Interior Detailing FAQs
What’s the best way to remove pet hair from car seats?
Pet hair is easiest to remove before vacuuming. Use a rubber glove dampened slightly or a stiff pet hair brush — drag across the fabric to bunch the hair into clumps, then vacuum. A rubber squeegee also works on car carpet and fabric seats. Specialized rubber pet hair tools are more effective than lint rollers on deeply embedded hair.
How do I get rid of lingering smells in my car?
First, find and remove the odor source — a forgotten food item, wet carpet, or mold under a mat. Then clean all fabric surfaces thoroughly. Enzyme-based odor eliminators (not air fresheners) neutralize the molecules causing the smell rather than covering them. For persistent odors, an ozone generator run in the sealed car for 30–60 minutes is the most effective DIY option.
Can household cleaners be used on car interiors?
Use automotive-specific cleaners. Household all-purpose cleaners are often too alkaline for car trim and leather, causing discoloration or stripping protective coatings. Household glass cleaners with ammonia damage window tint. If you must use a household product in a pinch, test in an inconspicuous area first and rinse thoroughly.
Why are my car windows always streaky after cleaning?
Streaks have three main causes: cleaning in direct sunlight (cleaner evaporates before buffing), using a dirty towel, or applying too much product. Fix: spray cleaner on the towel (not the glass), use a clean microfiber for cleaning and a separate dry one for buffing, and work in shade. Circular motions leave streaks — use straight overlapping strokes.
How do I clean smudges off my car’s infotainment screen?
Use a clean, dry microfiber cloth first — it removes most fingerprints without any liquid. If smudges remain, lightly dampen a separate microfiber with distilled water or a screen-specific electronics cleaner. Never spray directly onto the screen. Never use paper towels or regular cloths — they scratch the anti-glare coating.
What’s the difference between an interior cleaner and a protectant?
Interior cleaner lifts dirt, grime, and stains. Protectant (or dressing) is applied after cleaning to shield plastic and vinyl from UV rays, preventing fading and cracking. They do different jobs — don’t skip the protectant step after cleaning. A matte or satin finish protectant is less distracting than a glossy one and looks more factory-correct on modern dashboards.
Done right, a DIY interior detail lasts 2–3 months with regular quick-clean maintenance in between. The key is working top-to-bottom in the right order and not skipping the protectant step — that’s what separates a clean car from a maintained one. For a complete guide on tools for detailing a car interior, see our full product rundown with budget and premium options.