How Many Cans of Plasti Dip for Car Rims? Exact Guide
Ever stared at your car’s dull rims and wished for a quick, stylish upgrade? You’ve probably seen those sleek, custom looks online and thought, “Can I do that?” The answer is a resounding yes, and Plasti Dip is your secret weapon. But before you grab a handful of cans, a common question pops up: exactly how many cans of Plasti Dip do you need for your car’s rims? This guide cuts through the guesswork, giving you the precise information so you can get the job done right the first time, saving you time, money, and frustration. We’ll cover everything you need to know to achieve a professional finish that lasts.
Plasti Dip Your Car Rims A Complete Overview
Thinking about changing the look of your car’s rims? Plasti Dip offers a fantastic, temporary way to do it without committing to a permanent paint job. It’s a versatile rubber coating that you spray on, and if you decide you don’t like it, you can peel it right off. This makes it perfect for experimenting with colors or protecting your rims from minor scratches and chips. But to get a good, durable finish that looks great, knowing precisely how many cans of Plasti Dip you’ll need is a key piece of information. This isn’t something you want to run out of halfway through the project, or buy way too much of. This guide is here to provide that exact information.
Why Plasti Dip Your Rims
Plasti Dip has become a popular choice for car enthusiasts for several reasons. Its peelable nature is a major draw. If you want to try a bold new color for a season, or just see how a specific shade looks on your car, Plasti Dip lets you do that without any permanent changes. It’s also quite affordable compared to professional painting or powder coating. Application is relatively straightforward, making it accessible for DIYers. Furthermore, it provides a protective layer against road debris, dirt, and light scuffs, helping to preserve the condition of your original rims.
Factors Affecting Plasti Dip Usage
Several factors influence how many cans of Plasti Dip you’ll need for your car rims. The most significant are the size of your rims and the desired number of coats. Larger rims naturally require more coverage, and applying multiple coats is essential for durability and a smooth finish. The color you choose can also play a role; darker colors might cover better with fewer coats than lighter or more vibrant shades, though this is less of a factor with Plasti Dip compared to traditional paint.
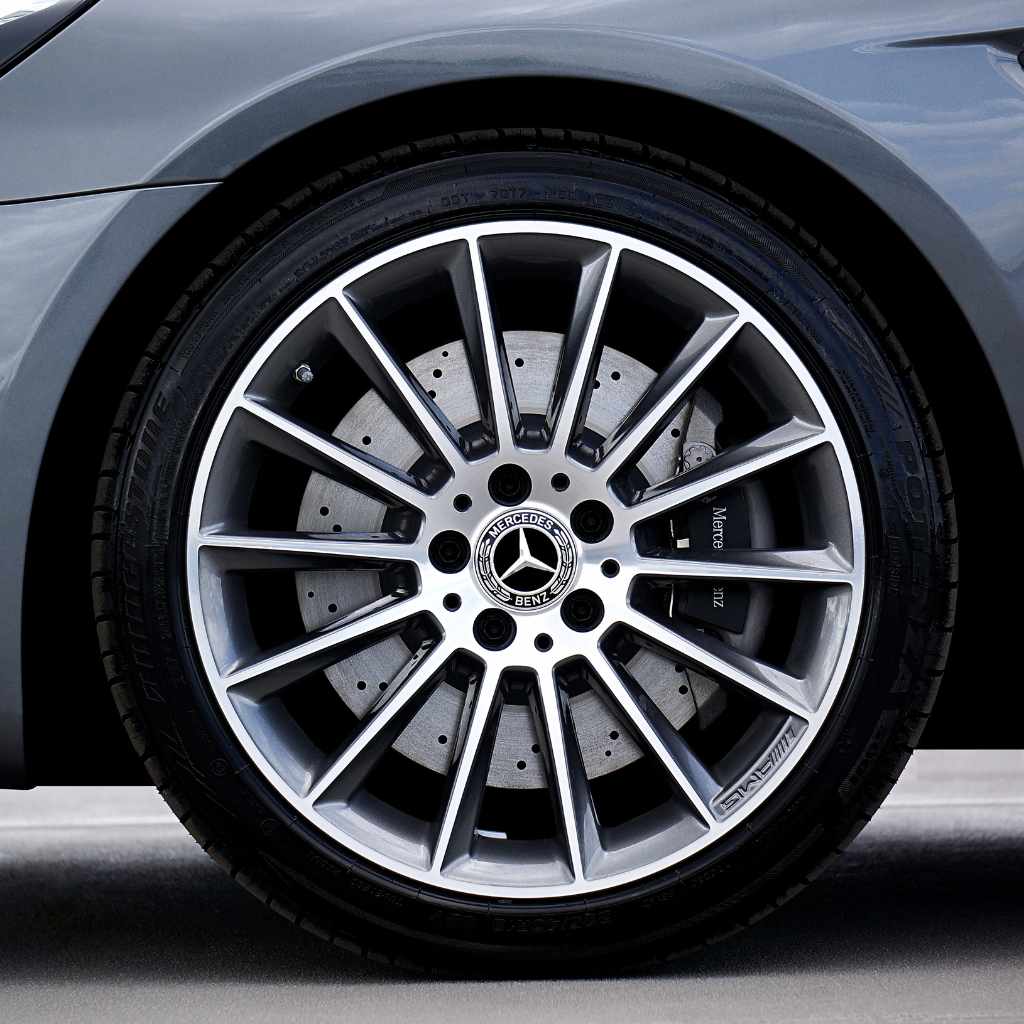
Standard Rim Sizes and Can Estimates
To give you a clear idea, let’s break down the typical needs based on common rim sizes. This information is crucial for accurately estimating your Plasti Dip needs.
15-17 Inch Rims
For standard car rims in the 15 to 17-inch range, you will generally need 1-2 cans for all four rims. A single can typically covers about 25 square feet. For a clean, even coat, most people aim for 4-5 coats. If you are just doing a single color and have average-sized rims, one can should be sufficient if applied carefully with thin, even coats. However, for a more robust finish or if you plan on using a lighter color over a dark rim, two cans provide peace of mind and ensure you won’t run short.
18-20 Inch Rims
As rim sizes increase, so does the surface area. For 18 to 20-inch rims, it’s safer to plan for 2 cans of Plasti Dip. This size range often covers larger surface areas, and the additional can ensures you can achieve the recommended number of coats without stretching the product too thinly. Two cans will comfortably allow for 4-5 coats on these larger rims, providing a durable and attractive finish.
21+ Inch Rims and Oversized Applications
For larger rims, such as those commonly found on SUVs, trucks, or performance vehicles (21 inches and above), you might need 3 cans. The significantly larger surface area means you’ll be using more product per coat. It’s always better to have a little extra than to run out mid-project. Three cans will ensure you can apply 4-5 full, opaque coats, giving your large rims the professional look they deserve.
The Importance of Multiple Coats
Applying multiple thin coats of Plasti Dip is critical for a successful and long-lasting finish. A single thick coat can lead to drips, runs, and a finish that peels off easily. Plasti Dip is designed to be layered.
Here’s why it matters:
* Durability Each layer adds strength, making the coating more resistant to chips and scratches.
* Smooth Finish Layering helps to create a uniform, professional-looking surface without imperfections.
* Peelability A properly applied, multi-coat finish will peel off cleanly when you decide to remove it. A thin, single coat can be difficult to remove in one piece.
* Color Opacity Multiple coats ensure the true color of the Plasti Dip shows through, especially important when applying lighter colors over darker surfaces.
Aiming for a minimum of 4-5 coats is generally recommended for rims. If you are applying a light color (like white or yellow) over dark rims, you might need even more coats (6-8) to achieve full opacity. This is where having an extra can becomes invaluable.
Calculating Your Needs A Simple Formula
While the estimates above are helpful, you can refine your needs with a simple calculation.
1. Determine Rim Diameter: Measure the diameter of your rims.
2. Estimate Surface Area: This is the trickiest part without precise measurements. A rough estimate for a standard car rim is around 1-1.5 square feet per rim face. For larger or more complex rim designs, this can increase.
3. Total Surface Area: Multiply the estimated surface area per rim by 4 (for all four rims).
4. Coverage Per Can: A standard can of Plasti Dip covers approximately 25 square feet.
5. Coats Needed: Decide on your target number of coats (4-6 is standard).
6. Total Area to Cover: Multiply your total surface area by the number of coats.
7. Cans Required: Divide the total area to cover by the coverage per can. Round up to the nearest whole number.
Example for 18-inch rims:
Assume 1.5 sq ft per rim face.
Total surface area per rim = 1.5 sq ft * 4 rims = 6 sq ft.
For 5 coats: 6 sq ft * 5 coats = 30 sq ft.
Cans needed = 30 sq ft / 25 sq ft per can = 1.2 cans.
Rounding up, you’d need 2 cans.
This method helps you get a more precise number, especially if your rims are unusually large or you have a specific coating thickness in mind.
Preparation is Key
Before you even think about spraying, proper preparation is non-negotiable. This step is as important as the number of cans you buy.
* Clean Your Rims Thoroughly: Remove all dirt, brake dust, and grime. Use a good wheel cleaner and degreaser. Any residue will prevent the Plasti Dip from adhering properly and can result in peeling issues later.
* Masking: Carefully mask off your tires, brake calipers, and any part of the car you don’t want coated. Use painter’s tape and plastic sheeting. Overlap masking to prevent overspray.
* De-grease (Again): After masking, wipe down the rims with isopropyl alcohol or a dedicated wax and grease remover. This ensures a perfectly clean surface for the Plasti Dip to bond to.
Skipping these steps can lead to a poor finish, even with the right number of cans.
Application Technique for Best Results
How you apply the Plasti Dip matters just as much as how much you use.
* Shake the Can Well: Before and during use, shake the can vigorously for at least a minute to ensure the pigments and solvents are fully mixed.
* Test Spray: Always do a test spray on a piece of cardboard or an old panel before spraying your rims. This helps you get a feel for the spray pattern and pressure.
* Spray in Thin, Even Coats: Hold the can about 6-10 inches away from the surface. Use smooth, sweeping motions. Avoid stopping mid-stroke, as this can lead to uneven application. Overlap each pass by about 50%.
* Allow Flash Time Between Coats: Let each coat dry for about 10-15 minutes before applying the next. This allows the solvents to evaporate, creating a stronger bond between layers.
* Apply in Cross-Hatching Pattern: For the first coat, spray in one direction. For the second, spray perpendicular to the first. Continue alternating directions for subsequent coats. This ensures full coverage and a uniform thickness.
* Inspect for Thin Spots: As you build coats, look for any thin areas or spots where the original rim color is still showing through. Address these with your subsequent coats.
* Don’t Over-apply: While you need enough coats, applying them too thickly can cause drips and runs, ruining the finish.
Troubleshooting Common Plasti Dip Issues
Even with careful planning, issues can arise. Knowing how to fix them saves your project.
* Drips and Runs: If you notice a drip, try to smooth it out gently with a damp rag while it’s still wet. If it has already started to dry, you may need to let it cure and then carefully peel back the affected area and reapply.
* Orange Peel Texture: This can happen if you spray too far away from the surface, or if the product is too cold. Ensure proper spray distance and keep cans at room temperature.
* Peeling Prematurely: This is often due to insufficient cleaning before application, not enough coats, or applying in very cold or humid conditions.
* Difficulty Peeling: If the Plasti Dip has been on for a very long time or has been subjected to harsh chemicals, it can become more difficult to peel. Using a heat gun on a low setting can sometimes help loosen it.
Can I Use a Spray Gun Kit?
For larger projects or a smoother finish, Plasti Dip can also be applied using a spray gun kit like the Performix DipSprayer. These kits offer more control over spray pattern and volume. If you opt for a spray gun, you’ll typically purchase Plasti Dip by the gallon.
* Gallon Coverage: One gallon of Plasti Dip can cover approximately 20-25 square feet with 4-5 coats.
* Rim Coverage with Gallons: For most standard car rims (15-18 inches), one gallon will be sufficient for all four rims with multiple coats. Larger rims (19 inches and up) might require a bit more than a gallon, or you might consider two gallons to be absolutely safe and achieve thicker coats.
* Pros of Spray Guns: More consistent application, less waste, and potentially a more professional finish.
* Cons of Spray Guns: Higher initial cost for the equipment, and requires a learning curve for proper use and cleanup.
Frequently Asked Questions
Question: How many cans of Plasti Dip do I need for a single car rim?
Answer: For a single car rim, you typically need about 1/4 to 1/3 of a can for 4-5 coats. This is why it’s usually more practical to buy cans in sets for all four rims.
Question: Can I apply Plasti Dip in cold weather?
Answer: It’s best to apply Plasti Dip in temperatures between 50°F and 90°F (10°C to 32°C). Cold temperatures can affect the sprayability and curing of the product, potentially leading to a poor finish.
Question: How long does Plasti Dip last on car rims?
Answer: When applied correctly with multiple coats, Plasti Dip can last anywhere from 6 months to 3 years. Its longevity depends on driving conditions, exposure to the elements, and how often the wheels are cleaned.
Question: What is the best way to clean Plasti Dipped rims?
Answer: Use mild soap and water for regular cleaning. Avoid harsh chemicals, abrasive cleaners, or high-pressure washers, as these can damage the Plasti Dip coating.
Question: Can I Plasti Dip over existing paint or powder coating?
Answer: Yes, you can apply Plasti Dip over most existing finishes. However, ensure the surface is clean and free of contaminants. It’s always a good idea to test on an inconspicuous area first.
Final Thoughts
Deciding how many cans of Plasti Dip for car rims is a straightforward process once you consider the key variables. The general consensus for most standard car rims falls into the 1-2 can range, with larger or more intricate designs potentially needing a third. Remember that consistency in application, aiming for 4-5 or even more coats for lighter colors, is paramount for durability and a clean peel. Don’t underestimate the power of thorough preparation and patient, thin spray passes.
Always having a little extra product on hand offers significant peace of mind, preventing project interruptions and ensuring you achieve the polished look you’re after. Experimenting with colors and finishes on your wheels is an exciting way to personalize your ride, and with the right amount of Plasti Dip and careful application, you can achieve impressive results that last.