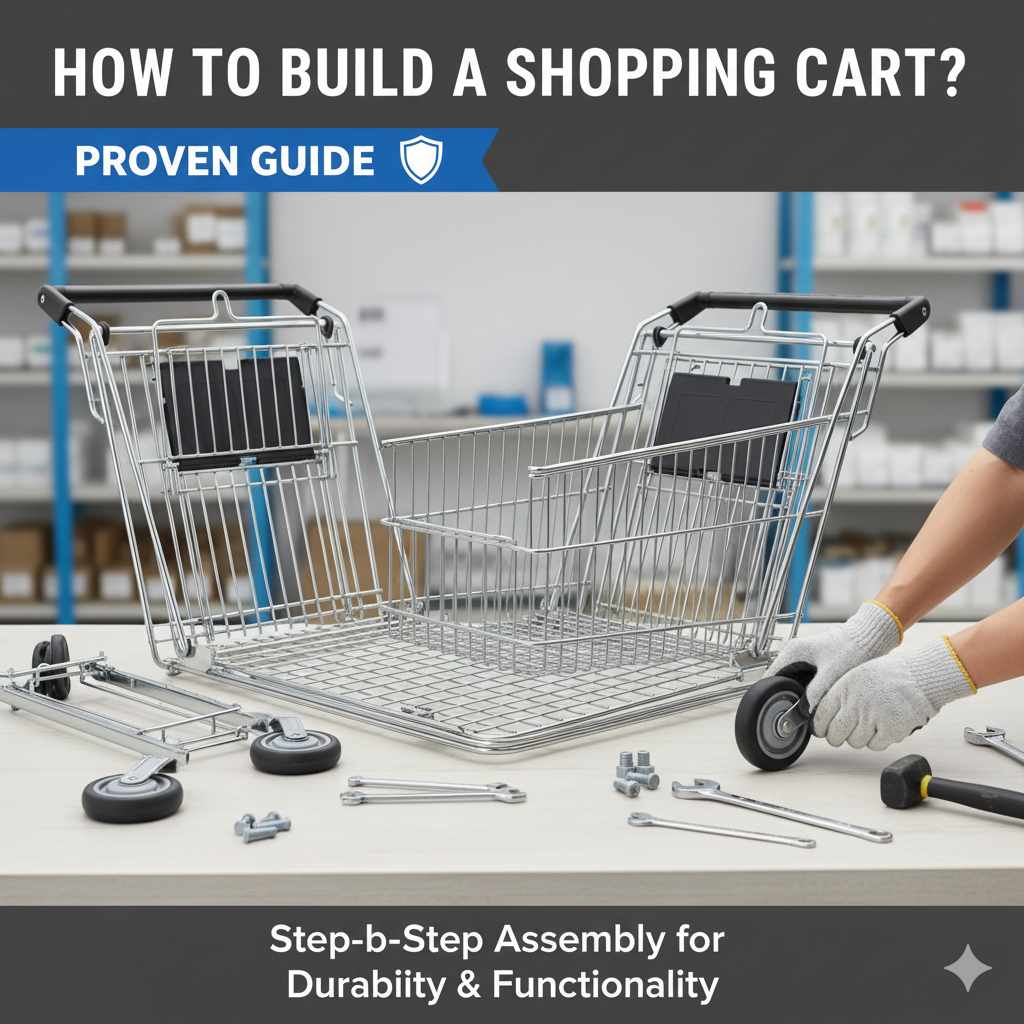
How To Build A Shopping Cart: Proven Guide
Build a functional shopping cart from scratch with this easy-to-follow guide. We’ll walk you through selecting materials, essential tools, and step-by-step assembly for a sturdy, reliable cart that makes errands a breeze.
Ever feel like you’re juggling too many bags after a trip to the store? Or maybe you’ve dreamed of a handy way to haul garden supplies or laundry? Building your own shopping cart might sound like a big project, but it’s totally doable, even for beginners! Think of it as a friendly challenge to make your life a little easier and save some cash along the way. We’ll break down everything you need to know, from picking the right parts to putting it all together. Get ready to roll with your new, custom-made cart!
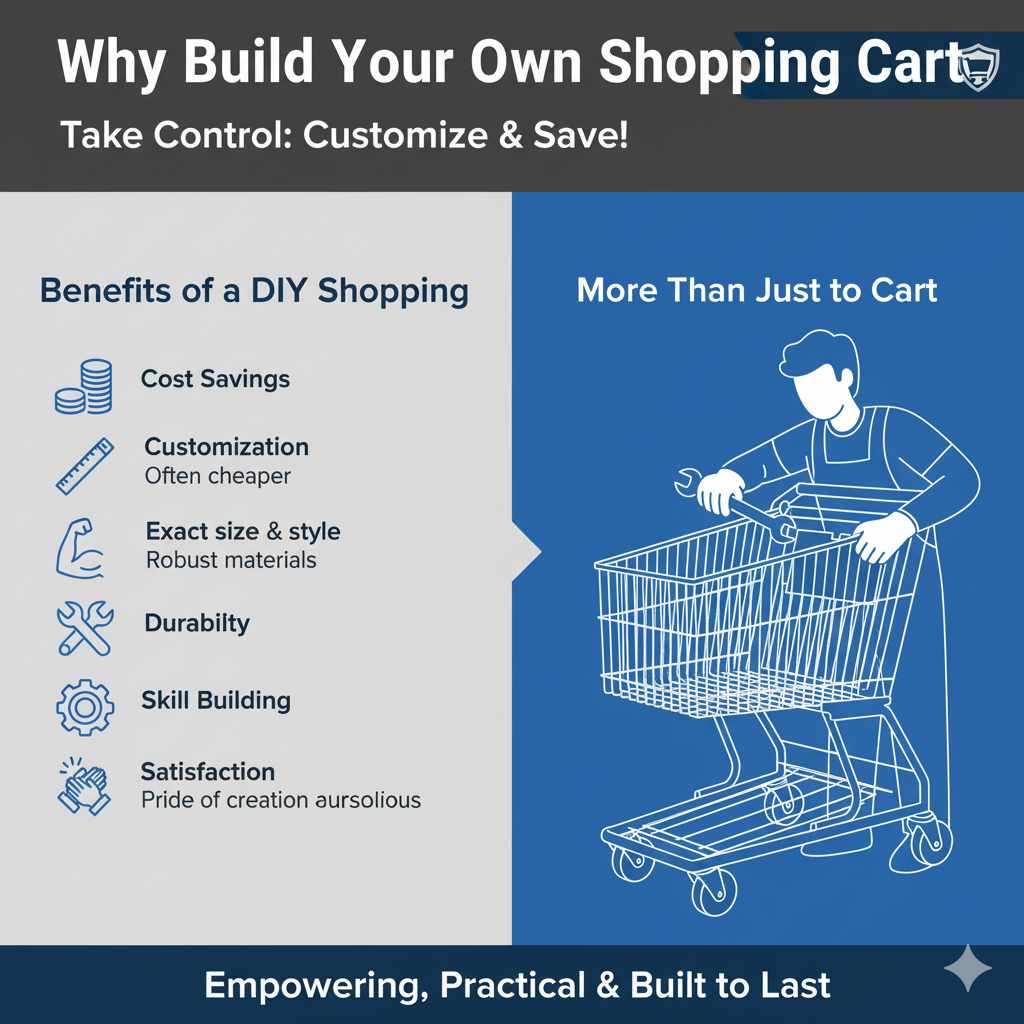
Why Build Your Own Shopping Cart?
Before we grab our tools, let’s talk about why taking on this project is a smart move. Store-bought carts can be pricey, and often, they’re not quite built for your specific needs. Building your own means you get exactly what you want. Plus, it’s a fantastic way to learn new skills and feel a real sense of accomplishment. It’s like giving your car a tune-up – empowering and practical!
Benefits of a DIY Shopping Cart:
- Cost Savings: Often cheaper than buying a pre-made cart of similar quality.
- Customization: Design it to your exact size, strength, and style preferences.
- Durability: Use robust materials for a cart that lasts much longer.
- Skill Building: A great project for learning basic construction and fabrication.
- Satisfaction: The pride of using something you built with your own hands!
Planning Your Shopping Cart Project
Every good build starts with a solid plan. This isn’t just about drawing a picture; it’s about thinking through what you need your cart to do, where you’ll use it, and what materials will work best. Think of this as checking your tire pressure before a long drive – essential for a smooth journey.
Step 1: Define Your Cart’s Purpose
What will you mainly use your cart for? This will influence its size, strength, and features.
- Grocery Shopping: Needs to be maneuverable, sturdy enough for heavy items, and easy to clean.
- Gardening: Might need larger capacity, better handling on uneven terrain, and resistance to dirt.
- Laundry: Focus on easy handling and perhaps compartments for sorting.
- General Errands: A good all-around balance of size and strength.
Step 2: Sketch Your Design
Don’t worry about being an artist! A simple sketch helps visualize your cart. Consider:
- Dimensions: How tall, wide, and deep should it be?
- Wheels: How many? What size? Where should they be placed for stability?
- Handle: Comfortable height and grip? Fixed or foldable?
- Basket/Platform: Solid platform, wire basket, or a combination?
- Frame: Simple box, U-shape, or something more complex?
For a beginner-friendly cart, a simple box frame with four wheels and a basic handle is a great starting point. Imagine it like planning your route before you start driving – it saves time and avoids getting lost.
Step 3: Choose Your Materials
The materials you choose will determine the cart’s strength, weight, and how easy it is to build. For a sturdy, beginner-friendly cart, metal tubing or strong wood are common choices. Metal offers superior durability, while wood can be easier to cut and assemble for those new to fabrication.
Common Material Options:
- Metal Tubing (Steel or Aluminum): Very strong and durable. Steel is heavier but cheaper; aluminum is lighter but more expensive. Welding or special connectors are often needed.
- Wood (Plywood, Pine, Hardwood): Easier to cut and assemble with screws or bolts. Plywood for panels, and pine or hardwood for the frame. Requires sealing to protect from weather.
- Existing Items: Consider repurposing items like old luggage carts, sturdy shelving frames, or even heavy-duty plastic totes for the basket.
For this guide, we’ll focus on a design using readily available wood and hardware, making it accessible for most DIYers. Think of it like choosing the right tires for your car – the right material makes all the difference.
Essential Tools and Supplies
Gathering your tools before you start is key to a smooth building process. Having everything ready means you won’t have to stop and search for things mid-project. It’s like having your emergency car kit packed and accessible.
Tools You’ll Likely Need:
- Measuring Tape: For accurate measurements.
- Pencil: To mark cut lines.
- Saw: A handsaw for wood, or a circular saw/miter saw for faster, cleaner cuts.
- Drill: With drill bits for pilot holes and driving screws.
- Screwdriver Set (or Drill Bits): To fasten screws.
- Wrench Set or Pliers: For tightening bolts and nuts.
- Safety Glasses: Absolutely crucial for protecting your eyes.
- Work Gloves: To protect your hands.
- Sandpaper or Sanding Block: To smooth rough edges.
- Optional: Clamps: To hold pieces together while assembling.
- Optional (for metal): Grinder, Welder: If you’re working with metal and have the skills.
Shopping List (for a basic wooden cart example):
-
Wood:
- ¾-inch plywood for the basket base and sides.
- 1×2 or 2×2 lumber for the frame and handle.
- Wheels: 4 x sturdy wheels (4-6 inch diameter recommended for stability). Look for wheels with a bolt-hole mount. You can find these at hardware stores or online.
-
Hardware:
- Wood screws (appropriate length for your lumber).
- Carriage bolts, washers, and nuts (to attach wheels).
- Optional: L-brackets for reinforcing joints.
- Finishing Supplies: Wood sealer or exterior paint.
When selecting wheels, consider the surface you’ll be using the cart on. Larger, rubberized wheels are better for rougher terrain, while smaller, harder wheels are fine for smooth surfaces. Visit a local hardware store like The Home Depot or search online to see your options.
Step-by-Step: Building Your Shopping Cart
Now for the fun part – building! We’ll outline the steps for a simple, sturdy wooden cart. Remember to always prioritize safety and measure twice, cut once.
Step 1: Cut Your Wood Pieces
Based on your sketch and desired dimensions, cut your wood. Here’s a common breakdown for a medium-sized cart (adjust as needed):
- Basket Base: One piece of ¾-inch plywood (e.g., 18 inches x 24 inches).
- Basket Sides: Two pieces of ¾-inch plywood (e.g., 8 inches x 18 inches) and two pieces (e.g., 8 inches x 24 inches).
- Frame Supports: 1×2 or 2×2 lumber cut to create a sturdy base and top rim for the basket.
- Handle: A piece of 1×2 or 2×2 lumber, long enough for a comfortable grip (e.g., 24-30 inches).
- Legs/Supports: Shorter pieces of 1×2 or 2×2 lumber if needed for structural support.
Cut carefully and ensure your edges are as square as possible.
Step 2: Assemble the Basket Frame
The basket will be the main body of your cart. You can build it in a few ways:
- Option A (Simple Box): Attach the side plywood pieces to the edges of the plywood base using wood screws. Pre-drilling pilot holes will prevent the wood from splitting.
- Option B (With Frame): Build a rectangular frame using your 1×2 or 2×2 lumber first. Then, attach the plywood base and sides to this frame. This adds extra strength.
Reinforce the corners with small blocks of wood or L-brackets if desired for extra durability.
Step 3: Attach the Wheels
This is a critical step for maneuverability. You’ll want to attach wheels at the corners of the basket’s base.
- Mark Positions: Decide where the wheels will go on the underside of the plywood base. Ensure they are positioned to give maximum stability.
- Prepare Mounts: If your wheels have a bolt-hole plate, mark the hole locations on the wood.
- Drill Holes: Drill holes for the bolts.
- Attach Wheels: Secure each wheel using carriage bolts, washers, and nuts. Tighten them firmly, but not so much that you split the wood. Ensure the wheels spin freely.
For better stability, consider placing two wheels at the back and using two smaller, swivel casters at the front. A common setup is a fixed axle for the rear wheels and swivel for the front, or all four with swivel for ultimate maneuverability.
Step 4: Build and Attach the Handle
A comfortable handle is key to easy maneuvering.
- Shape the Handle: Take your chosen piece of lumber for the handle. Sand any rough edges and consider rounding them for comfort.
- Attach to Frame: Securely attach the handle to one end of the basket frame. You can do this by creating upright supports from 1×2 or 2×2 lumber that run from the basket base up to the handle piece. Use strong wood screws, and consider adding glue for extra hold.
- Reinforce: Ensure the handle and its supports are very sturdy, as this is where you’ll be applying force. Angle braces can significantly strengthen the connection.
Step 5: Add Supporting Structure (Optional but Recommended)
Depending on your design and materials, you might want to add more structural elements.
- Corner Braces: Use short pieces of wood or metal L-brackets at the basket’s internal corners for added rigidity.
- Under-Frame: If you didn’t build a robust frame around the basket, consider adding an under-frame of 1×2 or 2×2 lumber to the underside of the basket base to distribute weight and provide solid mounting points for the wheels.
- Legs: If your cart is very deep or intended for heavy loads, you might add short legs to the base for extra support.
Step 6: Sand and Finish
This step makes your cart look great and protects it from the elements.
- Sand Everything: Go over all the wood surfaces, especially edges and corners, with sandpaper. Start with a coarser grit and finish with a finer grit for a smooth feel.
- Clean: Wipe away all the sawdust.
- Apply Finish: Apply a good quality wood sealer or exterior paint. Follow the product’s instructions for drying times and applying multiple coats. This will protect your cart from moisture and add a nice look.
A well-finished cart not only looks good but will last much longer. Check out resources on proper wood finishing from reputable sites like Wood Magazine for tips.
Variations and Upgrades
Once you’ve mastered the basic build, you can explore ways to make your cart even better. Think of these like adding accessories to your car to improve performance or comfort.
Ideas for Customization:
- Collapsible Design: Incorporate hinges to allow the handle to fold down or the basket sides to collapse.
- Extra Shelving: Add a second, smaller shelf inside the basket for better organization.
- Larger Wheels: For easier rolling over rough terrain or curbs.
- Brake System: For more advanced builders, adding a simple locking brake on one or two wheels can be very useful.
- Lid or Cover: A wooden or fabric lid can protect your items from the weather.
- Personalization: Paint it in your favorite colors, add reflective tape for visibility, or stencil a design.
Consider adding a sturdy plastic tote or a wire basket to the frame instead of building a wooden one. This can simplify construction significantly. For example, you could build a wooden frame that perfectly fits a standard storage bin.
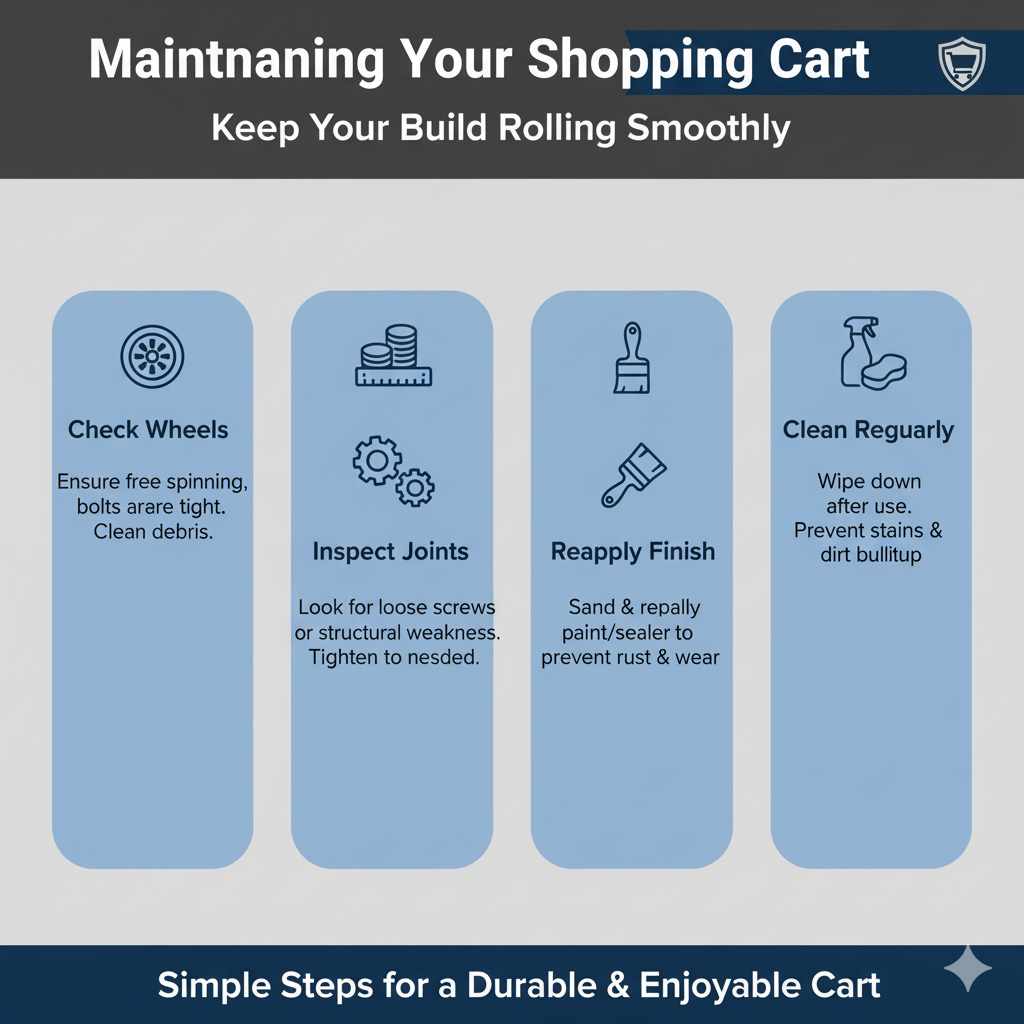
Maintaining Your Shopping Cart
Just like your car needs regular maintenance, your DIY shopping cart will benefit from a little care to keep it in top shape.
Simple Maintenance Tips:
- Check Wheels: Periodically ensure they are spinning freely and that bolts are tight. Clean any debris stuck in the wheels.
- Inspect Joints: Look for any signs of loosening screws or structural weakness, especially after heavy use. Tighten as needed.
- Reapply Finish: If the paint or sealer starts to wear off, especially on areas that get a lot of contact or weather exposure, sand lightly and reapply a new coat.
- Clean Regularly: Wipe down the cart after use, especially if carrying groceries or garden materials, to prevent stains and dirt buildup.
A little attention goes a long way in ensuring your cart serves you reliably for years to come. It’s much simpler than diagnosing a strange engine noise!
Frequently Asked Questions (FAQ)
Here are some common questions beginners have about building a shopping cart:
Q1: What is the easiest way to build a shopping cart?
The easiest way for beginners is usually to focus on a simple wooden box design with four mounted wheels. Using screws and basic woodworking joints is more accessible than welding metal, and pre-fab wheel mounts simplify installation.
Q2: How do I make sure my cart is sturdy enough?
Use good quality lumber (like 2x2s for frames) and ¾-inch plywood. Reinforce corners with L-brackets or extra wood blocks. Ensure all screws are driven in properly, and consider using wood glue at joints for extra strength. Select wheels that can handle the expected weight.
Q3: Can I use casters instead of fixed wheels?
Yes! Using swivel casters, especially on the front, will make your cart much more maneuverable. However, for maximum stability when carrying heavy loads, it’s often best to have fixed (non-swiveling) wheels on at least one axle, usually the rear.
Q4: What are the best wheels for a shopping cart?
For general use on sidewalks and smooth surfaces, 4-6 inch diameter wheels with rubber or pneumatic tires offer a good balance of smooth rolling and durability. For rougher terrain, larger diameter wheels with more tread are recommended. Ensure they have a good weight rating.
Q5: How much weight can a DIY shopping cart hold?
The weight capacity depends heavily on your materials, design, and construction quality. A well-built wooden cart with sturdy lumber and solid joints can typically hold anywhere from 50 to 150 pounds or more. Always err on the side of caution and reinforce if you anticipate heavy loads.
Q6: Do I need special tools to build a wooden cart?
A basic set of tools is usually sufficient: a saw (handsaw or power saw), drill, measuring tape, pencil, screws, and sandpaper. Clamps can be helpful but aren’t strictly necessary. If you don’t have these, consider borrowing from a friend or renting basic tools.
Conclusion
See? Building your own shopping cart is a rewarding project that puts a custom, durable tool right at your fingertips. We’ve covered everything from planning and material selection to the nuts and bolts of assembly, plus tips for upgrades and maintenance. You’ve learned that with a little effort and the right guidance, you can create something truly useful. So, grab those tools, sketch out your perfect cart, and get ready to make your shopping trips—or any hauling task—so much easier. You’ve got this!