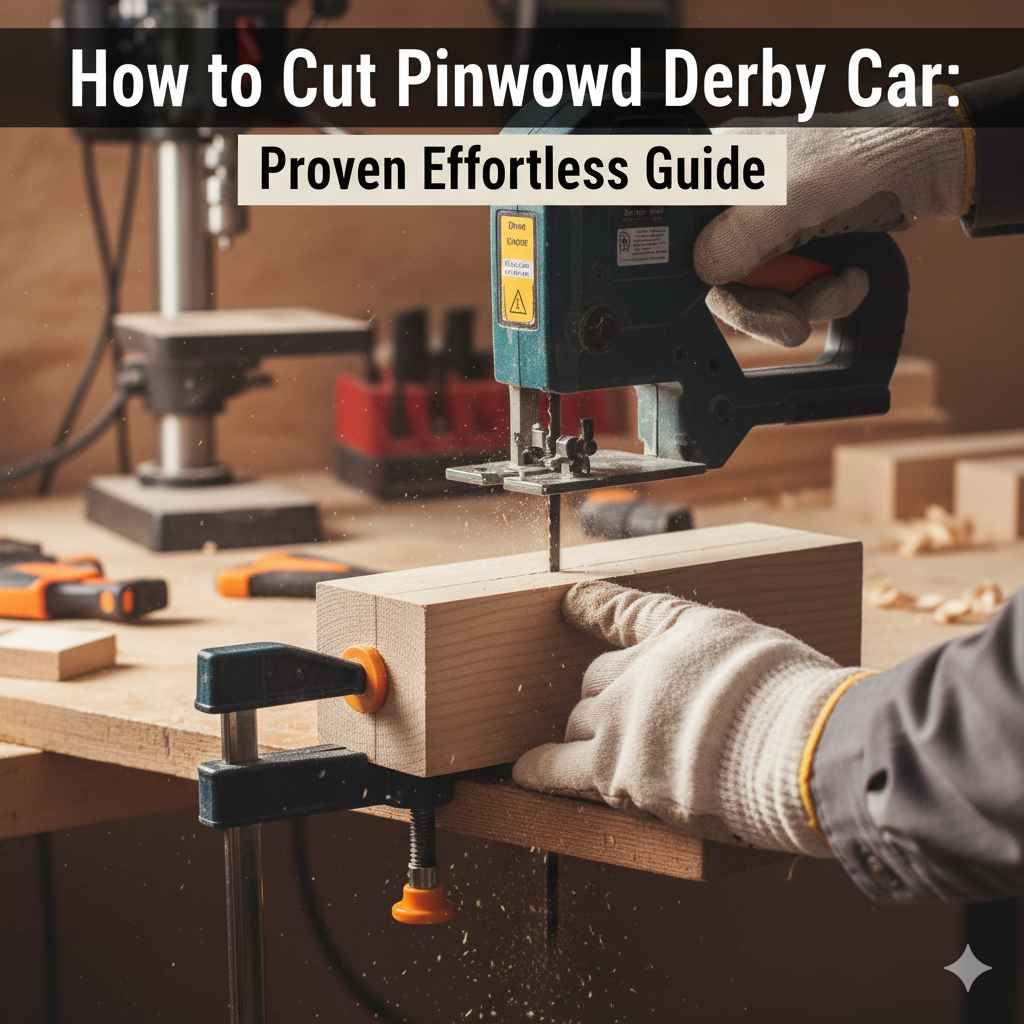
How to Cut Pinewood Derby Car: Proven Effortless Guide
Cutting your Pinewood Derby car doesn’t have to be tricky! This guide shows you exactly how to shape your block of wood into a winning race car with simple steps, useful tips, and safety advice, making it easy for anyone to create a fantastic design.
Building a Pinewood Derby car is a super fun project, but when it comes time to shape that wooden block, it can feel a little daunting. You might be wondering how to get that sleek, aerodynamic design without making a mess or messing up your car. Don’t worry, it’s easier than you think! With the right approach and a little guidance, you can turn a simple block of pine into a car that’s both fast and looks amazing. We’ll walk you through everything, step-by-step, so you can feel confident about creating your masterpiece.
Your Effortless Pinewood Derby Car Cutting Plan
Getting the shape of your Pinewood Derby car just right is key to both performance and looks. It’s not about making it super complicated, but rather about smart design. We’ll cover the tools you need, how to make your cuts safely, and some design ideas that often work well. Think of this as your friendly conversation with a knowledgeable friend who happens to love cars and helping you out.
Gathering Your Essential Tools
Before you even touch that block of wood, let’s make sure you have the right gear. You don’t need a workshop full of fancy equipment. Some basic tools will do the job perfectly and safely. Having everything ready means you can focus on the fun part – shaping your car!
Here’s a list of what you’ll likely need:
- Pinewood Derby Car Kit: This usually includes the wooden block, wheels, axles, and weights.
-
Safety First Gear:
- Safety glasses are a must to protect your eyes from sawdust.
- Work gloves can help with grip and offer a little protection.
-
Measuring and Marking Tools:
- A ruler or tape measure for accuracy.
- A pencil for drawing your design onto the wood.
- Optional: A protractor or speed square for angles.
-
Cutting Tools:
- Hand Saw: A simple, affordable option. A coping saw or a small handsaw works well for curves.
- Jigsaw: If you have access to one, a jigsaw makes cutting curves much easier and faster. Make sure you have a blade suitable for wood. For tips on jigsaw safety and use, check out resources from reputable woodworking sites like Wood Magazine.
- Scroll Saw: Similar to a jigsaw, but often used for more intricate cuts and finer detail work.
- Hobby Knife/Craft Knife: Good for small details or removing excess wood after initial cuts. Use with extreme caution.
-
Shaping and Sanding Tools:
- Sandpaper: Start with a coarser grit (like 80-100) to remove saw marks and shape, then move to finer grits (150-220) for a smooth finish.
- Sanding block: Helps you sand flat surfaces evenly.
- Rasp or file: Useful for shaping curves and edges if you’re not using a power saw.
- Clamps: To hold the wood securely while you cut.
- Work surface: A sturdy table or workbench.
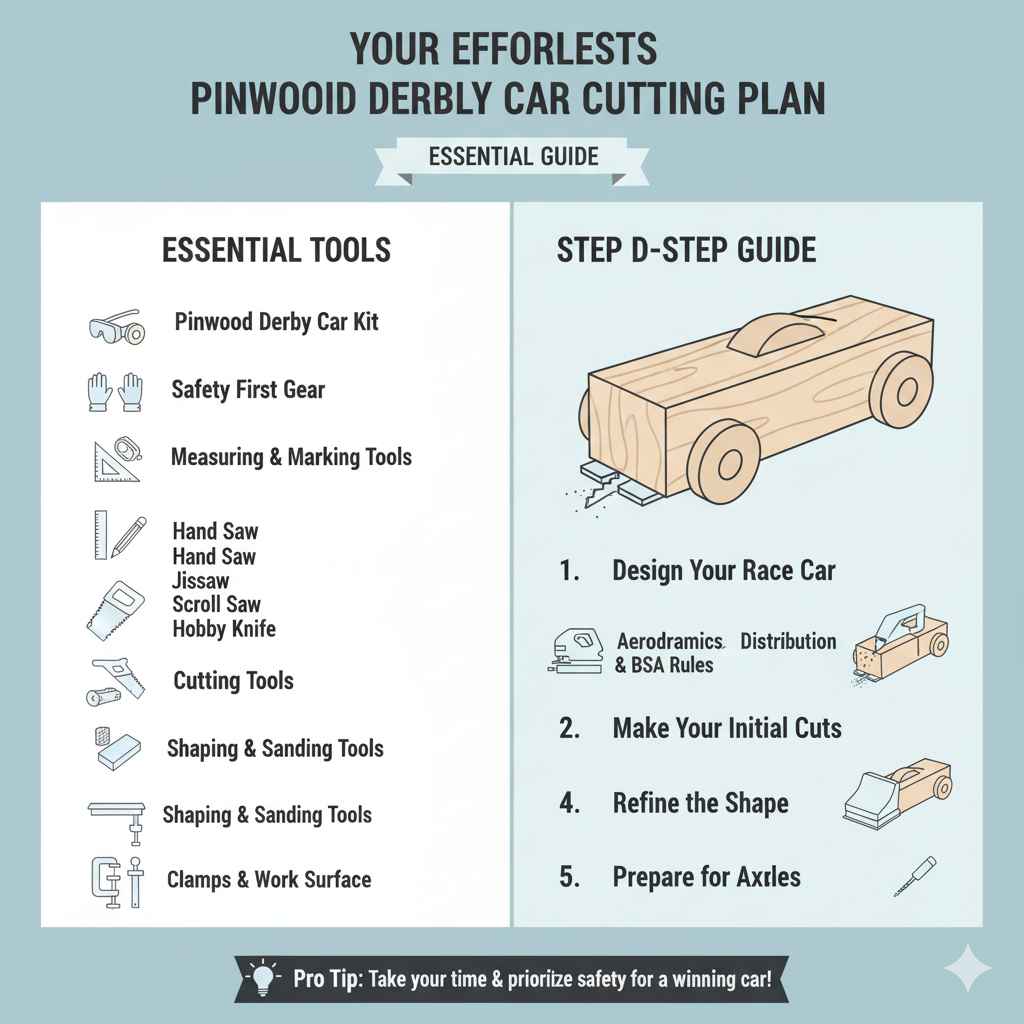
Step-by-Step Guide: Cutting Your Pinewood Derby Car
Now for the exciting part – bringing your design to life! Remember, take your time and focus on safety. No rush here, we’re building a winning car and having fun doing it.
Step 1: Design Your Race Car
Before you cut, you need a plan! Look at existing Pinewood Derby cars for inspiration, or draw something completely unique. Keep these things in mind:
- Aerodynamics: Sleeker shapes often perform better.
- Weight Distribution: You’ll add weights later, but think about where they might go and how that affects balance.
- Simplicity: For your first few cars, simpler shapes are easier to cut accurately.
- The BSA Rules: Always check your local Pinewood Derby rules! They often have guidelines on maximum length, width, height, and minimum ground clearance. The official Pinewood Derby website is a great resource for rules and tips.
You can trace existing designs or draw your own directly onto the wood block. Keep your lines clear and concise.
Pro Tip: If you’re unsure about a design, try sketching it on paper first. You can even cut out a cardboard template to get a feel for the shape before marking your wood.
Step 2: Secure Your Wood Block
Safety is paramount. Clamp your wooden block firmly to your workbench. Make sure the part you plan to cut is easily accessible and that the clamps won’t get in the way of your saw. A securely held piece of wood prevents slips and makes cutting much more accurate and safe.
Step 3: Make Your Initial Cuts
This is where your design starts to take shape. Whether you’re using a hand saw or a jigsaw, go slow and steady. Follow your pencil lines carefully.
- Using a Hand Saw: Start by creating a small groove with your pencil line as a guide. Use smooth, controlled strokes. Don’t force the saw.
- Using a Jigsaw: Insert the blade through a pre-drilled hole if you’re cutting inside a shape, or start from an edge. Guide the saw smoothly along your lines. Keep the base plate of the jigsaw flat on the wood. For detailed instructions on using a jigsaw safely and effectively, consider looking at guides from woodworking experts such as on Family Handyman.
Remember to wear your safety glasses during all cutting operations!
Step 4: Refine the Shape
Once your main cuts are done, you’ll likely have some rough edges or areas that need adjustment. This is where sanding and smaller tools come in.
- Sanding: Start with a coarser grit sandpaper (80-100) to remove saw marks and any unevenness. Use a sanding block for flat surfaces and freehand for curves.
- Files and Rasps: If you have hard-to-reach curves or want to round edges, a small file or rasp can be very helpful.
- Hobby Knife: For very small adjustments or trimming, a sharp hobby knife can be used with extreme care. Always cut away from yourself.
Your goal here is to get the shape you envisioned smooth and ready for the next steps. Don’t rush the sanding process; a smooth car is often a faster car!
Step 5: Prepare for Axles and Wheels
Most Pinewood Derby kits come with pre-drilled holes for the axles. Ensure these holes are clean and straight. If they’re not perfect, you can sometimes use a small drill bit or even a piece of sandpaper wrapped around a dowel to clean them up. Straight axles are crucial for your car to roll true.
Important Note: Always check your specific Pinewood Derby rules regarding axle placement and alignment. Some rules allow for adjustments, while others require using the provided positions.
Design Ideas for Better Performance and Looks
When you’re cutting your Pinewood Derby car, think about how the shape affects its speed. Here are a few popular design concepts:
1. The Classic Wedge
This is a popular design because it’s simple and generally aerodynamic. It involves tapering the car from a wider front or back to a narrower point. The idea is to let air flow smoothly over and under the car.
2. The Bullet Nose
This design is very sleek, with a pointed front that cuts through the air with minimal resistance. It often looks fast just sitting there!
Pros: Excellent aerodynamics, looks aggressive and fast.
Cons: Can be tricky to get a sharp point right on the wood block without breaking it. Might require more careful sanding.
3. The Low-Profile Racer
This design focuses on reducing the car’s height, which can help it stay lower and more stable. It often features a flattened top and sides, with a sleek, elongated body.
Pros: Stable, can look very professional and “race-ready.”
Cons: Might require more material removal, so be mindful of the weight limits and rules.
Table: Common Design Shapes vs. Potential Benefits
| Design Shape | Primary Benefit | Ease of Cutting (Beginner) | Visual Appeal |
|---|---|---|---|
| Classic Wedge | Good balance of aerodynamics and stability. | Easy to moderate. | Classic, reliable look. |
| Bullet Nose | Excellent for reducing wind resistance; potentially faster. | Moderate to difficult (requires careful shaping). | Aggressive, futuristic. |
| Low-Profile Racer | Improved stability by lowering center of gravity. | Moderate (can involve removing a lot of wood). | Sleek, professional, and sporty. |
| Aerodynamic Fins/Spoilers (small additions) | Can help with stability and looks; can alter airflow. | Easy (if done simply). | Sporty, high-performance look. |
Remember, the “best” shape often depends on the race conditions, the track, and how well you execute the design. Don’t be afraid to experiment, but keep the rules in mind!
Tips for Effortless Cutting and Safety
Cutting wood can seem intimidating, but with the right approach, it’s a smooth process. Here are some extra tips to make sure your cutting experience is both easy and safe:
- Test Cuts: If you have scrap wood, practice your cutting technique before you start on your actual car block. This helps you get a feel for the tool and how it cuts.
- Go Slow and Steady: Rushing is the fastest way to make mistakes or have an accident. Let the tool do the work.
- Keep Blades Sharp: A sharp blade cuts more efficiently and safely. Dull blades require more force, increasing the risk of slipping.
- Watch Your Fingers: Always be aware of where your hands and fingers are in relation to the blade.
- Work in a Well-Lit Area: Good lighting helps you see your lines clearly and reduces eye strain.
- Clean Up as You Go: Sawdust can accumulate quickly. A clean workspace is a safer workspace.
- Ventilation: Sawdust can be an irritant. Ensure you have some ventilation, especially if using power tools.
These simple practices will make your cutting experience much more enjoyable and productive.
Sanding: The Secret to a Smooth Finish
After cutting, the wood will likely feel rough. Sanding is crucial not only for looks but also for performance. A smooth surface reduces air resistance. Think of it like a polished sports car – it looks good and reduces drag!
Sanding Process:
- Start Coarse: Use 80 or 100-grit sandpaper to remove any saw marks, rough edges, and to refine the shape further.
- Move to Medium: Switch to 150-grit sandpaper to smooth out the marks from the coarser grit.
- Finish Fine: Use 220-grit sandpaper for a super smooth feel. Some people even go higher, but 220 is usually sufficient for Pinewood Derby cars and makes painting much easier.
Always sand in the direction of the wood grain. For more detailed advice on sanding wood, resources like This Old House offer excellent tips.
Troubleshooting Common Cutting Issues
Even with the best intentions, things can sometimes go slightly awry. Here are a few common problems and how to fix them:
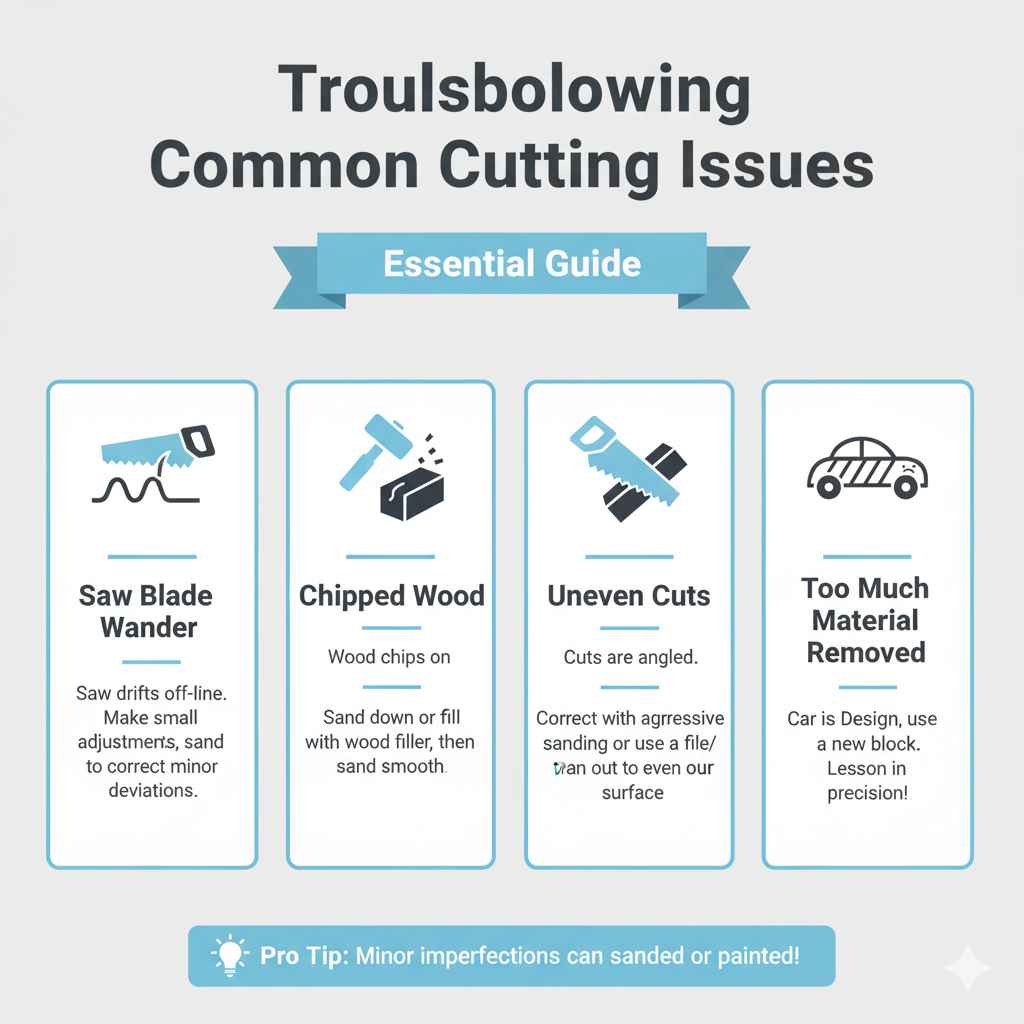
- Saw Blade Wander: If your saw drifts off your line, don’t try to force it back sharply. Make small adjustments and try to guide it back. You can often fix minor deviations with careful sanding.
- Chipped Wood: If the wood chips while cutting, especially on corners, you can often sand these down to smooth them out. For more significant chips, you might be able to fill them with wood filler and sand smooth once dry.
- Uneven Cuts: Hand saws sometimes cut at an angle. You can often correct this with aggressive sanding or by carefully using a file or rasp to even out the surface.
- Too Much Material Removed: This is tough to fix. If you’ve removed too much, you might need to rethink your design or use a new block. It’s a good lesson in precision!
Remember, minor imperfections can often be sanded or covered with paint, so don’t let small mistakes discourage you!
Frequently Asked Questions (FAQ) about Cutting Pinewood Derby Cars
Here are some common questions beginner car builders have:
Q1: What is the easiest way to cut a Pinewood Derby car?
For beginners, the easiest method is often to keep your design simple, use a hand saw or a jigsaw with a relatively straight pattern, and rely heavily on sanding to refine the shape. Prioritize safety and clear lines over complex curves.
Q2: Do I need power tools to cut my Pinewood Derby car?
No, you absolutely don’t! A good hand saw (like a coping saw), a sharp knife, and lots of sandpaper can create a fantastic car. Power tools like jigsaws or scroll saws can make cutting curves easier and faster, but they aren’t mandatory.
Q3: How can I ensure my cuts are straight?
Use a steady hand, a good pencil line, and a guide if possible (like a ruler clamped alongside your cut line for a hand saw, or the base plate of a jigsaw against the wood). For curves, draw them as smoothly as possible and take your time cutting along the line.
Q4: What’s the best grit of sandpaper to use?
Start with a coarser grit (like 80 or 100) to remove saw marks, then move to medium (150) and finally fine (220) grit for a smooth finish. Aim for a smooth surface to reduce friction and improve aerodynamics.
Q5: How much wood can I remove from the Pinewood Derby block?
This depends entirely on your local race rules! Some rules specify maximum weight, while others have dimensions. Generally, you can remove as much wood as you like, provided you don’t violate length, width, or height limits, and you can still meet the minimum weight requirement (which is usually 5 ounces) by adding weights.
Q6: My car looks crooked after cutting, what can I do?
Minor crookedness can often be corrected with careful sanding. If it’s significantly angled, you might need to strategically add weight to compensate, or if it’s a major issue, consider using another block. Focus on making the wheels and axles sit correctly for alignment.
Q7: Is it okay to cut off the official “axle slots”?
Most Pinewood Derby rules require you to use the provided axle slots or to drill new, precisely aligned holes. Cutting off the original slots is usually fine as long as you then create compliant slots or holes for your axles elsewhere on the car body.
Conclusion: Your Pinewood Derby Car Awaits!
You’ve got the blueprint! Cutting your Pinewood Derby car block is a rite of passage for many young builders, and with this guide, you’re well-equipped to tackle it with confidence and ease. Remember to prioritize safety above all else, take your time with your design, and enjoy the process of transforming a simple block of wood into your very own racing machine. Whether you aim for speed, style, or a bit of both, the skills and steps outlined here will set you on the right track. Your finished car, shaped by your own hands, will be a proud symbol of your effort and creativity. Now, go forth and build an amazing Pinewood Derby racer!