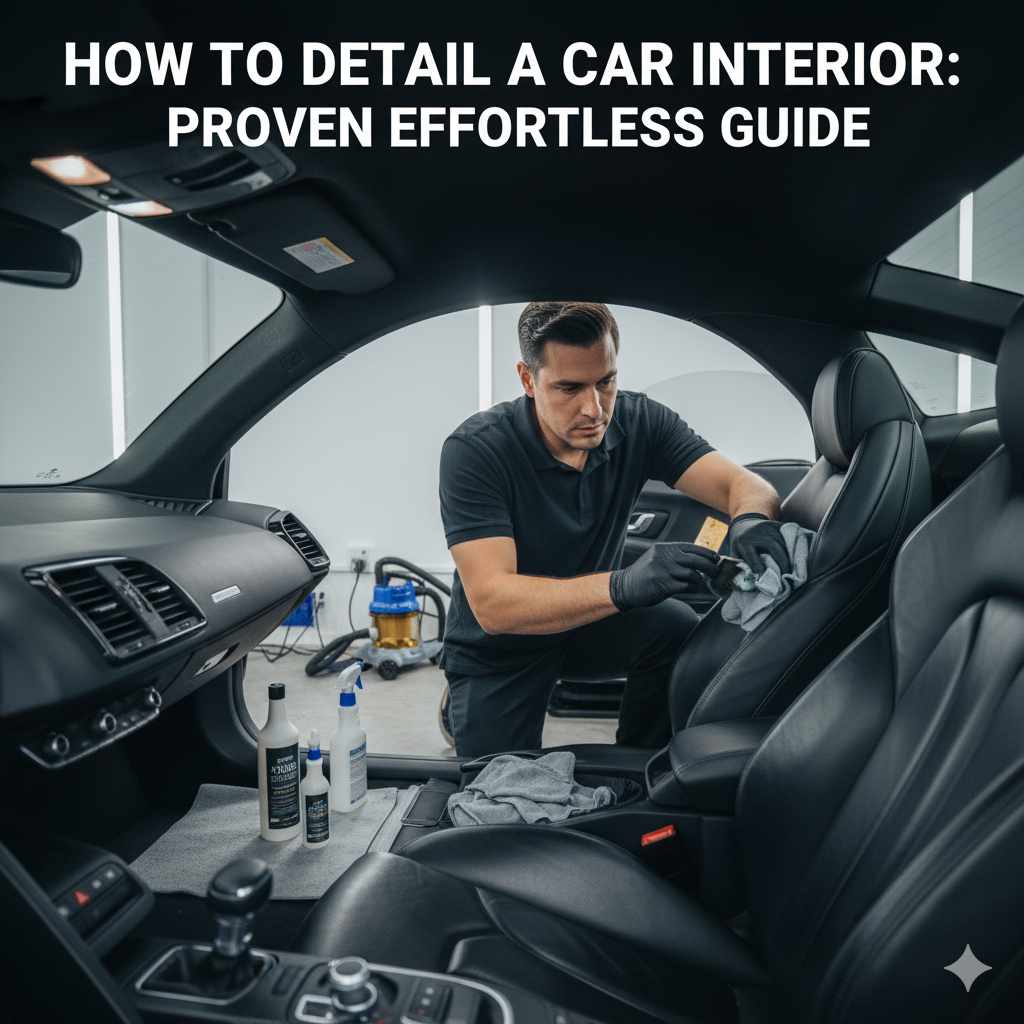
How to Detail a Car Interior: Proven Effortless Guide
Transform your car’s messy interior into a spotless sanctuary with this easy-to-follow guide. You’ll learn simple, effective techniques using common household items and a few key tools to achieve a professional-looking clean. We’ll cover everything from vacuuming and wiping down surfaces to tackling stubborn stains and leaving your car smelling fresh. Get ready to enjoy a cleaner, more comfortable ride!
Hello there! As your friendly automotive guide, Md Meraj, I know how daunting a dirty car interior can feel. Crumbs in the seats, dust on the dashboard, mysterious sticky spots – it can all add up. But don’t worry! Taking care of your car’s inside doesn’t require a mechanic’s expertise or expensive gadgets. This guide is designed for you, the everyday driver, to make detailing your car’s interior feel effortless and incredibly rewarding. We’ll break down the process into simple, manageable steps, so you can gain the confidence to make your car look and feel its best. Ready to roll up your sleeves and give your car the spa treatment it deserves? Let’s get started!
Why Detailing Your Car Interior Matters
Keeping your car’s interior clean isn’t just about looks; it’s about comfort, health, and even the resale value of your vehicle. A clean car feels more enjoyable to drive, especially on longer trips. Over time, dust, dirt, and grime can accumulate, potentially affecting air quality inside your car and exacerbating allergies. A well-maintained interior also makes a better impression and can significantly boost your car’s value when it’s time to sell or trade it in. Thankfully, achieving a detailed interior is more accessible than you might think!
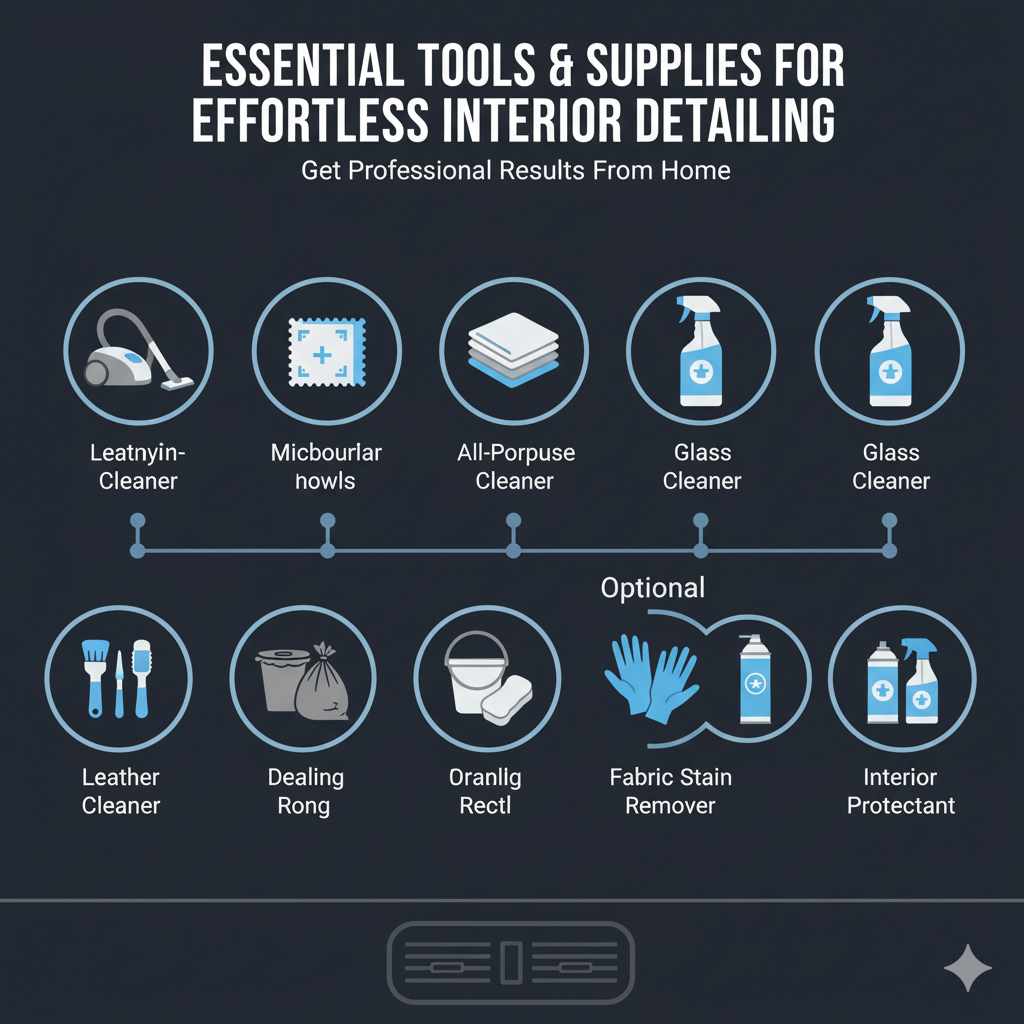
Essential Tools & Supplies for Effortless Interior Detailing
You don’t need a garage full of professional-grade equipment to get a fantastic result. Most of what you need, you might already have at home! Here’s a breakdown of the helpful items:
- Vacuum Cleaner: A powerful vacuum, ideally with various attachments (crevice tool, brush attachment), is crucial. A shop vac is great, but a good household vacuum with a hose can also work.
- Microfiber Towels: Invest in a good set of microfiber cloths. They are soft, absorbent, and won’t scratch surfaces. Have at least 5-10 on hand.
- All-Purpose Interior Cleaner: Choose a non-greasy, pH-neutral cleaner safe for most interior surfaces like plastic, vinyl, and leather.
- Glass Cleaner: A dedicated automotive glass cleaner will help you achieve a streak-free shine. Ammonia-free formulas are often recommended for tinted windows.
- Detailing Brushes: A set of soft-bristled brushes (various sizes) is perfect for agitating dirt in tight spots like vents, seams, and around buttons.
- Trash Bags: For easily collecting all the clutter.
- Bucket: For rinsing cloths or mixing cleaning solutions if needed.
- Gloves: To protect your hands from cleaning products.
- Optional: Leather cleaner and conditioner (if you have leather seats), fabric stain remover, interior protectant/dressing, compressed air.
Step-by-Step Guide: How to Detail a Car Interior
Let’s break down the process into easy, actionable steps. The key is to work from top to bottom so that falling debris is cleaned up efficiently.
Step 1: Declutter and Trash Removal
This is the most satisfying first step! Open all your doors and start by removing any trash, loose items, and personal belongings from the cabin, door pockets, cup holders, glove box, and trunk. A clean slate makes all the difference.
Step 2: Vacuuming – The Foundation of a Clean Interior
A thorough vacuum is non-negotiable. Start from the top and work your way down.
- Floor Mats: Remove floor mats and shake them out vigorously outside. If they are heavily soiled, you might want to clean them separately (see Step 6). Vacuum them before putting them back.
- Carpets and Upholstery: Use your crevice tool to get into the seams and edges of seats, along the center console, and between the seats and the door. Use the brush attachment to agitate dirt on carpeted areas and fabric seats. Don’t forget under the pedals and the seat rails.
- Seats: Thoroughly vacuum all surfaces of your seats. For cloth seats, pay attention to seams and any fabric patterns where dirt can hide.
- Trunk: Don’t overlook the trunk! Remove any items and vacuum the carpet thoroughly.
Step 3: Cleaning Hard Surfaces (Dashboard, Doors, Center Console)
This is where your all-purpose cleaner and microfiber towels shine.
- Spray and Wipe: Lightly spray your all-purpose cleaner onto a microfiber towel, not directly onto the surfaces. This prevents overspray onto electronics or glass.
- Wipe Down: Gently wipe down the dashboard, steering wheel, center console, door panels, and plastic trim.
- Detailing Brushes: For areas like air vents, buttons, and seams, use a soft detailing brush to loosen dust and grime. Follow up by wiping with your microfiber towel or a second, dry microfiber towel to pick up the loosened dirt. Compressed air can also be very effective for blasting dust out of vents and tight crevices.
- Stubborn Spots: For tougher grime, you might need to spray the cleaner directly onto the brush or a corner of the towel and gently scrub.
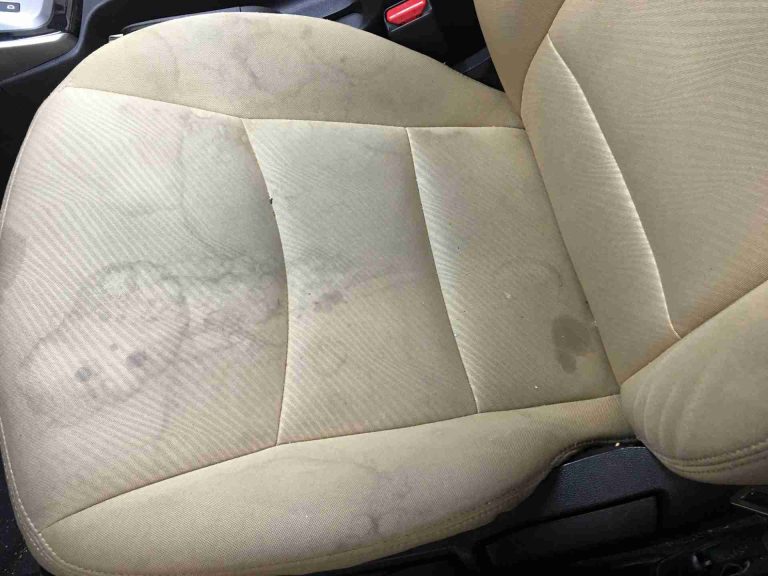
Step 4: Cleaning Seats and Upholstery
The method here depends on your seat material.
Fabric Seats:
- Spot Treatment: For spills or stains, use a fabric stain remover according to its instructions. Test in an inconspicuous area first.
- General Cleaning: Lightly spray your all-purpose cleaner or a dedicated fabric cleaner onto a microfiber towel. Gently wipe down the fabric. For any soiled areas, you can lightly agitate with a soft brush before wiping. Avoid oversaturating the fabric.
- Drying: Allow the seats to air dry. Open windows or doors if the weather permits.
Leather Seats:
- Leather Cleaner: Use a cleaner specifically designed for automotive leather. Apply it to a microfiber towel and wipe down the seats gently.
- Agitate Seams: Use a soft detailing brush to clean the seams and stitching.
- Wipe Off: Use a clean microfiber towel to wipe away any residue from the cleaner.
- Condition: Once the seats are clean and dry, apply a leather conditioner using another clean microfiber towel. This will help keep the leather soft, prevent cracking, and protect it. Let it soak in, then buff off any excess with a dry towel. Learn more about leather care on this great guide from The Leather Council (though perhaps not always the most practical for car interiors, it covers general leather care principles).
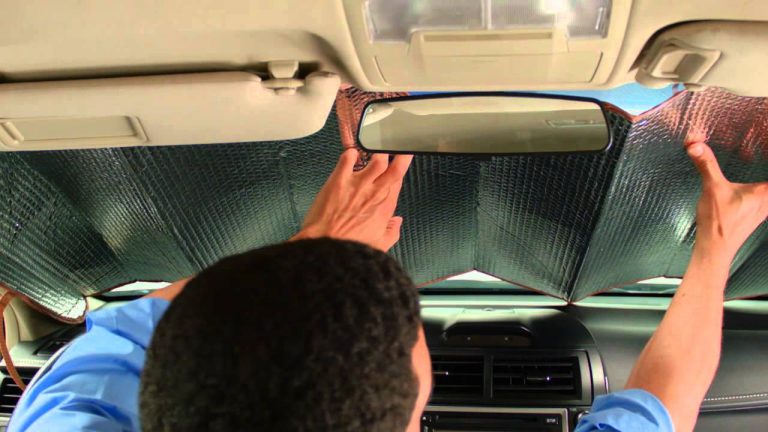
Step 5: Cleaning Interior Glass and Mirrors
Streaks on glass are a common frustration. Here’s how to avoid them.
- Two-Towel Method: Spray your glass cleaner onto a clean microfiber glass towel (or a dedicated glass cleaning cloth). Wipe the inside of the windows and mirrors.
- Buff Dry: Immediately follow up with a second, dry microfiber towel to buff the glass to a streak-free shine.
- Don’t Spray Directly: Always spray the cleaner onto the towel, not directly onto the glass. This prevents overspray onto other surfaces like the dashboard.
- Pay Attention to Edges: Make sure to clean the very edges of the windows where dirt and grime tend to collect.
Step 6: Cleaning Floor Mats (Deeper Clean if Needed)
If your rubber or carpeted mats need more than a vacuum and quick wipe, here’s what to do.
Rubber/All-Weather Mats:
- Hose Down: Take them out of the car and hose them off.
- Scrub: Use an all-purpose cleaner and a stiff brush to scrub away mud and dirt.
- Rinse and Dry: Rinse thoroughly and let them air dry completely before putting them back in the car.
Carpeted Mats:
- Pre-treat Stains: Apply a carpet stain remover to any visible spots and let it dwell for a few minutes.
- Scrub: Use a carpet brush or an old toothbrush with a little all-purpose cleaner or carpet shampoo to gently scrub the surface.
- Extract (Optional but Recommended): If you have a wet/dry vacuum or a carpet extractor, this is the time to use it to pull out the dirt and moisture.
- Air Dry: Ensure they are completely dry before placing them back to prevent mold and mildew.
Step 7: Final Touches – Odor Elimination and Protection
You’re almost there! A few final steps can make your car’s interior feel brand new.
- Air Freshener/Odor Eliminator: If needed, use a car-specific air freshener or odor eliminator. Avoid overly strong scents that can be overpowering.
- Interior Protectant/Dressing (Optional): For plastic and vinyl surfaces, you can apply an interior protectant. This can add a subtle sheen, prevent fading from UV rays, and make future cleaning easier. Apply sparingly with a microfiber applicator pad and buff off any excess. The Federal Trade Commission (FTC) offers general advice on shopping for automotive products, reminding consumers to look for quality and value.
- Door Jambs: Don’t forget to wipe down the door jambs – they collect a surprising amount of dirt.
Common Interior Detailing Challenges and Solutions
Even with the best intentions, some interior messes can be stubborn. Here’s how to tackle them:
| Problem | Solution |
|---|---|
| Stubborn Stains on Upholstery | Use a dedicated fabric stain remover. For persistent stains, try a mixture of mild dish soap and water, or a specialized upholstery cleaner. Always test in an inconspicuous area first. |
| Sticky Residue (e.g., from soda spills) | Use an all-purpose cleaner or a diluted mixture of isopropyl alcohol (rubbing alcohol) and water. Apply to a microfiber towel and gently rub the residue. |
| Dust in Vents | Use compressed air to blast it out, followed by a detailing brush and then a microfiber cloth to wipe. |
| Odors (smoke, pets, mildew) | Thorough vacuuming and cleaning are the first steps. Use an odor eliminator spray, place an open box of baking soda in the car overnight, or consider an automotive air-con system cleaner. Ensure good ventilation afterwards. |
| Scratches on Plastic Trim | Minor scratches can sometimes be buffed out with a plastic polish or interior protectant. For deeper scratches, professional repair might be needed. |
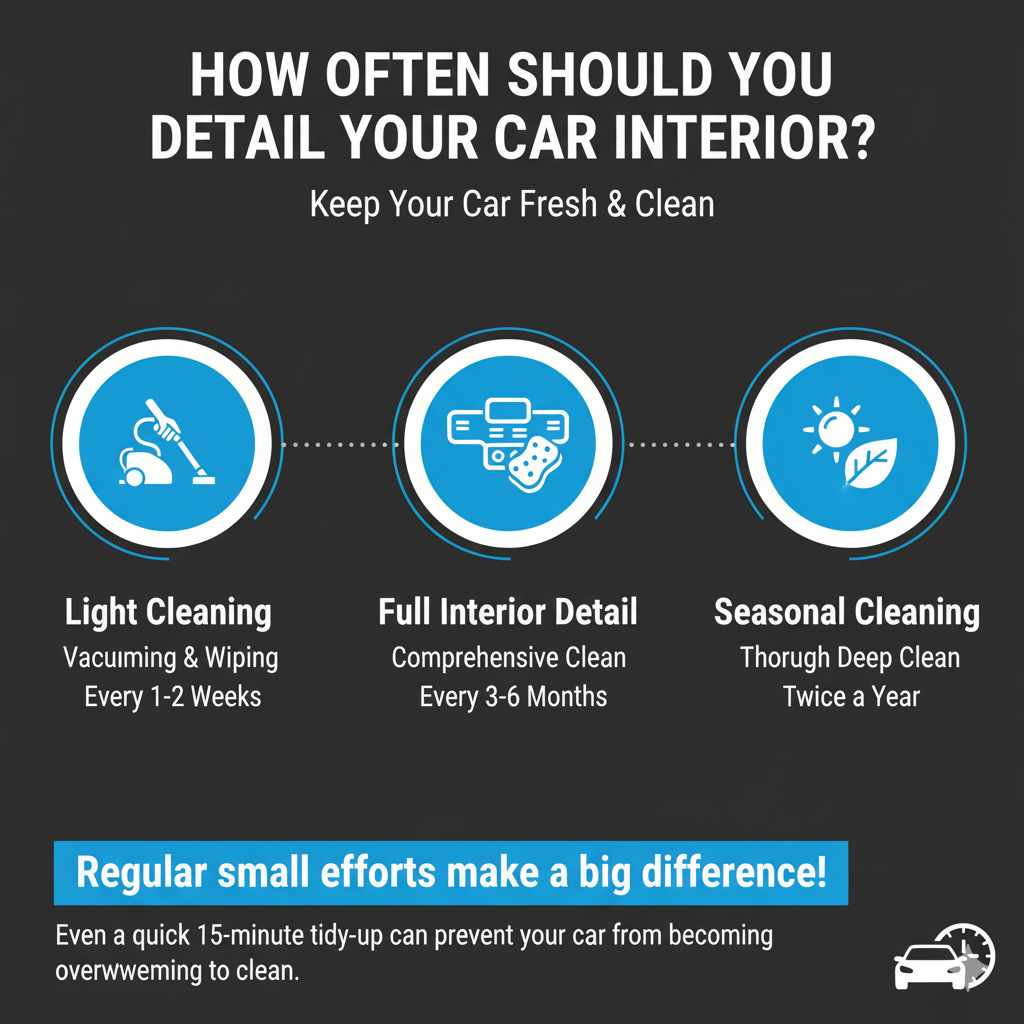
How Often Should You Detail Your Car Interior?
The frequency of interior detailing depends on your car’s usage and your personal standards. Here’s a general guideline:
- Light Cleaning (Vacuuming & Wiping): Aim for this every 1-2 weeks to maintain a baseline level of cleanliness and prevent dirt buildup.
- Full Interior Detail: Every 3-6 months is a good cadence for a comprehensive clean, especially if you use your car frequently or live in an area with a lot of dust or dirt.
- Seasonal Cleaning: Consider a more thorough detail twice a year, perhaps in the spring and fall.
Regular small efforts make a big difference! Even a quick 15-minute tidy-up can prevent your car from becoming overwhelming to clean later on.
Frequently Asked Questions (FAQ)
Q1: Can I use household cleaners like Windex or dish soap on my car interior?
It’s best to use cleaners specifically designed for automotive interiors. Household cleaners can sometimes be too harsh for car surfaces like plastic, vinyl, or leather, potentially causing damage or discoloration. Dish soap should be used sparingly and diluted for carpet or floor mat cleaning only, never on seats or dashboards.
Q2: How do I get rid of that “new car smell” fading and avoid it smelling stale?
The “new car smell” comes from off-gassing of plastics and chemicals. Once it fades, a clean interior is key to a pleasant smell. Regular vacuuming and cleaning remove odor-causing particles. Use an automotive odor eliminator and keep the interior dry. Ensure good ventilation whenever possible.
Q3: What’s the best way to clean sticky stains on the car door panels?
Start with an automotive all-purpose cleaner on a microfiber cloth. For tougher sticky residue, a small amount of diluted rubbing alcohol (isopropyl alcohol) on a cloth can be effective. Gently rub the area and then wipe with a clean, damp cloth followed by a dry one.
Q4: My car has light-colored carpets. How do I keep them clean?
Regular vacuuming is paramount. For spills, act quickly! Blot up as much liquid as possible immediately. Use a carpet stain remover designed for cars, testing it in an inconspicuous spot first. For deeper cleaning, consider a carpet extractor, or if that’s not an option, a good quality carpet shampoo and a stiff brush can help, followed by thorough drying.
Q5: Is it safe to use tire shine products on my dashboard?
No. Tire shine products are generally oil-based and can make your dashboard surfaces greasy, attract dust, and potentially damage the material over time or cause glare on your windshield. Always use dedicated interior protectants or dressings for your dashboard and other interior trim.
Q6: How can I make my car’s plastic parts look newer and not faded?
After cleaning, use a UV-protectant interior dressing. These products restore a subtle sheen, protect against sun damage that causes fading and cracking, and make the plastic look like new. Apply a small amount to an applicator pad and work it into the plastic, then buff off any excess with a clean microfiber towel.
Conclusion
There you have it – your proven effortless guide to detailing your car’s interior! As you can see, with a few basic supplies and a systematic approach, you can achieve professional-looking results right at home. Tackling the clutter, thoroughly vacuuming, and carefully cleaning surfaces from top to bottom will leave your car feeling fresh, inviting, and a pleasure to drive. Don’t forget those small details like glass and door jambs! Making interior detailing a regular habit, even just a quick tidy-up, will not only enhance your driving experience but also help maintain your car’s condition and value. You’ve got this! Enjoy your sparkling clean ride.