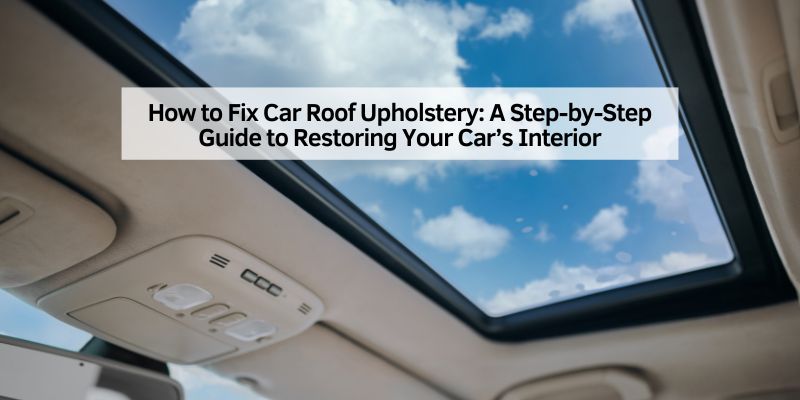
How to Fix Car Roof Upholstery: A Step-by-Step Guide to Restoring Your Car’s Interior
Hey there! If you’ve ever looked up at your car’s roof and noticed sagging fabric, loose edges, or unsightly stains, you’re not alone. I’ve been there, staring at my own car’s drooping headliner, wondering how to bring it back to life. Fixing car roof upholstery, also known as the headliner, is one of those projects that seems daunting but is totally doable with some patience and the right tools. Whether it’s a small tear or a full-on sag, I’m here to walk you through the process based on my own experience. Let’s dive in and get that car interior looking sharp again!
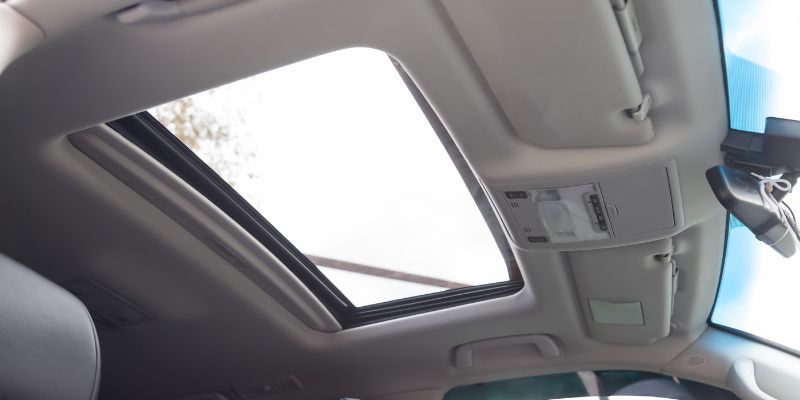
What Is Car Roof Upholstery and Why Does It Fail?
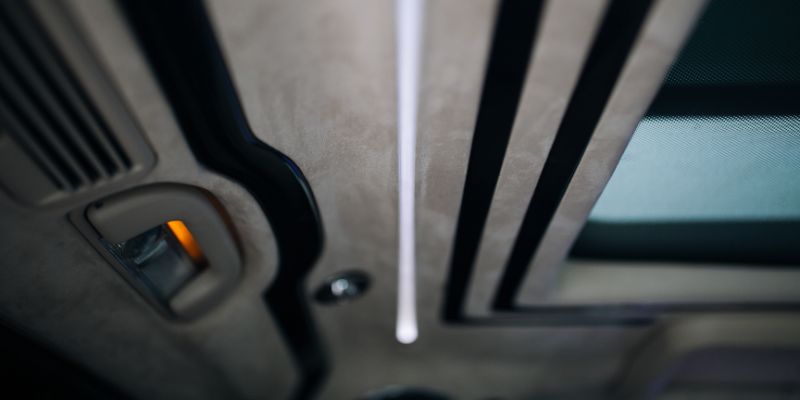
Car roof upholstery, or the headliner, is the fabric or material lining the interior roof of your vehicle. It’s not just there for looks—it insulates the cabin, reduces noise, and covers up wiring or structural components. Over time, though, it can start to sag, tear, or peel away. I remember the first time I noticed my headliner sagging in my old sedan. It was like the car was winking at me, but not in a good way.
The most common reason headliners fail is the breakdown of the foam backing that holds the fabric to the headliner board. Heat, humidity, and age cause the foam to crumble, leaving the fabric loose. In my case, living in a hot climate didn’t help. UV rays and constant temperature changes made the adhesive give up. Other culprits include water leaks, physical damage from sharp objects, or even heavy cleaning that soaks the material. Understanding why it’s failing helps you decide whether a quick fix or a full replacement is the way to go.
Assessing the Damage: What’s Wrong with Your Headliner?
Before you grab your tools, take a close look at your headliner. I learned this the hard way when I tried to fix a small sag and realized it was a bigger job than I thought. Here’s how to assess the damage:
- Sagging in the Center: This is the most common issue. The fabric detaches from the foam backing, creating a droopy look. If it’s just a small area, you might get away with a quick repair.
- Tears or Holes: Sharp objects, like a broom handle in my case, can tear the fabric. Small tears can be patched, but large ones might need a full replacement.
- Stains or Discoloration: Spills, leaks, or smoke can leave ugly marks. Cleaning might help, but severe stains often mean replacing the fabric.
- Edges Peeling: If the fabric is pulling away from the edges near windows or lights, you might just need adhesive to secure it.
Grab a flashlight and inspect every inch. Press gently on sagging areas to see how loose the fabric is. If the foam feels crumbly or the fabric falls apart when touched, a full replacement is likely your best bet. In my sedan, the sagging was bad enough that I decided to replace the whole headliner, but I’ll cover both repair and replacement options so you can choose what works for you.
Tools and Materials You’ll Need
Fixing a headliner isn’t rocket science, but you do need the right stuff. I made the mistake of starting without everything on hand, and let me tell you, running to the store mid-project is no fun. Here’s a table of what you’ll need for both a quick repair and a full replacement:
| Item | Purpose | Where to Get It |
|---|---|---|
| Spray adhesive | Reattaches fabric to the headliner board | Auto parts store, hardware store |
| Upholstery fabric | Replaces damaged headliner material | Fabric store, online retailers |
| Screwdriver (flathead/Phillips) | Removes trim and fixtures | Hardware store, your toolbox |
| Trim removal tool | Safely pops off interior trim | Auto parts store, online |
| Scissors or utility knife | Cuts fabric to size | Hardware store, craft store |
| Headliner brush | Cleans fabric without damage | Auto parts store, online |
| Replacement foam (optional) | Replaces degraded foam backing | Fabric store, specialty retailers |
| Gloves and mask | Protects from adhesive fumes | Hardware store |
| Measuring tape | Ensures accurate fabric cuts | Hardware store, your toolbox |
| Pins or clips | Holds fabric in place during repair | Craft store, auto parts store |
For a quick repair, you might only need adhesive, a brush, and some pins. For a full replacement, you’ll need everything on this list. I found that buying a headliner repair kit online saved me time—it came with adhesive, fabric, and a brush tailored for the job.
Quick Fixes for Minor Headliner Issues
If your headliner has a small sag or loose edge, you can often fix it without removing the whole thing. I tried this on my friend’s car, and it worked like a charm for a small sagging spot near the rear window. Here’s how to do it:
Step 1: Clean the Area
Start by gently cleaning the sagging area with a headliner brush. Avoid harsh chemicals—mild soap and water work fine. I used a microfiber cloth with a bit of dish soap to wipe away dust. Let it dry completely to ensure the adhesive sticks.
Step 2: Apply Adhesive
Use a high-quality spray adhesive designed for automotive upholstery. I went with 3M Headliner Adhesive after reading reviews. Spray a light coat on both the fabric and the headliner board where it’s sagging. Be careful not to soak it—too much adhesive can stain the fabric.
Step 3: Press and Secure
Press the fabric back into place, working from the center outward to avoid wrinkles. I used my hands to smooth it out, but a small roller can help. If it’s a tricky spot, use push pins or clips to hold the fabric while the adhesive dries. Leave them in for at least 24 hours.
Step 4: Check Your Work
After the adhesive dries, remove the pins and check for any loose spots. If it’s still sagging, you might need another round of adhesive or a full replacement. My friend’s car looked good as new after this, and it took less than an hour.
This method works best for small areas, like a corner or a patch smaller than a dinner plate. If the sag is widespread, it’s time to consider replacing the entire headliner.
Replacing the Entire Headliner: A Full Makeover
When my sedan’s headliner was sagging across half the roof, I knew a quick fix wouldn’t cut it. Replacing the whole headliner is a bigger job, but it’s rewarding when you see the results. Here’s how I did it:
Step 1: Remove the Old Headliner
First, clear out your car’s interior—seats, floor mats, anything that might get in the way. Then, remove all the fixtures attached to the headliner, like sun visors, dome lights, and grab handles. I used a flathead screwdriver and a trim removal tool to pop off the plastic trim around the edges. Be gentle to avoid breaking anything.
Next, carefully pull the headliner board out. It’s usually a fiberglass or composite board that’s fragile, so don’t bend it. In my sedan, I had to tilt it to get it out through the back door. If it’s stuck, check for hidden screws or clips. Once it’s out, lay it flat on a clean surface.
Step 2: Remove the Old Fabric
Peel off the old fabric and scrape away the crumbling foam. I used a wire brush to get rid of the foam residue, but be careful not to damage the board. Wear a mask—trust me, that foam dust is nasty. Clean the board thoroughly with rubbing alcohol to prep it for the new fabric.
Step 3: Cut and Attach New Fabric
Measure your headliner board and cut your new upholstery fabric to size, leaving an extra 2-3 inches on all sides for wrapping. I chose a fabric that matched my car’s interior, but you can get creative with colors or textures. Lay the fabric over the board, making sure it’s centered.
Spray adhesive on the board and the back of the fabric in small sections. Start from the center and work outward, smoothing the fabric as you go. I found it helpful to have a friend hold the fabric taut while I pressed it down. Fold the edges over the back of the board and glue them securely. Trim any excess fabric with scissors.
Step 4: Reinstall the Headliner
Carefully slide the headliner board back into the car. This part can be tricky, so take your time. Reattach all the fixtures—sun visors, lights, and trim—in the reverse order you removed them. I had to wiggle the board a bit to get it to sit right. Once everything’s back in place, step back and admire your work.
This process took me a full weekend, but the result was worth it. My car’s interior looked brand new, and I saved hundreds compared to a shop’s quote.
Cleaning and Maintaining Your Headliner
Even after fixing or replacing your headliner, keeping it clean is key to making it last. I learned this after spilling coffee in my car (oops). Here’s how to keep it in top shape:
- Regular Dusting: Use a soft brush or microfiber cloth to remove dust every few weeks. A vacuum with a brush attachment works too.
- Spot Cleaning: For small stains, dab with a cloth dipped in mild soap and water. Don’t soak the fabric—it can weaken the adhesive.
- Avoid Harsh Chemicals: Stay away from bleach or strong cleaners. They can discolor the fabric or break down the foam.
- Protect from Heat: Park in the shade or use a sunshade to reduce heat buildup, which can degrade the adhesive over time.
I make it a habit to check my headliner every time I clean my car. A little maintenance goes a long way.
Common Mistakes to Avoid
I made a few blunders when I first tackled my headliner, so let me save you some headaches:
- Using the Wrong Adhesive: Regular glue won’t hold up. Stick to automotive-grade spray adhesive.
- Rushing the Job: Give the adhesive time to dry, and don’t skip cleaning the board. Patience pays off.
- Overstretching the Fabric: Pulling too hard can create wrinkles or tears. Keep it snug but not tight.
- Ignoring Leaks: If your car has a water leak, fix it first. A new headliner won’t last if it’s getting wet.
When to Call a Professional
Sometimes, the job is just too big. If your headliner is damaged by mold, has complex curves (like in some luxury cars), or you’re not comfortable with the removal process, a professional might be the way to go. I got a quote for $300-$500 to replace my headliner, which wasn’t bad, but doing it myself saved money and felt rewarding. If you decide to hire someone, look for an auto upholstery shop with good reviews.
Conclusion
Fixing your car’s roof upholstery is one of those projects that can transform your driving experience. I still smile every time I look up and see my sedan’s crisp, clean headliner. Whether you opt for a quick repair or a full replacement, the process is manageable with the right tools and a bit of patience. You’ll not only save money but also gain a sense of pride in reviving your car’s interior. So, grab your tools, roll up your sleeves, and give your car the love it deserves. You’ve got this!
FAQs
How long does it take to fix a car headliner?
It depends on the damage. A quick repair for a small sag can take an hour or two. Replacing the entire headliner might take a weekend, especially if it’s your first time. I spent about 10 hours total on my full replacement, including drying time.
Can I use any fabric to replace my headliner?
You can, but it’s best to use automotive-grade upholstery fabric. It’s designed to withstand heat and UV exposure. I tried a regular fabric once, and it faded fast. Stick to headliner-specific materials from auto parts stores or online.
How much does it cost to fix a car headliner?
A DIY repair can cost $20-$50 for adhesive and tools. A full replacement might run $50-$150, depending on the fabric and kit. Professional repairs typically cost $300-$500, based on quotes I got.
Will fixing my headliner increase my car’s value?
A clean, well-maintained headliner can make your car more appealing to buyers, but it won’t significantly boost the resale value. It’s more about improving your own driving experience and preventing further damage.
Can I fix a headliner without removing it?
Yes, for small sags or loose edges, you can apply adhesive without taking the headliner out. I did this on a friend’s car, and it held up well. Just be precise with the adhesive to avoid stains.