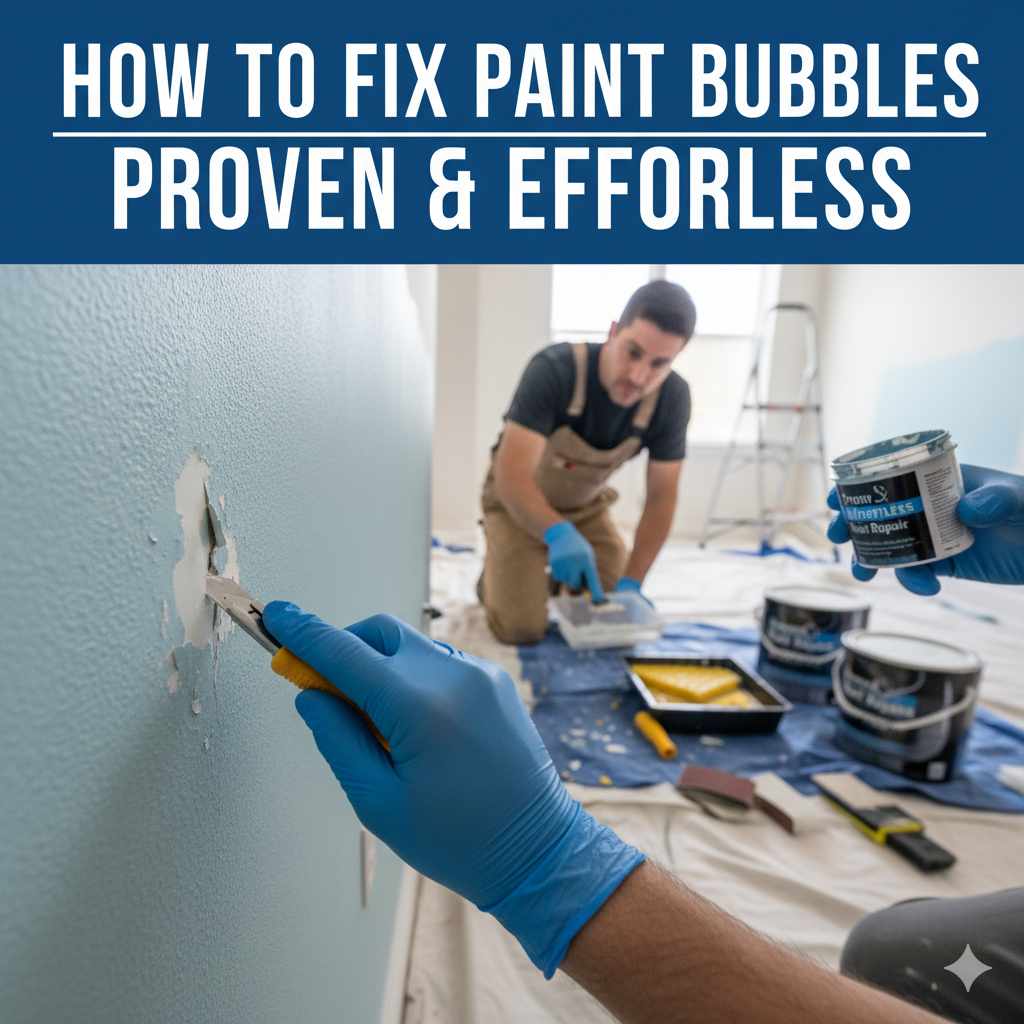
How to Fix Paint Bubbles: Proven & Effortless
Don’t let paint bubbles ruin your car’s looks! You can easily fix these annoying spots yourself by gently piercing the bubble, smoothing the paint, and then touching it up with matching paint. This guide will show you exactly how to make those blemishes disappear, restoring your car’s shine like a pro.
Seeing little bumps or bubbles appear on your car’s paint can be frustrating, especially when you’ve kept it clean and shiny. These aren’t just a minor eyesore; they can be a sign of deeper paint issues if left untreated. But don’t worry! Fixing paint bubbles is a surprisingly straightforward DIY job that doesn’t require a mechanic’s shop or a huge budget. With a few common tools and a little patience, you can smooth them out and blend the touch-up paint seamlessly. Let’s get your car looking its best again, step-by-step.
Why Do Paint Bubbles Happen on Cars?
Paint bubbles on your car, often called blistering or delamination, occur when the paint loses its adhesion to the surface underneath. This usually happens because of moisture trapped between the paint layers or between the paint and the metal. Several things can cause this:
- Moisture: Substandard paint application, especially if the surface wasn’t properly prepared, can trap moisture. This can also happen due to rust forming underneath the paint, pushing it away.
- Heat: Exposure to extreme heat, like prolonged sun exposure or even a car fire (though less common), can break down the paint’s structure and cause it to bubble.
- Chemical Reactions: Sometimes, incorrect cleaning products or contaminants can react with the paint, leading to bubbles.
- Poor Surface Preparation: If the car’s surface wasn’t cleaned, sanded, or primed correctly before painting, the paint won’t bond well and is more likely to bubble later.
Understanding the “why” helps prevent future bubbles, but for now, let’s focus on fixing the ones you’ve already got.
What You’ll Need: Tools and Materials
Gathering the right supplies is key to a smooth repair. You don’t need anything too fancy; most of these items are readily available at auto parts stores or even your local hardware store.
- Rubbing Alcohol or Isopropyl Alcohol: For cleaning the area.
- Fine-Grit Sandpaper (e.g., 1000-2000 grit): To gently smooth the bubbled paint.
- Razor Blade or Sharp Craft Knife: For carefully piercing and removing the bubbled paint.
- Primer: To cover the exposed metal or undercoat.
- Touch-Up Paint: Matched to your car’s color code. You can usually find this at dealerships or auto parts stores.
- Clear Coat: To protect the touch-up paint and match the shine.
- Masking Tape: To protect surrounding paint.
- Microfiber Cloths: For cleaning and buffing.
- Gloves and Safety Glasses: Always important for DIY projects to protect yourself.
Step-by-Step Guide: How to Fix Paint Bubbles on Your Car
Let’s get down to business! This process might seem a bit delicate, but take your time, and you’ll be pleased with the results.
Step 1: Clean the Area
Start by thoroughly cleaning the area around the paint bubble. Use a microfiber cloth dampened with rubbing alcohol or car soap and water. This removes any dirt, grease, or wax that could interfere with the repair. A clean surface is crucial for the new paint to stick properly.
Step 2: Carefully Pierce and Remove the Bubble
This is where you need a steady hand! Take your razor blade or craft knife and carefully pierce the center of the paint bubble. Then, gently push down on the edges of the bubble to flatten it out. The goal is to expose the underlying surface without making the damaged area any larger than necessary. You’re essentially peeling back the loose paint.
Sometimes, the bubble will lift away easily. If it’s stubborn, you might need to use your blade to carefully scrape around the edges of the bubble to lift it. Be very gentle. We want to remove only the loose, damaged paint.
Step 3: Sand the Damaged Area
Once the bubbled paint is removed, you’ll likely see bare metal or primer. Use your fine-grit sandpaper to gently smooth down the edges of the surrounding paint. This helps create a smooth transition so the new primer and paint will blend better. You don’t need to sand a large area, just enough to feather the edges of the old paint.
Rinse the area with water after sanding and dry it completely with a clean microfiber cloth. You want a perfectly smooth surface for the next steps.
Step 4: Apply Primer
Mask off the area around the sanded spot using masking tape. This prevents overspray onto undamaged paint. Apply a thin, even coat of primer to the exposed metal or old primer layer. Allow it to dry completely according to the product’s instructions. You might need to apply a second coat for full coverage. Primer helps the new paint adhere and prevents rust, especially if you’ve exposed metal.
According to the PaintRefinishingNetwork.com, using the right primer is essential for creating a durable bond between surfaces and subsequent paint layers.
Step 5: Apply Touch-Up Paint
Now for the color! Shake your touch-up paint well. Apply thin, even coats of the paint over the primed area. It’s better to apply multiple thin coats than one thick one, as thick coats can drip and create unevenness. Allow each coat to dry for at least 15-30 minutes before applying the next. You’re aiming to build up the color until it matches the surrounding paint.
Finding your car’s exact color code is important. This code is usually found on a sticker in the driver’s side doorjamb, under the hood, or in your owner’s manual. Using the correct code ensures the best color match.
Step 6: Apply Clear Coat
Once the touch-up paint has dried for at least an hour (or as directed by the paint manufacturer), it’s time for the clear coat. This layer protects the new paint and gives it a glossy finish that matches the rest of your car. Apply one or two thin, even coats of clear coat, allowing each to dry according to the instructions.
Step 7: Remove Masking Tape and Buff (Optional)
Carefully remove the masking tape while the clear coat is still slightly tacky or after it has fully dried. If you wait too long, the tape can sometimes adhere too strongly or pull up the new paint. Once everything is dry and cured (this can take 24 hours or more), you can gently buff the area with a clean microfiber cloth to help blend the repaired spot with the surrounding paint. For a more professional finish, you can use a mild polishing compound after the clear coat has fully hardened.
Common Mistakes to Avoid
Even with the best intentions, some common pitfalls can make a DIY repair less than perfect. Knowing these can save you headaches:
- Being too aggressive: Scraping or sanding too hard can enlarge the damaged area and create a bigger problem.
- Skipping primer: Especially on bare metal, skipping primer leaves the area vulnerable to rust and makes the new paint less likely to adhere.
- Applying paint too thickly: This leads to drips, runs, and an uneven finish that will be very noticeable.
- Not matching the paint color: Even a slight mismatch will stand out. Always use your car’s paint code.
- Rushing the drying times: Each layer needs time to dry and cure properly for the best adhesion and finish.
When to Call a Professional
While most paint bubbles are manageable DIY repairs, there are times when professional help is the better option. If you notice:
- Extensive Blistering: If the bubbles cover a large area of your car, it might indicate more widespread paint adhesion issues or rust that requires professional assessment and repair.
- Deep Rust: Paint bubbles caused by significant rust may mean the structural integrity of the panel is compromised, requiring specialized rust removal and repair an auto body shop can provide.
- Complex Paint Jobs: For multi-stage paint jobs (like pearlescent or metallic finishes that require specific layering) or custom paint jobs, it’s often best to let a professional handle touch-ups.
- Lack of Confidence: If you’re not comfortable with the process or worried about making the problem worse, a professional detailer or body shop can achieve a flawless finish.
You can also learn more about automotive paint repair and protection through resources like those offered by the Washington State Department of Licensing (WSDL), which often includes guidelines for auto repair businesses.
Understanding Different Types of Paint Bubbles
Not all paint bubbles are the same, and knowing the difference can help you figure out the best fix:
| Type of Bubble | What it Looks Like | Likely Cause | DIY Fix Difficulty |
|---|---|---|---|
| Moisture Blister | Round, often translucent, with liquid or air beneath the paint. | Trapped moisture under the paint during application or environmental exposure (humidity, washing). | Easy to Moderate |
| Delamination Bubble | May appear flat or slightly raised, often with paint flaking or peeling at the edges. | Poor adhesion between paint layers, often due to inadequate surface prep, contamination, or old paint failing. | Moderate |
| Heat Bubble | Can be irregular in shape, sometimes appearing as if the paint has melted or softened. | Excessive heat exposure, leading to paint breakdown. | Moderate |
| Rust Bubble | Often appears near seams, edges, or stone chip impacts. The paint is pushed outward by corrosion forming underneath, and the bubble may be brittle or flaky. | Rust forming on the metal substrate, pushing the paint layer upwards. | Moderate to Difficult (requires rust treatment) |
For moisture and delamination bubbles, the process described in this article is usually effective. Heat bubbles can sometimes be more challenging as the paint might be permanently compromised. Rust bubbles are the most serious and always require addressing the rust first to prevent recurrence.
Maintaining Your Car’s Paint After Repair
Keeping your car’s paint in good condition will help prevent future issues like bubbles.
- Regular Washing: Wash your car regularly with pH-neutral car soap and plenty of water to remove dirt, grime, and contaminants that can damage paint.
- Proper Drying: Always use clean microfiber towels to dry your car to avoid scratches.
- Waxing or Sealing: Apply a good quality car wax or paint sealant every few months. This creates a protective layer against UV rays, environmental pollutants, and moisture.
- Park Wisely: Whenever possible, park your car in a shaded area or a garage to minimize prolonged exposure to direct sunlight and extreme heat.
- Address Chips and Scratches Promptly: Small paint chips or scratches are entry points for moisture and rust. Touch them up as soon as you notice them.
Following these maintenance tips will not only keep your car looking great but also help protect its finish from developing problems like paint bubbles.
Frequently Asked Questions About Fixing Paint Bubbles
Q1: How long does it take to fix a paint bubble?
A: A single, small paint bubble repair can typically be done in 1-2 hours of active work, but you’ll need to factor in drying times between coats, which can add several hours or even overnight to the total process.
Q2: Can I just pop the bubble and ignore it?
A: No, you shouldn’t just pop and ignore it. The underlying cause (usually moisture or poor adhesion) needs to be addressed, and the area needs proper sealing to prevent rust and further paint damage. Leaving it will likely lead to the bubble growing or the paint continuing to peel.
Q3: Will the repair be invisible?
A: With careful work, especially on small bubbles, the repair can be nearly invisible. However, achieving a factory-perfect finish with DIY methods can be challenging. The goal is to make it less noticeable and prevent further damage.
Q4: What if the bubble is on a plastic bumper?
A: The process is similar for plastic bumpers, but you need to use plastic-specific primers and ensure the surface is perfectly clean. Plastic can be more flexible, so be extra gentle when preparing the surface.
Q5: Does the car’s paint color code need to be exact?
A: Yes, for the best results, the paint color code needs to match exactly. Even a shade off can be noticeable. Check your owner’s manual or the sticker on your car’s doorjamb for this code.
Q6: How often should I wax my car after a touch-up?
A: After the touch-up paint and clear coat have fully cured (allow at least 24-48 hours, or longer if specified by the product), you can wax as you normally would. However, avoid using abrasive waxes or polishes directly on the touch-up area for the first week or two.
Conclusion
Seeing paint bubbles on your beloved car can be disheartening, but as you’ve seen, they’re a common issue with a very manageable solution. By following these steps—cleaning, carefully removing the compromised paint, priming, and then precisely touch-up painting—you can effectively restore your car’s finish and prevent further degradation. Remember, patience and attention to detail are your best friends throughout this process. Don’t be afraid to take your time; the satisfaction of a successful DIY repair and a car that looks its best is well worth the effort. Keep up with regular car care, and you’ll be enjoying a smoother, shinier car for years to come!