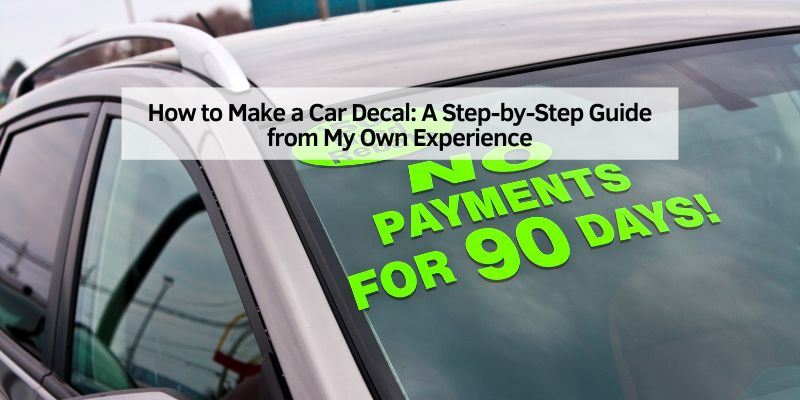
How to Make a Car Decal: A Step-by-Step Guide from My Own Experience
Hey there! I’m thrilled you’re curious about how to make a car decal. There’s something so satisfying about creating a custom design that turns your vehicle into a rolling piece of art. I’ve spent countless hours experimenting with vinyl, tweaking designs, and sticking decals on my car (and maybe peeling off a few mistakes too!). Whether you want a bold statement, a subtle logo, or a fun graphic, making your own car decal is easier than you might think. In this guide, I’m sharing everything I’ve learned to help you create a professional-looking decal that lasts. Let’s dive in and get creative!
Quick Answer
Make a car decal by designing it, cutting it from permanent outdoor vinyl (with a cutting machine or by hand with an X-Acto knife), weeding the excess, applying transfer tape, then sticking it to a clean, dry surface. Quality outdoor vinyl lasts 2-3 years.
Why I Love Making My Own Car Decals
Creating car decals is my kind of therapy. It’s a mix of creativity and hands-on work that lets me personalize my ride exactly how I want. Store-bought decals are fine, but they’re often generic or overpriced. When I make my own, I control the design, size, and colors. Plus, it’s budget-friendly! I’ve made decals for my car’s side panels, windows, and even a tiny one for my rearview mirror. Each one tells a story about who I am. You can do this too, and I promise it’s fun once you get the hang of it.
Another reason I’m hooked is durability. With the right materials, homemade decals can withstand rain, sun, and car washes. I’ve had one on my car for over two years, and it still looks fresh. You just need to know the tricks, which I’m spilling below.
Materials You’ll Need to Get Started
Before we jump into the process, let’s talk about what you’ll need. I’ve made the mistake of starting without the right tools, and trust me, it’s frustrating. Here’s a list of essentials based on my trial and error:
| Item | Why You Need It | Where to Get It |
|---|---|---|
| Vinyl sheets | The main material for your decal. Choose outdoor-grade vinyl for weather resistance. | Craft stores or online (Amazon, Etsy) |
| Cutting machine (e.g., Cricut) | Cuts your design precisely. You can cut by hand, but a machine saves time. | Craft stores or manufacturer websites |
| Transfer tape | Helps move your decal from the vinyl sheet to your car without messing it up. | Craft stores or online |
| Weeding tools | Tiny tools to remove excess vinyl after cutting. A must for detailed designs. | Included with cutting machines or online |
| Squeegee or credit card | Smooths out bubbles when applying the decal. | Household item or craft store |
| Scissors and X-Acto knife | For trimming vinyl and tape. | Any stationery store |
| Rubbing alcohol and cloth | Cleans your car’s surface for better adhesion. | Grocery or hardware store |
| Computer with design software | For creating your design. Free tools like Canva or Inkscape work great. | Download online |
I started with a basic Cricut Explore Air 2, and it’s been a game-changer. If you’re on a budget, you can cut designs by hand, but it’s tedious for complex shapes. Outdoor vinyl is non-negotiable—indoor vinyl fades fast under sunlight. I learned that the hard way when my first decal turned patchy after a month.
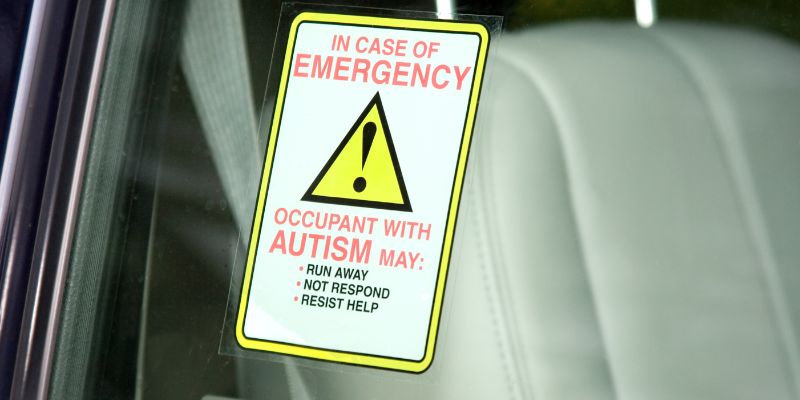
Our Pick: Best Supplies for Making Your Own Car Decal
ORACAL 651 Permanent Adhesive Vinyl
Best for: Long-lasting outdoor car decals that survive sun and rain.
Why we picked it: This is the exact vinyl grade recommended in the guide above — easy to weed and holds color for years.
Main drawback: Indoor-only vinyl looks similar but fades much faster — double check you’re buying the “651” outdoor line.
View Our Pick on Amazon
 Transfer Tape Best for: Moving your cut design onto the car in one piece. Why we picked it: Keeps multi-piece designs aligned during application. Drawback: Low-tack tape can drop small pieces mid-transfer. |
 Weeding Tool Best for: Cleanly removing excess vinyl around detailed designs. Why we picked it: A dedicated pin pen is far more precise than tweezers or a knife tip. Drawback: Small tip is easy to misplace — keep it with your kit. |
 Precision Cutting Knife Best for: Hand-cutting decals without a cutting machine. Why we picked it: A retractable, safety-tipped blade is easier to control than a standard X-Acto knife. Drawback: Hand-cutting is slower and trickier for detailed shapes. |
Designing Your Car Decal Like a Pro
The design is where your personality shines. I spend hours sketching ideas or browsing Pinterest for inspiration. You don’t need to be an artist to nail this. Here’s how I approach it:
First, decide what you want. A quote? A logo? A funky graphic? I once made a decal of my dog’s silhouette, and people still ask me about it. Keep your audience in mind—simple designs with bold lines work best for cars since they’re viewed from a distance.
Next, use design software. I love Inkscape because it’s free and easy. Canva’s great too if you want templates. Make sure your design is high-contrast (like black on white) so it pops against your car’s color. I made a white decal for my dark blue car, and it stands out beautifully.
Size matters. Measure the spot on your car where the decal will go. My first decal was too big for the window, and I had to redo it. A good rule is 6-12 inches for side decals and smaller for windows. Save your design as an SVG file if you’re using a cutting machine—it ensures crisp cuts.
If you’re nervous about designing, try pre-made SVG files from sites like Etsy. I’ve used them when I’m short on time, and they’re a lifesaver. Just tweak the colors or size to make it yours.
Cutting Your Decal with Precision
Now comes the fun part—cutting! If you’re using a cutting machine, load your vinyl sheet onto the cutting mat, shiny side up. In your machine’s software (like Cricut Design Space), upload your SVG file and adjust the settings. I use the “Premium Vinyl” setting with medium pressure for clean cuts.
Hit the cut button and watch the magic happen. Once it’s done, unload the mat and gently peel off the vinyl. If you’re cutting by hand, trace your design onto the vinyl’s backing paper with a pencil, then carefully cut with an X-Acto knife. It’s slow, but I did it for my first few decals, and they turned out okay.
After cutting, you’ll have extra vinyl around your design. This is where weeding comes in. Grab your weeding tool (or a pin if you’re improvising) and pick away the excess vinyl. I find this step oddly relaxing, like peeling a sunburn (don’t judge me!). For tiny details, go slow to avoid tearing your design.
Applying Transfer Tape Like a Boss
Transfer tape is your best friend. It holds your decal together so you can stick it on your car without pieces shifting. Cut a piece of transfer tape slightly larger than your decal. Peel off the tape’s backing and lay it over your design, sticky side down.
Use a squeegee or credit card to rub the tape firmly onto the vinyl. I press hard in all directions to make sure it sticks. Then, slowly peel the vinyl off its backing paper. Your design should stick to the tape, leaving the backing behind. If bits of the design stay on the backing, lay it back down and rub again.
This step used to stress me out, but now I love seeing my design come together. Hold the transfer tape up to the light to check for gaps or bubbles. If it looks good, you’re ready to stick it on your car!
Prepping Your Car for the Decal
A clean surface is everything. I once applied a decal without cleaning properly, and it peeled off in a week. Lesson learned. Grab rubbing alcohol and a lint-free cloth. Wipe the spot where your decal will go, focusing on dirt, grease, or wax. For windows, I use glass cleaner afterward for extra sparkle.
Make sure the area is dry before applying. I also check the weather—avoid applying decals in extreme heat, cold, or rain. A mild day (around 60-80°F) is perfect. I usually do this in my garage to avoid dust or bugs sticking to the tape.
Sticking the Decal on Your Car
This is the moment of truth! Decide exactly where you want the decal. I use painter’s tape to mark the spot or hold the decal up to eyeball it. If you’re nervous, you can cut the transfer tape’s edges and hinge it with tape to flip it onto the surface.
Peel off the transfer tape’s backing and gently place the decal on your car. Start from the center and work outward, using your squeegee to press it down. I go slow to avoid bubbles. If you get a bubble, lift the tape slightly and smooth it out. Don’t panic—small bubbles often disappear in a few days.
Once the decal is stuck, rub the entire surface firmly. Then, peel off the transfer tape at a sharp angle, like you’re pulling a Band-Aid. Go slow to ensure the vinyl stays on the car. If any bits lift, press them back down with your finger.
Sealing the Deal: Making Your Decal Last
Your decal’s on—congrats! To make it last, avoid washing your car for at least 48 hours. This gives the adhesive time to set. After that, hand washing is best. I use a mild soap and soft sponge, avoiding high-pressure car washes that can lift edges.
Check your decal every few months for peeling. If an edge lifts, you can sometimes fix it with a dab of vinyl adhesive. Sunlight is the biggest killer, so park in shade when you can. My oldest decal is still vibrant because I’m careful about this.
Customizing Your Decal with Extra Flair
Want to level up? I’ve tried a few tricks to make my decals unique. Layering vinyl colors is one of my favorite. For example, I made a two-color decal by cutting each color separately and aligning them during application. It’s fiddly but worth it.
You can also experiment with textured vinyl, like holographic or metallic. I did a holographic starburst decal, and it catches every ray of light. For windows, consider perforated vinyl—it looks solid from outside but lets you see through from inside.
If you’re feeling artsy, add hand-painted details with vinyl-safe paint pens. I’ve done this for tiny accents, like dots or outlines. Just make sure the paint is weatherproof.
Mistakes I Made (So You Don’t Have To)
I’ve had my share of flops. One time, I used cheap vinyl, and it cracked after a month. Another time, I rushed the cleaning step, and my decal wouldn’t stick. Here are my top tips to avoid headaches:
- Don’t skimp on materials. Quality vinyl and transfer tape make a huge difference.
- Test your design on paper first to check size and placement.
- Work in a clean, dust-free space. A speck of dirt can ruin your decal.
- Be patient with weeding and application. Rushing leads to mistakes.
Why Homemade Decals Are Worth the Effort
Making your own car decal takes time, but it’s so rewarding. Every time I see my car, I smile knowing I created something unique. It’s also a conversation starter—people at gas stations ask about my decals all the time. Plus, you can make decals as gifts or even sell them on Etsy. I’ve sold a few of my dog silhouette decals, and it’s a nice side hustle.
Conclusion
Creating a car decal is more than a craft—it’s a way to express yourself. From designing a graphic that screams “you” to sticking it on your car with pride, every step is a chance to have fun. I’ve shared my process, mistakes, and tips because I want you to nail this on your first try. Grab some vinyl, fire up your creativity, and make your car a canvas. You’ll love the feeling of driving around with your own artwork on display. So, what are you waiting for? Let’s get sticking!
Frequently Asked Questions
Can I make a car decal without a cutting machine?
Absolutely! I started by cutting designs by hand with an X-Acto knife. It’s slower and trickier for detailed shapes, but it works. Trace your design onto the vinyl’s backing, cut carefully, and use transfer tape to apply it. A steady hand and patience are key.
How long do homemade car decals last?
With quality outdoor vinyl, my decals have lasted 2-3 years without fading. It depends on weather exposure and care. Park in shade, hand wash your car, and avoid harsh chemicals to make them last longer.
Can I remove a car decal if I change my mind?
Yes, and it’s not hard. I’ve removed a few decals. Heat the decal with a hairdryer to loosen the adhesive, then peel it off slowly. Clean any residue with rubbing alcohol. Go slow to avoid scratching your car’s paint.
What’s the best vinyl for car decals?
I swear by outdoor-grade vinyl like Oracal 651. It’s weather-resistant and holds up to sun, rain, and car washes. Avoid indoor vinyl—it fades fast. Check craft stores or online for trusted brands.
Can I put a decal on my car window?
Totally! Window decals are awesome. Use regular vinyl for solid designs or perforated vinyl for see-through ones. Clean the glass thoroughly and apply carefully to avoid bubbles. My window decals have stayed put for years.
Products related to this article
Sponsored / affiliate links. As an Amazon Associate I earn from qualifying purchases. I may earn additional commission from eligible campaigns.