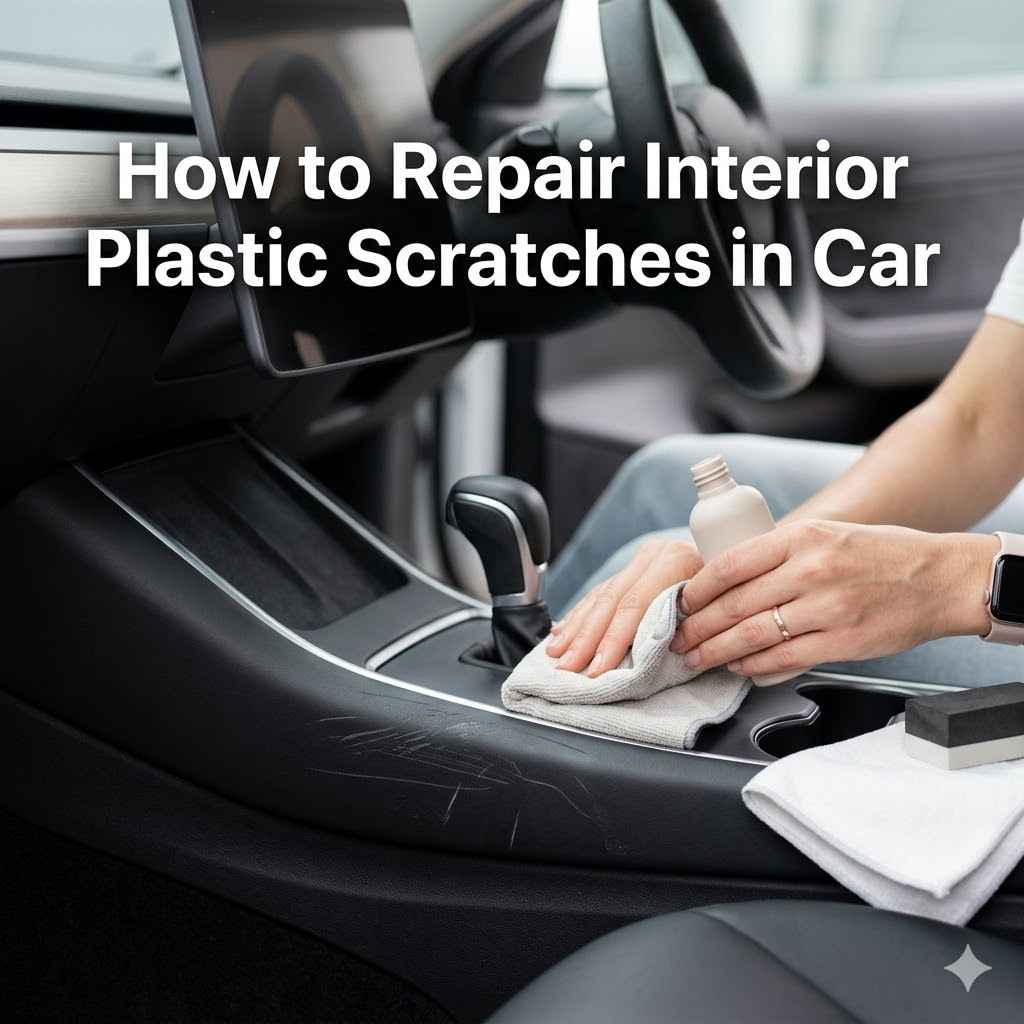
How to Repair Interior Plastic Scratches in Car
Scratches on your car’s interior plastic can be a real bummer. They catch the light, remind you of that unfortunate incident, and just make your car look less than perfect. Many people find tackling these little blemishes tricky, not knowing where to start or worried about making things worse.
But don’t stress! We’ll walk you through exactly How to Repair Interior Plastic Scratches in Car with simple, easy-to-follow steps. Get ready to make those annoying marks disappear and bring back that clean car feel.
Fixing Interior Plastic Scratches In Your Car
This section focuses on the core methods for fixing those pesky scratches you find on your car’s interior plastic surfaces. It’s common for door panels, dashboards, and center consoles to pick up scuffs and scrapes over time. Learning effective repair techniques can save you money on professional detailing and boost your car’s appearance significantly.
We will explore various approaches, from simple cleaning tricks to more involved filling and refinishing methods.
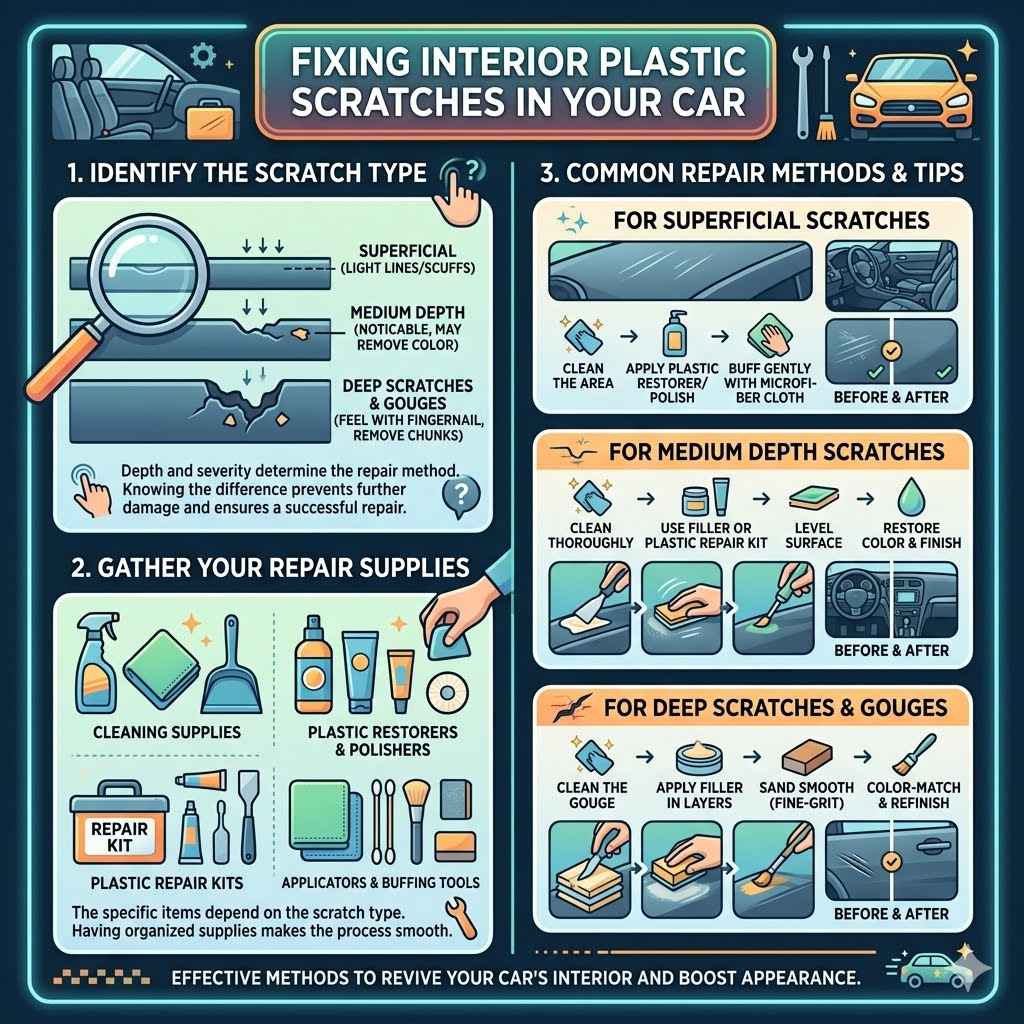
Identifying the Scratch Type
Before you can fix a scratch, it’s important to understand what kind of scratch you’re dealing with. The depth and severity of the damage will determine the best repair method. Superficial scratches only affect the top layer of the plastic, while deeper ones can go through the color or even into the material itself.
Knowing the difference helps you choose the right tools and products, preventing further damage and ensuring a successful repair.
Superficial Scratches
These are the most common and easiest to fix. They look like light lines or scuffs that don’t go deep into the plastic. Often, these can be buffed out with a mild abrasive or a plastic restorer.
Think of them as marks on the surface rather than damage to the material itself.
Medium Depth Scratches
These scratches are more noticeable and might have removed some of the plastic’s color or texture. They require a bit more effort to repair. You might need to use a plastic repair kit or a filler to level the surface before restoring the color and finish.
Deep Scratches and Gouges
These are the most challenging. They are deep enough to feel with your fingernail and can have actually removed chunks of plastic. These often need a filler material applied, then sanded, and finally color-matched and refinished to blend in seamlessly.
It’s a more advanced repair but still achievable.
Gathering Your Repair Supplies
Having the right tools and materials on hand makes the repair process smooth and effective. The specific items you’ll need depend on the type of scratch you’re addressing, but some basics are always useful. Having a clean workspace and organized supplies means you can focus on the repair itself, not on hunting for a misplaced item.
Cleaning Supplies
Start by thoroughly cleaning the area around the scratch. Use a dedicated interior car cleaner and a microfiber cloth. This removes dirt, dust, and any oils that could interfere with the repair.
A clean surface ensures the repair product adheres properly and prevents you from rubbing more dirt into the scratch.
Plastic Restorers and Polishers
For light scratches, a good plastic restorer or a mild polishing compound can work wonders. These products often contain fine abrasives that gently remove a thin layer of plastic, leveling the surface and diminishing the appearance of the scratch. They can also help restore the faded look of older plastics.
Plastic Repair Kits
These kits are designed for deeper scratches and often include fillers, applicators, and sometimes colorants. They are invaluable for restoring the texture and integrity of damaged plastic. Some kits use heat to fuse plastic, while others rely on chemical bonding agents.
Applicators and Buffing Tools
Microfiber cloths are essential for applying products and buffing. You might also need cotton swabs for precise application, a soft-bristled brush for cleaning crevices, and possibly a small sanding block with fine-grit sandpaper if needed for leveling fillers.
Step-by-Step Guide How to Repair Interior Plastic Scratches in Car
This section provides a detailed, step-by-step approach to fixing interior plastic scratches in your car. We break down the process into manageable actions, starting with preparation and moving through the actual repair techniques. Following these instructions carefully will help you achieve a professional-looking result, making your car’s interior look refreshed and well-maintained.
Step 1 Cleaning and Preparation
The first and most critical step in any repair is thorough cleaning. This ensures that you’re working on a clean surface, which is vital for the repair product to bond correctly and for you to accurately assess the damage. Removing all dirt and grime prevents you from grinding debris into the plastic while you work.
Wipe Down the Area
Use a clean microfiber cloth dampened with an interior car cleaner. Gently wipe the entire area where the scratch is located. Pay attention to any crevices or textured surfaces around the scratch to ensure all loose dirt is removed.
Use a Soft Brush
For textured plastics or areas with small vents, a soft-bristled brush (like a detailing brush or even a soft toothbrush) can help dislodge stubborn dirt. Gently brush the area, then wipe again with the microfiber cloth.
Allow to Dry Completely
It is important that the plastic is completely dry before proceeding to the repair stage. Any moisture can affect how the repair products work, potentially leading to a less effective or even a failed repair. Let it air dry or gently pat it dry with a separate clean, dry microfiber cloth.
Step 2 Addressing Light Scratches
For those frustrating but not deep scratches, often a simple polishing or restoring product can make a significant difference. These methods are less invasive and are great for minor surface imperfections that don’t go through the plastic’s top coating.
Apply Plastic Restorer
Choose a reputable plastic restorer or a mild polishing compound specifically designed for car interiors. Apply a small amount to a clean microfiber cloth. Work the product into the scratched area using light, circular motions.
You are essentially gently buffing the area to smooth out the edges of the scratch.
Buff Gently
After applying the restorer, use a clean part of the microfiber cloth to gently buff the area. This will help remove any excess product and bring out the shine. You should notice the scratch becoming less visible as you work.
Assess and Repeat if Needed
Inspect the area to see the results. For very light scratches, one application might be enough. If the scratch is still visible, you can repeat the process.
Avoid applying excessive pressure, as this could potentially cause more damage. Patience is key here.
Step 3 Repairing Medium to Deep Scratches
When scratches are deeper, you’ll need more than just a polish. Plastic repair kits provide the necessary fillers and tools to rebuild the damaged surface, making it look smooth again. This process requires a bit more care and precision.
Clean the Scratch Thoroughly
Ensure the scratch is spotlessly clean. Any debris left inside the scratch will be trapped by the filler and show through, ruining the repair. Use a cotton swab dipped in isopropyl alcohol for precise cleaning inside the scratch if needed.
Apply Plastic Filler
Follow the instructions provided with your plastic repair kit carefully. Most kits involve mixing a two-part filler or applying a single-part compound. Use the applicator to carefully fill the scratch.
Ensure the filler is slightly raised above the surrounding plastic, as it may shrink slightly when drying.
Allow Filler to Cure
Let the filler dry and cure completely according to the product’s instructions. This is crucial. Rushing this step can lead to the filler cracking or not adhering properly, requiring you to start over.
Sand Smooth
Once cured, use fine-grit sandpaper (start with 600-grit and move to 1000-grit or higher) to carefully sand the raised filler down to the level of the surrounding plastic. Use a sanding block for a flat surface. Be gentle and check your progress often to avoid creating a dip.
Restore Color and Finish
After sanding, the area will likely look dull and might be a different color. Many repair kits come with colorants or require you to use a plastic dye or trim restorer. Apply this carefully to match the surrounding plastic.
You might need multiple thin coats. For a smooth finish, you can follow up with a very fine polishing compound after the color has set.
Special Considerations for Different Plastic Types
Not all interior plastics are the same. The texture, flexibility, and finish can vary greatly, which means the repair approach might need adjustments. Understanding these differences helps you choose the right products and techniques for a flawless finish.
Some plastics are soft and easily scratched, while others are hard and brittle.
Textured Plastics
Many car interiors feature textured plastic panels, like those on door cards or dashboards. Replicating this texture after a repair can be tricky. Aggressive sanding or buffing can sometimes smooth out intentional texture, making the repaired area look out of place.
It’s often better to use less abrasive methods and focus on filling the scratch without altering the surrounding texture too much.
Gentle Cleaning
When cleaning textured plastic, use a soft brush to get into the grooves. Avoid harsh scrubbing that can wear down the texture. A mild cleaner is usually sufficient.
Filling Techniques
When filling deeper scratches on textured plastic, try to apply the filler with precision to minimize contact with the surrounding texture. If you use a heat-based repair kit, be very careful not to melt the surrounding texture.
Texture Mats
Some advanced plastic repair kits include texture mats that you can press into the uncured filler to replicate common plastic textures. This is the most effective way to restore a factory-like finish on heavily textured surfaces.
Color Matching is Key
For textured plastics, getting the color and sheen right is more important than perfect texture replication if you can’t find a texture mat. A slightly off-color repaired spot will be more noticeable than a slightly smoother texture.
Glossy vs. Matte Finishes
The finish of the plastic significantly impacts how a scratch appears and how you repair it. A glossy finish will highlight every imperfection, while a matte finish can sometimes hide minor scratches better but is more prone to showing dull spots after repair.
Glossy Plastics
On glossy plastics, light scratches are often visible because they disrupt the smooth, reflective surface. You’ll need to use fine polishing compounds to gently buff out these scratches. Be careful not to over-polish, which can create a dull haze.
Matte Plastics
Matte plastics are more forgiving for light scratches. However, if you need to use a filler or abrasive compound, you must be careful to restore the matte finish afterward. This might involve special matte coatings or specific buffing techniques to avoid creating a shiny spot.
Testing Products
Always test any repair product or polishing compound on an inconspicuous area first. This helps you see how it affects the finish of your specific plastic type and color before applying it to the main scratch.
Color Matched Trim Restorers
For both glossy and matte finishes, using a high-quality, color-matched trim restorer is essential after filling and sanding. These products are designed to reintroduce the correct color and sheen, making the repair blend in naturally.
Protecting Your Interior Plastic After Repair
Once you’ve successfully repaired scratches, it’s a good idea to protect the plastic from future damage. This can involve regular cleaning and the use of protective coatings. Taking preventive measures helps maintain the car’s interior appearance for longer.
Regular Cleaning Schedule
Establish a routine for cleaning your car’s interior. Wiping down surfaces regularly with a microfiber cloth can remove dust and light grime before it has a chance to cause damage. Use appropriate interior cleaners that are pH-neutral and safe for plastics.
UV Protectants
Sunlight can degrade and fade interior plastics over time, making them more prone to scratches and cracks. Applying a UV protectant spray or dressing can help shield the plastic from harmful UV rays, preserving its color and flexibility. Look for products that offer a natural, non-greasy finish.
Avoid Harsh Chemicals
Steer clear of abrasive cleaners, solvents, or strong degreasers on your interior plastics. These can strip away protective coatings, dry out the plastic, and even cause discoloration or damage. Always opt for products specifically formulated for automotive interiors.
Careful Use of Accessories
Be mindful of how you place and use items like phone holders, sunglasses, or keys on your dashboard and panels. Sharp edges or rough surfaces on these accessories can easily cause new scratches. Consider using soft mats or protective covers where items are frequently placed.
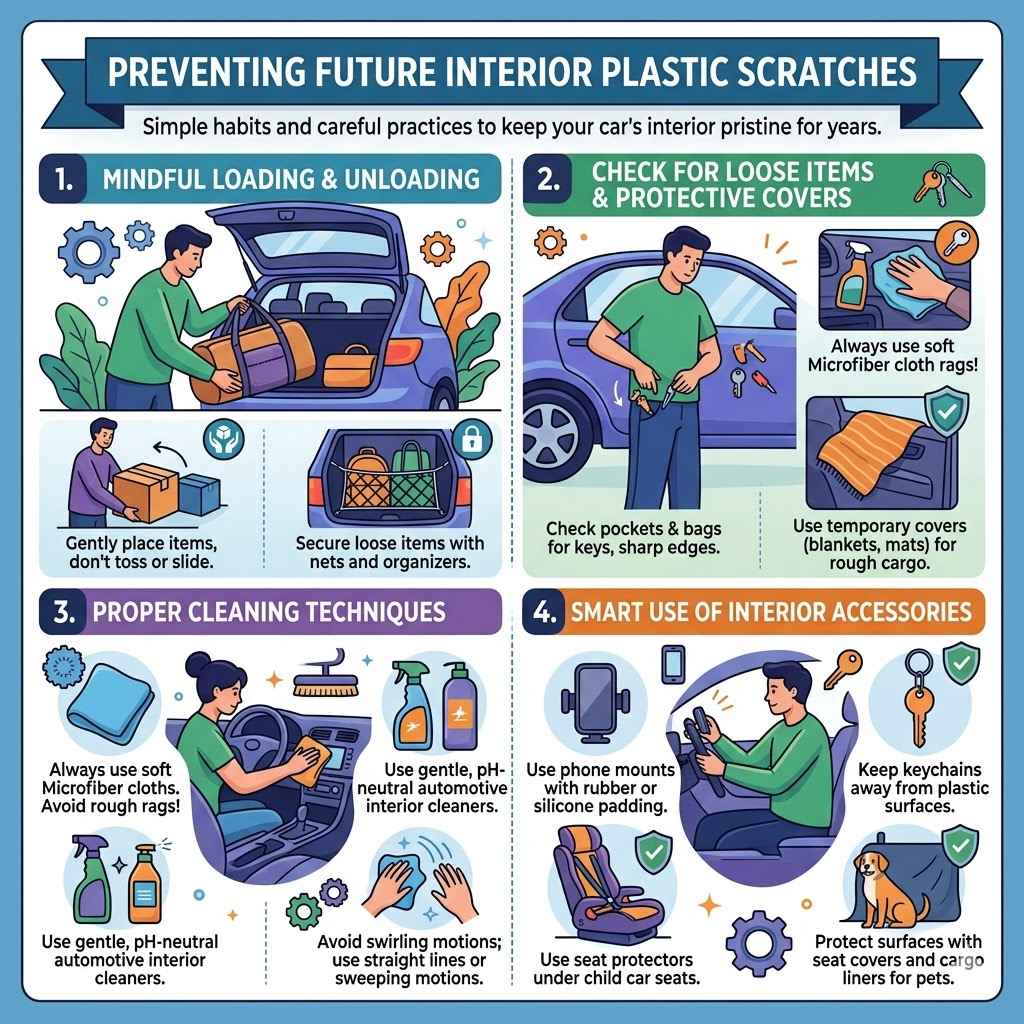
Preventing Future Interior Plastic Scratches
While repairing is satisfying, preventing new scratches from appearing is even better. A few simple habits and careful practices can keep your car’s interior looking pristine for years to come. Proactive care is always easier than reactive repair, and it helps maintain your car’s value and your enjoyment of its interior space.
Mindful Loading and Unloading
Many scratches happen when people are loading or unloading items from their car. Bags with zippers, tools, or even car keys can easily brush against and damage plastic panels. Being conscious of how you handle items can prevent a lot of trouble.
Check for Loose Items
Before closing doors or placing items down, quickly check if anything is hanging loose that could swing or drag against plastic surfaces. This is especially important for items in your pockets or bags.
Use Protective Covers
If you frequently transport items that might scratch plastic, consider using temporary protective covers. This could be a blanket, a car mat, or even a dedicated cargo liner for the trunk area.
Place Items Carefully
When placing bags or packages inside the car, do so gently. Avoid tossing them onto seats or floors where they can slide and scrape against door panels or the center console. Slide them in place instead of dropping them.
Secure Loose Objects
Loose objects rolling around in the car are a major cause of scratches. Utilize storage compartments, seatback organizers, or cargo nets to keep items secure and prevent them from moving around freely.
Proper Cleaning Techniques
As mentioned before, the way you clean your car’s interior plays a huge role in preventing damage. Using the wrong tools or cleaning agents can inadvertently cause micro-scratches that build up over time.
Microfiber is Your Friend
Always use clean microfiber cloths for cleaning and dusting. They are soft and designed to trap dirt without scratching surfaces. Avoid paper towels or rough rags, which can be abrasive.
Gentle Interior Cleaners
Stick to cleaners formulated specifically for automotive interiors. These are usually pH-neutral and won’t strip protective coatings or damage the plastic. Never use household cleaners, as they can be too harsh.
Avoid Swirling
When applying cleaners or wiping surfaces, use gentle, straight-line motions or large, sweeping motions. Avoid aggressive scrubbing or tight, circular motions, which can create swirl marks, especially on glossy surfaces.
Clean Regularly
Frequent, light cleaning is better than infrequent, heavy-duty cleaning. Wiping away dust and light grime before it builds up prevents the need for more aggressive cleaning later on, reducing the risk of scratching.
Smart Use of Interior Accessories
Many common car accessories, while useful, can also be culprits in creating scratches if not used thoughtfully. Be aware of how these items interact with your car’s interior plastic.
When installing phone mounts, especially those that clamp onto vents or dashboards, ensure they have rubber or silicone padding to protect the plastic. Avoid overtightening clamps, which can leave indentations.
Keychains and Loose Items
Be conscious of large or heavy keychains. Let them dangle away from plastic surfaces when entering or exiting the car. Avoid leaving keys or sharp objects loose on the dashboard.
Child Seats
Child car seats can put significant pressure on plastic surfaces, especially during installation and movement. Consider using seat protectors designed to cushion the plastic underneath the car seat and prevent scratches or indentations.
Pets
If you transport pets, use seat covers and cargo liners to protect plastic surfaces from claws and rough movement. Ensure their claws are trimmed if possible to minimize damage risk.
Conclusion
Fixing interior plastic scratches in your car is totally achievable. You now know how to identify scratches, gather the right supplies, and follow step-by-step guides for light to deep damage. Remember to consider different plastic types and always protect your work with post-repair care.
Keep these tips in mind to maintain a beautiful car interior.