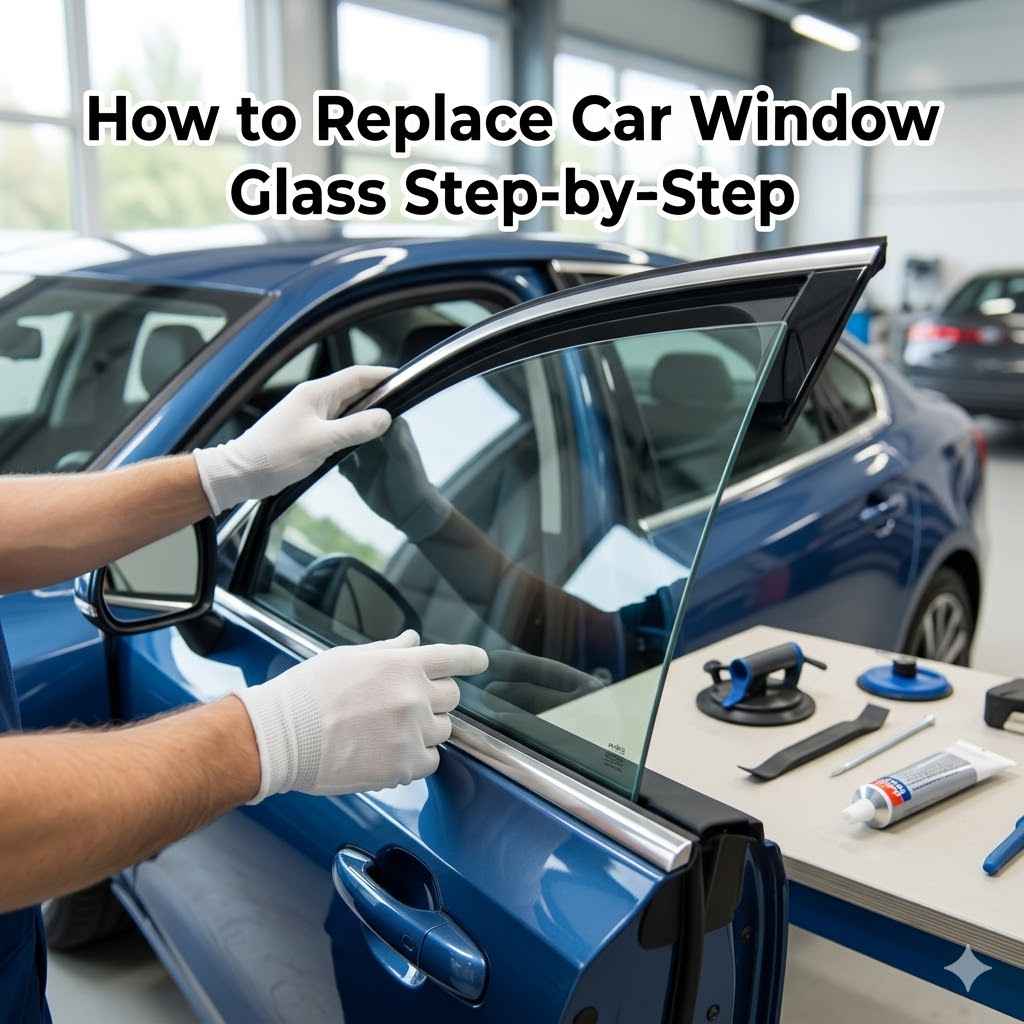
How to Replace Car Window Glass: Step-by-Step
Replacing a car window might seem like a big job, especially if you’ve never done it before. It can feel tricky to know where to start and what tools you need. But don’t worry!
This guide will show you exactly How to Replace Car Window Glass Step-by-Step in a way that’s easy to follow. We’ll break it down into simple steps so you can get your car fixed quickly and safely. Let’s get started on making your car like new again.
This section is your main guide to learning How to Replace Car Window Glass Step-by-Step. We will go through everything you need to know from start to finish. This includes what tools you’ll need, how to safely remove the old glass, and how to install the new piece.
It’s designed to make a task that looks hard feel much easier. We aim to give you the confidence to tackle this repair yourself.
Gathering Your Tools and Supplies
Before you start, it’s super important to have all your tools and supplies ready. This makes the whole process go smoothly. You don’t want to be halfway through and realize you’re missing something.
Having everything in one place saves time and avoids frustration.
Safety Gear: Always wear safety glasses to protect your eyes from glass shards. Gloves are also a good idea to prevent cuts.
Safety glasses are a must-have. When glass breaks, tiny sharp pieces can fly everywhere. They can easily get into your eyes and cause serious injury.
Good quality safety glasses create a barrier around your eyes. Work gloves protect your hands from cuts and scrapes. Many types of gloves work, but ones with good grip and puncture resistance are best.
New Window Glass: Make sure you have the correct replacement glass for your car’s make, model, and year.
Getting the right glass is the most critical step before you begin. If you order the wrong piece, it won’t fit, and you’ll have to start the process over. Check your car’s manual or use an online parts catalog.
You can usually find the VIN (Vehicle Identification Number) on your car’s dashboard or driver’s side doorjamb. This number helps guarantee you get the exact glass needed. Some auto parts stores can help you confirm the correct part number.
Suction Cups: These are used to safely lift and hold the old and new glass.
Suction cups are designed to stick firmly to smooth surfaces like glass. They provide a strong grip, allowing you to move heavy or large pieces of glass without them slipping. For car windows, you’ll usually need a set of large, heavy-duty suction cups.
Make sure they are clean and free of debris before applying them to the glass for maximum suction.
Putty Knife or Trim Removal Tool: To gently pry away old seals and trim.
A putty knife or a specialized trim removal tool is essential for carefully removing the window molding and any adhesive holding the old glass in place. These tools are designed to get under trim pieces without damaging your car’s paint or body. Plastic trim tools are often preferred because they are less likely to scratch surfaces compared to metal ones.
Glass Sealant/Adhesive: A special type of glue that creates a waterproof seal.
This is not regular glue. Auto glass sealant is a strong, flexible adhesive that bonds the new window to the car’s frame. It’s also waterproof, preventing rain and moisture from entering your car.
Make sure to buy a sealant specifically made for automotive glass installation. It often comes in a caulk tube, so you’ll need a caulk gun to apply it.
Caulk Gun: To apply the glass sealant evenly.
A caulk gun is a tool that holds a tube of sealant. When you squeeze the handle, it pushes the sealant out in a smooth, consistent bead. For auto glass, you’ll want a good quality caulk gun that allows for precise control.
This helps you apply the sealant evenly around the window frame for a proper seal.
Razor Blade or Utility Knife: For scraping off old adhesive.
After the old glass is removed, you’ll likely have old adhesive or sealant stuck to the car’s frame. A sharp razor blade or utility knife is used to carefully scrape this away. It’s important to get the surface clean for the new sealant to stick properly.
Be very careful not to scratch the paint or metal.
Rubbing Alcohol or Glass Cleaner: To clean surfaces.
Cleaning is a vital part of the process. Rubbing alcohol or a good glass cleaner will help remove any dust, grease, or residue from the car’s frame and the new glass. A clean surface is key for the new sealant to bond effectively and create a watertight seal.
Masking Tape: To hold the new window in place while the adhesive cures.
Once the new window is in, it needs time to set. Masking tape, also known as painter’s tape, is used to hold the glass firmly in its position. This prevents it from shifting or falling out before the sealant has fully hardened.
Use good quality tape that won’t leave sticky residue behind.
Shop Vacuum: To clean up broken glass.
Broken glass can be dangerous and get everywhere. A shop vacuum is powerful enough to pick up small glass shards safely. It’s also useful for cleaning out any dust or debris from inside the car door or frame.
Removing the Old Window Glass
Now comes the part where we carefully take out the old, broken glass. This needs to be done with patience and the right technique to avoid further damage to your car or yourself. We’ll guide you through each step to make sure it’s done safely and effectively.
Step 1 Prepare the Area
First, park your car on a flat, stable surface. Open the car door where the window needs to be replaced. If it’s a side window, you might want to lower it as much as possible.
This can sometimes make it easier to access the edges, although for a completely shattered window, this might not be an option.
Next, remove any interior door panel components that might be in the way. This could include trim pieces, door handle surrounds, or speaker grilles. You’ll want to be able to see the edge of the window where it meets the car frame.
Use your trim removal tools gently to avoid scratching.
Step 2 Remove Trim and Seals
With the interior access clear, focus on the exterior trim around the window. Many cars have a rubber gasket or a plastic molding that fits around the edge of the glass. Gently pry this away using your putty knife or trim removal tool.
If the trim is glued, you may need to carefully cut through the adhesive with a utility knife.
Once the outer trim is off, you’ll see the edge of the glass and the old sealant. If there’s a rubber seal between the glass and the metal frame, try to carefully pull it away. Sometimes this seal can be reused, but often it’s best to replace it if it’s old or damaged.
Step 3 Remove the Broken Glass
This is the part that requires the most care. If the glass is shattered, you’ll want to remove the large pieces first. Use your suction cups to get a firm grip on larger fragments.
Slowly and carefully pull them away from the car frame.
For smaller pieces and shards, you might need to use your hands (with gloves on!) or a brush to sweep them out. A shop vacuum is excellent for picking up tiny slivers of glass that you might not see. Pay close attention to the channels where the glass sits.
If the glass is intact but cracked, you might be able to remove it as one piece. In this case, use suction cups on either side to help lift and guide it out. Again, wear your safety glasses and gloves throughout this entire process.
Step 4 Clean the Frame
After all the glass is out, you’ll have old adhesive and possibly some stubborn fragments left behind. Use your razor blade or utility knife to carefully scrape away all the old sealant from the metal frame. Go slowly and try to get the surface as clean and smooth as possible.
Once the bulk of the old adhesive is removed, clean the area with rubbing alcohol or glass cleaner. This removes any dust or grease. A clean, dry surface is essential for the new adhesive to bond properly.
You can use a shop vacuum to suck up any remaining dust or glass particles from the frame and door cavity.
Installing the New Window Glass
Putting in the new window is just as important as taking out the old one. This is where we make sure your car is sealed up again and protected from the elements. Follow these steps carefully for a secure installation.
Step 1 Apply the New Sealant
Take your new auto glass sealant and load it into the caulk gun. Cut the tip of the sealant tube to create an opening that matches the width of the frame. You want a consistent bead of sealant.
Carefully apply a steady, unbroken bead of sealant all the way around the perimeter of the window frame. Make sure to cover the entire surface where the glass will sit. Avoid gaps or thick spots.
The goal is a uniform line of adhesive that will create a strong, waterproof seal.
Step 2 Position the New Glass
This step often requires two people, especially for larger windows. Clean the edges of the new glass with glass cleaner or rubbing alcohol.
Carefully place suction cups on the new window. Align the new glass with the frame. Slowly and gently lower the new window into place.
You want to press it down into the sealant so that it makes good contact all around.
Once the glass is seated, apply gentle, even pressure. You should see a small amount of sealant squeeze out around the edges. This is a good sign that you have a complete seal.
Step 3 Secure the New Window
Use masking tape to hold the new window in place. Apply strips of tape from the glass to the car’s body. This keeps the window from moving while the sealant cures.
Don’t pull the tape too tight, as you don’t want to distort the glass.
Let the sealant cure according to the manufacturer’s instructions. This typically takes at least a few hours, but often 24 hours is recommended for a full cure. Avoid driving the car or even closing the doors forcefully during this time.
Step 4 Reinstall Trim and Clean Up
Once the sealant has cured, you can carefully remove the masking tape. Reinstall any interior trim panels and exterior moldings that you removed earlier. Make sure everything snaps or screws back into place securely.
Finally, clean the new window thoroughly. Use a good glass cleaner to remove any fingerprints or sealant residue. Dispose of the old glass safely.
You have now successfully learned How to Replace Car Window Glass Step-by-Step!
Common Challenges and Solutions
Even with clear instructions, some issues can pop up when you’re learning How to Replace Car Window Glass Step-by-Step. Knowing what these common problems are and how to fix them can save you a lot of headaches. We’ll look at some of these and offer simple solutions.
Dealing with Stubborn Old Adhesive
Sometimes, the old adhesive holding the glass can be very tough to remove. This can make cleaning the frame a long and difficult task. If scraping isn’t enough, you might need a specialized adhesive remover.
Always follow the product’s instructions and ensure good ventilation.
Another trick is to use heat. A heat gun on a low setting can sometimes soften old adhesive, making it easier to scrape away. Be cautious not to overheat the metal or paint.
Work in small sections and scrape as you heat.
Ensuring a Watertight Seal
A common worry is whether the new window will leak. The key to a watertight seal is a perfectly clean frame and an even bead of sealant. If the frame isn’t clean, the sealant won’t stick properly.
If the bead is uneven, there can be gaps.
After installation, test for leaks. You can do this by spraying water around the window with a hose after the sealant has cured for at least 24 hours. If you see any water dripping inside, you may need to reapply sealant to that area.
It’s better to be cautious and test thoroughly.
Handling Difficult Window Shapes or Sizes
Some car windows are large, curved, or have complex shapes. These can be harder to handle and position correctly. This is where having an extra pair of hands is extremely helpful.
Two people can better balance the weight and guide the glass into place.
For very large or heavy windows, using more suction cups can provide better support. Ensure all suction cups are securely attached before attempting to lift or move the glass. Take your time and communicate with your helper.
Preventing Damage to Paint and Trim
It’s easy to accidentally scratch paint or damage plastic trim when working with glass. Always use plastic trim removal tools instead of metal ones whenever possible. Be gentle when prying.
If you’re worried about your paint, you can mask off the surrounding area with painter’s tape. This creates a protective barrier. When scraping, keep the blade at a low angle to the surface to avoid gouging.
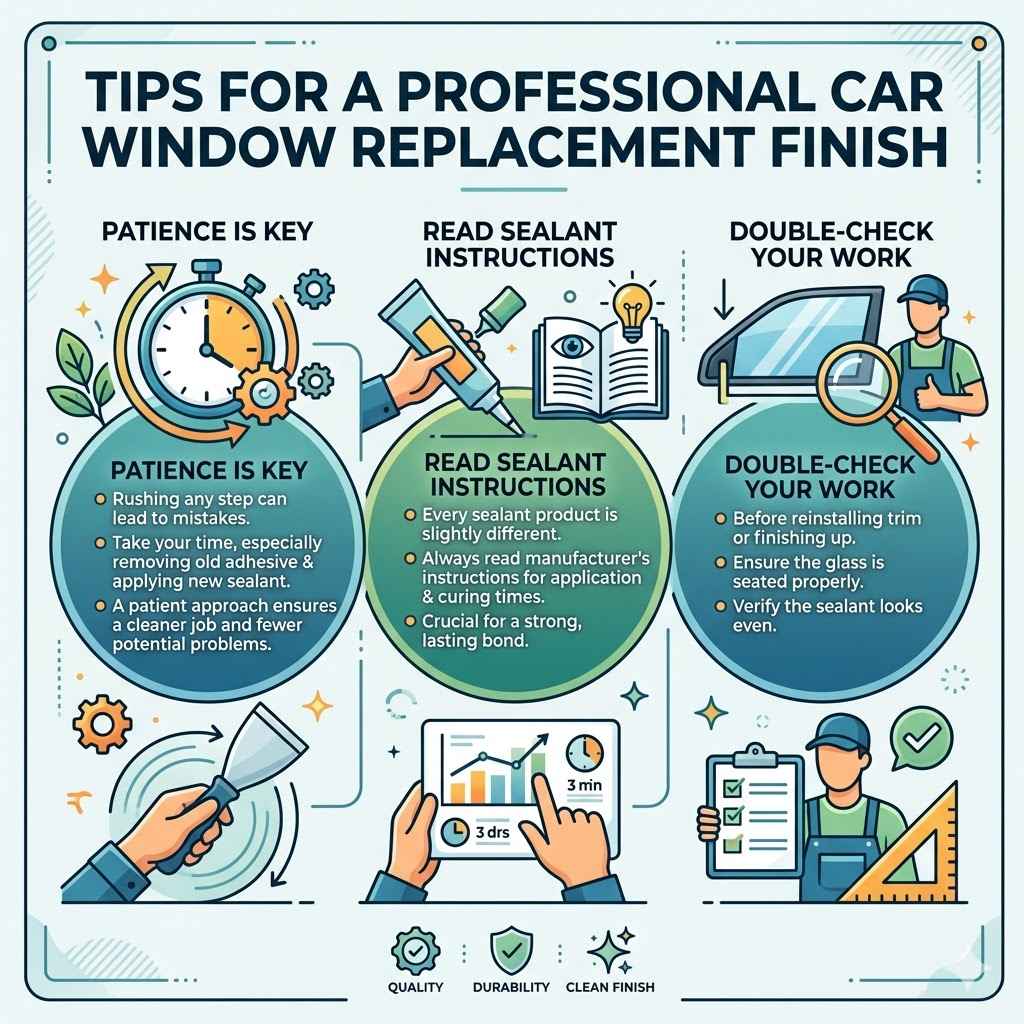
Tips for a Professional Finish
To make your car window replacement look like it was done by a professional, pay attention to the details. These small touches can make a big difference in the final appearance and durability of the repair.
Patience is Key
Rushing any step can lead to mistakes. Take your time, especially when removing old adhesive and applying the new sealant. A patient approach ensures a cleaner job and fewer potential problems down the line.
Read Sealant Instructions
Every sealant product is slightly different. Always read the manufacturer’s instructions for application and curing times. This information is crucial for a strong, lasting bond.
Double-Check Your Work
Before reinstalling trim or finishing up, take a moment to look over your work. Ensure the glass is seated properly and the sealant looks even.
Frequently Asked Questions
Question: How long does it take to replace a car window?
Answer: The time it takes can vary, but for someone doing it for the first time, it usually takes about 2 to 3 hours. If you have experience, it can be done in an hour or less. The sealant also needs time to cure, which takes at least several hours and up to 24 hours before you can drive normally.
Question: Can I use regular silicone sealant for car windows?
Answer: No, you should not use regular silicone sealant. Auto glass requires a special type of sealant designed to be strong, flexible, and waterproof. Regular silicone might not bond well or last long enough, leading to leaks and window failure.
Question: Is it safe to drive with a cracked car window?
Answer: It is not safe to drive with a cracked car window. A crack can weaken the glass further, making it more likely to shatter completely. Also, a cracked window can allow water and wind to enter the car, causing damage and discomfort.
Question: What should I do if the new window leaks after installation?
Answer: If your new window leaks, you likely need to address the sealant. After the sealant has fully cured, identify the leak area. You may need to carefully scrape away the old sealant in that spot and reapply new sealant, ensuring a continuous bead and proper bonding.
Question: How do I know which type of window glass to buy?
Answer: You need to know your car’s exact make, model, and year. Side windows can be either tempered or laminate. Most side windows are tempered, while windshields are laminate.
Check your car’s manual or consult with an auto parts store using your VIN to ensure you get the correct type and fit.
Summary
Learning How to Replace Car Window Glass Step-by-Step is achievable with the right tools and clear guidance. We’ve covered everything from gathering supplies and safely removing old glass to installing the new window and ensuring a proper seal. Don’t hesitate to try it yourself.