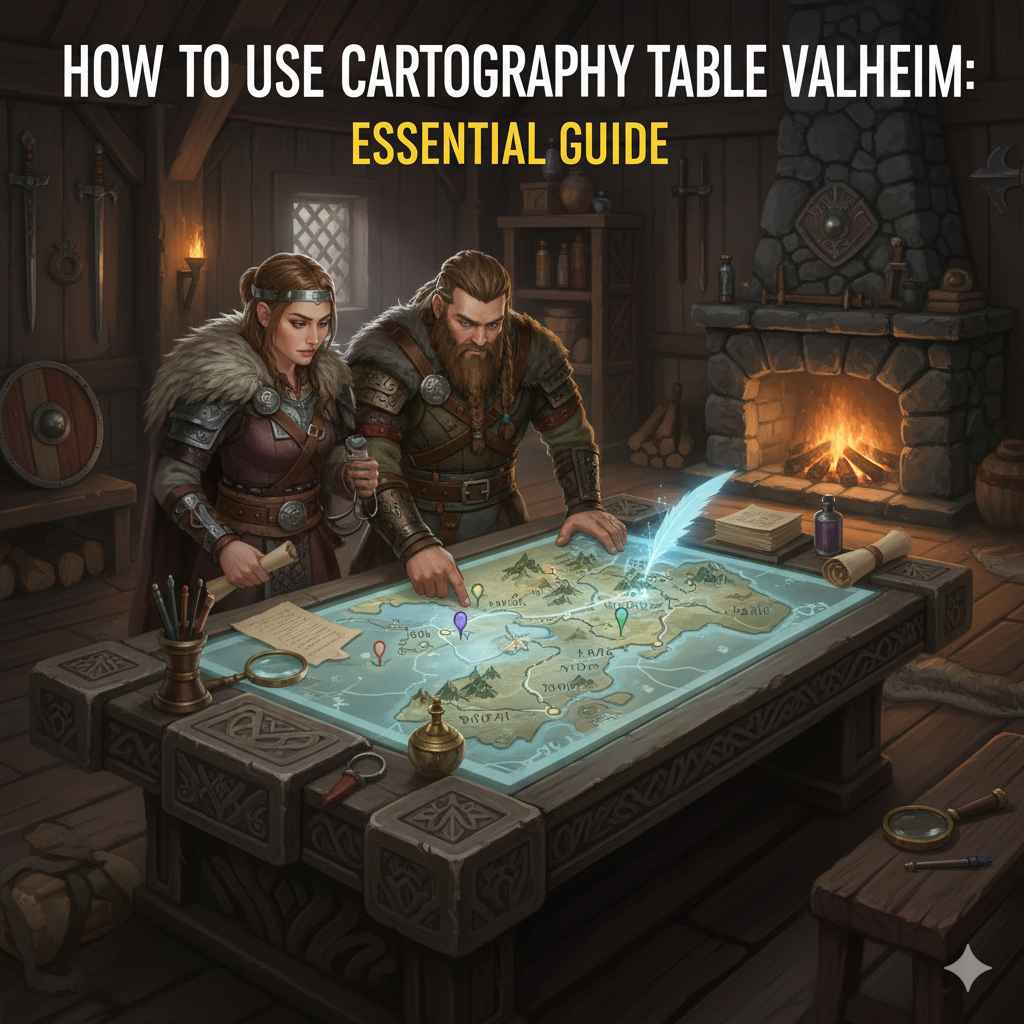
How To Use Cartography Table Valheim: Essential Guide
The Cartography Table in Valheim lets you share your explored map with friends easily. Just stand next to it, right-click to open its menu, and choose “Share Map” to upload your discoveries. When others visit your Cartography Table and click “Explore,” they can download your shared map data, helping everyone explore the world faster together.
Embarking on your Valheim journey is exciting, full of discovery and the thrill of the unknown. But sometimes, the vastness of the world can feel a little daunting, especially when you’re trying to coordinate with fellow Vikings. You might find yourself wondering how to let your friends see the cool dungeons you’ve found or the safe harbors you’ve established. That’s where the humble, yet incredibly useful, Cartography Table comes in. It’s your key to sharing the secrets you uncover and building a stronger, more connected crew. This guide will walk you through everything you need to know, making map sharing as easy as crafting a stone axe.
Don’t worry if you’re new to Valheim or haven’t tinkered with map mechanics before. We’ll break it down into simple, easy-to-follow steps. By the end of this guide, you’ll be a cartography pro, seamlessly sharing your world and helping your entire group explore more efficiently. Let’s get your map-sharing adventures started!
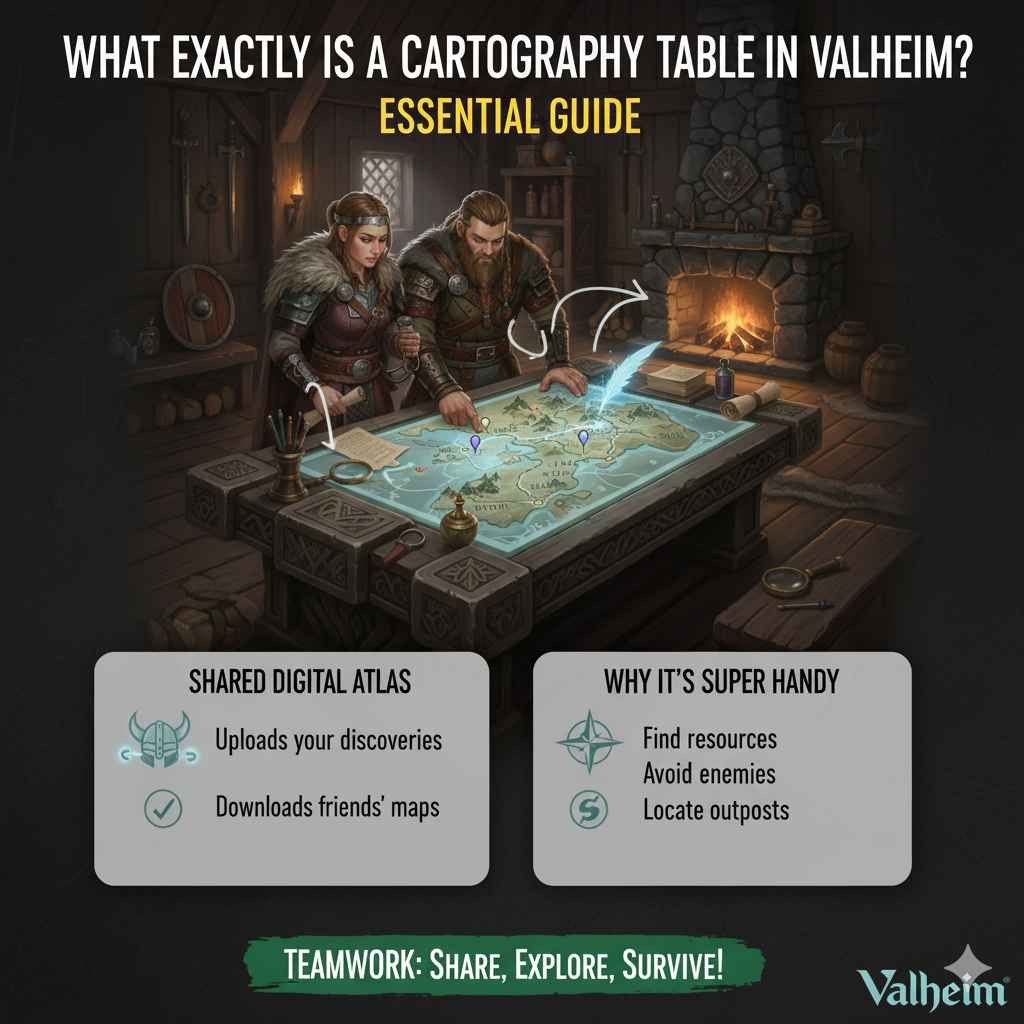
What Exactly is a Cartography Table in Valheim?
Think of the Cartography Table as Valheim’s version of a shared digital atlas, but with a Viking twist! It’s a crafting station that allows players to upload and download map data. In simpler terms, anything you discover on your map – from the biomes you’ve traversed to the specific locations of points of interest – can be shared with your friends who are on the same server.
This is super handy for several reasons. If you’re the trailblazer of your group, you can show everyone where the best resources are, where dangerous enemies lurk, or where you’ve set up a strategically important outpost. Conversely, if a friend has done a lot of exploring, you can easily download their findings onto your own map, saving you a ton of time and potentially dangerous travel.
Why is Map Sharing Important?
In a game like Valheim, exploration is a core mechanic. You need to find new biomes to gather different resources, discover dungeons for unique loot, and locate bosses to progress. Without a way to share this information, each player would have to painstakingly explore the entire map individually, which is incredibly inefficient and can slow down your group’s progress dramatically.
Map sharing via the Cartography Table offers several key benefits:
- Efficiency: Avoid redundant exploration. If one person has found a copper vein cluster or a runestone, everyone else can know about it without having to stumble upon it themselves.
- Teamwork: It fosters a stronger sense of community and collaboration within your group. Everyone contributes to the collective knowledge of the world.
- Strategy: Plan your expeditions better. Knowing where certain resources or dangers lie allows for smarter decision-making about where to build bases, where to hunt, and where to avoid.
- Discoverability: Help friends find their way to areas you’ve already mapped, reducing the chances of them getting lost or making dangerous detours.
It’s a fundamental tool for any group looking to conquer Valheim efficiently and enjoy a more connected gaming experience.
How to Craft the Cartography Table
Before you can share maps, you first need to build the Cartography Table itself. It’s a relatively simple structure to craft, and the materials are available early in the game. Here’s what you’ll need:
Required Materials:
- Wood x20: You’ll find plenty of this by chopping down trees around your starting area.
- Leather Scraps x5: These are dropped by defeated Greyling creatures, which are common in the Meadows biome.
- Surtling Core x2: These glowing red items are found in Burial Chambers (dungeons) within the Black Forest biome. They can also be dropped by Surtlings themselves in the Swamp biome.
Crafting Steps:
- Gather Wood: Equip your Flint Axe or Stone Axe and head into a wooded area. Start chopping down any trees you see until you have at least 20 Wood.
- Collect Leather Scraps: Venture into the Meadows biome and look for small, dark-skinned creatures called Greylings. Defeat them to collect Leather Scraps. You’ll need 5 of these.
- Find Surtling Cores: This is often the trickiest part for beginners. Make your way to the Black Forest biome. Look for cave-like entrances that lead to Burial Chambers. These are stone structures often found partially underground. Explore these chambers; Surtling Cores are typically found within chests or lying on the ground inside. Be cautious, as these areas are guarded by skeletons and other dangers.
- Build the Table: Once you have all the materials, open your building menu (default key ‘B’). Navigate to the “Crafting” tab, find the Cartography Table, and place it down in your base.
As you can see, acquiring the materials involves a bit of early-game exploration and combat, which is a classic Valheim experience! For more in-depth information on gathering these early-game resources, the official Valheim Wiki is an excellent resource.
How to Use the Cartography Table: Step-by-Step
Now that you have your Cartography Table built, let’s get to the main event: using it to share and receive map information. The process is straightforward and designed to be easily accessible for all players.
Sharing Your Map Data
This is how you upload your discovered map information for others to see. You need to be physically near your own Cartography Table.
- Approach Your Cartography Table: Stand within its crafting radius.
- Interact with the Table: Press your ‘E’ key (default interact key) while looking at the table. This will open the Cartography Table’s interface.
- Select “Share Map”: In the interface, you’ll see several options. Click on the button that says “Share Map”.
- Confirm Sharing: A confirmation prompt might appear, asking if you’re sure you want to upload your map data. Confirm this action.
And that’s it! Your currently explored map data has now been uploaded to the server. Any player who is a part of your current game session will be able to access it from their own Cartography Table.
Receiving Map Data from Others
Once someone else has “Shared Map” from their Cartography Table, you can download their discoveries onto your own map. Again, you’ll need to be near a Cartography Table.
- Approach a Cartography Table: It can be your own or one built by a friend in the same world.
- Interact with the Table: Press ‘E’ to open the interface.
- Select “Explore”: Look for the button labeled “Explore”. This option appears only if another player has recently shared map data.
- Confirm Exploration: Clicking “Explore” will download the shared map information. Your map will then update to show all the areas that player has discovered and shared.
You’ll notice that sections you haven’t personally visited will now be filled in on your map.
How to View Shared Map Data
Once you or someone else has shared map data, and you have subsequently “Explored” at a Cartography Table, the newly discovered areas will automatically appear on your in-game map. You can open your main map by pressing ‘M’ (default key). The areas you have personally explored will be in color, while the areas shared and downloaded from others will appear in a lighter, faded color. This visual distinction helps you see what you’ve personally gone through versus what you’ve learned from your team.
Important Notes on Map Sharing:
- Server-Wide: Map data is shared server-wide. If you’re playing on a public server, there’s a chance you might even share maps with players you don’t directly know, depending on server settings. For dedicated friend groups, it’s usually restricted to your group.
- No Location Privacy: Be aware that “Share Map” uploads your entire currently explored map. If you’ve found a hidden stash of resources or a secret personal base, and you share your map, that information will be visible to anyone who accesses that Cartography Table.
- Proximity Matters: You must be standing near a Cartography Table to share or explore map data. You can’t do it from afar.
- No Fog of War Removal: Sharing map data fills in the known world. It doesn’t remove the “fog of war” on unexplored areas. You still need to travel into those new regions to reveal their details.
- Updates: If a player discovers new areas after they’ve already shared their map, they will need to stand near their Cartography Table again and click “Share Map” to upload the updated information.
Understanding the Cartography Table Interface
The interface for the Cartography Table is quite minimalist, focusing on its primary functions. When you interact with it, you’ll typically see:
- “Share Map”: Your button for uploading your discovered map data.
- “Explore”: The button you press to download shared map data from others in your session.
- Your Character Portrait/Name: Often displayed to indicate whose map data is being managed.
- Possibly Other Crafting Stations: In some instances, if other crafting stations are nearby, their icons might appear, but the Cartography Table’s core functions are the two main buttons.
The true magic happens outside this UI, as the game translates your actions into world-sharing data.
Cartography Table vs. Beacons and Other Tools
Valheim offers various ways to communicate and mark points of interest, but the Cartography Table serves a unique role. Let’s differentiate it:
- Beacons (from the Trader): These are crafted items placed in the world to mark specific locations with a visual marker. Useful for easily spotting a particular mine, a camp, or a dangerous area from a distance. They are visible from afar.
- Player-Made Markers: You can place custom markers on your map by pressing ‘M’ and clicking the map. These are personal annotations.
- Cartography Table: This is the only tool that allows for the digital synchronization of explored map data among players on a server. It’s about sharing the revealed world itself, not just placing a single marker.
While markers and personal map annotations are great for specific call-outs, the Cartography Table is essential for collective world revelation.
Troubleshooting Common Cartography Table Issues
Occasionally, you might run into hiccups when trying to share or receive map data. Here are some common problems and their solutions:
Issue: “Explore” Button is Greyed Out or Missing
Reason: No one else has recently shared map data, or you are not in the same game session/server as someone who has.
Solution: Ensure you are on the same server as the player whose map data you want to receive. Ask them to stand near their Cartography Table and click “Share Map”. Wait a moment and try “Explore” again.
Issue: Map Isn’t Updating After Clicking “Explore”
Reason: The map data might not have fully downloaded, or there could be a minor game glitch.
Solution:
- Close and reopen your map (‘M’ key).
- Try clicking “Explore” again.
- Have the player who shared the map re-share it.
- If all else fails, try logging out and back into the server.
Issue: I Can’t Build a Cartography Table
Reason: You haven’t gathered all the necessary materials (Wood x20, Leather Scraps x5, Surtling Core x2), or you are too far from a workbench.
Solution: Double-check your inventory for all required items. Ensure you are within the build radius of a Workbench, as most player-placed crafting stations require one to be nearby for construction.
Issue: Only Parts of My Map Are Updating
Reason: This is expected behavior. The Cartography Table only shares explored areas. If a player hasn’t been to a certain biome or area, and therefore it’s not on their map, they can’t share it.
Solution: This isn’t an error, but a limitation of the mechanic. Encourage your group to explore more diverse areas to fill in the map collectively.
Advanced Tips for Using the Cartography Table
Once you’ve mastered the basics, here are a few tips to optimize your Cartography Table use:
- Centralized Table: Build your primary Cartography Table in a central, easily accessible location within your main base. This makes sharing and exploring convenient for everyone.
- Designated “Sharer”: If one person in your group tends to explore more, they can be the designated “Sharer.” They can make it a routine to update the map whenever they return from a significant expedition.
- Exploration Teams: Divide your group into exploration teams. One team can focus on mapping the coastlines, another on venturing deep into the Black Forest, and so on. Then, share all the findings at a central table.
- Resource Mapping: Make a conscious effort to note down and then share locations of valuable resources like copper, tin, iron, silver, or rare plants. This is invaluable for large building projects or crafting powerful gear.
- Boss Location Sharing: Once a boss altar is discovered, ensure that information is shared immediately. This helps the entire team prepare for the fight and know where to find the summon locations.
For more general tips on Valheim exploration and survival, checking out guides from reputable gaming sites like PC Gamer can provide broader context and strategies.
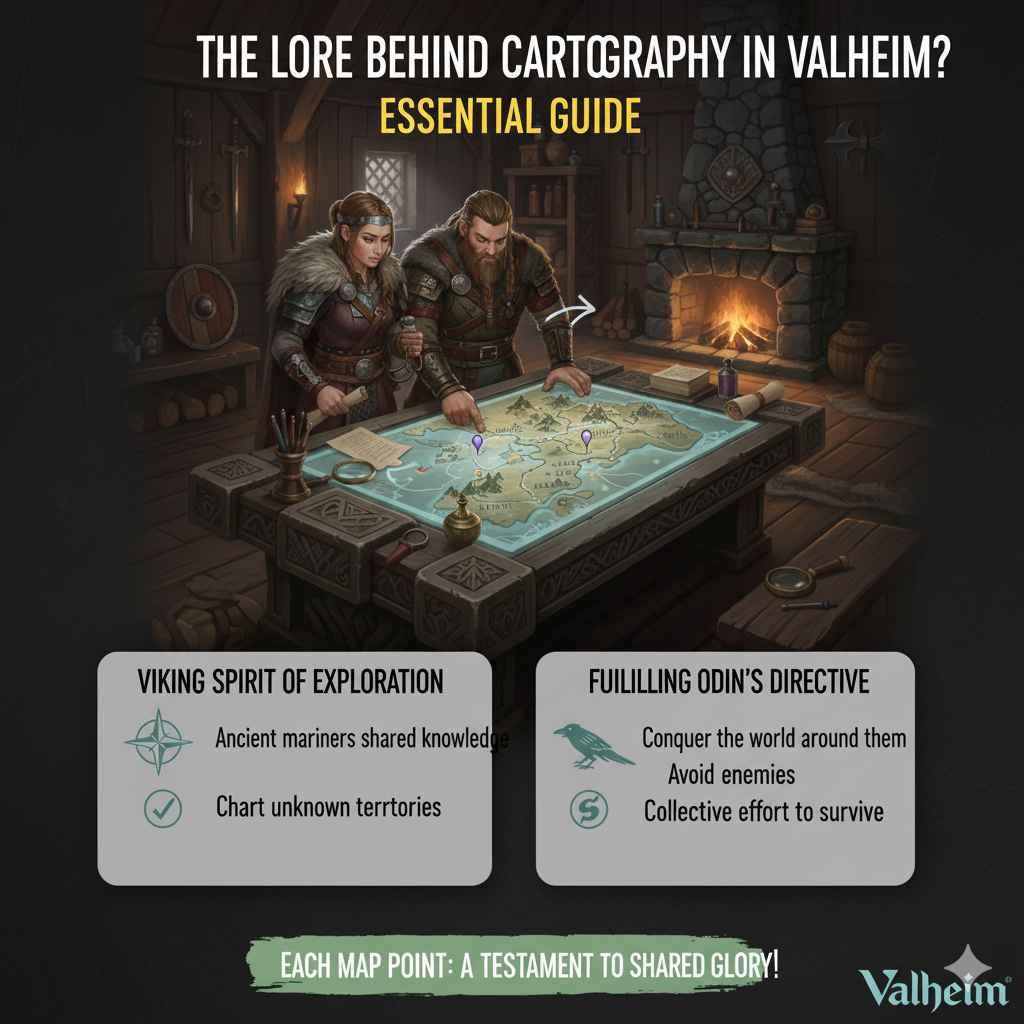
The Lore Behind Cartography in Valheim
While Valheim is a survival game, it does weave in elements of its Norse mythology-inspired lore. The act of mapping and exploring aligns with the Viking spirit of exploration and conquest. The Cartography Table, in this context, serves as a functional representation of how ancient mariners might have shared navigational knowledge, albeit in a simplified digital form. By charting unknown territories, players are essentially fulfilling a primal Viking directive to understand and conquer the world around them. Each shared map point is a testament to the collective effort of surviving and thriving in Odin’s tenth world.
Conclusion
The Cartography Table is more than just a crafting station; it’s a vital tool for collaborative survival and efficient exploration in Valheim. By understanding how to craft it, share your discoveries, and receive information from your fellow adventurers, you unlock a new level of teamwork and progress. No longer will you have to wander aimlessly or repeat the same scouting missions. With clear communication facilitated by the Cartography Table, your band of Vikings can conquer new lands, gather essential resources, and face the game’s toughest challenges with much greater speed and confidence.
Don’t hesitate to build one early in your playthrough and make map sharing a regular part of your group’s routine. Happy exploring, and may your maps be ever filled with the wonders and dangers of Valheim!
Frequently Asked Questions (FAQ)
Q1: Do I need a specific tool to share maps?
A: No, you don’t need a special tool. You just need to be standing next to the Cartography Table and interact with it to open its menu, where you’ll find the “Share Map” option.
Q2: Is map sharing only for players on the same server?
A: Yes, map sharing through the Cartography Table is strictly server-bound. You can only share and receive map data with other players who are currently logged into the same Valheim world or server session as you.
Q3: What happens if I find new areas after I’ve already “Shared Map”?
A: If you discover new areas on your map after you’ve already shared, those new discoveries won’t automatically appear on others’ maps. You’ll need to go back to your Cartography Table and click “Share Map” again to upload the updated map information.
Q4: Can I share my map with friends who play on a different platform (e.g., PC vs. Xbox cross-play)?
A: Yes, Valheim supports cross-play between PC (Steam and Microsoft Store versions) and Xbox. As long as you are on the same server/world together, map sharing will work correctly between platforms.