Running Wires in Your Car: A Simple Guide for Beginners
Wiring up a car can seem tricky, right? Many people find it tough at first. Getting power from your battery to other parts of your car, like adding new lights or a stereo, is a common project. But don’t worry! This guide will make learning How to Run Wire From a Battery Into a Car super easy. We’ll break it down step by step, so you can do it yourself. Get ready to learn!
Powering Your Car: Basic Concepts
Before you begin, it’s good to know the basic ideas of car electrical systems. Think of your car’s battery as a power station, like the ones that power your home. It stores electricity, ready to use. When you turn on your car, the battery sends that power to different parts through wires. Wires are like tiny roads for electricity. They carry the power to where it needs to go, like the headlights, the radio, or the engine. Understanding these basics is important for working safely and correctly. Knowing what components make up the electrical system and how they work will make the job less of a challenge.
Safety First: Important Considerations
Whenever you’re working with car wiring, safety must be your top priority. Car batteries have a lot of power, and touching the wrong wires can be dangerous. You could get a shock, or even cause a fire. Always disconnect the negative cable from your car’s battery before you start working. It’s the black cable, usually marked with a minus (-) sign. This cuts off the power supply, keeping you safe. Once you’ve done this, double-check that no wires are live. Use a multimeter (a tool that tests for electricity) to make sure everything is safe. If you follow these basic steps, you can avoid harm and do your project safely.
-
- Disconnect the Negative Battery Cable: Always, always disconnect the negative (black) battery cable before you start. This prevents accidental shorts or shocks. Use a wrench to loosen the clamp holding the cable to the battery terminal and remove the cable. Tuck it away so it cannot accidentally touch the battery.
Always check for loose wires that may have fallen during transport. Be sure to check the wiring diagram for which wire is for which.
-
- Wear Safety Glasses: Wear safety glasses. This protects your eyes from any debris that might fall while you are working. Safety glasses are a good habit to develop.
Always wear safety glasses when working with any electrical components, as this can lead to serious injury.
-
- Use Insulated Tools: Use tools that are insulated. This means they have a rubber or plastic coating on the handles. These tools help protect you from electric shocks.
Insulated tools provide an extra layer of protection, which can make all the difference when dealing with electrical projects.
-
- Work in a Well-Ventilated Area: Work in a well-ventilated area. Car batteries release gases that can be harmful if you breathe them in. Make sure the area you’re working in has good airflow.
Always work in a well-ventilated area to reduce the risk of breathing in any harmful fumes or gases.
Planning the Wiring Project: What You Need
Before you start running wires, you must plan your project. Decide what you want to power. Maybe you’re adding new lights, a car stereo, or a charging port. Then, work out where the wire will go. Think about the easiest path from the battery to your new device. You’ll also need the right parts. The right wire size, fuses, and connectors are essential for a safe and successful job. Take your time to measure everything. This will save you time and money. Careful planning is vital to the success of your project.
Choosing the Right Wires and Components
Picking the correct wire and components is key for your car’s electrical work. First, choose the right wire size (gauge). The wire gauge should match the current your device uses. A gauge that is too small can overheat and cause a fire. You will want to use a wire gauge chart to choose the right one. Second, get the right connectors. These help you hook up the wire to your device. Use crimp connectors for a secure connection. A fuse is important because it protects your device and the wiring. A fuse blows if too much current flows through it, stopping the power and preventing damage. Finally, a multimeter will help you troubleshoot any electrical problems.
-
- Wire Gauge Selection: The thickness of the wire is super important. It must be big enough to carry the current your new device needs. Using too-thin wire can cause it to overheat and potentially start a fire. A simple wire gauge chart will help you decide the right size based on the device’s power needs and the wire’s length.
For instance, if you’re installing a set of LED lights that draw 5 amps, and the wire run is 10 feet, a 16-gauge wire should be enough. Always lean toward a slightly thicker wire for extra safety.
-
- Fuse Selection: Fuses are your friends! They protect your new device and the car’s electrical system from damage. Always install a fuse close to the battery, on the positive wire. The fuse’s amperage rating should be slightly higher than the device’s maximum current draw.
For example, if your new stereo draws a maximum of 10 amps, use a 15-amp fuse. This way, if the stereo pulls too much power, the fuse will blow before anything gets damaged.
-
- Connector Types: Connectors help you connect wires to your devices. Use the correct type of connectors. Crimp connectors are usually best because they give you a strong, secure connection. You may also need ring terminals to connect to the battery and other devices.
Make sure you have the right tools, like a crimping tool, to make reliable connections. Properly made connections prevent loose wires and potential electrical problems.
-
- Choosing a Multimeter: Multimeters are very helpful tools. They help you check for voltage, current, and resistance. These tools can identify issues in your wiring.
You can use a multimeter to check if your new circuit is working correctly and to find any shorts or open circuits that may exist. They can be a lifesaver.
Getting Power From the Battery: Step-by-Step
Now, let’s learn How to Run Wire From a Battery Into a Car. First, make sure you have everything you need. This means the correct wire, connectors, a fuse, and a crimping tool. After disconnecting the battery, you can start running the wire. Run the wire from the battery to where your new device will go. Try to find safe paths. Then, make the connections using your connectors. It’s easy, but you must be careful. Finally, put the fuse in place. When you’re done, test everything. If it works, you’re done! If not, check your work to ensure everything is connected the right way.
Step-by-Step Wire Running
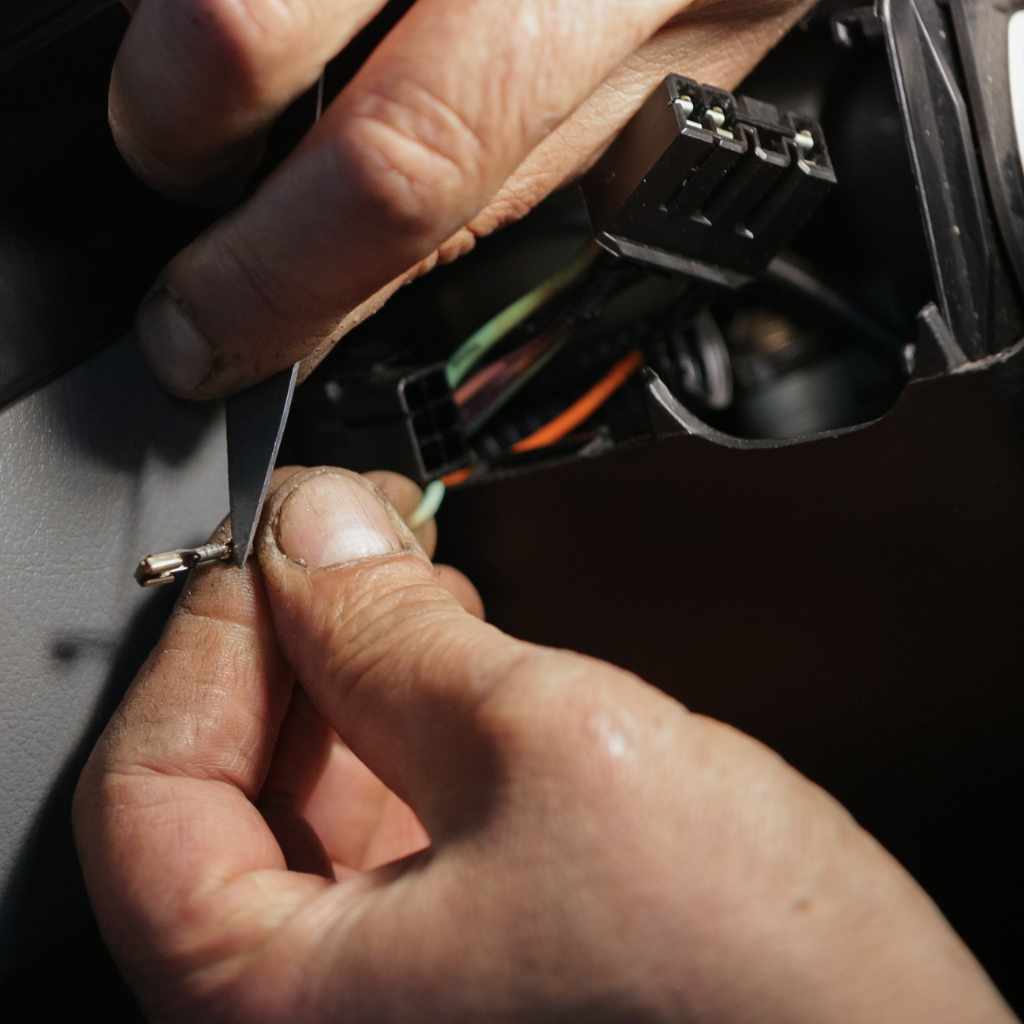
You have everything, and you’ve planned! Now, you are ready to get the power to your device. This means running the wire. Start by finding the right path for your wire. You want a path that is away from moving parts or hot engine parts. Next, run the wire through the car. Secure the wire using zip ties or clips, so it does not move around. Then, connect the wire to the battery. Always use a fuse, which you should put close to the battery. This protects the wiring. After that, connect the wire to your device. Be sure to use the right connectors. Then, double-check all connections. Finally, test the device to make sure it works.
-
- Disconnect the Battery: We’ve already covered this, but it’s so important that it bears repeating: disconnect the negative battery cable. This is a must-do before you start.
It’s a simple step that keeps you safe while working on car electrical systems.
-
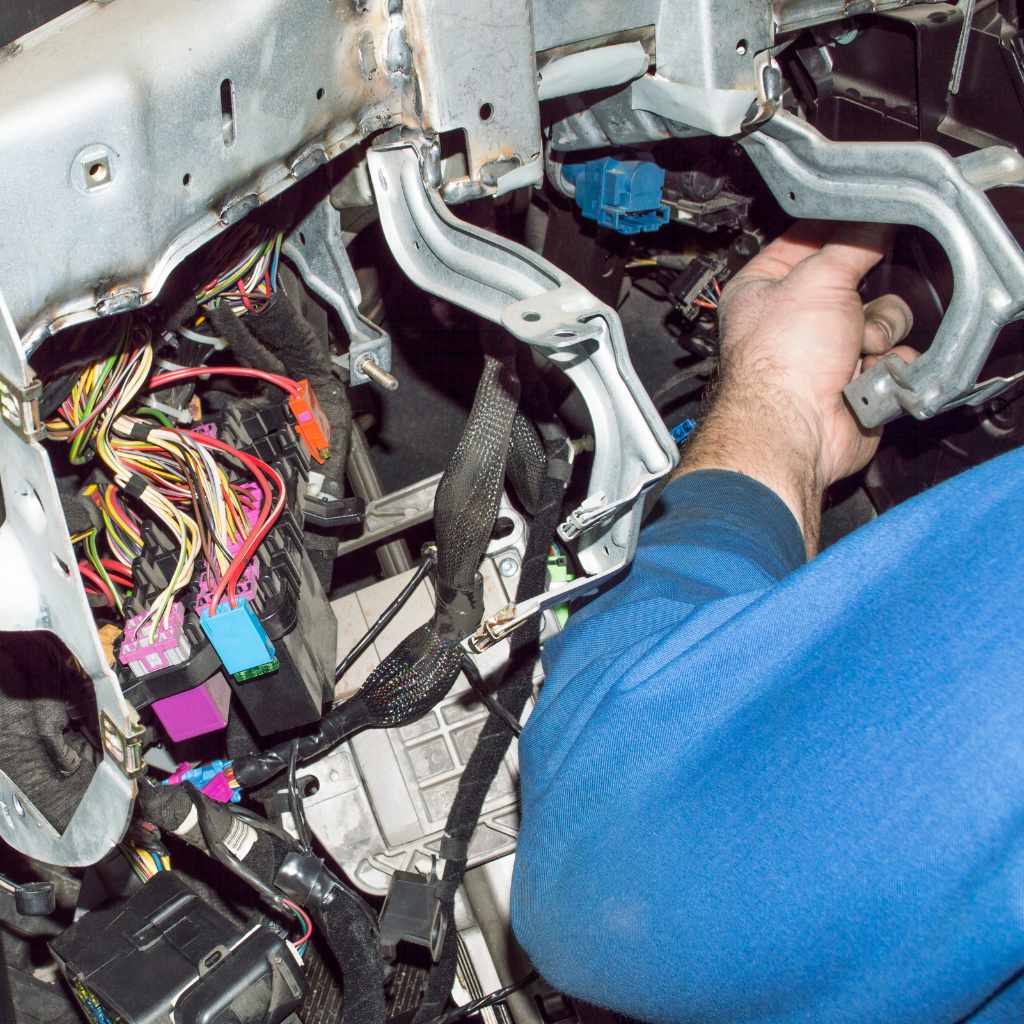
- Route the Wire: Next, you must decide how to run the wire. Look for existing pathways in your car. This can be holes in the firewall or along the car’s frame. Keep the wire away from sharp edges, moving parts, or anything hot.
Use zip ties or wire clips to keep the wire neatly secured.
-
- Connect to the Battery: Connect the positive wire to the positive terminal of the battery. Be sure to use a ring terminal and a fuse holder. The fuse should be as close to the battery as possible. This protects the wire if something goes wrong.
Use the correct fuse rating for the device. Secure the fuse holder to prevent it from moving around.
-
- Connect to the Device: Connect the other end of the wire to your new device. Use the right connectors, like crimp connectors. Double-check that your connections are good and secure.
If the device has a negative terminal, run a separate wire from the device to a ground point on the car’s frame.
-
- Test Your Work: Reconnect the negative battery cable. Turn on your new device and check if it is working. If it is, then you’ve successfully completed the job! If not, go back and check all the connections, the fuse, and the wire.
Use a multimeter to troubleshoot the circuit and find any issues.
Installing the Fuse and Grounding the Circuit
Two essential parts of wiring are installing a fuse and grounding the circuit. A fuse acts like a safety valve. If there’s too much electricity going through the wire, the fuse blows, stopping the power. This protects your device and the car’s electrical system. Grounding is just as important. It provides a path for electricity to return to the battery. Without a good ground, your device won’t work. Learn how to install a fuse properly and create a reliable ground connection. This will ensure your project works well and safely.
The Importance of Fuses
Fuses are extremely important. They help protect your car’s electrical components from damage. If there is a problem, the fuse will blow, breaking the circuit. This keeps your devices and car safe. Choose the right fuse size for your project. This size depends on the amount of current your device needs. Always install the fuse in the positive wire, near the battery. Make sure the fuse holder is safe and secure. Remember, fuses are like tiny guards. They make sure nothing gets hurt.
-
- Fuse Placement: Place the fuse in the positive wire. It should be close to the battery, after the ring terminal. This placement protects the wire from the moment it leaves the battery.
This helps stop problems, such as short circuits, from causing damage to the wire itself.
-
- Choosing the Right Fuse: Use a fuse with the correct amperage. This number should be slightly higher than the device’s maximum current draw.
If the device draws 5 amps, use a 7.5- or 10-amp fuse.
-
- Fuse Holders: Use a fuse holder to make it easy to are different kinds of fuse holders, like inline holders or fuse blocks. Choose one that suits your needs.
Make sure the fuse holder is waterproof if it is in an area that gets wet.
-
- Dealing with a Blown Fuse: If the fuse blows, it means too much current flowed through the circuit. Find the cause of the problem before replacing the fuse.
Check for shorts or damaged wires. Replacing the fuse without fixing the issue will just make the new one blow too.
Creating a Good Ground Connection
Grounding is key to making an electrical circuit work. It gives electricity a path back to the battery. If you do not have a good ground connection, your device won’t work. Start by finding a good grounding spot on your car’s frame. It’s usually a metal part of the car, free of paint or rust. Use a ring terminal on your ground wire. Attach the ring terminal to the ground spot with a screw. Make sure the connection is tight and clean. This is vital to keep your circuit working correctly.
-
- Choosing a Grounding Location: Look for a bare metal spot on your car’s frame or body. This is typically an area that is free of paint, rust, or other coatings. Avoid painted or coated surfaces because they can prevent a good electrical connection.
Consider using a wire brush to clean any corrosion from the area.
-
- Preparing the Ground Wire: Use a ring terminal on the end of the ground wire. This helps make a secure connection. Crimp the ring terminal onto the wire using a crimping tool. Make sure the crimp is tight so the wire cannot pull free.
The size of the ring terminal should match the screw or bolt you plan to use for the ground connection.
-
- Making the Ground Connection: Fasten the ring terminal to the grounding location. Use a screw and a star washer for a secure connection. Ensure the connection is tight.
Tighten the screw with a wrench. A good ground connection is clean and tight to provide good conductivity.
-
- Testing the Ground: After making the ground connection, you can test it. Use a multimeter to measure the resistance between the ground point and the battery’s negative terminal. It should be close to zero ohms.
If the resistance is high, then the ground is not good. Check the connection and clean the surfaces if needed.
Common Problems and Troubleshooting
Sometimes, things go wrong, but don’t worry! Wiring issues can happen. The most common issues are fuses blowing, devices not working, or shorts. If a fuse blows, it usually means something is drawing too much power. This could be a bad connection, or a short circuit. If your device doesn’t work, check the wiring and ground connections. Also, check that you have power at the device. Knowing how to fix these common issues will save you time and help you finish the job.
Troubleshooting Electrical Issues
When you’re dealing with electrical issues, understanding how to diagnose them is important. One frequent problem is a blown fuse. If a fuse blows, check the wiring for shorts. Shorts are when wires touch where they shouldn’t. Another problem is when the device does not work. First, check the power and ground connections. Make sure there’s power getting to the device. A multimeter is a helpful tool for finding the problem. You can use it to check for voltage, shorts, and continuity. Taking time to look at these things will make it easy to fix any problem.
-
- Blown Fuses: If a fuse blows, it often means there’s a problem with the circuit. Check the wires for any damage or exposed areas that could be shorting out.
Also, make sure the device isn’t drawing too much power. Try replacing the fuse with the same amperage rating. If it blows again, there’s likely a bigger issue to address.
-
- Device Not Working: If your device isn’t working, start by checking the power and ground connections. Make sure the wires are securely connected to the right terminals.
Use a multimeter to check for voltage at the device. If there’s no voltage, then the problem is likely with the power source or the wiring. If you have a good ground, your multimeter should read close to zero ohms between your ground and the negative battery terminal.
-
- Short Circuits: A short circuit happens when a wire carrying power touches another wire or a metal part of the car. This can cause the fuse to blow or damage the device.
Carefully examine all the wires for any signs of damage. Use electrical tape to insulate any exposed wires.
-
- Loose Connections: Loose connections are a common cause of electrical problems. Wires can come loose over time.
Check all the connections to ensure they are secure. You may need to use crimp connectors or solder the wires.
Advanced Techniques and Customization
If you’re ready to explore more, you can learn advanced wiring techniques. You can learn to use relays. Relays help you manage high-power devices by using a small amount of current to control a larger one. You can also customize your wiring system to improve it and make it easier to maintain. These methods will help you take on more complex projects in the future. Learning these skills will let you customize your car. It will give you more control over the electrical system.
Using Relays
Relays are like tiny switches. They let you control a device that uses a lot of power using only a small amount. This is very useful when adding things like lights or a loud stereo. A relay has a small circuit and a big circuit. The small circuit uses low power to turn the relay on and off. The big circuit controls the high-power device. This helps protect your car’s electrical system because it stops the high-power device from overloading the circuit. With relays, you can make your car wiring more efficient and safe. It will also make it easier to add new accessories.
-
- How Relays Work: A relay is an electrically operated switch. It has two parts: a coil and a set of contacts. When you send power to the coil, it creates a magnetic field. This magnetic field closes the switch, which allows power to flow to the device.
Relays are useful when controlling devices that draw a lot of power.
-
- Wiring a Relay: A standard relay has five terminals: 85, 86, 87, 87a, and 30. Terminal 85 connects to ground. Terminal 86 connects to the switch. Terminal 30 is for power from the battery (with a fuse). Terminal 87 goes to your device. Terminal 87a is normally closed.
Follow the wiring diagram for the specific relay you’re using.
-
- Benefits of Using Relays: Relays help protect your car’s electrical system. They prevent the device from drawing too much power through the original wiring. Relays also let you use a smaller gauge wire to control a larger device.
This helps reduce the risk of fire and electrical damage.
-
- Examples of Relay Uses: Relays are commonly used for headlights, fog lights, and aftermarket stereos. They can also be used for auxiliary fans and other high-power accessories.
This lets you power large devices without overloading your car’s existing circuits.
Frequently Asked Questions
Question: What size wire should I use for running wire from the battery?
Answer: It depends on the current draw of the device you are powering and the length of the wire run. Use a wire gauge chart to choose the right size. Always lean toward a slightly thicker wire for extra safety. For example, a 16-gauge wire is often sufficient for small accessories, while larger devices will require thicker wire, like 12 or 10 gauge.
Question: How do I know where to run the wire through my car?
Answer: Look for existing pathways. Common locations include holes in the firewall, which is the wall between the engine bay and the passenger compartment, and along the car’s frame. Using existing paths will protect your wire. Use zip ties or clips to keep the wire secure and away from moving parts or sources of heat.
Question: Where should I put the fuse when I run wire from the battery?
Answer: Put the fuse as close to the battery’s positive terminal as possible. This placement protects the wire from the moment it leaves the battery. Installing the fuse close to the power source helps prevent damage to the entire circuit if a short circuit occurs.
Question: What do I do if the fuse blows?
Answer: If the fuse blows, it means too much current is flowing through the circuit. Find the cause of the problem. Check for shorts (bare wires touching) or a problem with the device. Never put in a fuse with a higher amperage rating, as this can cause a fire.
Question: How do I make sure the wire is securely connected to the car’s ground?
Answer: Find a bare metal spot on the car’s frame or body. Clean the area with a wire brush to remove any paint or rust. Crimp a ring terminal onto the end of the ground wire. Fasten the ring terminal to the ground location using a screw and a star washer. Test the connection with a multimeter to make sure it is near zero ohms.
Final Thoughts
Now you know How to Run Wire From a Battery Into a Car! You learned the basics of car electrical systems and why safety comes first. You’ve explored how to plan your project, choose the right wires, and connect everything correctly. You also found out how to create strong ground connections and deal with common problems. It might seem like a lot, but you have the knowledge now! Remember, the key is to take your time, plan everything carefully, and check all your work. Start with a simple project, like adding interior lights or a charging port. Then, as you get more comfortable, you can explore more complex projects. Your journey starts now. Good luck, and enjoy your new car upgrades!